Chicken Chimichangas
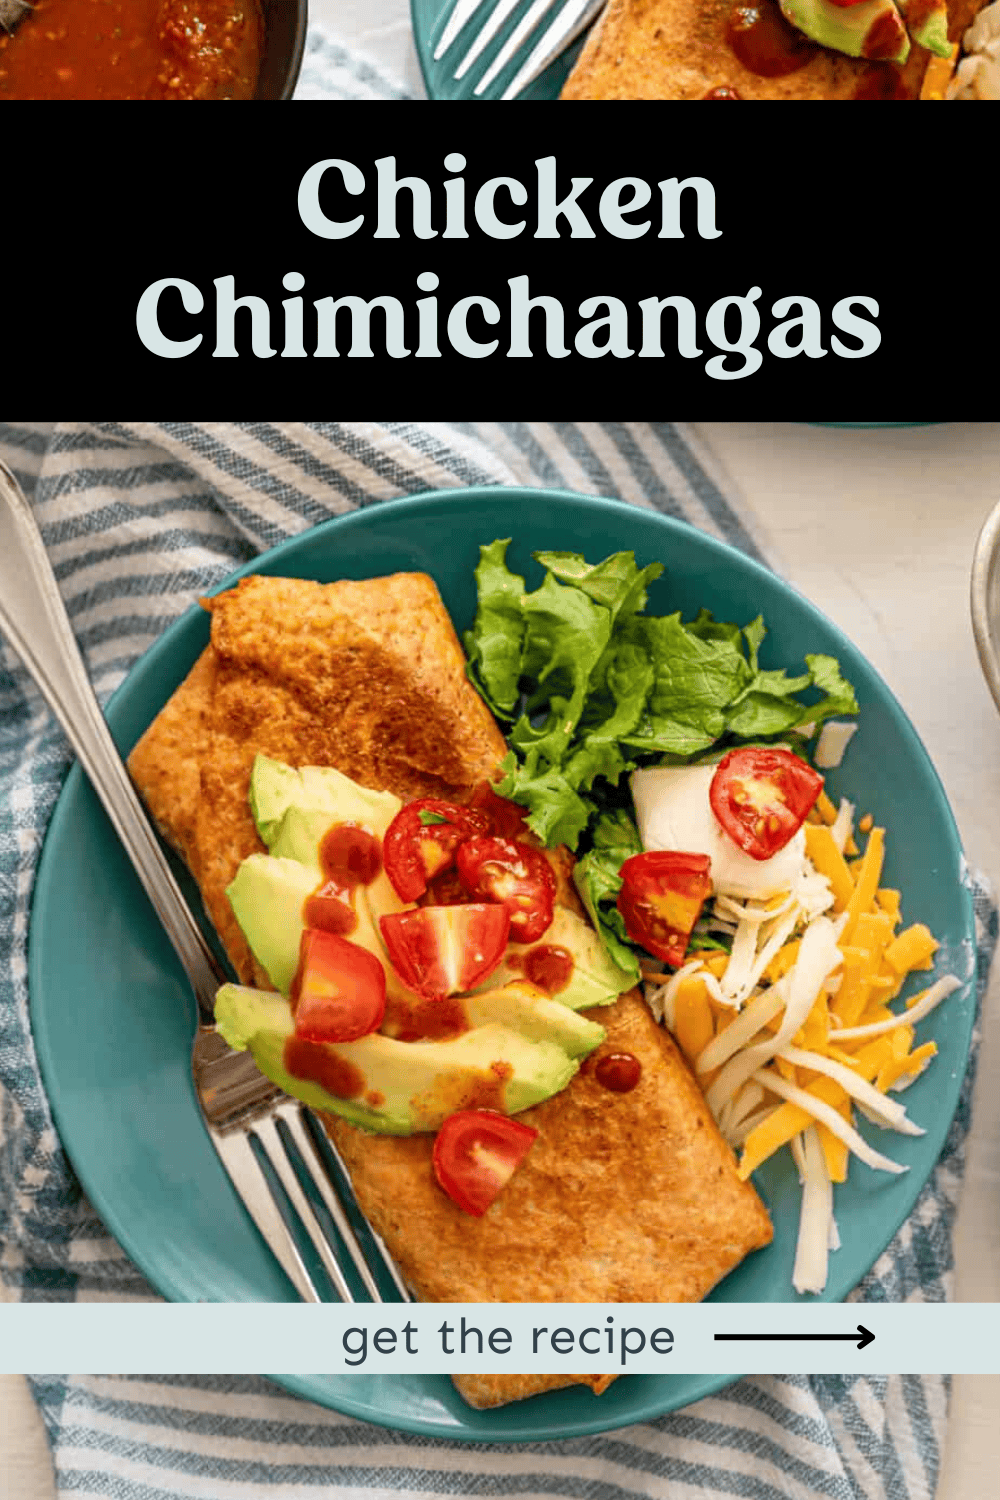
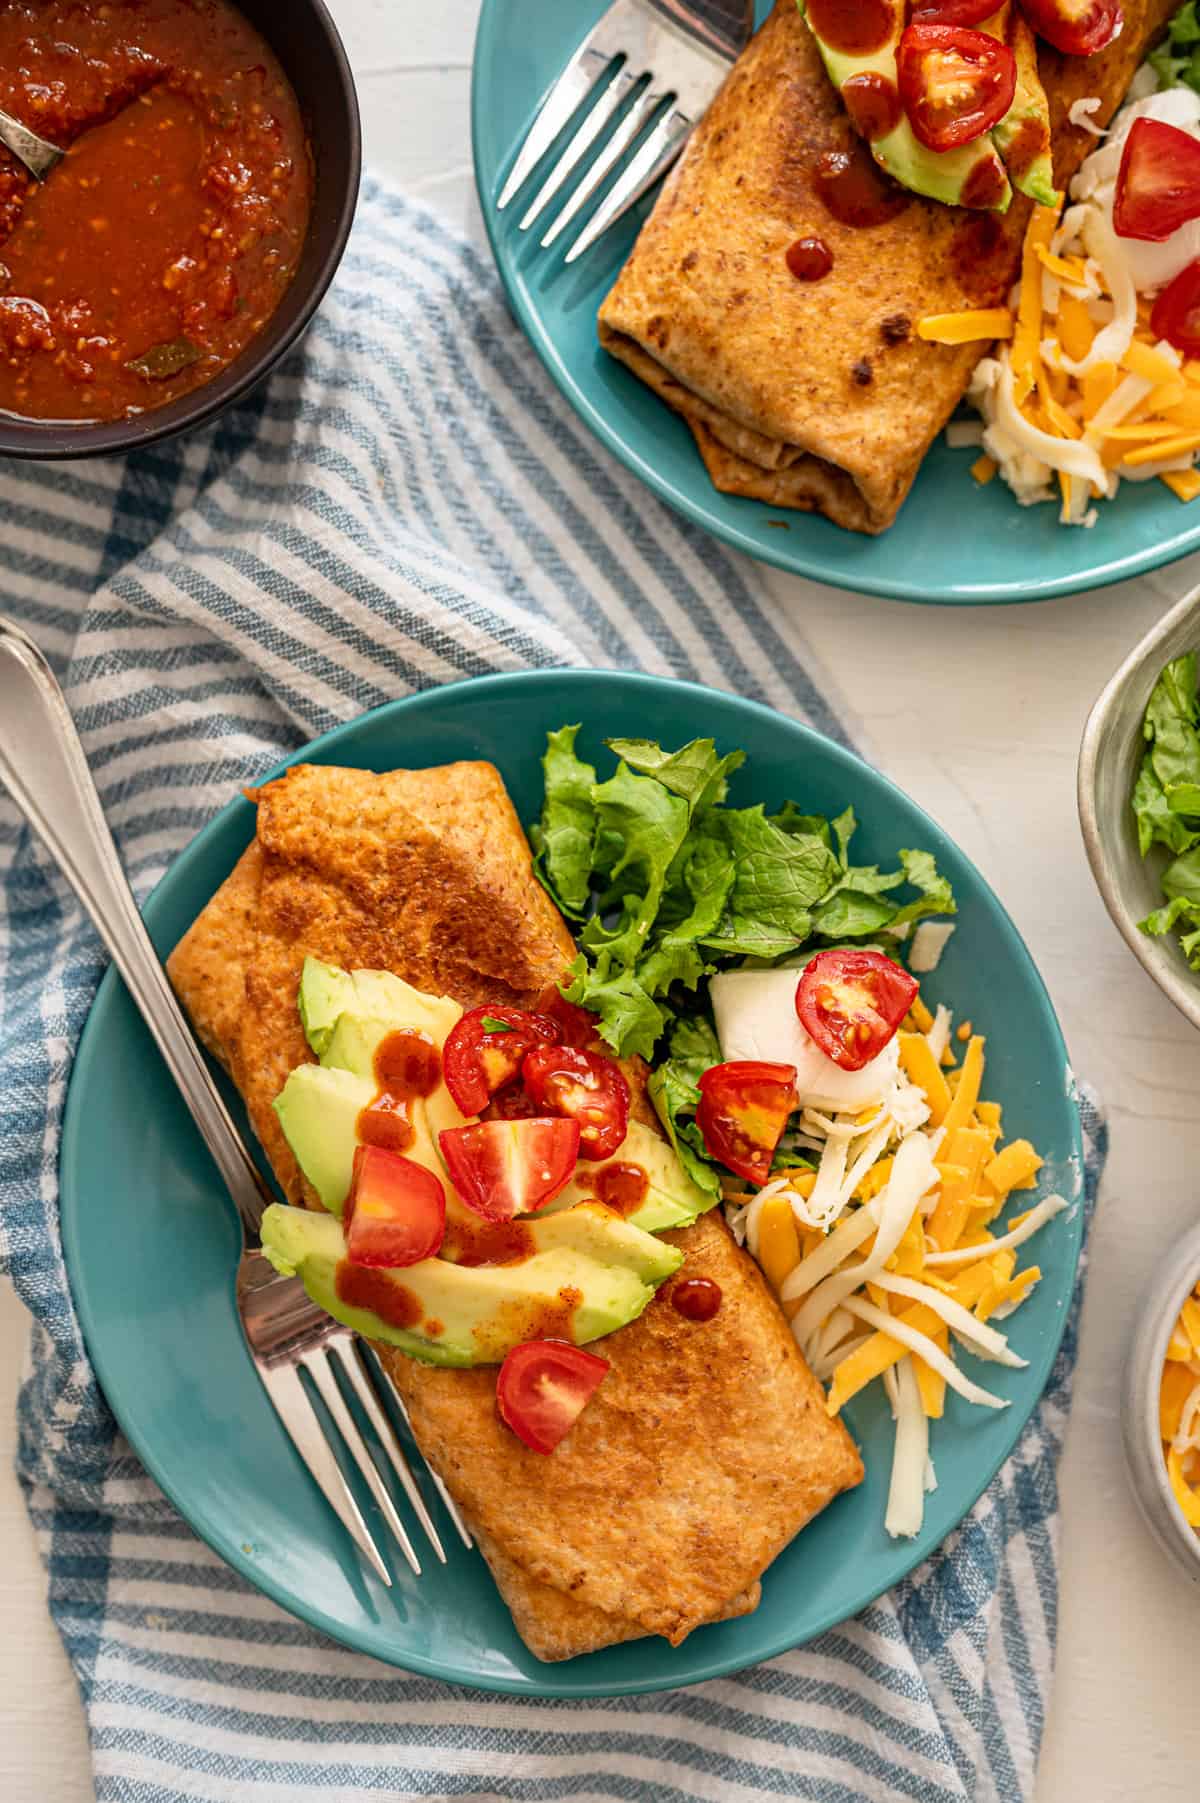
Chicken Chimichangas made in the slow cooker? Why yes! It’s possible! We’ve tweaked the classic deep-fried Tex-Mex favorite, making it quite a bit simpler (and a little less fried). You’ll be wowed by this crowd-pleaser meal!
What is a Chimichanga?
According to Wikipedia, a chimichanga is “a deep-fried burrito that is common in Tex-Mex and other Southern U.S. cuisine.” It’s often filled with rice, cheese, beans, and meat. Then, it’s folded into a square-sized package and deep-fried.
Our chicken chimichanga recipe is a little less fried and simpler than traditional recipes, but just as delicious!
What Makes These So Good!
These really seem too good to be true. They are easy, mostly cooked in a slow cooker, AND can be a freezer meal. We assure you, they are tasty too! These also work really well to cook ahead of time and reheat for on-the-go lunches.
Ingredients Needed
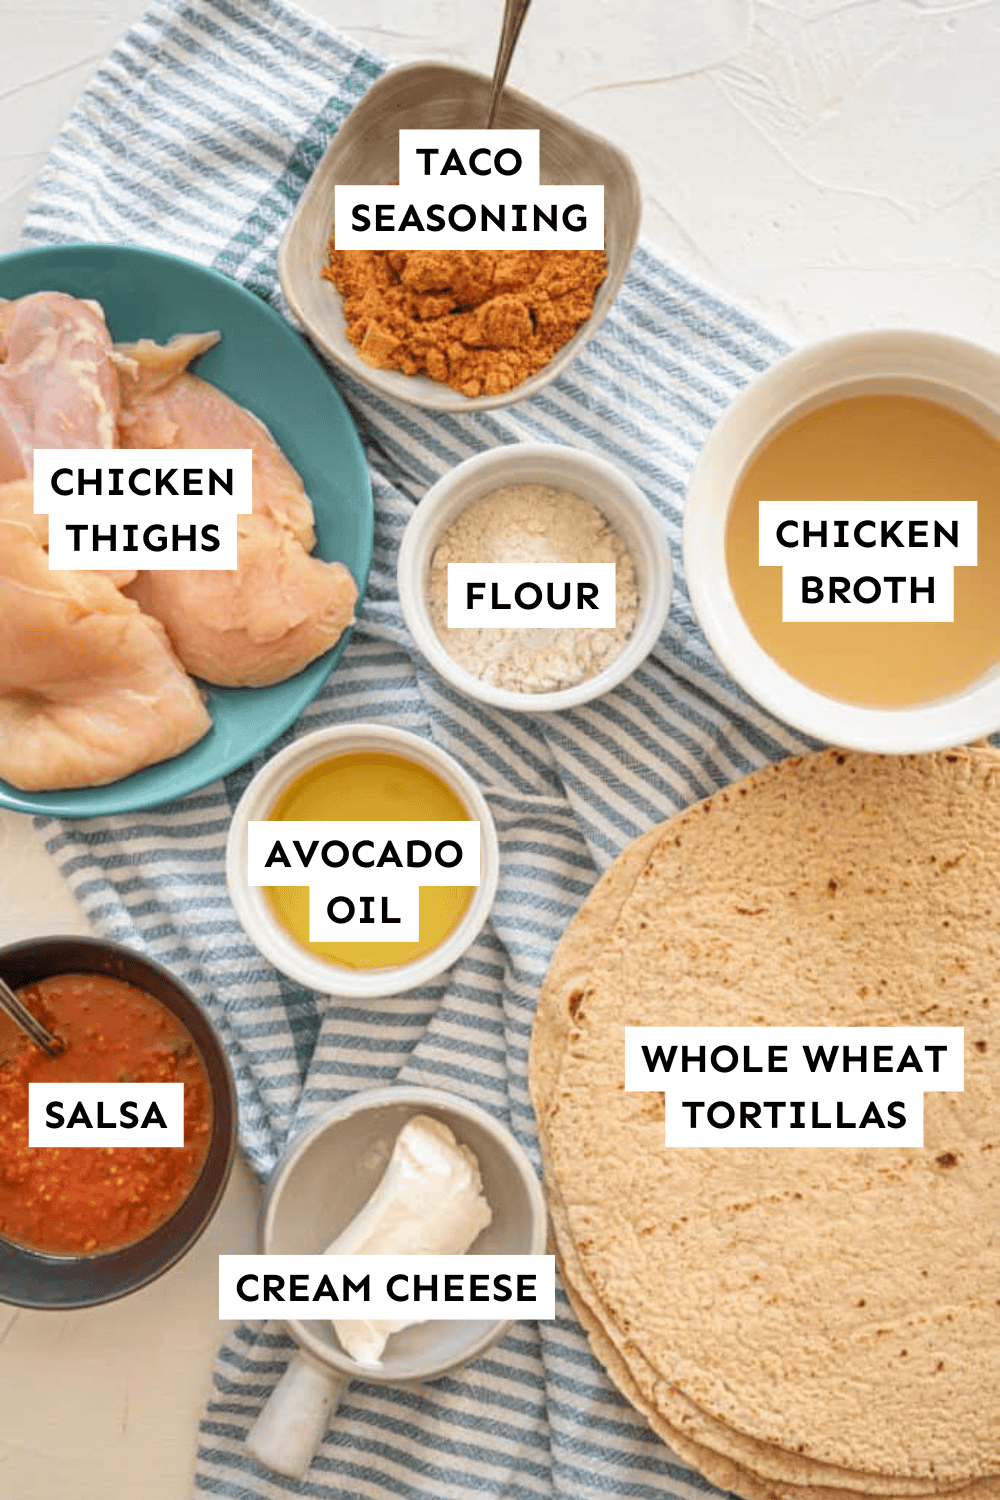
Ingredient Notes
- Chicken Broth – Both store-bought or homemade Chicken Broth will work. You can even use water in a pinch!
- Taco seasoning – A packet or 3-4 tablespoons all-natural taco seasoning.
- Chicken breasts – Here’s where we get our organic chicken.
- Whole wheat flour tortillas – Burrito-size (10″ diameter)
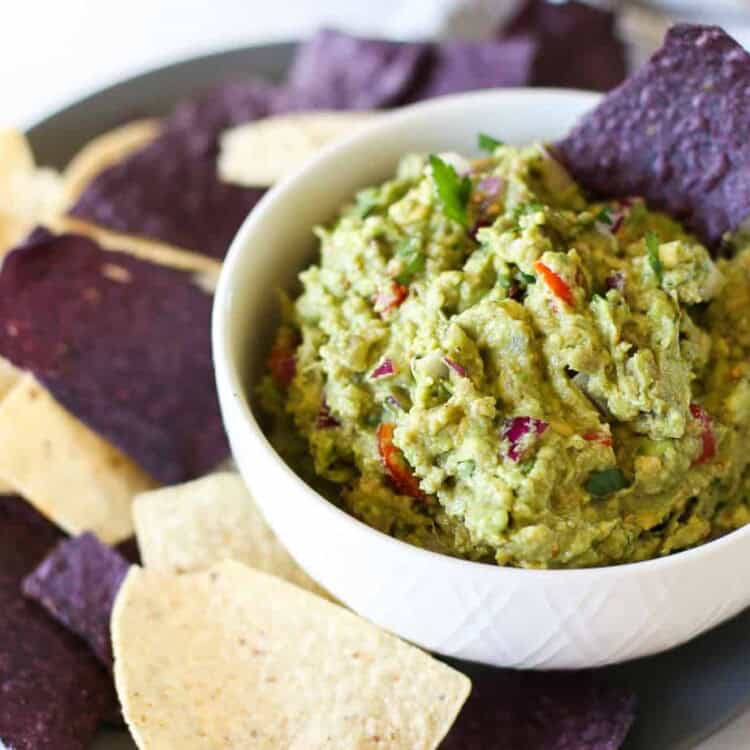
- Toppings – Sour cream, salsa, guacamole, and shredded lettuce.
How to Make Chimichangas
Step 1: The first step to this slow cooker meal is to make the chicken filling. Place taco seasoning, broth, and chicken breasts in the crockpot. Cook on LOW for just 2 1/2 to 3 hours.
We know that 3 hours doesn’t feel like it’s long enough to cook chicken. But trust us, it is! Here is more about how long to cook chicken in the Crock Pot.
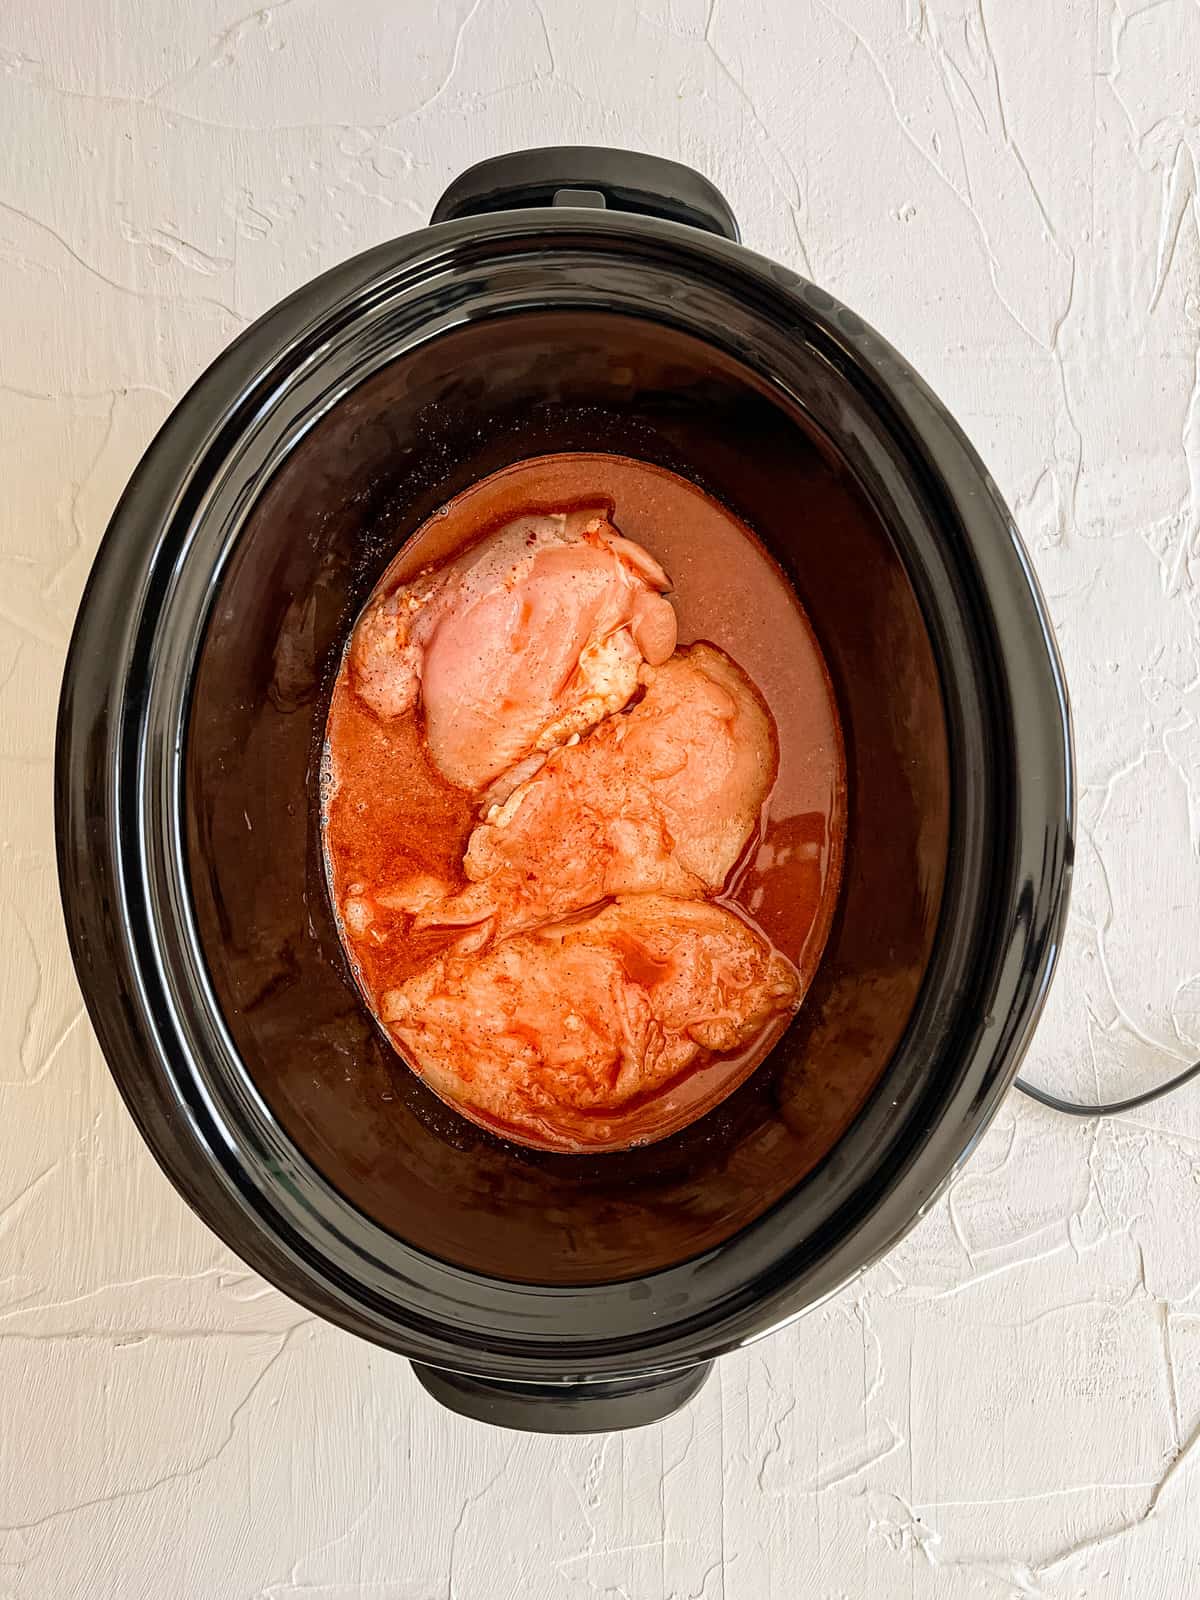
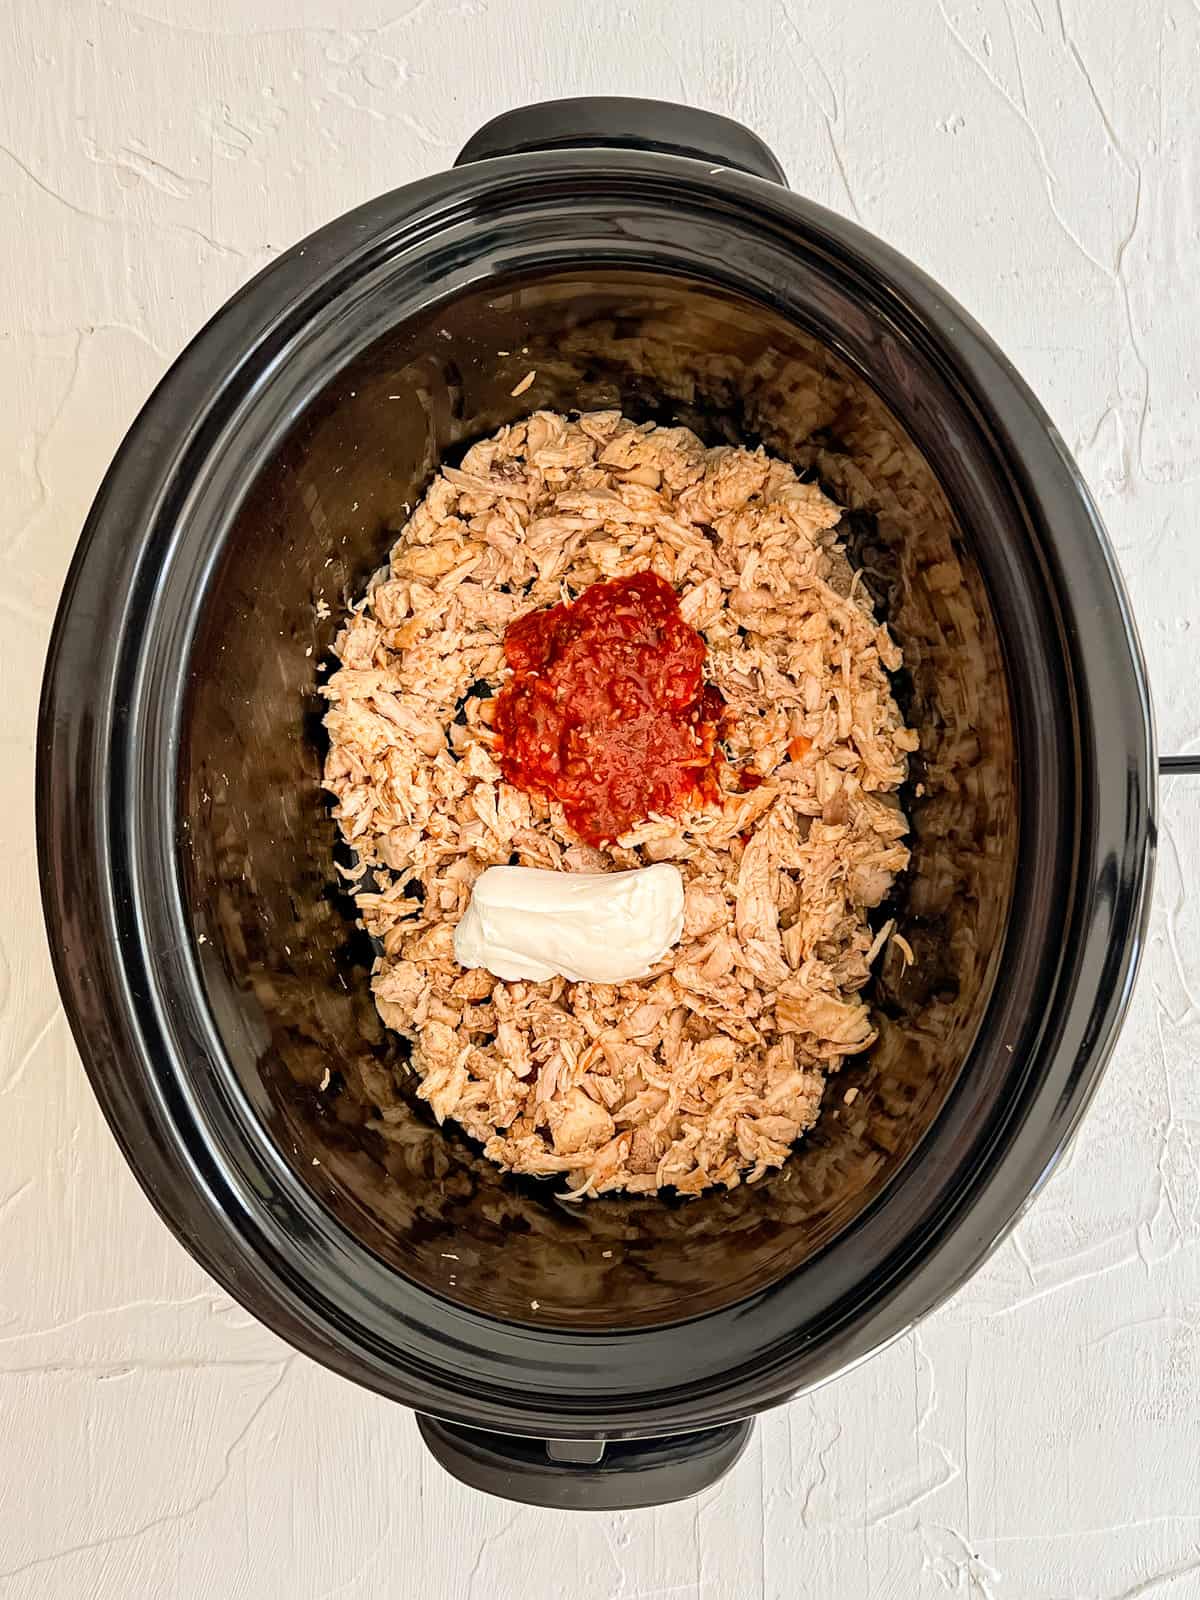
Step 2: Then, shred the chicken, drain the rest of the liquid, and stir in cream cheese and salsa, adding more flavor and creaminess to the filling.
Add-In Ideas
When adding the cream cheese and salsa to the cooked chicken, feel free to also add pinto beans (rinsed and drained), chopped mild green chiles, or chopped chipotle chiles. This will stretch the filling even farther, so you can make 6 or so chimichangas.
Step 3: Wrap the chicken filling up in each tortilla. We’ll instruct you in the recipe how to fold it into a square package, including how to make a “glue” that will hold the tortilla together.
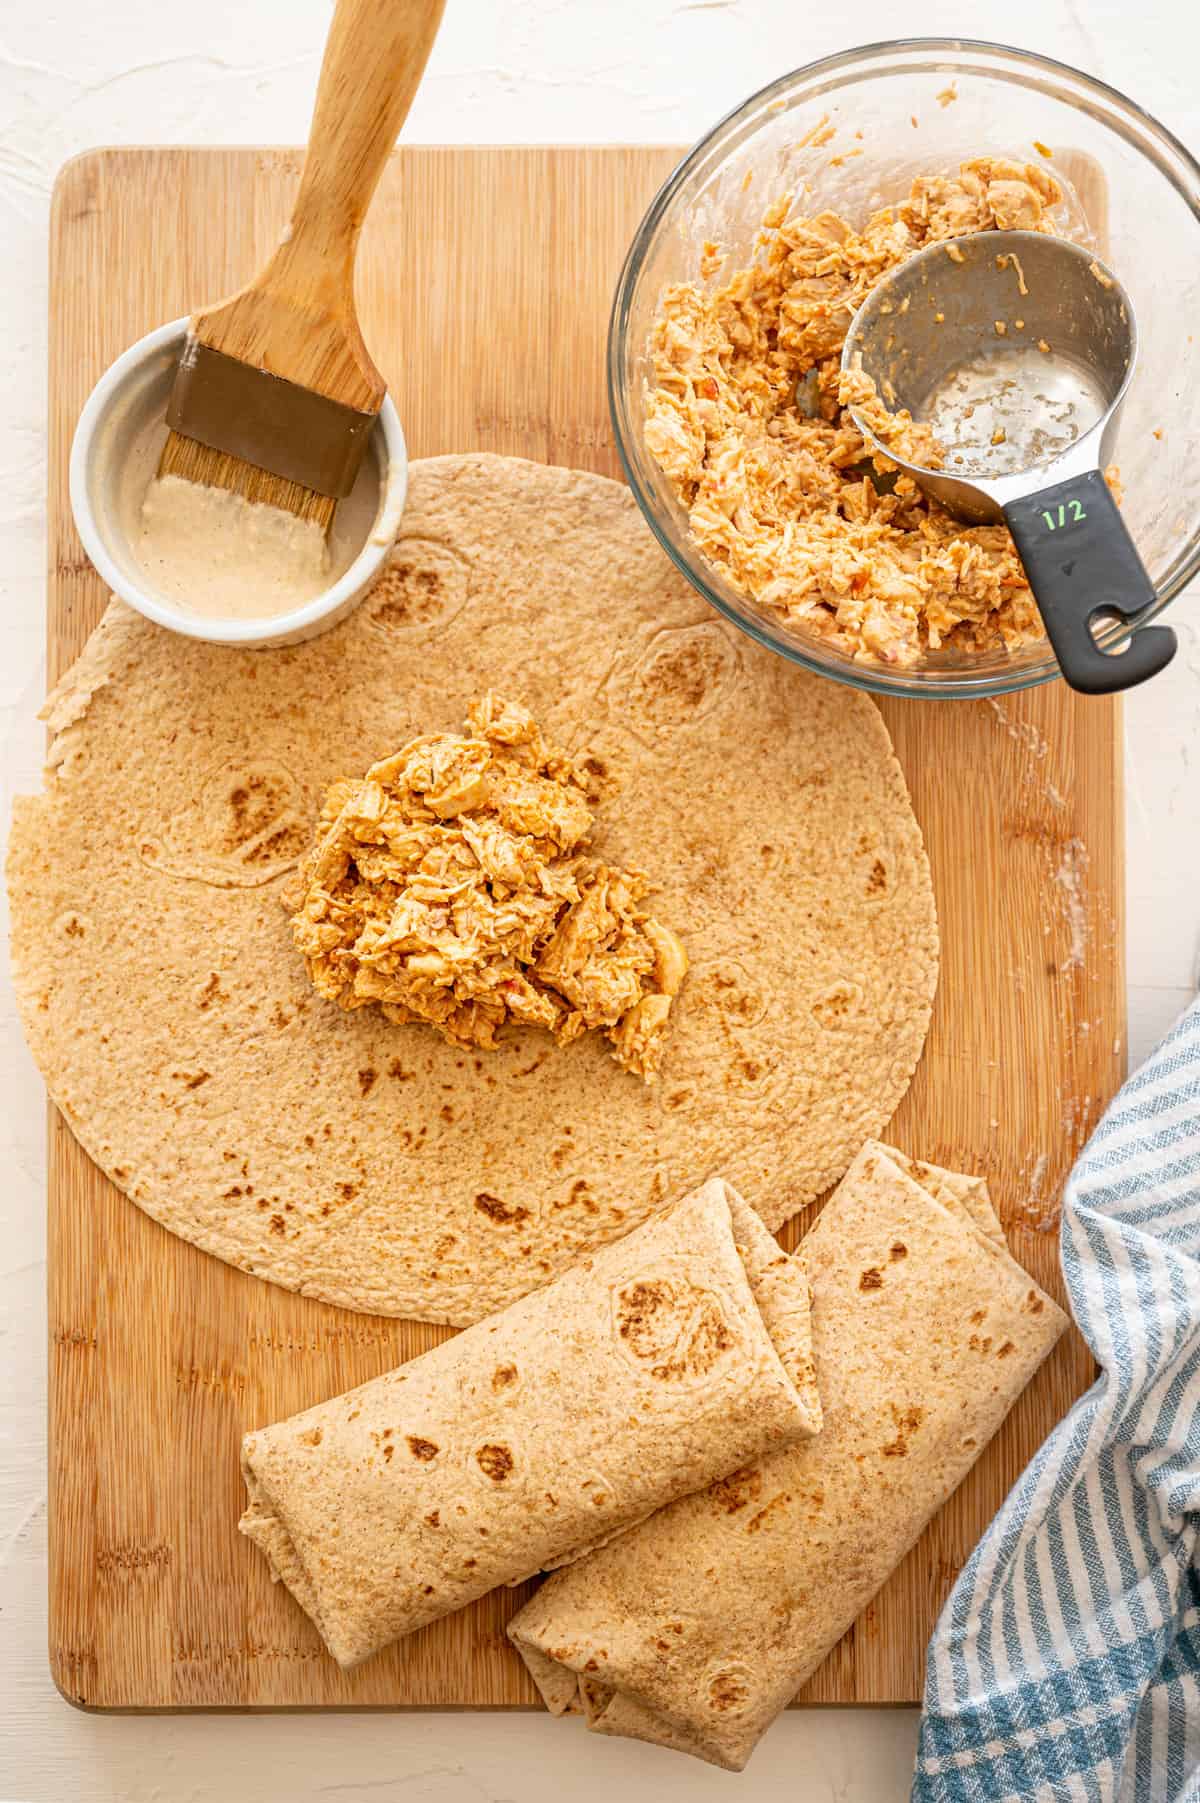
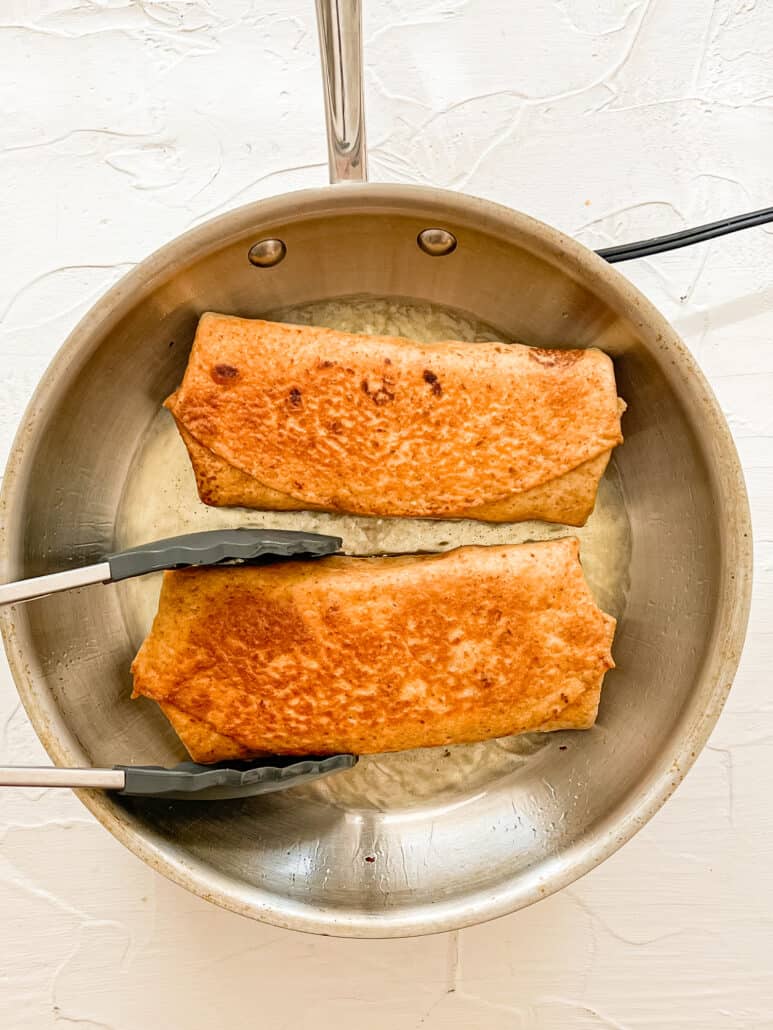
Step 4: To give the chimichangas their signature crispy tortilla crust, you’ll quickly shallow pan-fry the chimichangas on either side and serve warm with your favorite Tex-Mex toppings.
Can you Freeze Chimichangas?
We are big fans of prepping meals ahead and freezing them for later. (Here is a list of our best of the best freezer meals, btw.) So it shouldn’t be a surprise to you that we have freezer meal instructions for chimichangas!
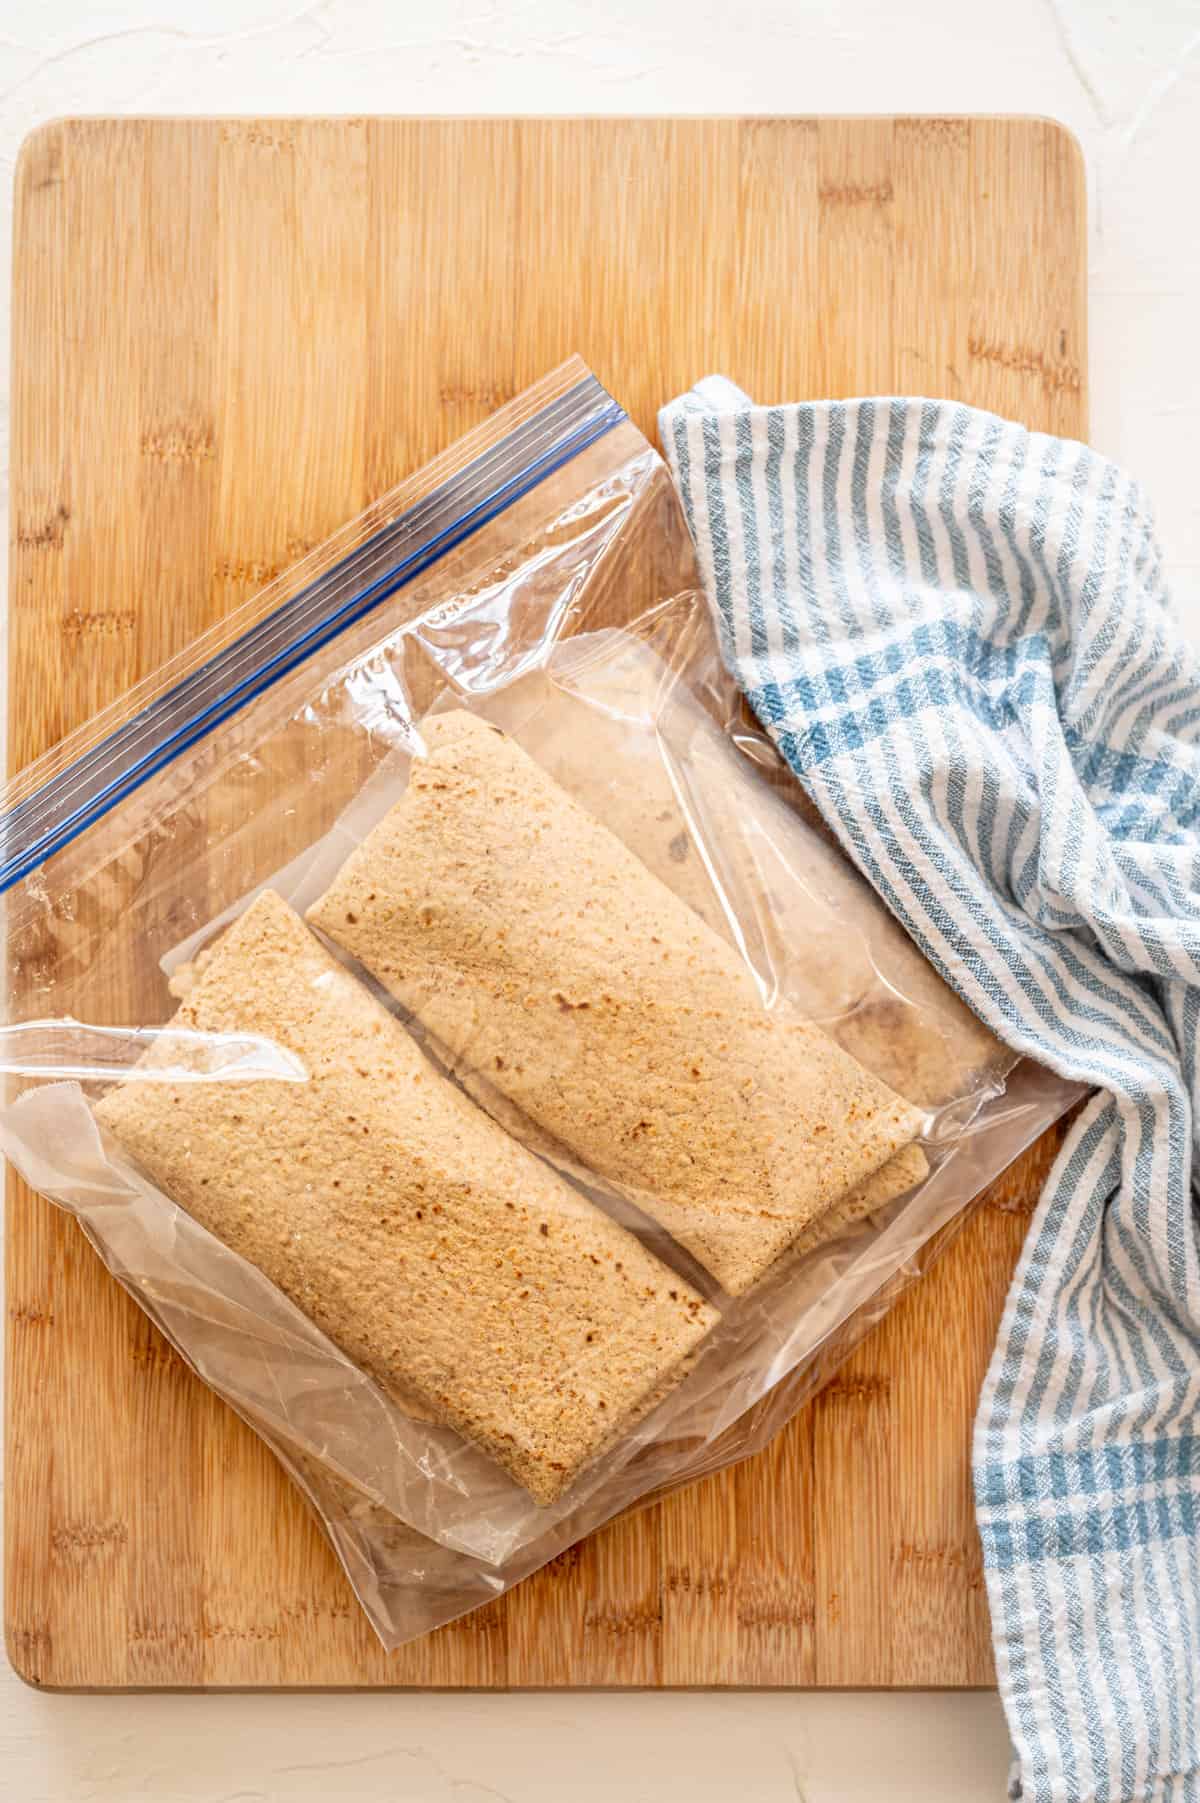
Freeze For Later: Place the assembled (but not fried!) chimichangas in an airtight freezer container or bag in a single layer. Separate layers with parchment paper. Seal tightly and freeze.
Prepare From Frozen: Let the meal thaw in the refrigerator for 24-48 hours. Cook as directed, starting with Step 5.
Recipe FAQs
It can sometimes be hard to find large whole wheat tortillas. I suggest looking at your local health food store. If you can find only medium ones, just decrease the amount of chicken in each chimichanga to 1/3 cup.
Yes! For the filling, use 2 cups shredded rotisserie chicken. In a medium sized microwave-safe bowl, whisk together the taco seasoning and broth. Stir in the chicken and then microwave until warm, 1-2 minutes. Drain off the liquid. Stir in the cream cheese and salsa. Filling is done!
What to Serve with Chimichangas
25+ Amazing Mexican Recipes
Looking for more easy, mouthwatering Mexican recipes? Be sure to browse through our round-up of 25+ Amazing Mexican Recipes!
Some of our reader favorites include:
How to Video
Chicken Chimichangas
Ingredients
- 3/4 cup store-bought or homemade Chicken Broth (or water)
- 4 tablespoons all-natural taco seasoning (sub: 1-ounce taco seasoning packet)
- 1 1/2 pounds chicken breasts (about 2 large)
- 1/4 cup cream cheese
- 1/4 cup mild or medium salsa
- 2 tablespoons whole wheat flour (sub: all-purpose flour)
- 4 burrito-size whole wheat flour tortillas (sub: white flour tortillas)
- 5 tablespoons avocado oil, divided, for shallow frying (sub: vegetable oil)
- Optional, for topping: sour cream, salsa, guacamole, and shredded lettuce
Instructions
- Make the Filling: Add the broth (or water) and taco seasoning to a slow cooker and whisk together. Add the chicken breasts, turning them around in the liquid to make sure they're coated on all sides. Cover and cook on LOW for 2 1/2 – 3 hours, or until the chicken shreds easily. (Believe us on this timing. You don't want to overcook your chicken!)
- Remove the chicken to a cutting board and shred with two forks. Drain most of the excess liquid from the slow cooker and return the chicken to the crockpot. Add the cream cheese and salsa, and gently stir until the cream cheese is melted.
- Make the "Glue": In a small bowl, use a fork to mix the flour and 2 tablespoons water together to make the “glue” that will hold the tortillas shut.
- Fold the Chimichangas: In the middle of a tortilla, place a generous 1/2 cup of the chicken mixture. Fold the sides of the tortilla in toward each other so they overlap a bit. Then fold the top and the bottom, sealing off the opening to the chicken mixture. This will create a square-shaped (or you can make rectangle-shaped) chimichanga. Using your fingers or pastry brush, spread the flour paste under each of the overlapping parts of the tortilla to secure the flaps in place. Repeat with the remaining tortillas and chicken mixture.
- Pan-Fry the Chimichangas: In a large skillet, heat enough oil to cover the bottom of the pan (about 2-3 tablespoons) over medium heat until shimmery. The oil should be hot enough to make the chimichangas sizzle when they’re placed in the pan. Place 2 chimichangas folded side down in the pan, making sure they do not touch. Cook for 2 to 3 minutes, carefully turning once, until the tortilla is golden brown on both sides. Repeat with the rest of the chimichangas and add more oil as needed. To keep the chimichangas warm while making multiple batches, place them on a sheet pan that has a wire rack on top. Keep warm in a 200°F oven.
- Serve: Serve warm with your favorite toppings.
Freezer Instructions
Notes/Tips
- Add-In Ideas: When adding the cream cheese and salsa to the cooked chicken, feel free to also add pinto beans (rinsed and drained), chopped mild green chiles, or chopped chipotle chiles. This will stretch the filling even farther, so you can make 6 or so chimichangas.
- Quick Version: For the filling, use 2 cups shredded rotisserie chicken. In a medium sized microwave-safe bowl, whisk together the taco seasoning and broth. Stir in the chicken and then microwave until warm, 1-2 minutes. Drain off the liquid. Stir in the cream cheese and salsa. Filling is done!
- Double and Freeze: This recipe is easy to double! Prep twice or triple as many and freeze half before cooking them to enjoy another time.
- Where to Find Whole Wheat Burrito Tortillas: It can sometimes be hard to find large whole wheat tortillas. I suggest looking at your local health food store. If you can find only medium ones, just decrease the amount of chicken in each chimichanga to 1/3 cup.
- Our Cookbook: Find this recipe and many other healthy, freezer-friendly ones in our cookbook, From Freezer to Table.
Nutrition
I used Mission Gluten Free tortillas and this recipe was fabulous! My husband raved about how good these were! I used rotisserie chicken for quicker dinner prep. Easy to make & so delicious- this will definitely be in my meal rotation.
Thanks for the great substitution ideas, Vicky. And I’m glad you all enjoyed this recipe. Appreciate the review!
New family favorite, and so easy!
Yay! Love to hear this. Thanks for taking the time to leave a review Amity.
Simple and yummy. Little pockets of creamy chicken goodness. I made mine with a black bean side and it was great!
Love that description – little pockets of creamy chicken goodness! 🙂 Thanks for taking the time to leave a review Morgan.
Made my chicken in the instant pot! Soooo yummy and easy
Hi Zoe. So glad to hear you enjoyed these. Thanks for laving a review.
Is there a gluten free option for the “glue”?
Hi Melynda. To make this gluten-free, use a gluten-free tortilla (I’m afraid corn tortillas will tear, so I’d try something else) and use gluten-free flour in the glue. Let us know how it turns out!
Perfect chicken makes for a juicy at-home, restaurant quality dinner.
Thanks for the review, Kate!
Amazing recipe! They were so easy to make. Hardly any work, only a few staple ingredients that I already had & they were loved by the whole family. This will definitely be a regular on our menu. And as a bonus, the leftovers actually taste really good cold.