Dinged Up Dresser Finds New Life
I’ve noticed a pattern in my life. I tend to paint things turquoise. I hadn’t really noticed this as a pattern until I finally got around to putting this post together. When looking through past before and after makeovers to reference, I realized that I have a serious problem of branching out.
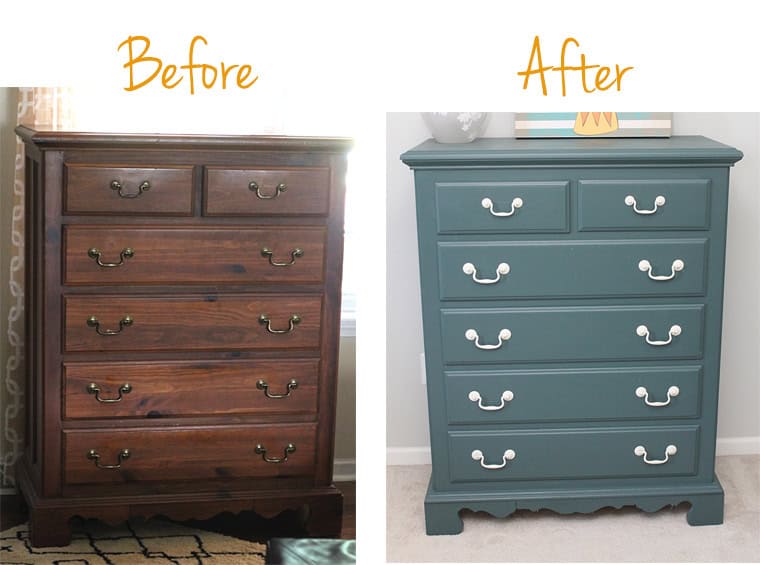
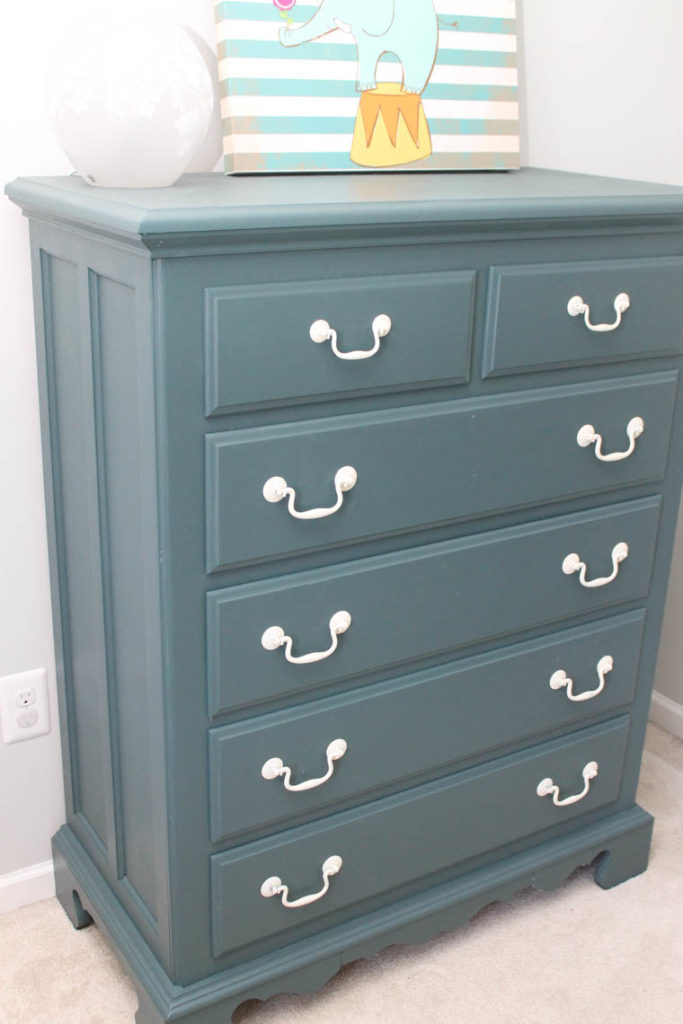
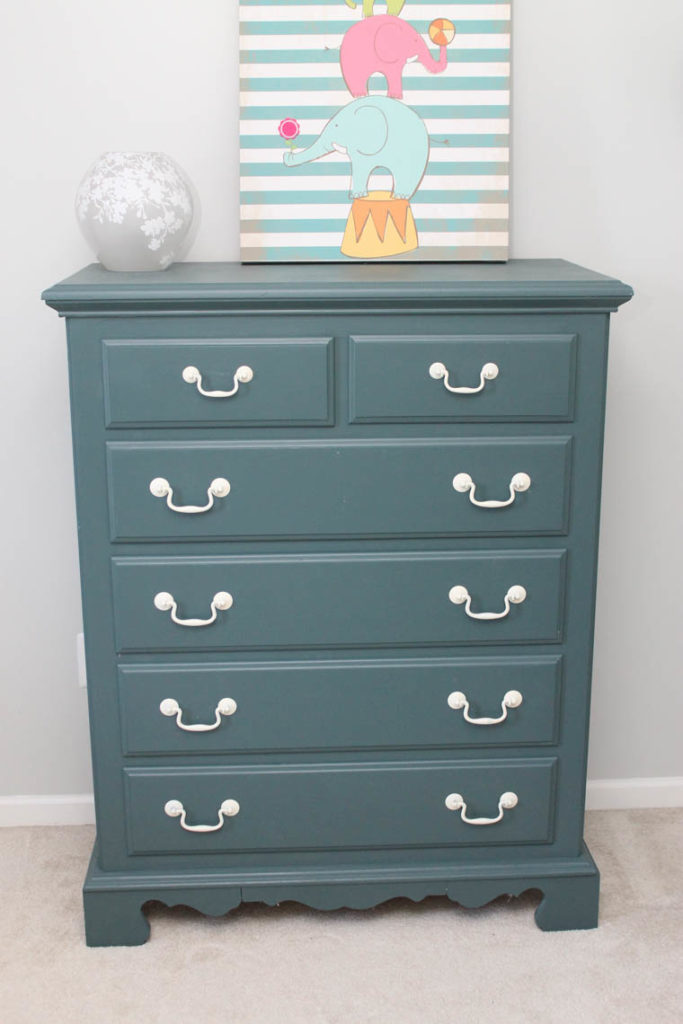
Regardless of the blue/turquoise repetition, I think this dresser for my daughter’s room turned out great.
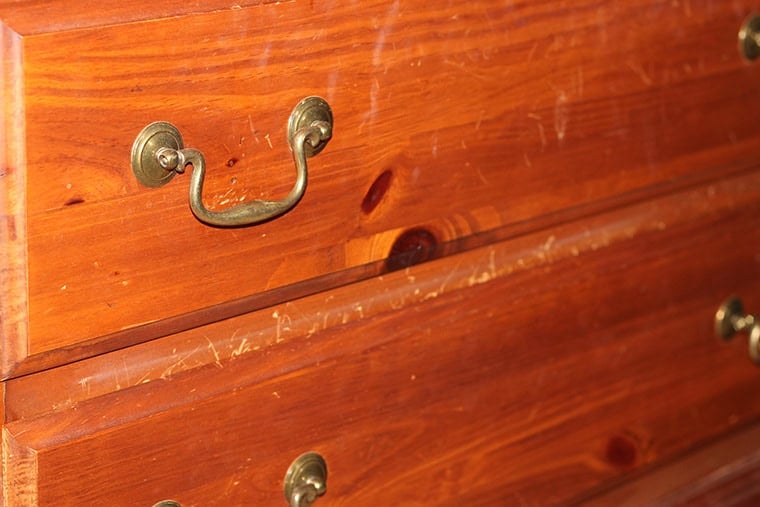
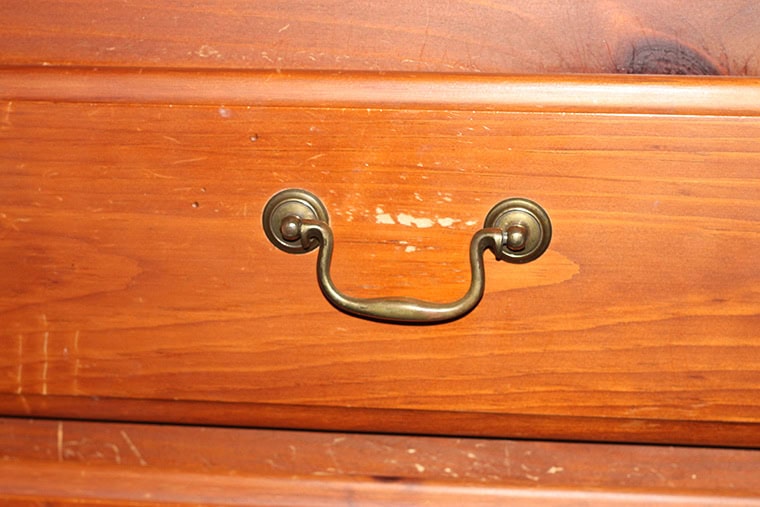
When my in-laws asked if we wanted this solid wood dresser, I was all over it. Despite their warnings that it had been well-loved over the years, I was happy to take it off their hands. While in the before and after picture above the dresser looks like it was in good shape, allow me to take you a bit closer for an inspection.
Ouchy.
It was crying out for a paint job, yes?
I started by sanding the wood down a bit. I’m pretty sure I used a 180 grit sandpaper-not too rough but not too fine either. Just enough to buff out some of the imperfections and to give the primer something to grip to.
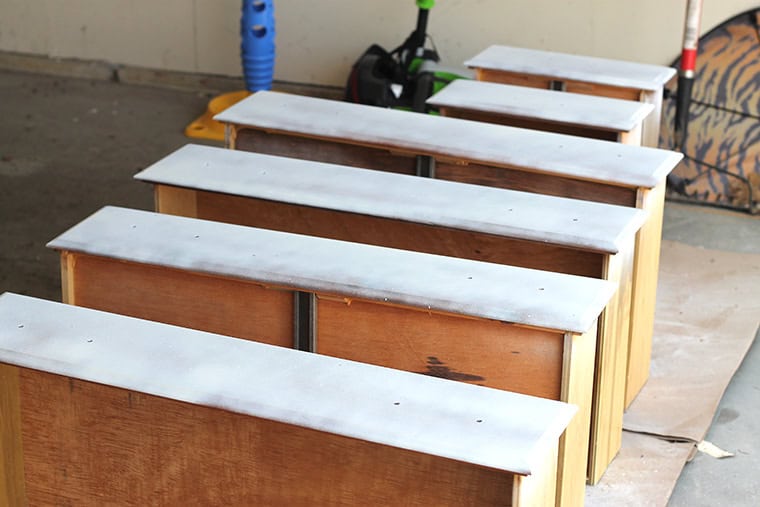
After wiping down the sanded wood and letting it dry, I used Kilz Spray Primer to coat the entire surface of the dresser and drawers.
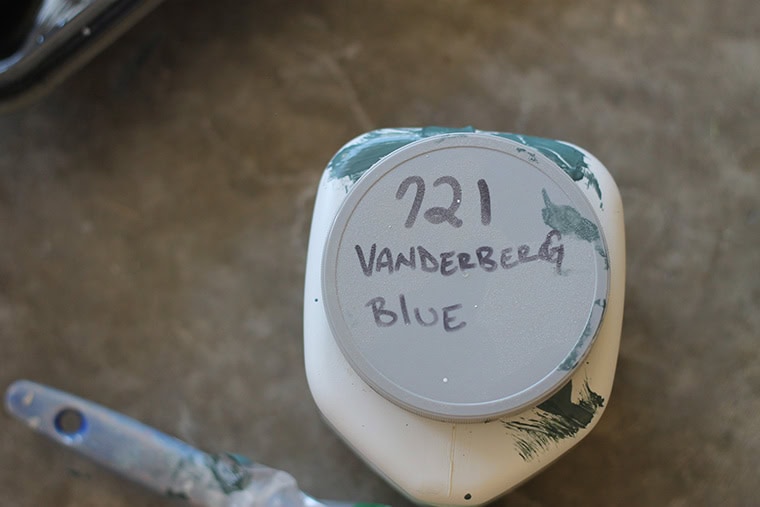
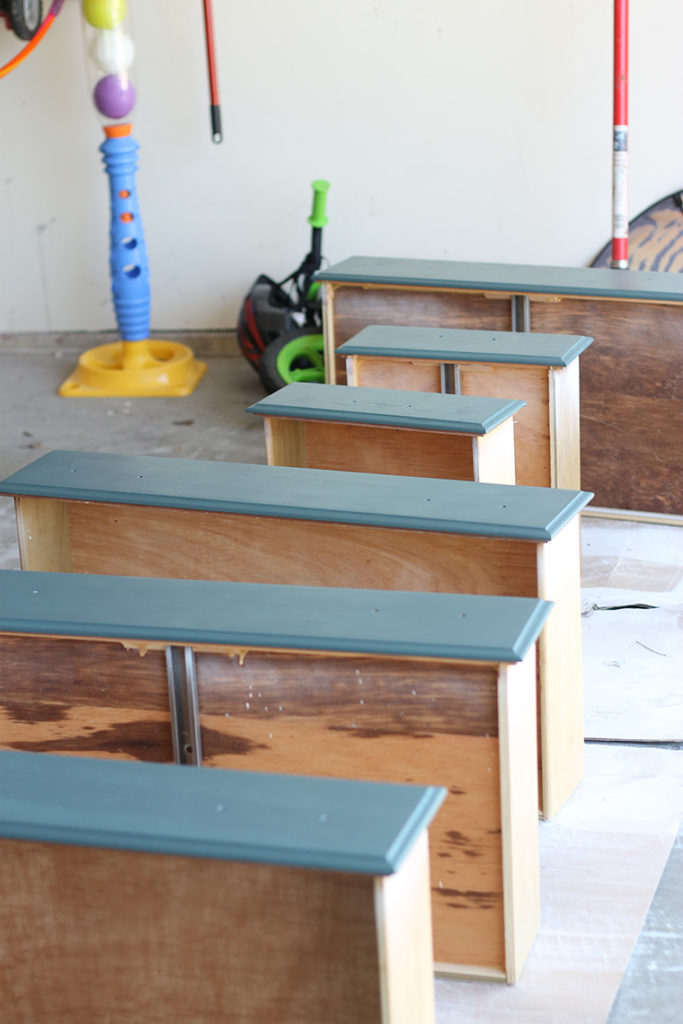
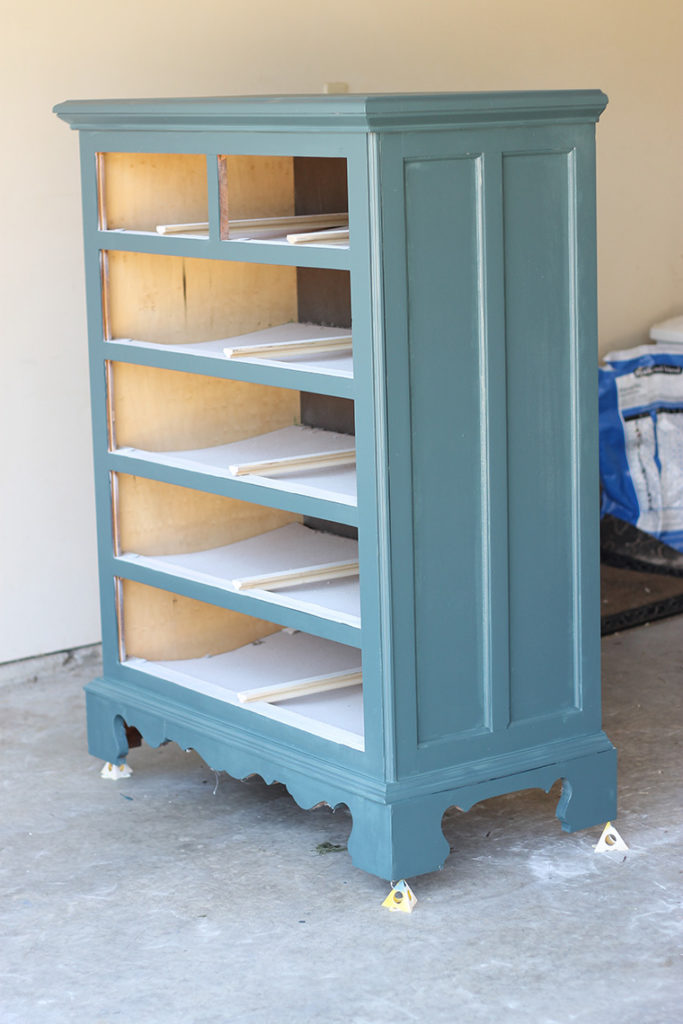
After the primer had dried, I began painting. I used a color called Vanderberg Blue by Sherwin Williams. I love love love this color. I used it for my kitchen hutch makeover as well.
I used a small foam roller to apply the paint. I have learned that I like using this kind of roller verses a paint brush for projects like this. The paint goes on MUCH more smoothly and doesn’t leave any streaks.
I do use a small brush to reach the places that the roller won’t go though.
Let it all dry and give it a second coat!
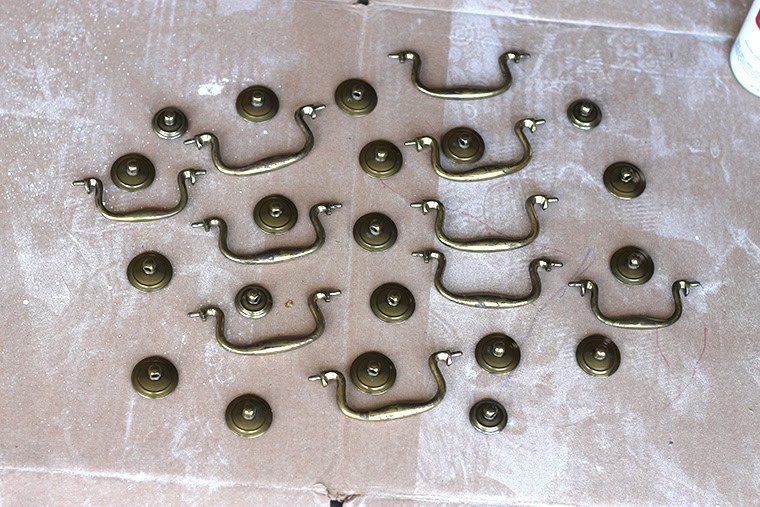
While the paint was drying, I got to work on the hardware.
I gave the brass hardware a coat of primer and let it dry.
After it dried, I gave it two coats of white spray paint. When updating hardware, spray paint is the way to go. Trust me on this.
After everything had dried in my garage for a few days–yes a few days–I put it all back together again.
Didn’t it turn out pretty!?!
Make sure to check out my other before and after furniture makeovers!

What type of paint did you use and in what sheen?
Hi Karen. I used Benjamin Moore’s Vandenburg Blue with a semi-gloss finish.
Hope that helps!
That was what I wanted to know too! Thanks. I also love the color. The hardest part for me is choosing a color, I will put off projects for months…okay..years because I can’t make a flipping decision, lol. Great job!
Oh, I LOVE that color! That might be good for my kitchen cabinets…if I ever get around to painting them.
Thanks! I am in danger of painting many other pieces this same color. #NeedToBranchOut!
Love the color! Did you put anything over the paint to seal it? Such as a polyurethane or wax?
Nope! In the past I’ve put polyurethane on a few pieces but it caused them to yellow a bit so I quit doing that. If it’s a quality paint, it should hold up quite well.
What are the little triangles under the dresser to keep it off the garage floor? Looks like a good idea. It would make painting the legs and feet easier.
They are called painters pyramids. I LOVE them. It for sure makes painting big pieces like this much easier. You can get them at almost any hardware store.