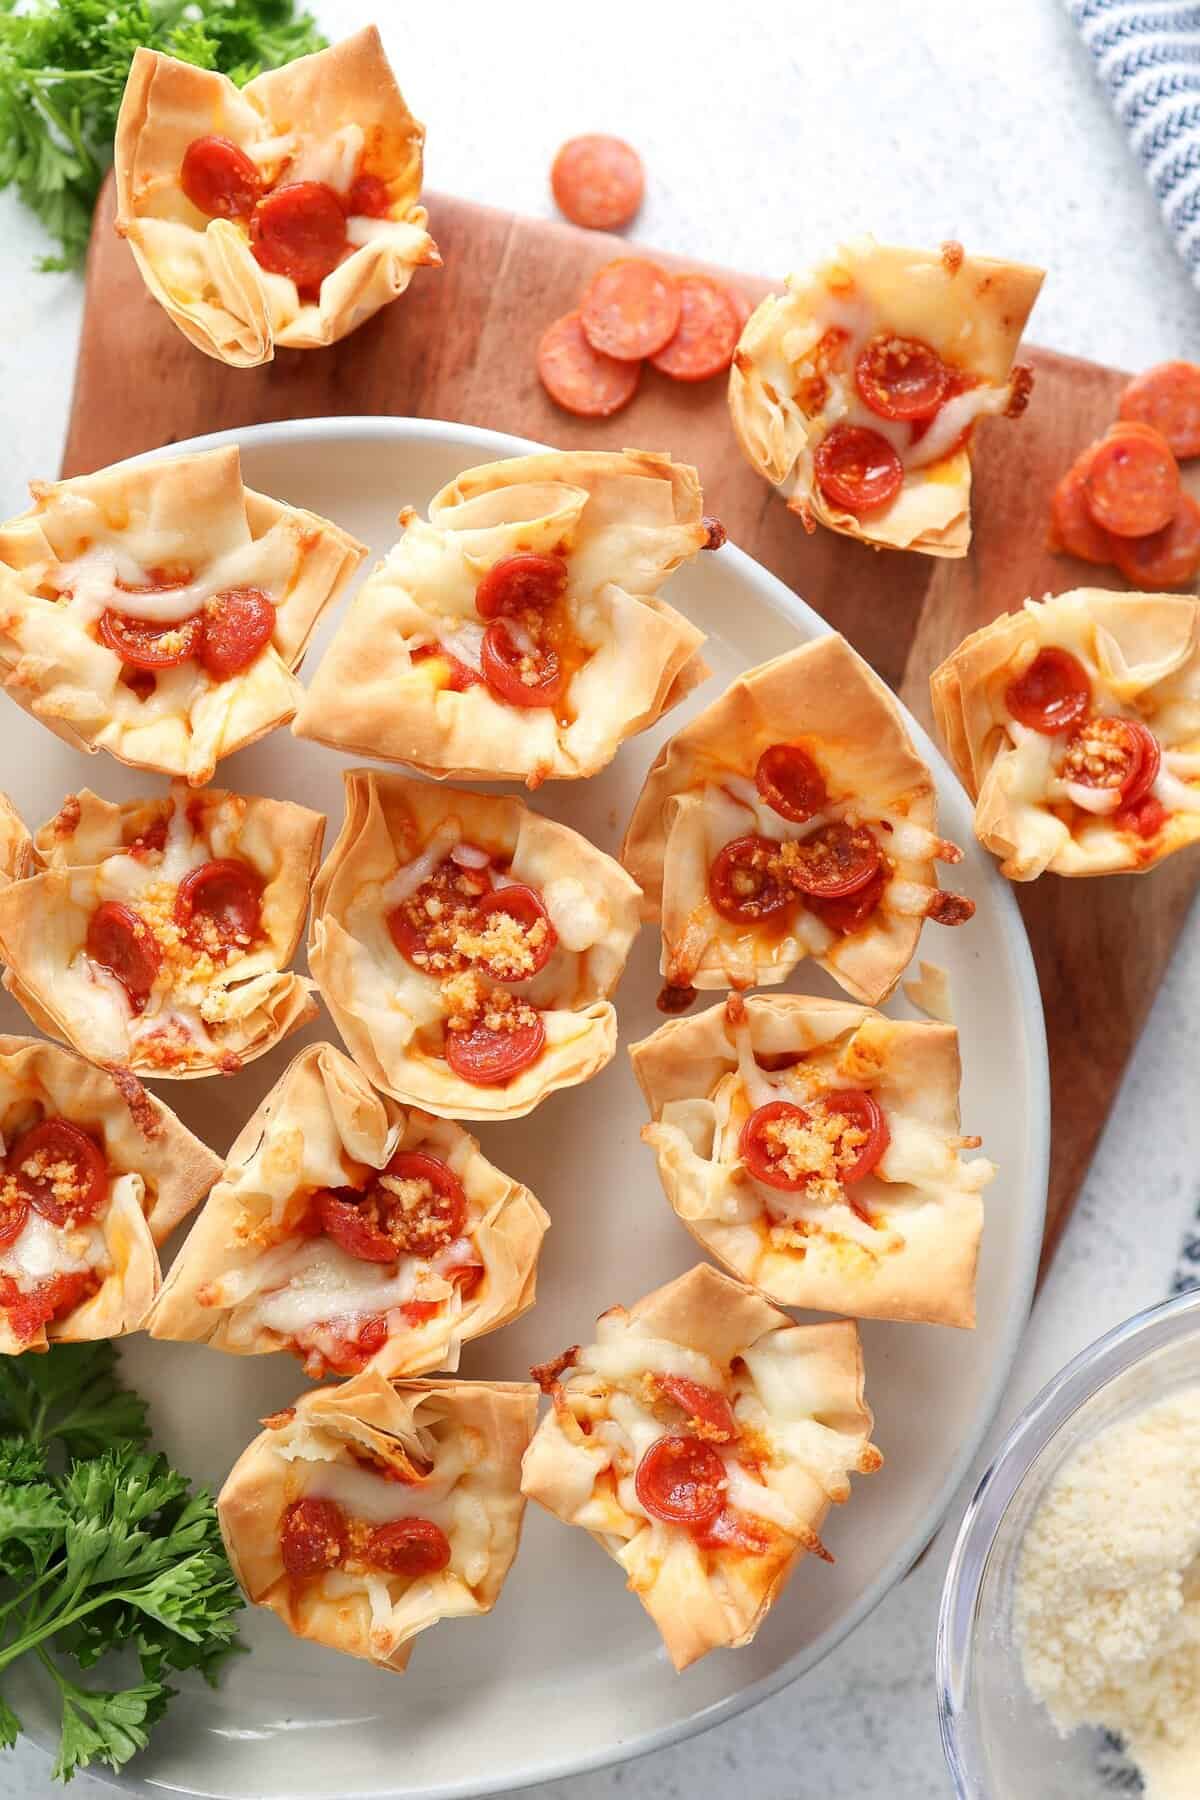
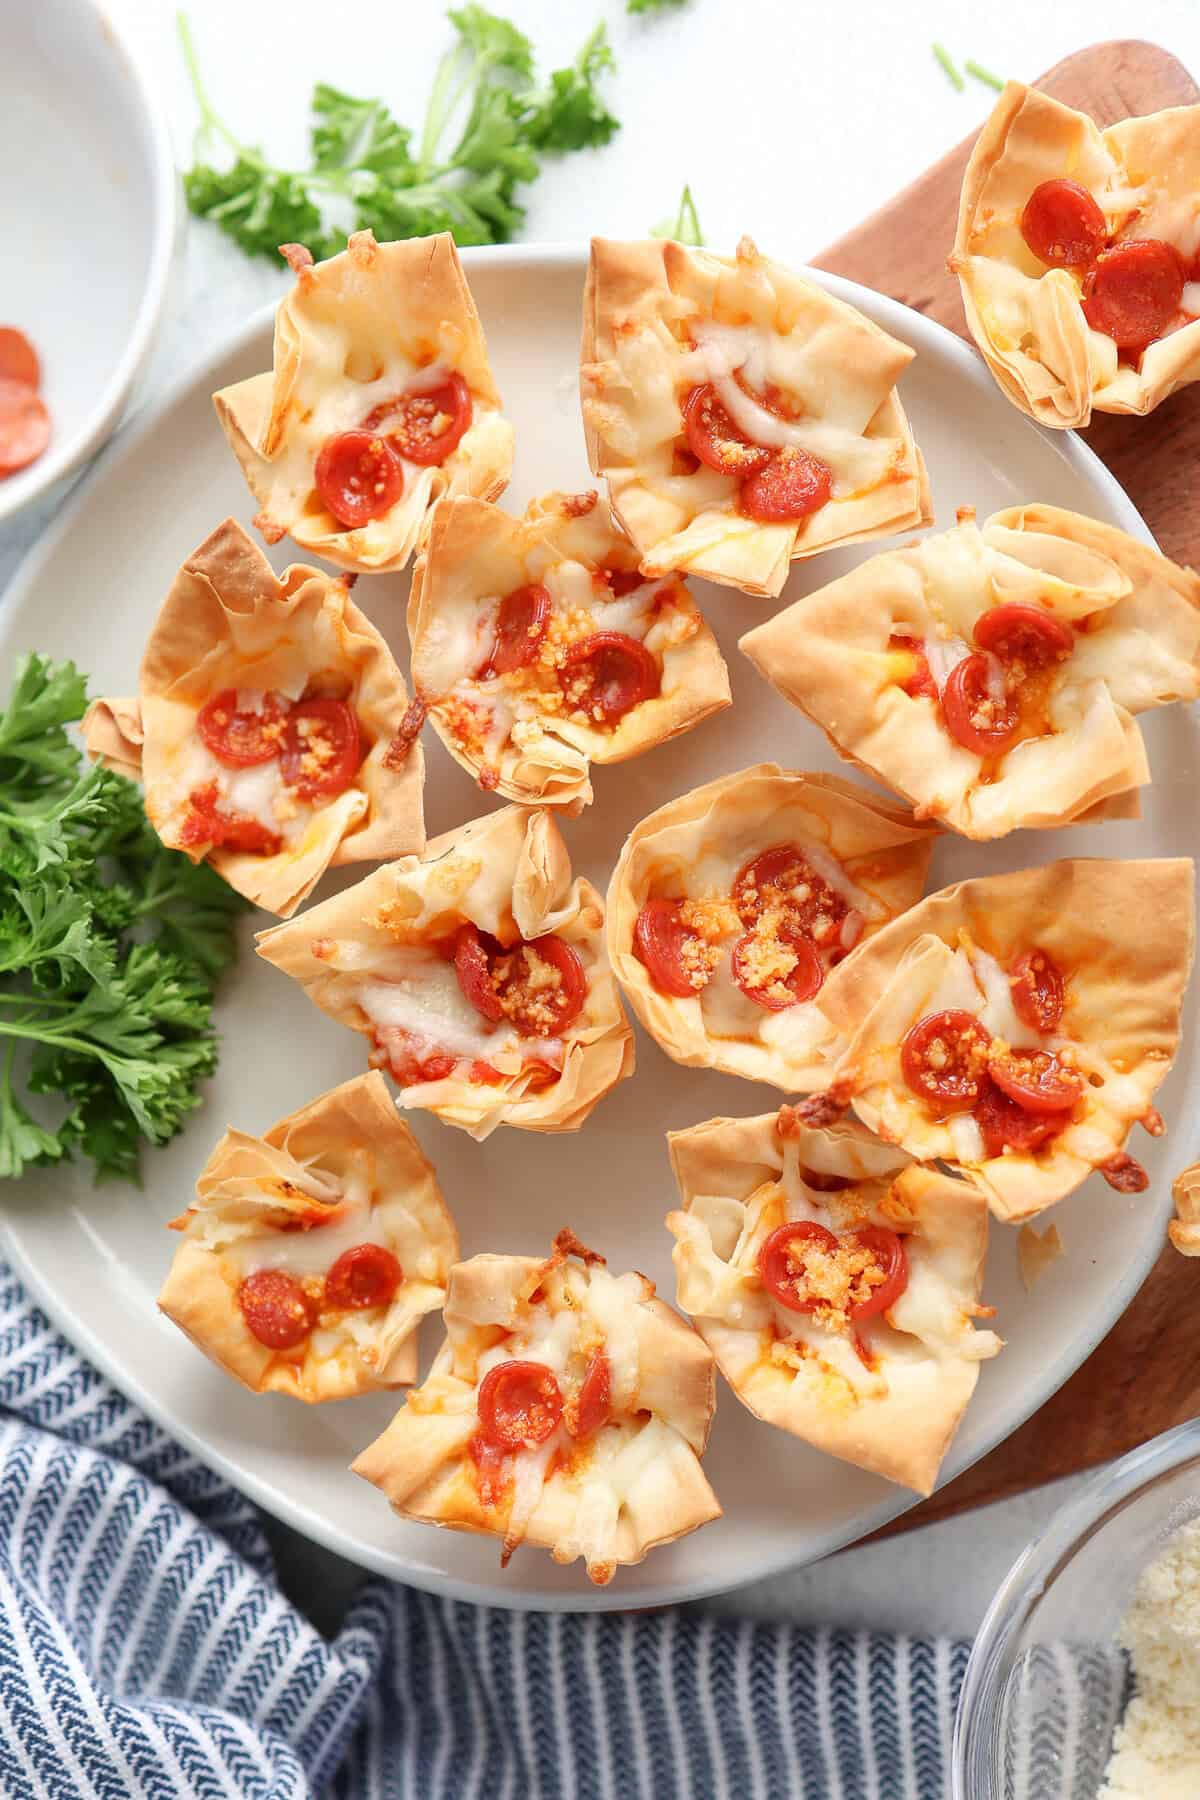
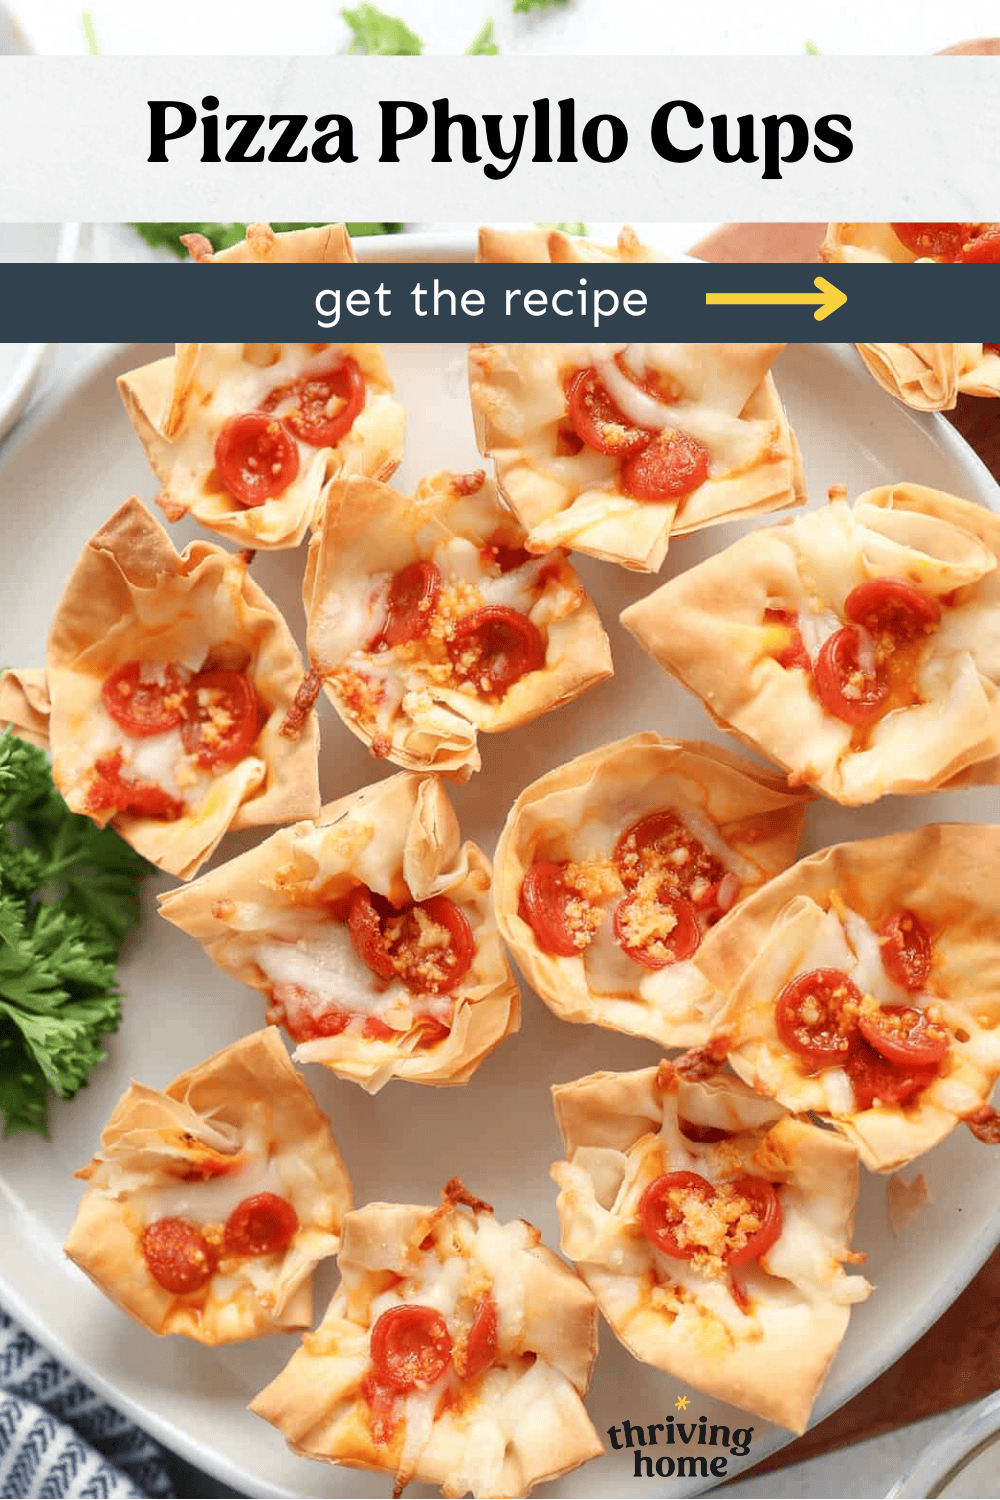
Pizza Phyllo Cups
If you’re looking for a Phyllo Cup Appetizer, you’ve stumbled on to the right place. These mini Pizza Phyllo Cups are easy, cheesy, and perfect for gatherings.
P.S. You might also like our Spinach and Artichoke Phyllo Cups or Brie and Cranberry Sauce Phyllo Cups.
Why You’ll Love This Appetizer
- You can prep them in advance! We’ve tested freezing and thawing fully baked Phyllo Cups, which makes them a great idea for graduation parties.
- Phyllo Cup appetizers work great for groups, a potluck meal, or as a Game Day recipe. They travel easily and are a breeze to serve.
- Kid-friendly: Shocker, but of all our phyllo cup recipes—Spinach & Artichoke Phyllo Cups and Brie & Cranberry Phyllo Cups—this one was the clear favorite with my kids.
- Super simple ingredients. Not much to grab at the store for these!
- A fun hands-on project–get the kids involved brushing the butter on each layer or cutting the dough with a pizza cutter.
Ingredients
You’ll need these four main ingredients, but butter is also key…

Ingredient Notes
- Phyllo dough – Check to see how many sheets come in your package. A standard box of phyllo dough usually contains about 20–24 sheets. If it comes frozen, make sure to fully thaw the dough first.
- We have a delicious Homemade Pizza Sauce Recipe. Store-bought works fine though. We love Rao’s Pizza Sauce.
- Shredded mozzarella cheese – Tip: chop the cheese up a little or use finely shredded cheese, so it fits into the cups a little more easily.
- Mini pepperoni – You can chop up larger pepperoni if you don’t have mini. But the mini sure are cute.
- Butter – We didn’t picture this, but it’s essential for this recipe. You’ll melt it and brush it on each layer of phyllo dough. Here’s the pastry brush I like for the task.
- Optional garnishes: Italian seasoning, crushed red pepper flakes, grated parmesan cheese, minced fresh or dried parsley or basil.

Testing Tips from Our Kitchens
Our pastry chef, Rachel Walters, and Polly both tested this many times between the two of them. Here’s what they learned along the way…
- Important: You will need a mini muffin pan for this recipe.
- We’ve estimated the amount of filling per cup, but some ingredients don’t measure neatly. Feel free to eyeball it—our recipe gives a good guide. When in doubt, slightly overfill, as the filling will settle as it bakes and cools.
- It’s important to keep the phyllo sheets covered with a damp paper towel when not using them to prevent them from drying out.
- Don’t get too caught up on making them the perfect squares when cutting. Imperfection goes unnoticed!
- Brushing the butter onto the phyllo dough in small, quick strokes will help prevent the phyllo dough from tearing.
- It is not necessary to grease the mini muffin tin, because the butter from the phyllo cups will prevent them from sticking.
- I like to double the recipe when making it for a group. They go fast! You can make two batches or use two pans.
How to Make Mini Phyllo Pizza Cups
Here’s a quick overview, but more detailed instructions can be found in the recipe card at the bottom of this post.
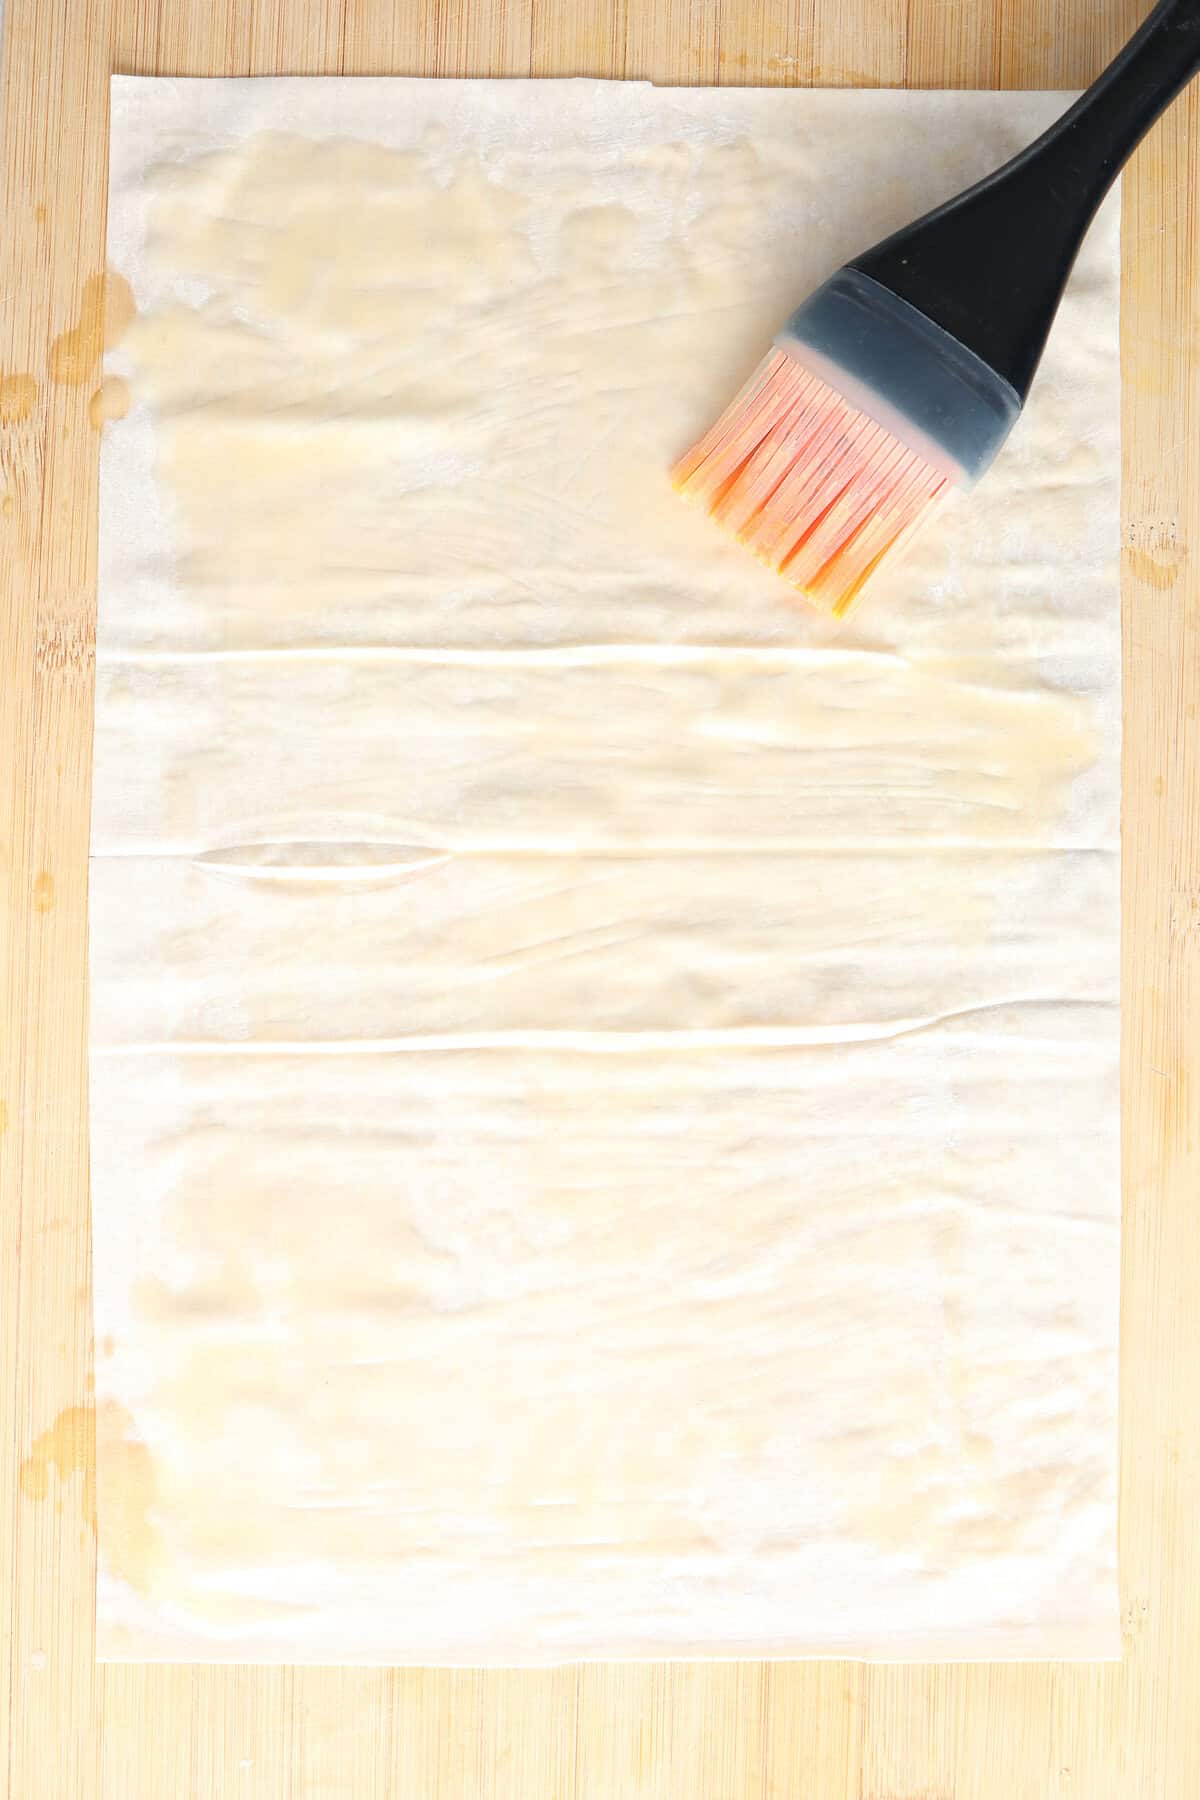
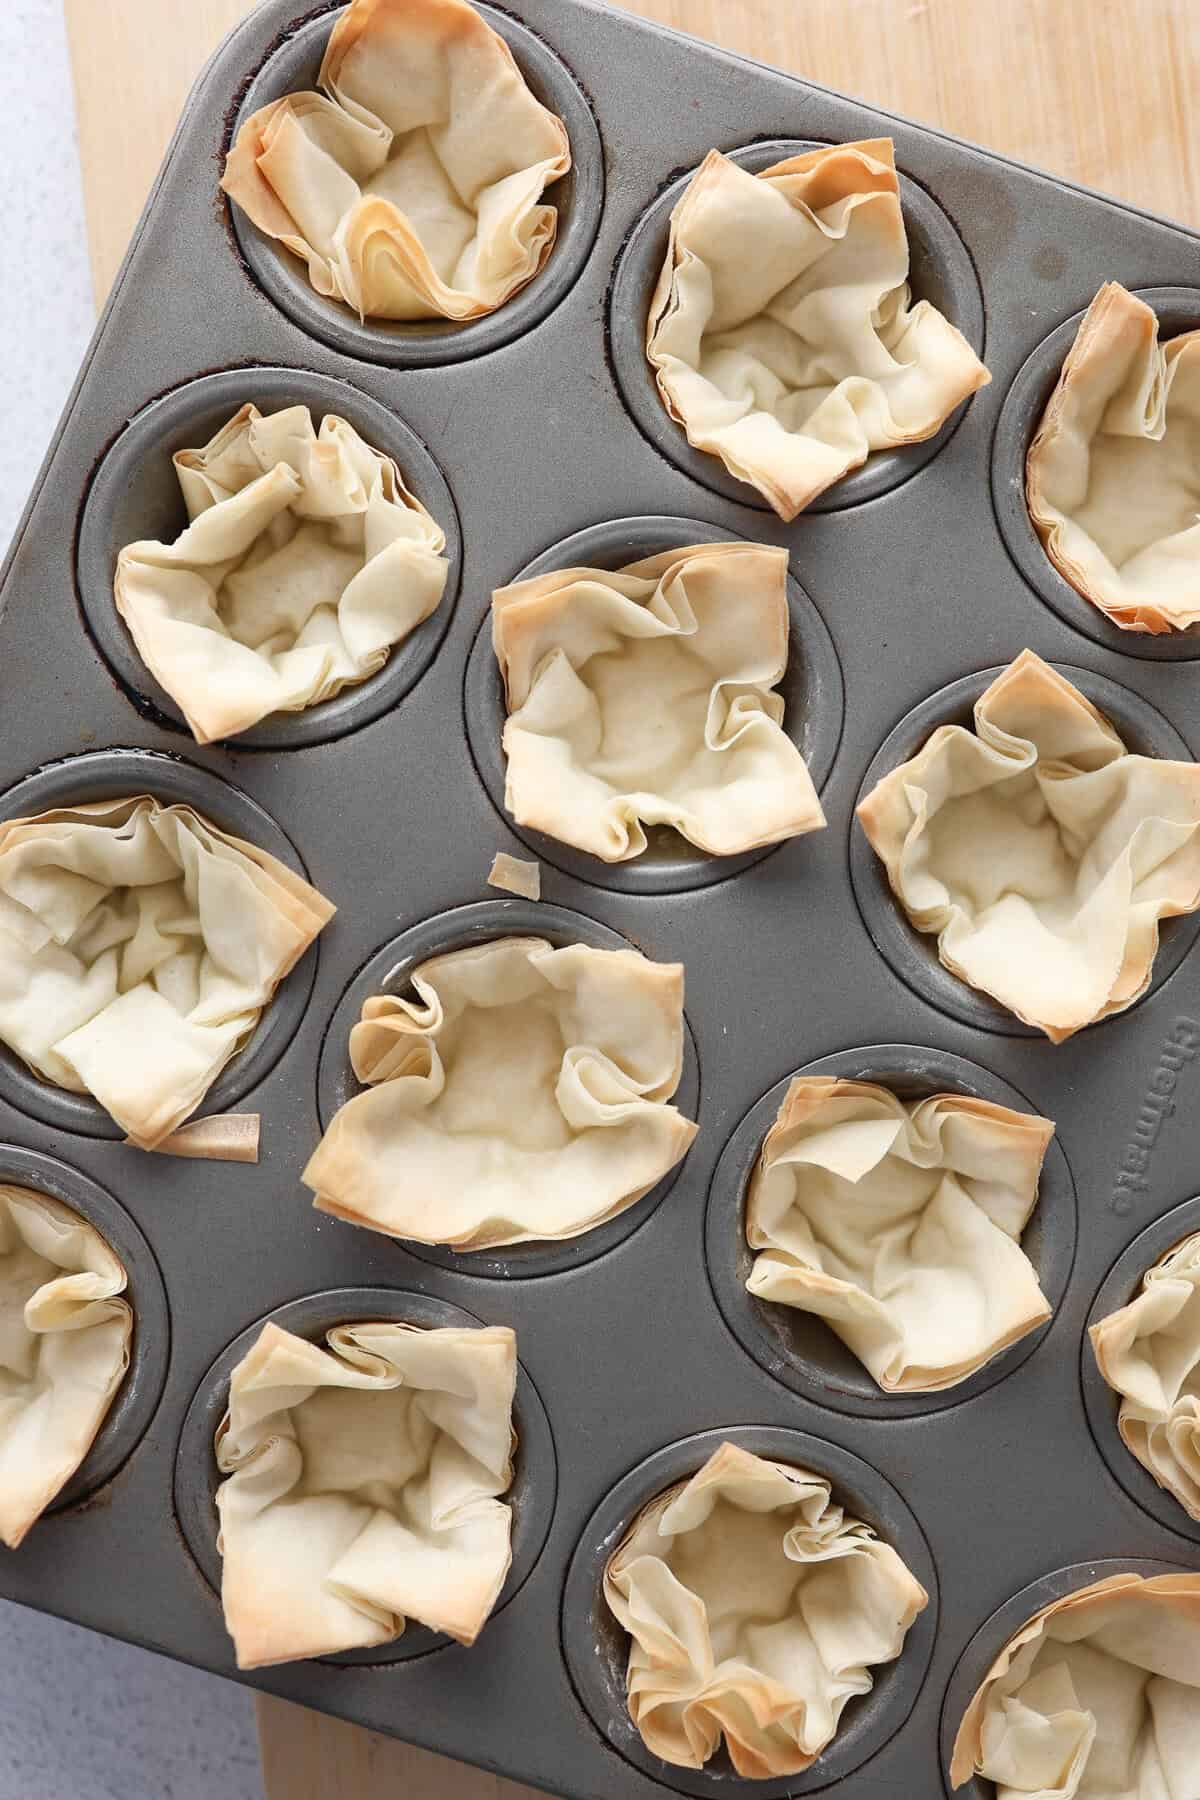
1) Prep the Phyllo Dough: Brush the first sheet of phyllo lightly with melted butter using a small pastry brush, then layer it with the second sheet, and repeat this process with all four sheets of phyllo.
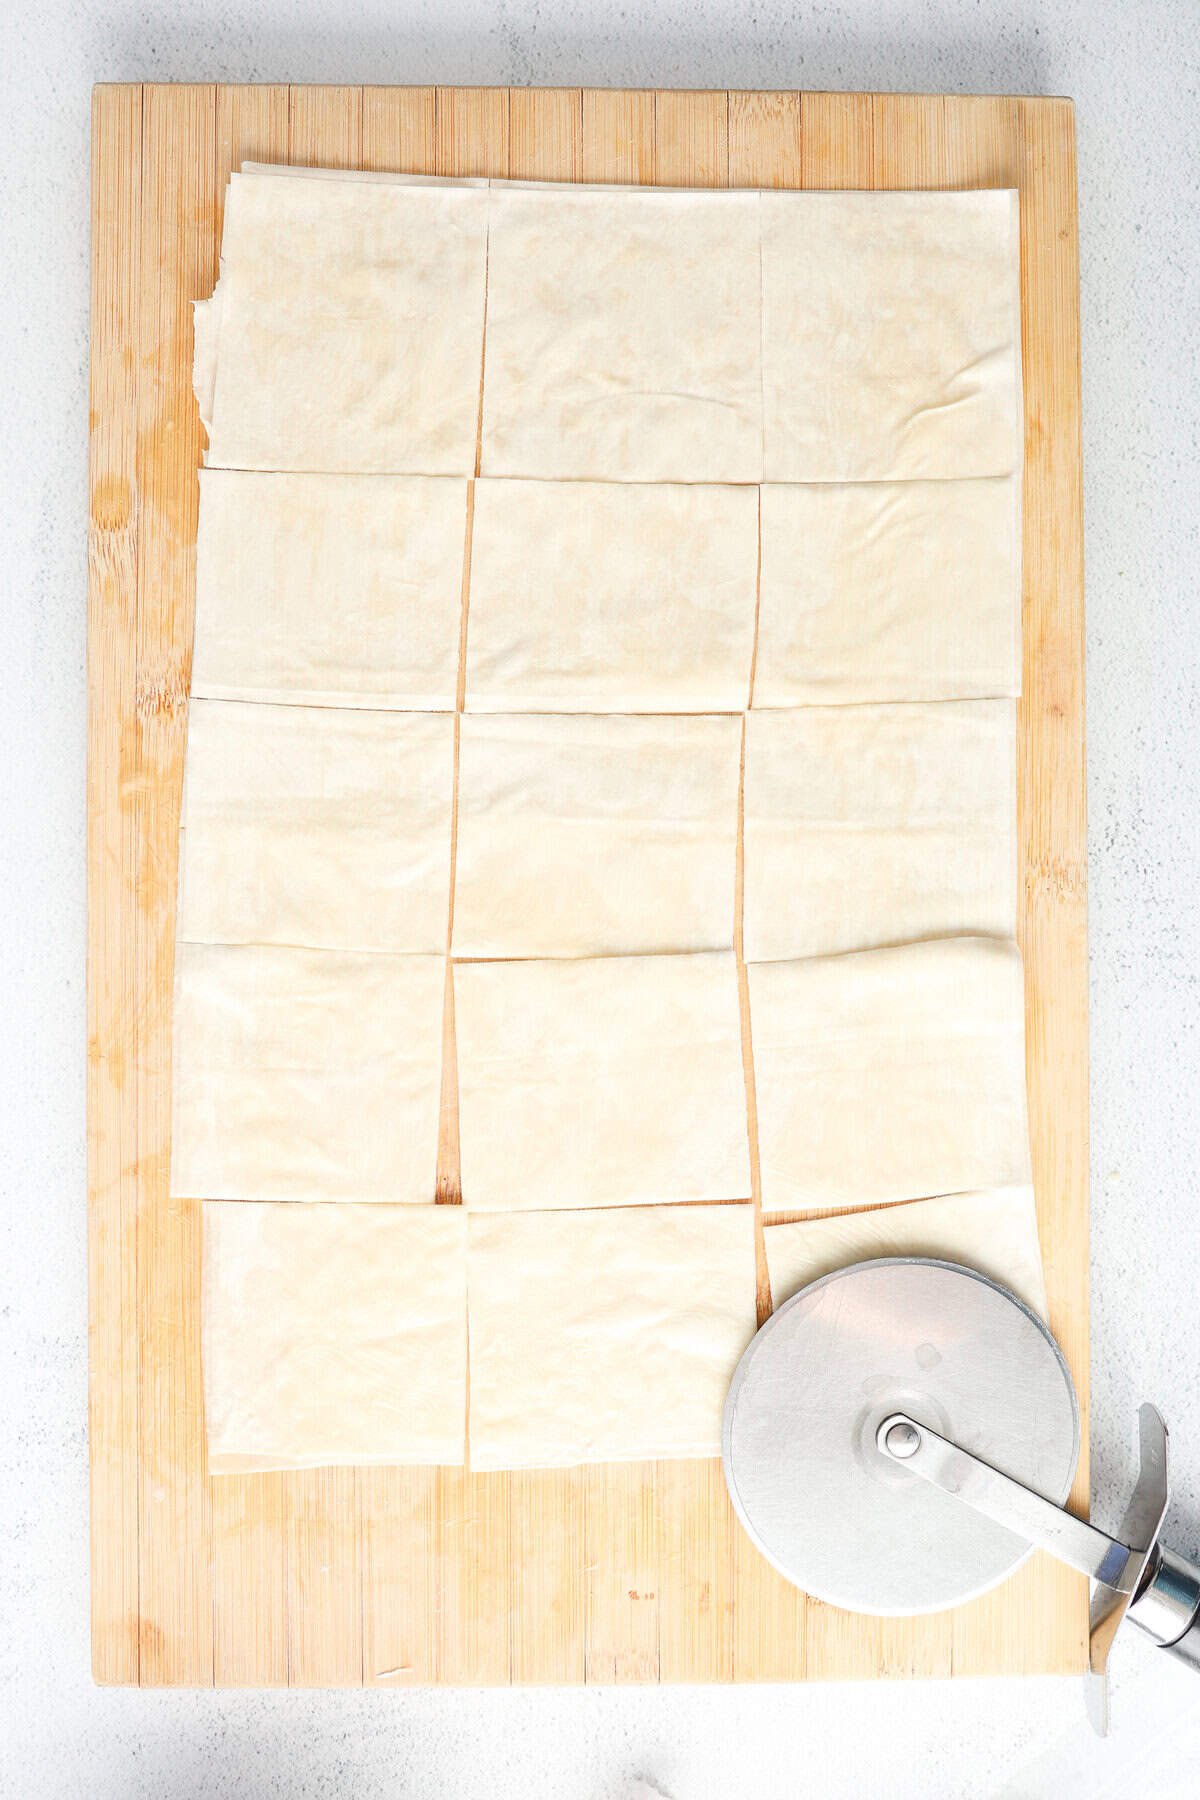
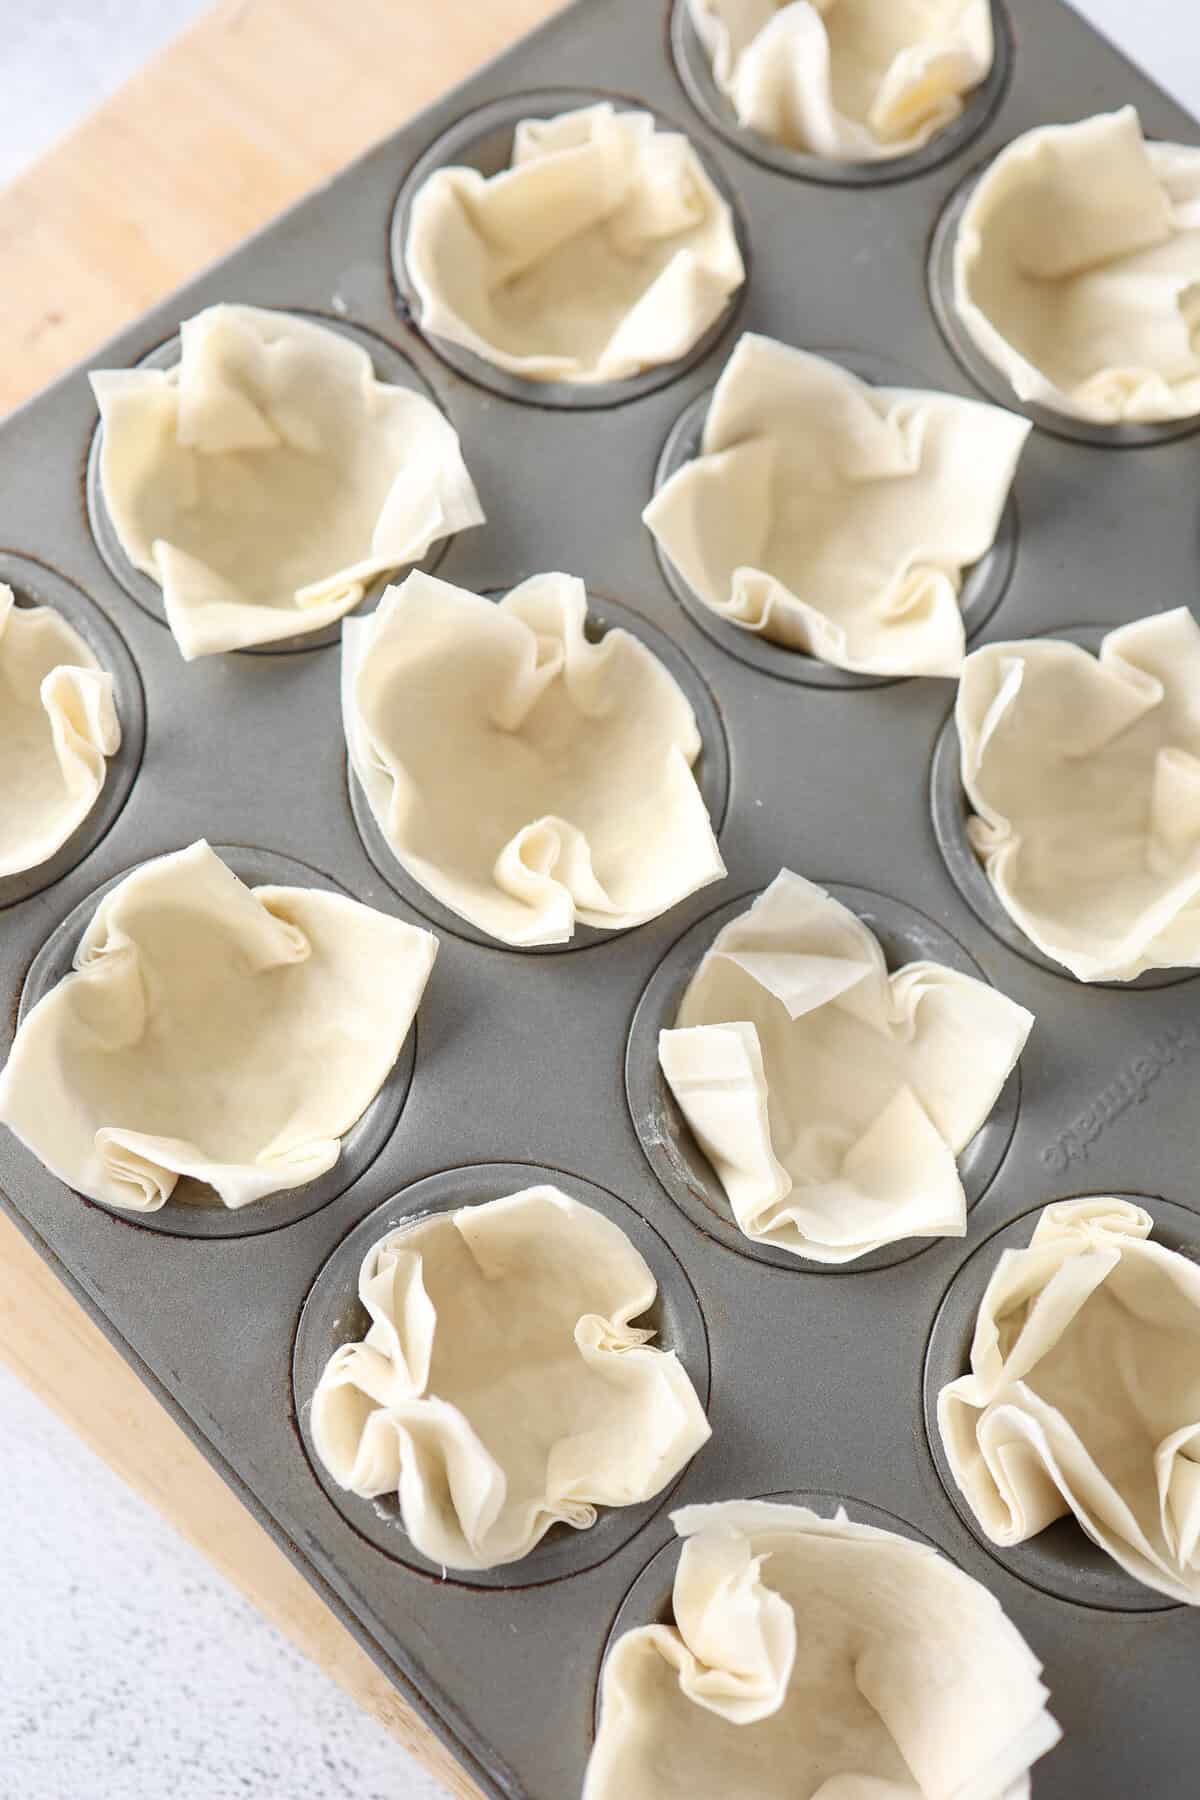
2) Cut and Shape: Cut the layered phyllo dough and gently press each square into the cup of a mini muffin pan.
3) Parbake: Bake until slightly gold in color and remove from oven. Parbaking the shells before adding the fillings helps prevent them from becoming soggy.
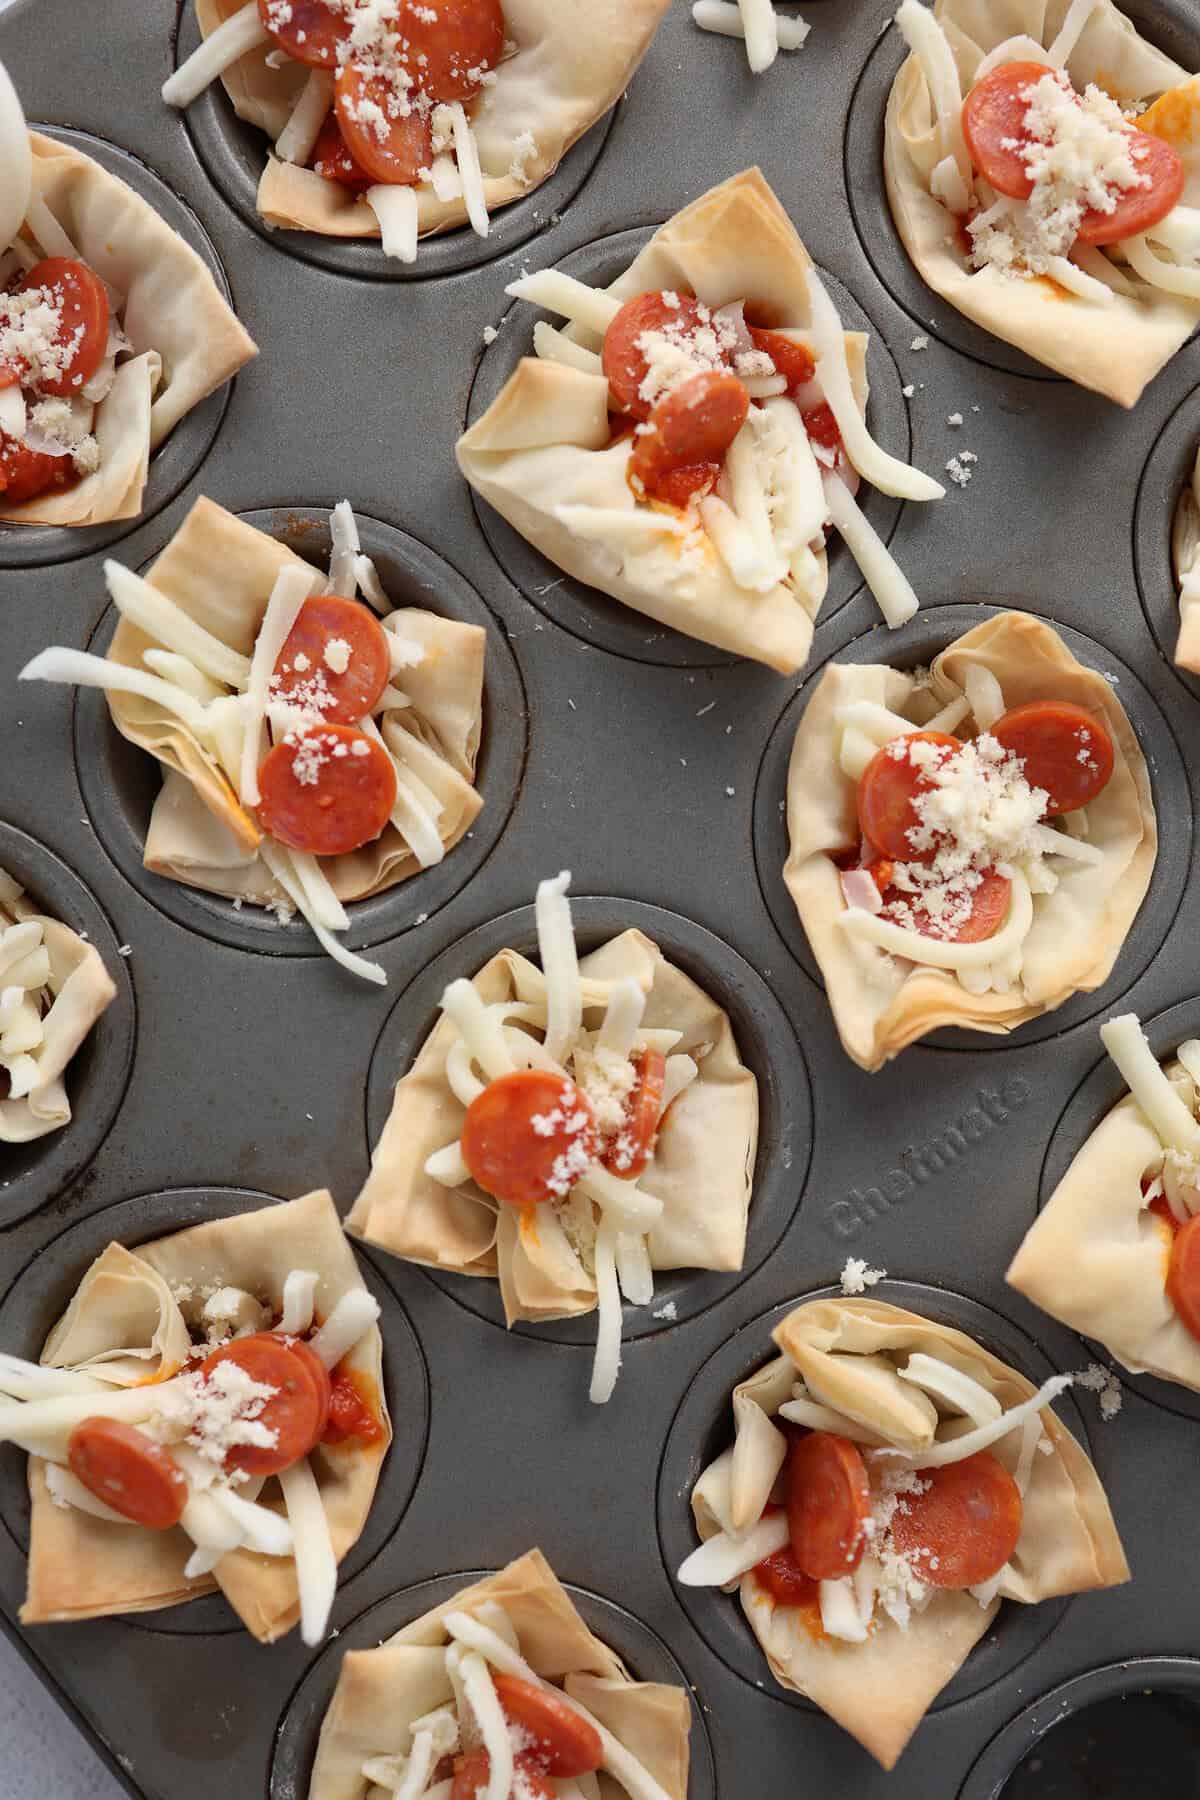
4) Filling: Fill each phyllo cup with pizza filling.
5) Finish Baking: Return phyllo cups and continue to bake for another 6-8 minutes until edges are golden brown and crispy.
How to Freeze Pizza Phyllo Cups
In our testing, these freeze and reheat very well. So ahead and make these ahead of time!
To Freeze for Later: Store fully-cooked, cooled phyllo cups in a freezer bag or airtight container in the freezer for up to 2-3 months.
To Prepare from Frozen: To serve, place full-cooked, frozen phyllo cups on a lined baking sheet and bake in a preheated 350°F oven for 5-7 minutes until warmed through.
FAQs
You can add whatever toppings you’d like. Just keep in mind they will only be in the oven for 6-8 minutes, so you may need to precook veggies if you don’t want them crunchy.
Store phyllo shells in an airtight container or freezer bag in the refrigerator for a week. To reheat, place phyllo cups on a lined baking sheet and bake at 350°F until warmed through.
Did you know you can freeze leftover phyllo dough for another time? Gently roll up the unused sheets and wrap them tightly in plastic wrap. Place in a freezer bag or wrap again in foil to prevent freezer burn. Freeze for up to 2–3 months for best quality.

How to Video
Pizza Phyllo Cups
Ingredients
Phyllo Cups
- 4 sheets phyllo dough (thawed)
- 2 tablespoons unsalted butter (melted)
Filling
- 2 1/2 tablespoons pizza sauce (homemade or store-bought)
- 1/3 cup shredded mozzarella cheese
- 1 1/2 tablespoons mini pepperoni
- Optional garnishes: Italian seasoning, crushed red pepper flakes, grated Parmesan cheese, minced fresh or dried parsley or basil
Instructions
- Preheat: Preheat the oven to 350°F.
- Prep: Place one sheet of phyllo dough on a baking sheet or cutting board, and place the rest on a plate or baking sheet, fully covering with damp paper towels as needed.
- Layer: Brush the first sheet of phyllo lightly with melted butter using a small pastry brush, then layer it with the second sheet, and repeat this process with all four sheets of phyllo.
- Cut and Shape: Cut the layered phyllo dough using a knife or pizza cutter into 15 equally-sized squares (about 3 inches each), and gently press each square into the cup of a mini muffin pan, allowing phyllo to overlap on itself naturally to form cups.
- Parbake: Bake for 6-8 minutes at 350°F until slightly gold in color and remove from oven.
- Filling: Fill each phyllo cup with 1/2 teaspoon pizza sauce, 1 teaspoon shredded mozzarella cheese, and then top with 2-4 mini pepperoni.
- Finish Baking: Return phyllo cups to 350°F oven and continue to bake for another 6-8 minutes until edges are golden brown and crispy. Remove from pan, Garnish with Italian seasoning, crushed red pepper flakes, and/or grated Parmesan cheese, and serve immediately.
Freezer Instructions
Notes/Tips
- Important: You will need a mini muffin pan for this recipe.
- We’ve estimated the amount of filling per cup, but some ingredients don’t measure neatly. Feel free to eyeball it—our recipe gives a good guide. When in doubt, slightly overfill, as the filling will settle.
- The butter can be melted in either the microwave or on the stovetop. To melt in the microwave, place butter in a microwave-safe bowl and microwave for 15-20 seconds at a time until melted. For the stovetop, place butter in a small saucepan and cook over medium-low heat until it is fully melted.
- Olive oil spray can be used as a lighter alternative to melted butter. Spray olive oil in between each sheet of phyllo instead of brushing with melted butter.
- It’s important to keep the phyllo sheets covered with a damp paper towel when not using them to prevent them from drying out.
- It’s not necessary to grease the mini muffin tin, because the butter from the phyllo cups will prevent them from sticking.
- It’s best to remove the phyllo cups from the mini muffin tin immediately after baking to prevent them from becoming soggy.
- Leftover Phyllo Dough: Did you know you can freeze leftover phyllo dough for another time? Gently roll up the unused sheets and wrap them tightly in plastic wrap. Place in a freezer bag or wrap again in foil to prevent freezer burn. Freeze for up to 2–3 months for best quality.
Nutrition

Recipe Contributor: Rachel Walters
Pastry Chef Rachel Walters developed and rigorously tested this recipe for Thriving Home.
Rachel grew up in northern Michigan with a family that loved to cook and bake. She attended a career center for culinary and baking and pastry arts in high school and went to college at The Culinary Institute of America in Hyde Park, New York. She graduated in August 2023 with a Bachelor’s in Food Business Management and Baking and Pastry Arts. She’s worked in numerous restaurants and has developed recipes for Thriving Home for years now.
In her free time, she loves to read, listen to true crime podcasts, go on walks, travel, and spend time with her husband.
Find more of Rachel’s desserts here.
These are amazing!
We love them too! Thanks for the review Rylie.