Science Birthday Party: How to Make Slime

As I’ve been sharing in Easy and Cheap Science Birthday Party: A Complete Guide, I planned three science experiments for the kids including making slime. There’s just no way around it: Slime is cool. Kids and adults alike love messing with this goo. Plus, making slime provides a hands-on way to learn about polymers (more on that in a minute.)
In fact, my kids still have their slime months later. It’s stored in a ziplock bag in our toy closet. Look at the kind of traps their superheroes can get into!
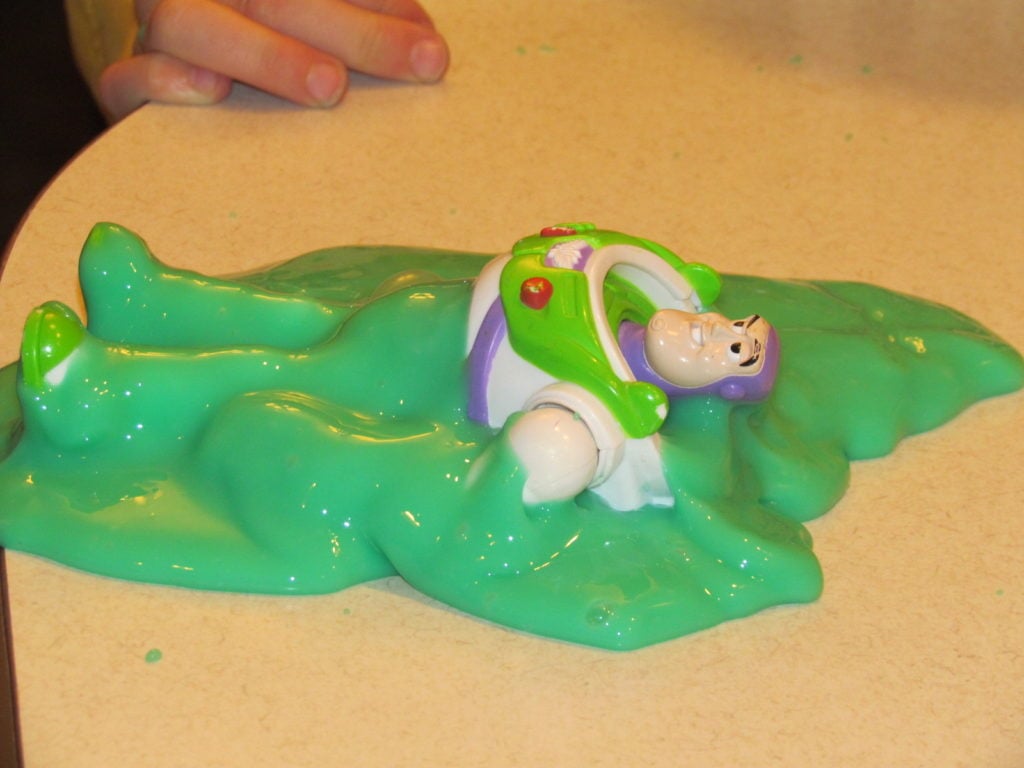
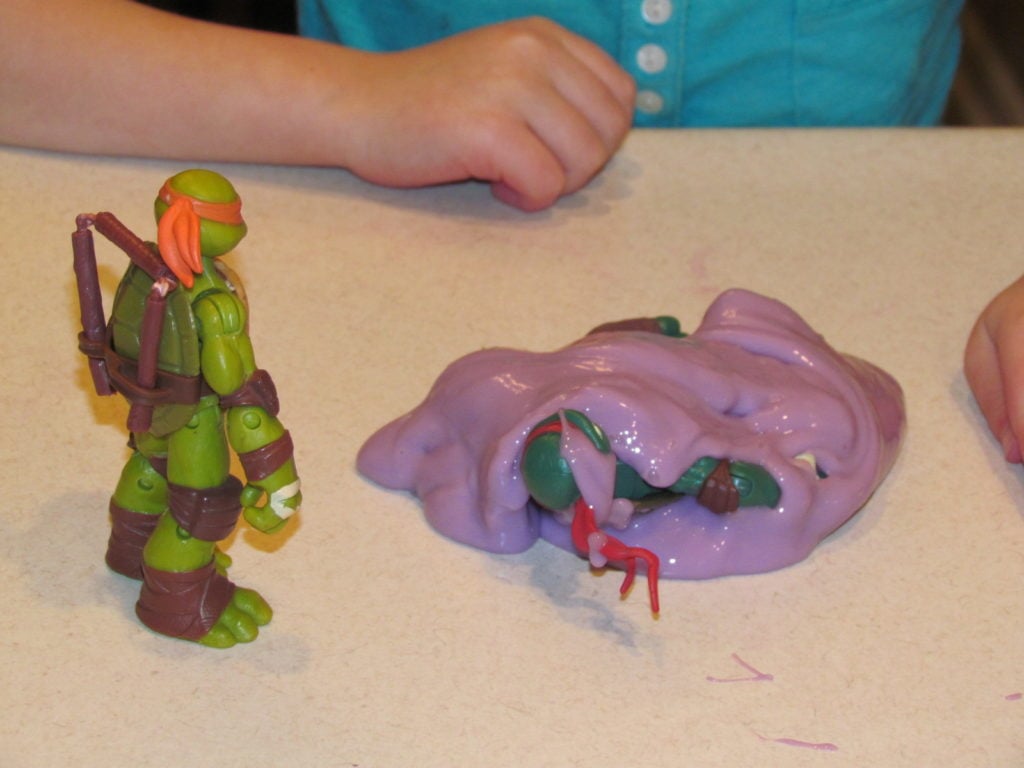
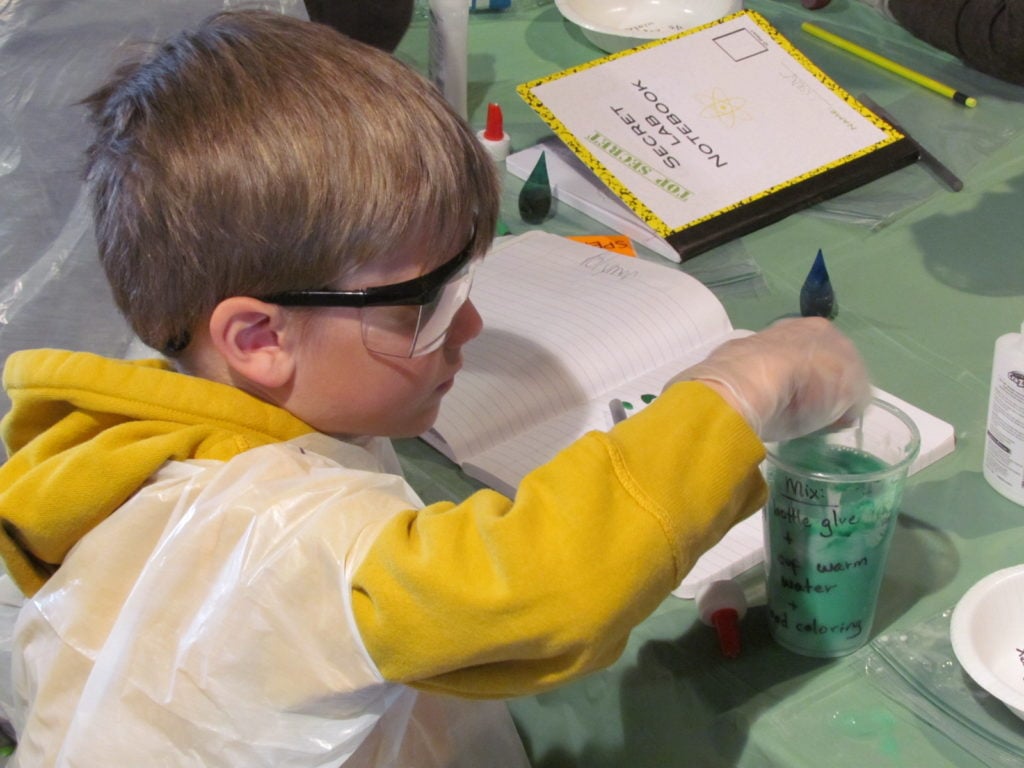
Before we began this experiment at my son’s Science Birthday Party, I had the kids open their Secret Lab Science Notebooks and write down the word POLYMER. I told them we were going to make a polymer and asked them if anyone knew what that is?
Then, I explained molecules are very small things that make up every single thing that they can see or touch, and that there are many different kinds of molecules. Polymers are long chains of molecules that form very complicated structures. The one we’re going to make can take the form of a liquid or a solid.
Then, as kids finished up their slime experiment, I asked them to draw a picture of what their polymer looked like and record any other details they noticed about it. They were really into it!
How to Make Slime
Recipe inspiration from and thanks to Domestic Charm!
Makes: 1 sandwich ziplock bag full of slime (enough for one child)
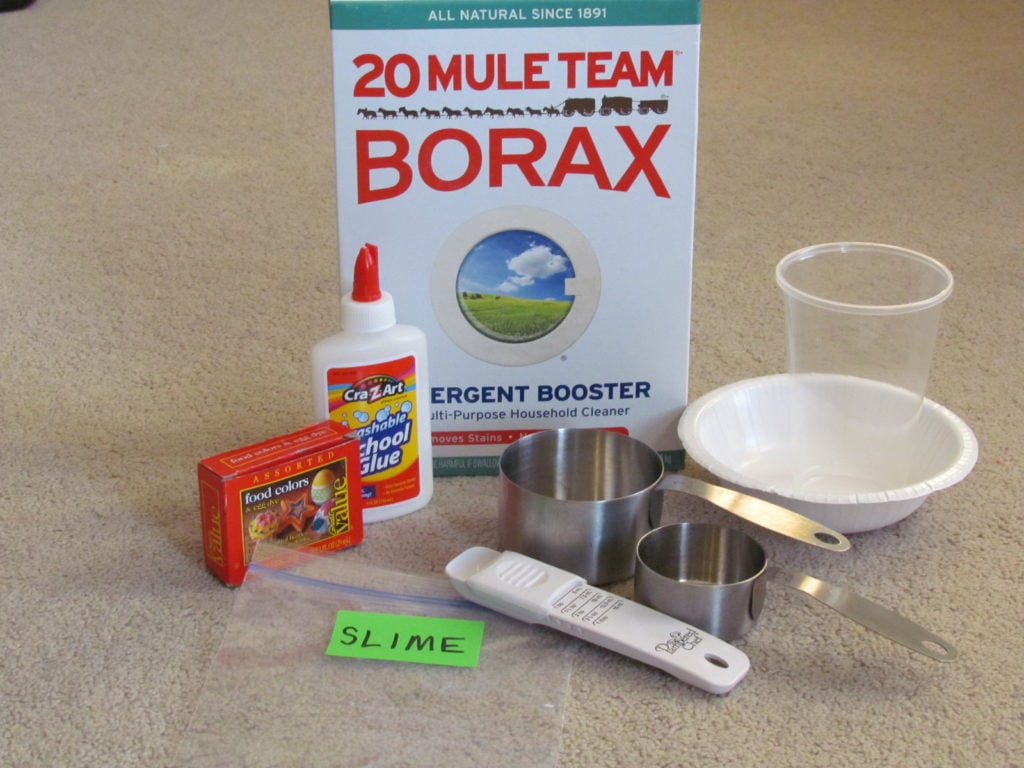
Ingredients Needed for Each Child:
- 1 (4oz) bottle of school glue
- 1 cup of warm water + 1/3 cup of warm water
- Food Coloring (green slime is the most popular)
- 2 teaspoons of Borax (find in laundry aisle at grocery store)
Other Supplies Needed:
- disposable bowl for each child
- disposable cup for each child
- spoon for each child
- ziplock sandwich bag for each child (I labeled mine so parents would know what it was)
- an electric tea kettle or pot on the stove to keep water warm
- teaspoon (or a few for kids to share)
- a liquid measuring cup (or a few for kids to share)
Set Up:
- Cover the table with plastic table cloth for easy clean up. Tip: My mom suggested next time that we double cover the table and then rip off the top layer after experiments were done. Then, we’d have a fresh covering for snack time at the end.
- At each child’s seat: place a disposable bowl, a disposable cup, a spoon, a glue bottle, and a ziplock bag for their slime
- On the table within reach: pour Borax in a bowl, teaspoon(s), food coloring, tea kettle with warm (not hot!) water, liquid measuring cup(s)
Directions:
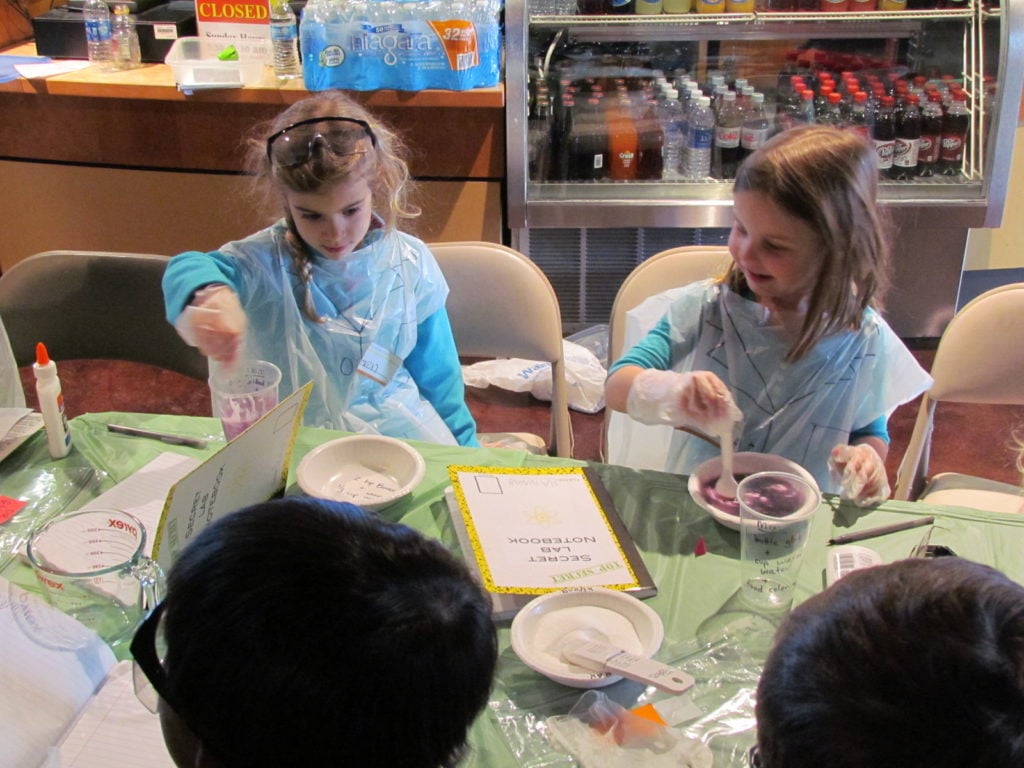
1. In the cup, stir together the glue and the 1 cup of warm water. Stir in the food coloring until you reach desired color.
2. In the small bowl, mix together the 1/3 cup warm water and 2 teaspoons of borax. Stir until the borax is dissolved.
3. Now add about 2 tablespoons of the Borax solution to the glue solution. You WILL NOT use all of the borax solution. Stir continuously while adding the solution. The more borax solution you add the stiffer the slime will be. So if you want the slim to be more runny, then add less borax solution. You can add more green food coloring while stirring these solutions together to get your desired color of slime. It should start sticking together and you’ve got green slime.
Tip: You’ll see in the pictures below that I wrote out simple directions on each child’s cup and bowl. Even though I gave verbal instructions, this was so other adults could help the non-readers and the kids who can read could follow the directions.
Did you know we have a cheap Science Party Pack in our Store to help you with decorations and more? Check it out HERE or learn more below!
Cheap Science Party Signs, Name Tags & More
Save more time and money with our easy and cheap decorations for the doors and walls of your party locale, plus official name tags and Secret Lab Notebook covers. Our Science Party Pack is only $4.99. Upon purchase, you will receive a download that includes these PDF files that you can print again and again:
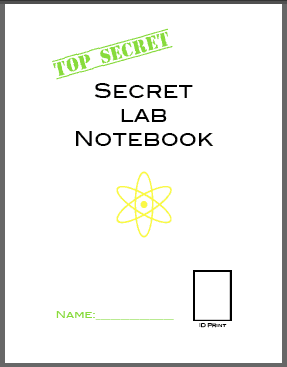
- Secret Lab Notebook front cover (8 1/2 x 11) – Learn more about how to use these HERE.
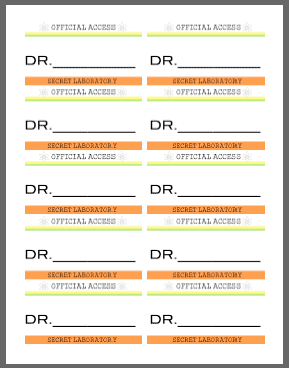
- Official Access Name Tags – Use inside clip-on name badges like these, print on these Avery labels, or simply print on card stock and use safety pins to attach to shirts.
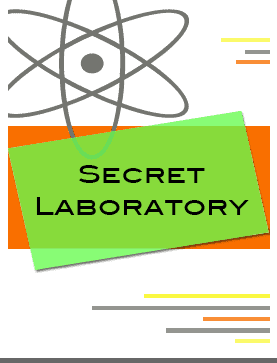
- Science Laboratory sign (8 1/2 x 11)
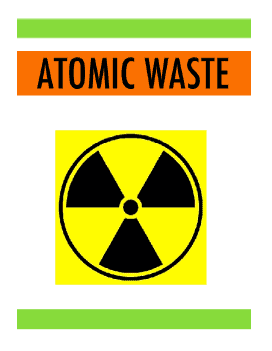
- Atomic Waste sign (8 1/2 x 11)
- Biohazard sign (8 1/2 x 11)
- Enter at Your Own Risk sign (8 1/2 x 11)
- Caution: Lab Test Underway sign (8 1/2 x 11)
Print each of these as many times as you like so that you can cover your walls, tables, and doors with themed Science lab signs. What a deal!
Leave a Comment