Chocolate Chip Cheesecake Brownies
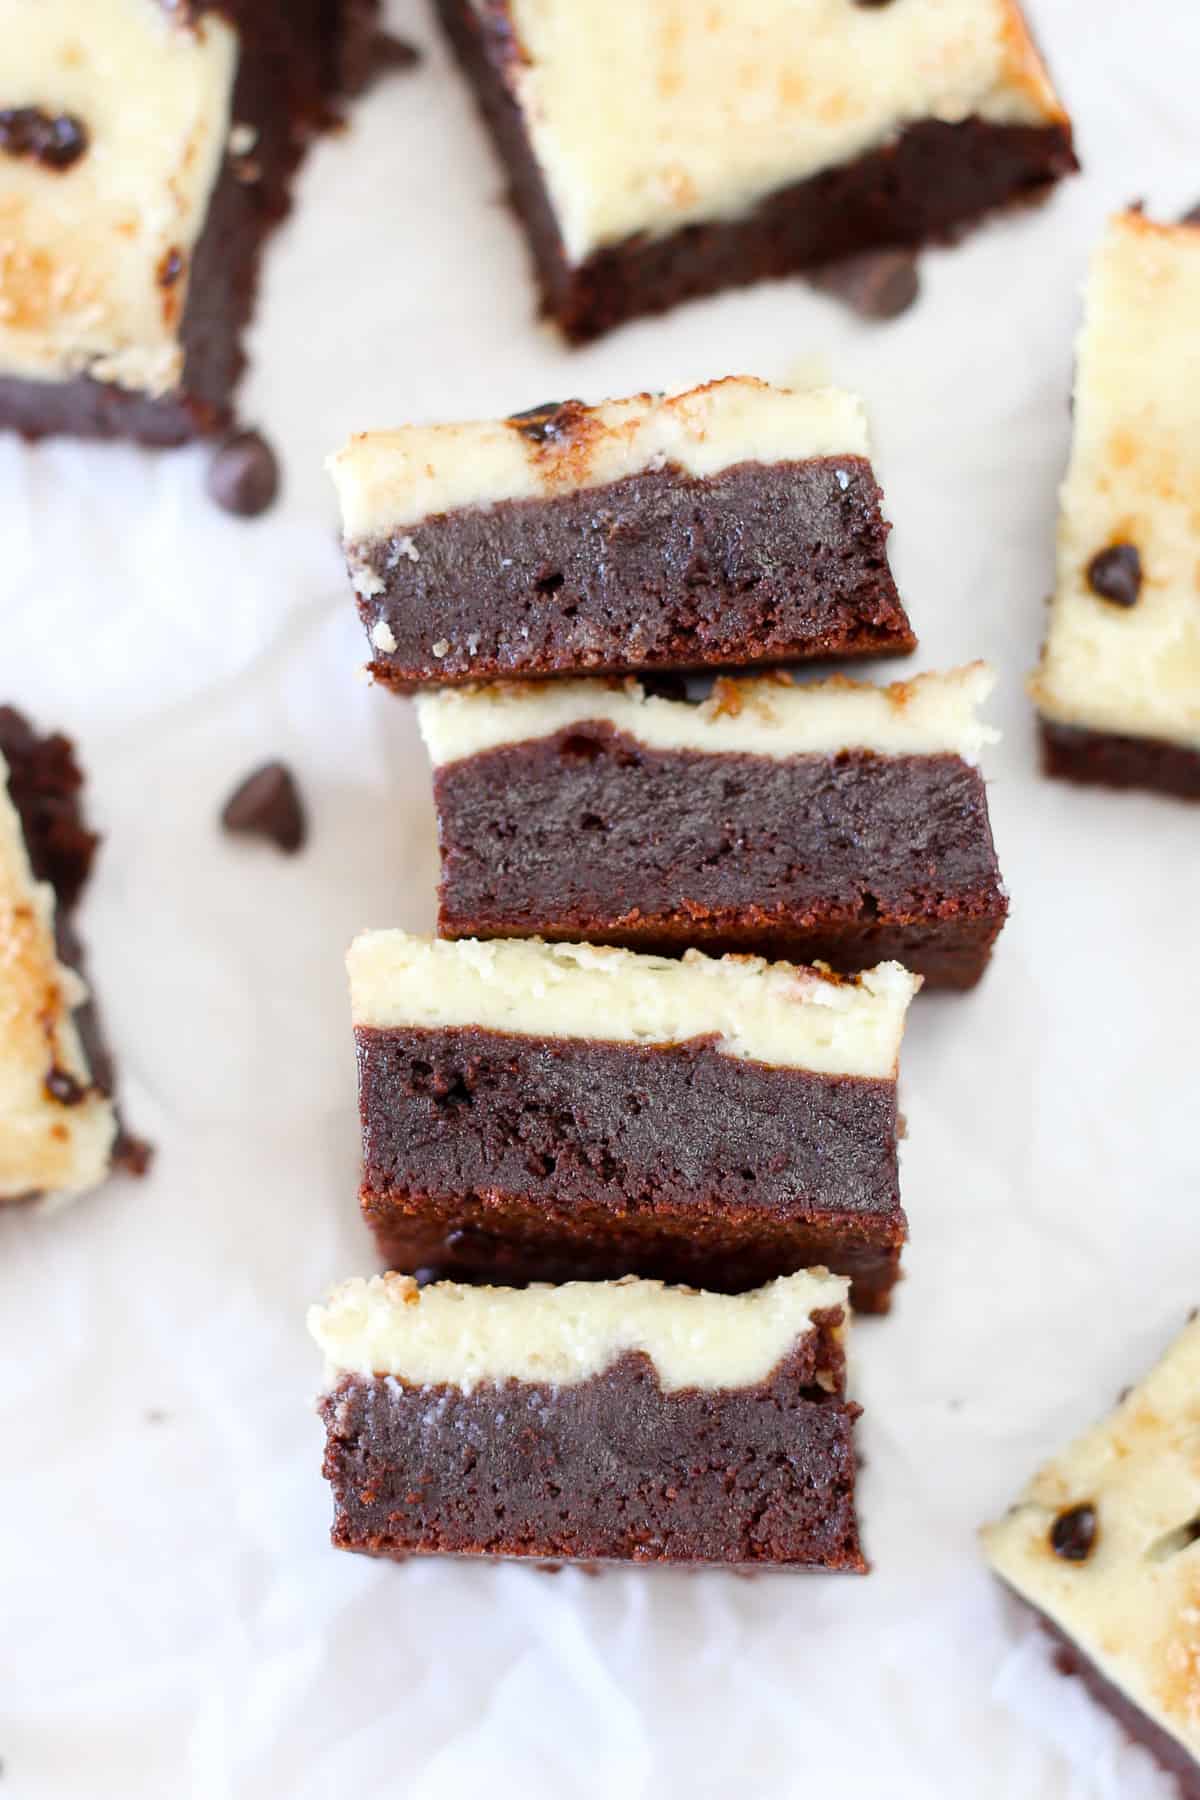
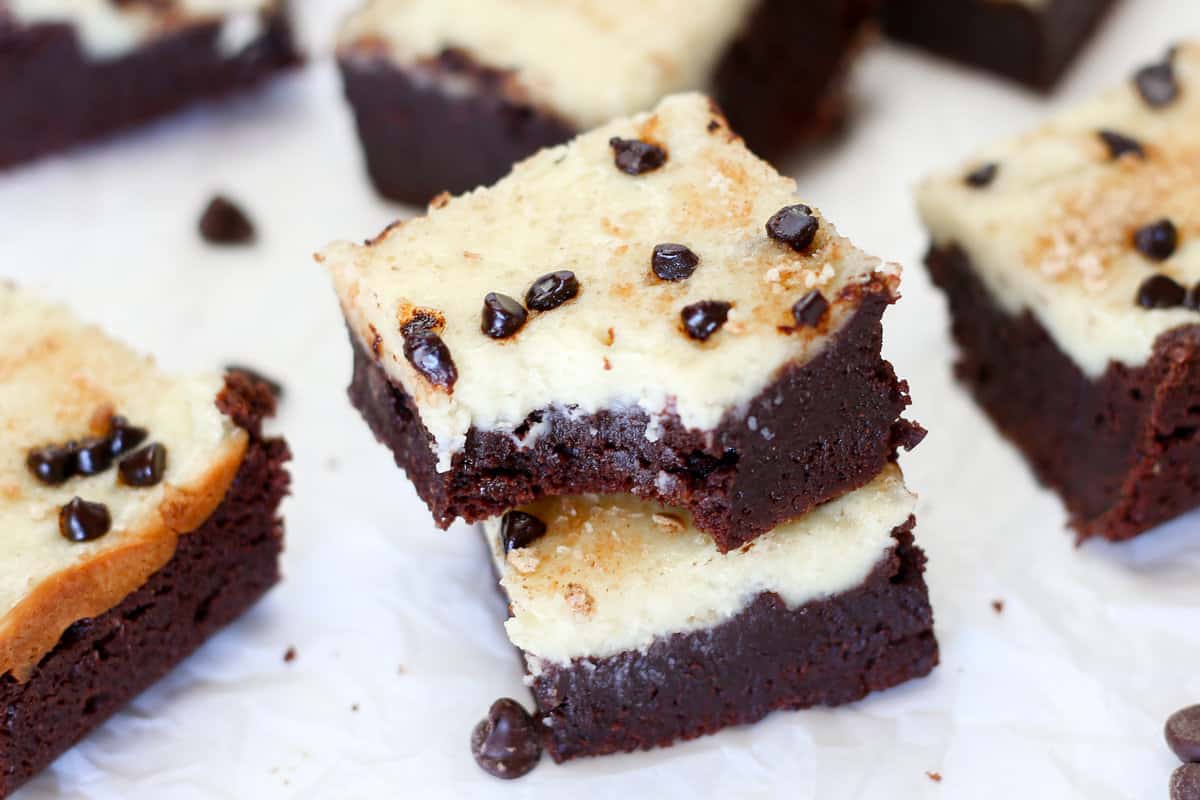
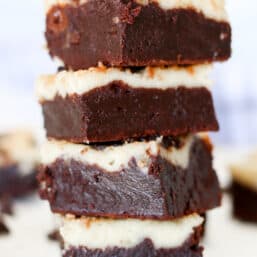
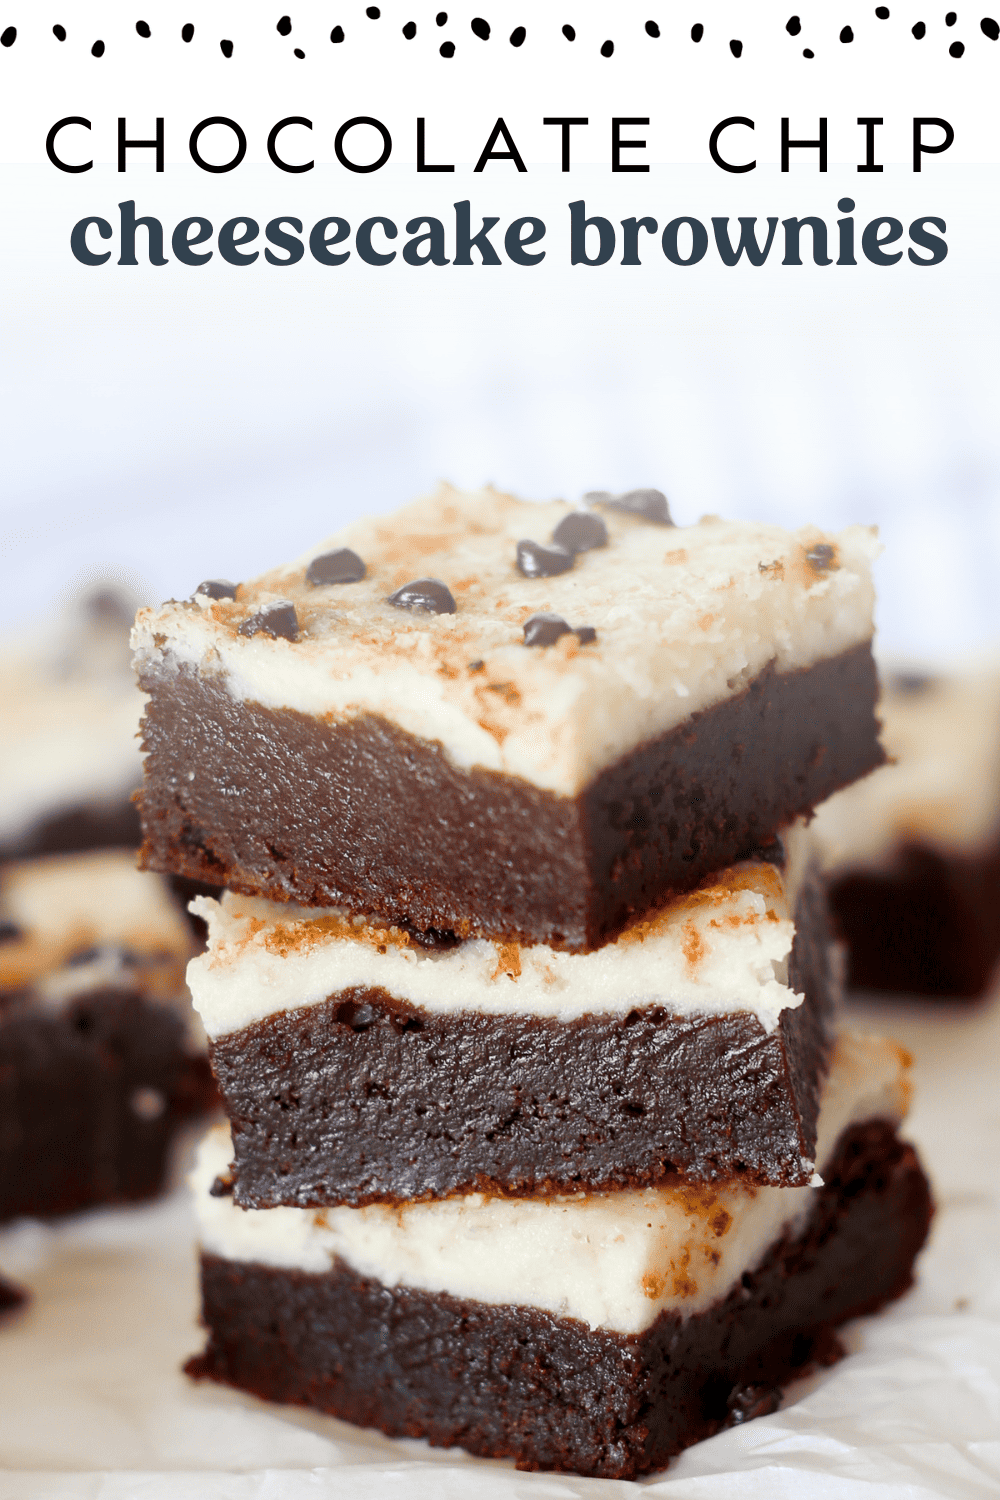
Our crowd-pleasing Chocolate Chip Cheesecake Brownies feature a rich brownie base topped with a layer of cheesecake and then mini chocolate chips and graham cracker crumbs. They take brownies to a whole new level!
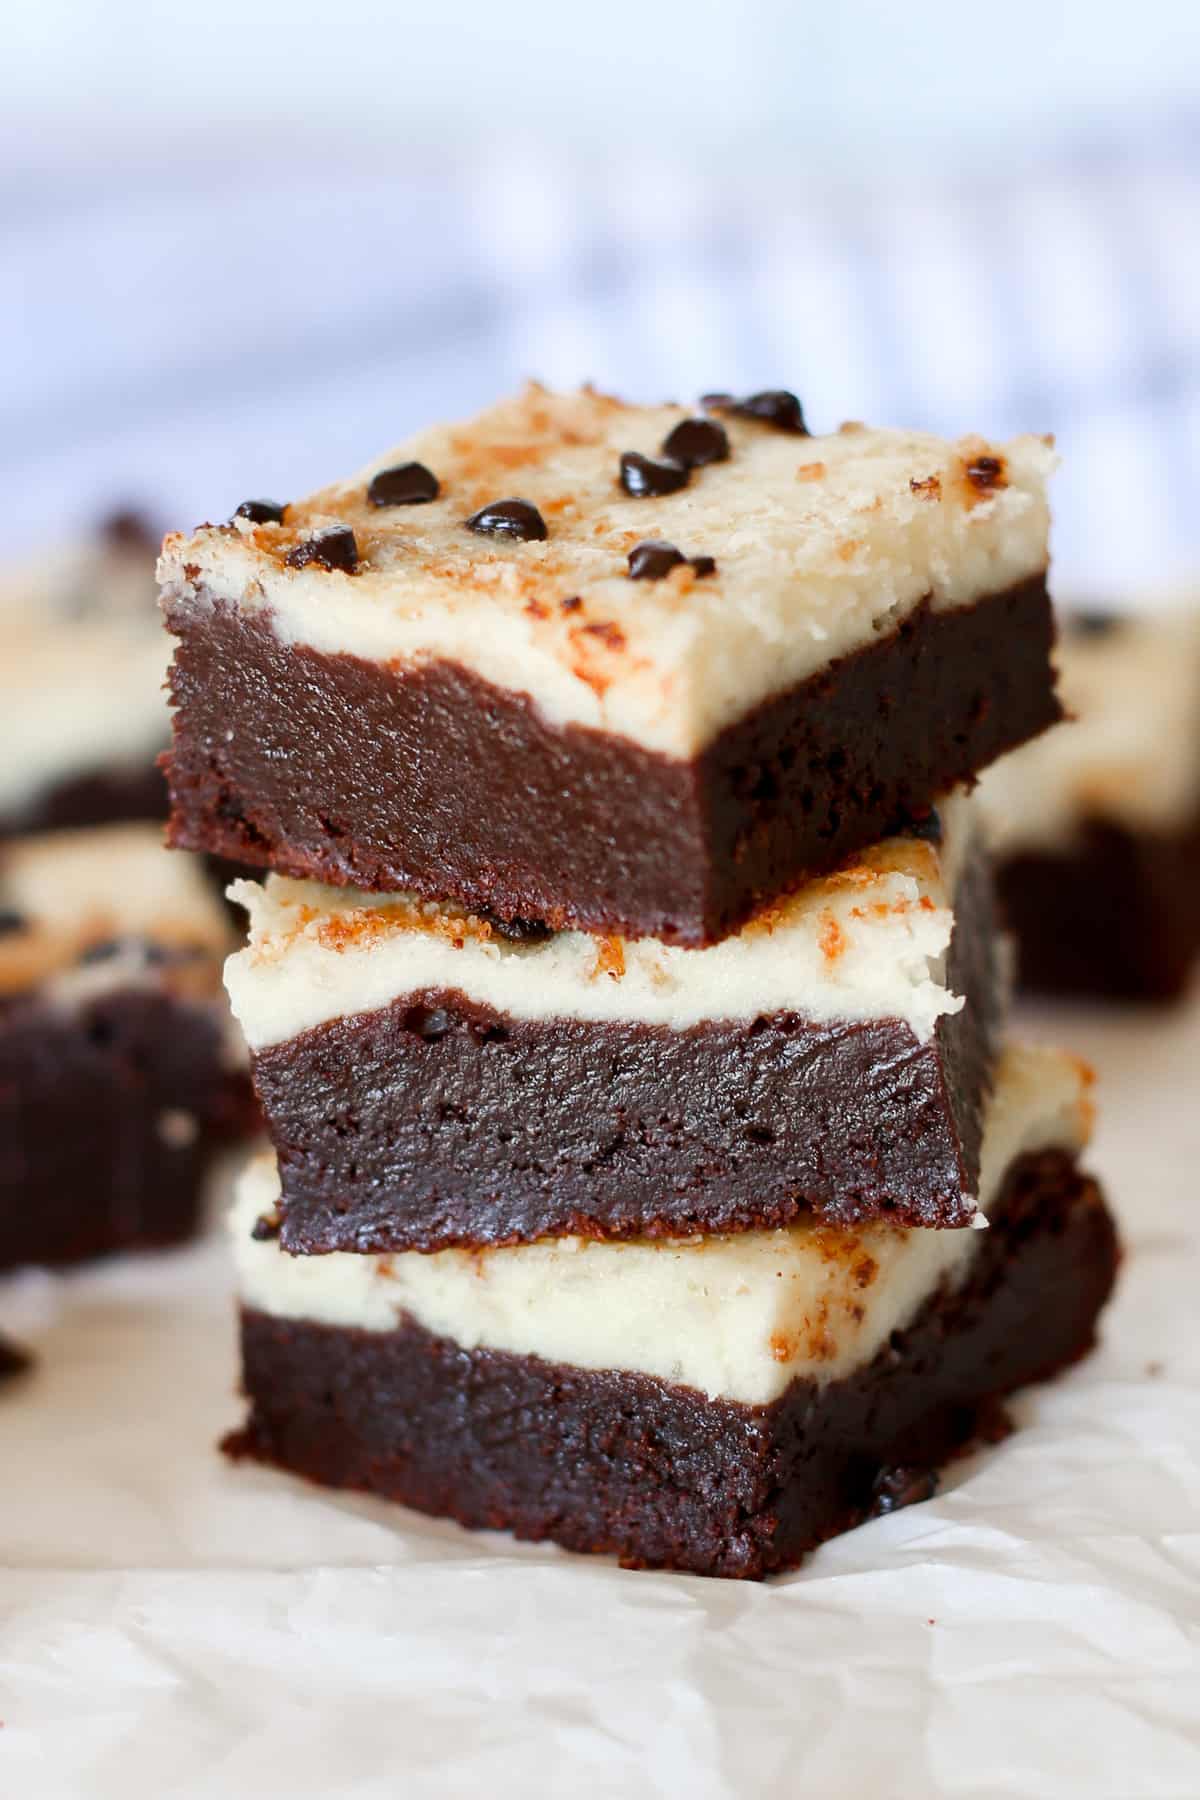
Why You’ll Love This Recipe
- Total crowd-pleasing dessert. They are rich, chewy, creamy, chocolatey. Yum!
- All ingredients are homemade. No additives or preservatives.
- Cheesecake brownies are a great make-ahead dessert. Perfect for holidays or gatherings.
- They are freezer-friendly. We’ve tested freezing and thawing them and had no problems.
- This recipe uses our Double Chocolate Brownies as the base. You can also substitute this layer with a box of brownie mix for a shortcut. (See all our Brownie Mix Recipes.)
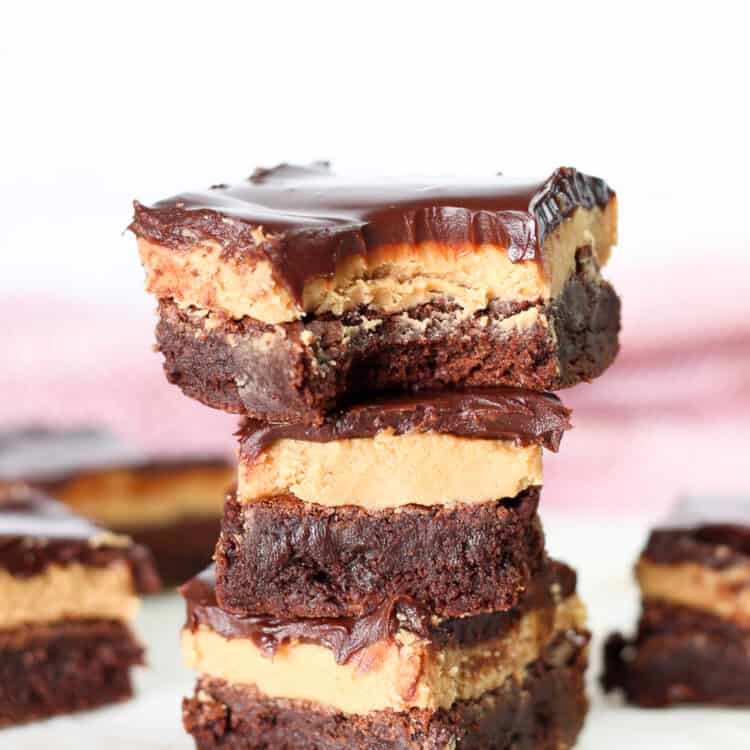
- Rigorously tested – Our recipe contributor (also a pastry chef!), Rachel Riegel, tested many variations of this recipe until she nailed it. She did the same with our Peanut Butter Brownies, and Buckeye Brownies too.
Ingredients
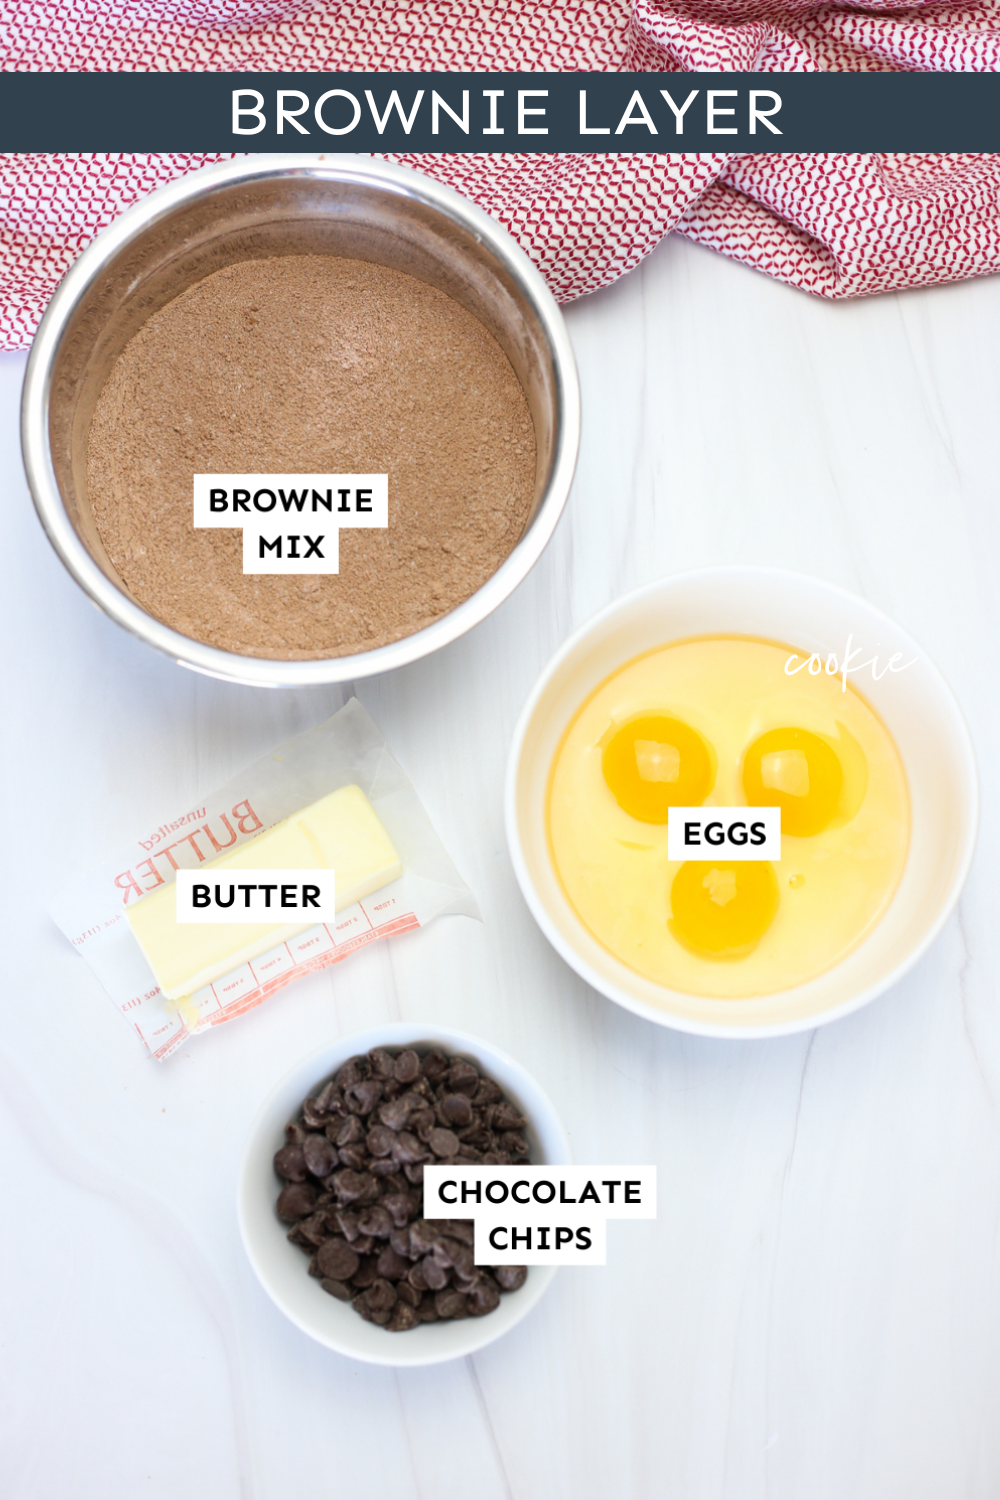
These Cheesecake Brownies are made up of three layers:
- Brownies – We use our Homemade Brownie Mix but you can use a box mix from the store as a shortcut.
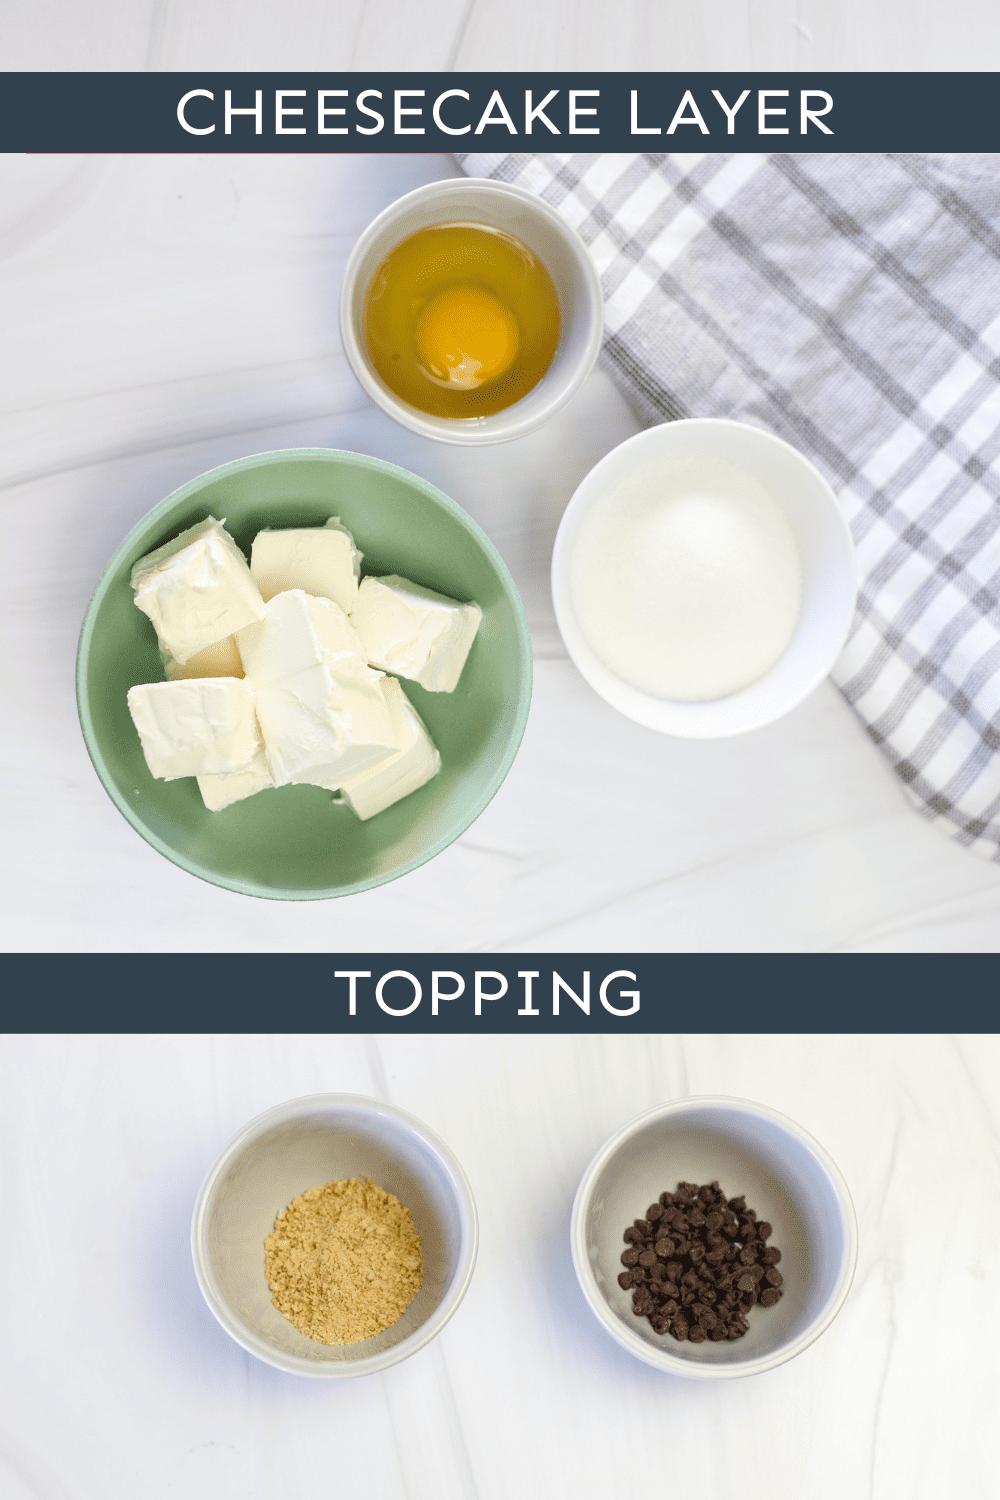
- Cheesecake Layer
- Chocolate Chips an Graham Cracker Crumbs
Here are the simple ingredients you’ll need for these layers:
How To Make Cheesecake Brownies
Make the Cheesecake Layer
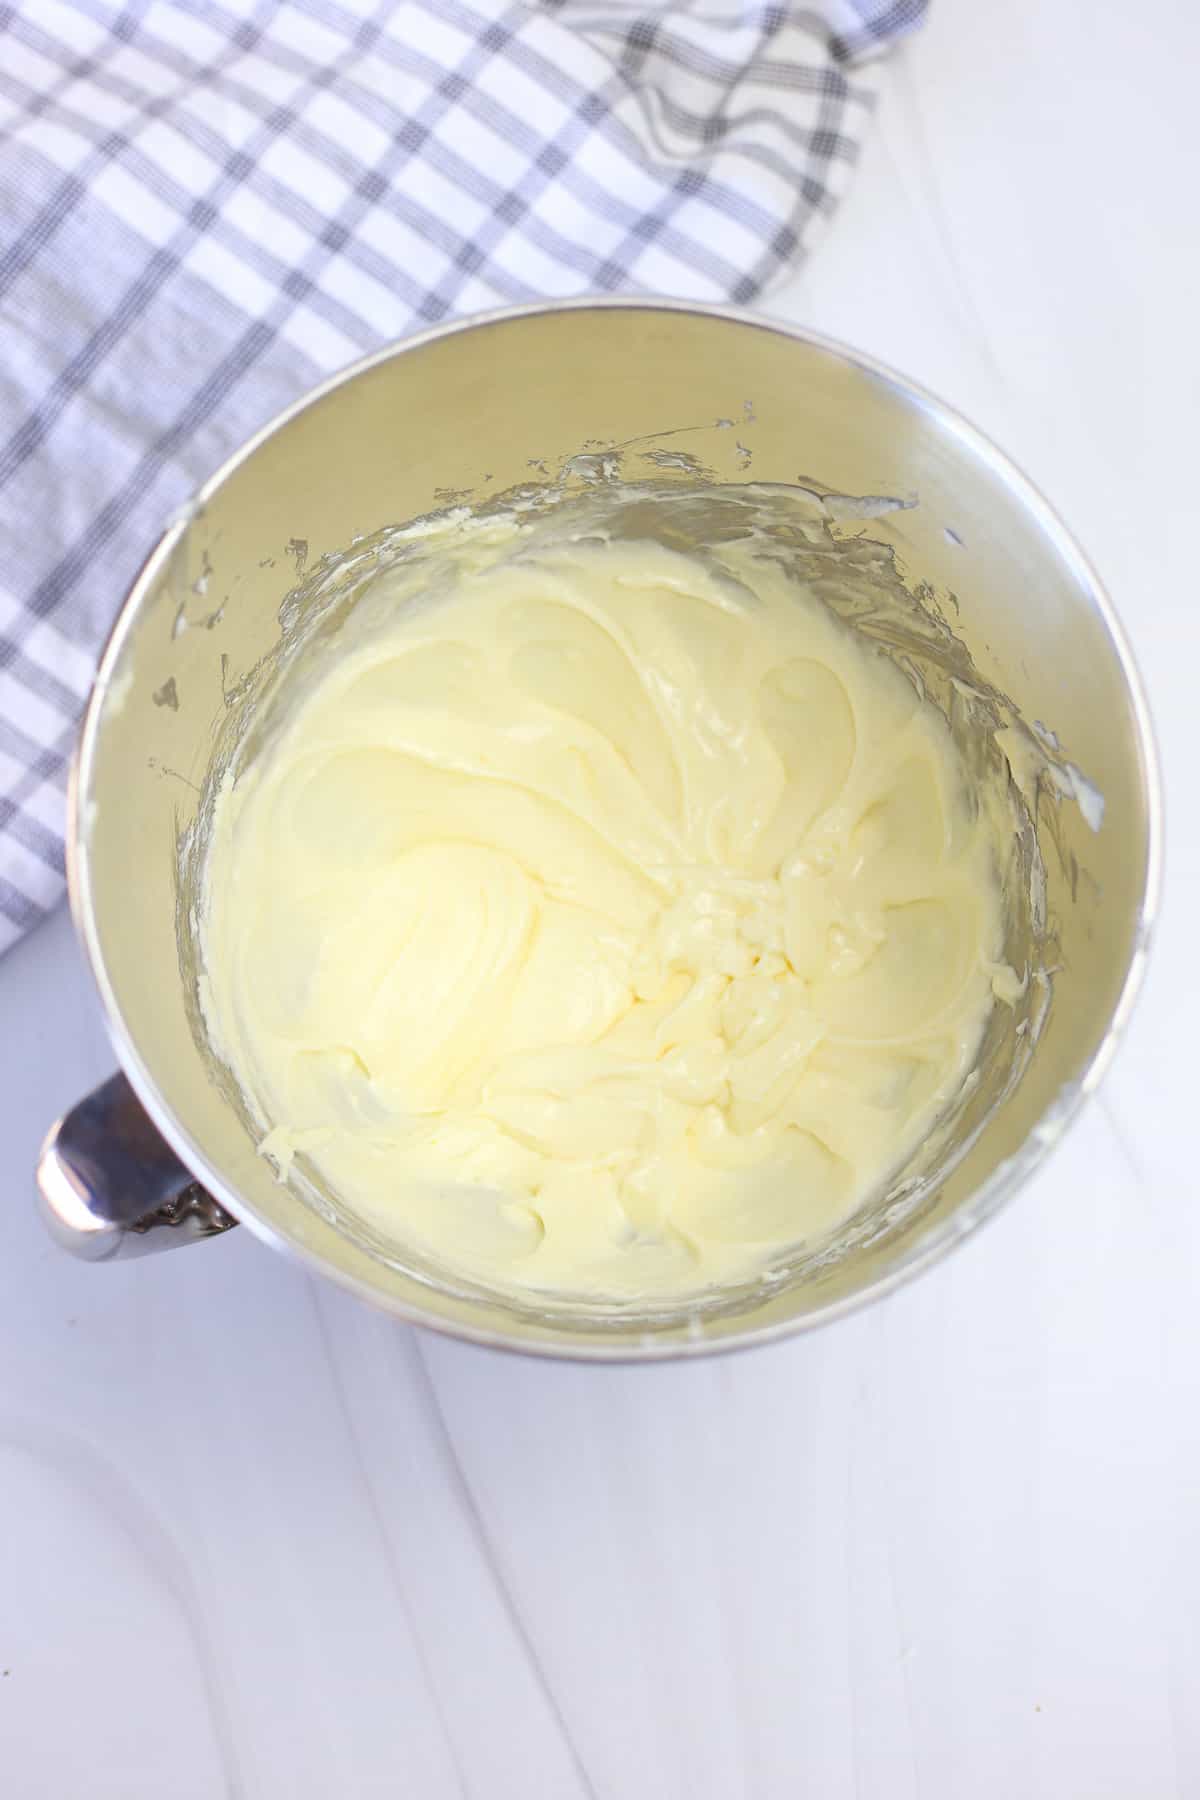
In a medium bowl using a stand mixer or with a hand mixer, beat softened cream cheese and sugar on medium speed until smooth and creamy.
Scrape bowl, then add egg and vanilla and beat on medium-low speed until smooth. Cover mixture and store in fridge until needed.
Prepare the Layers
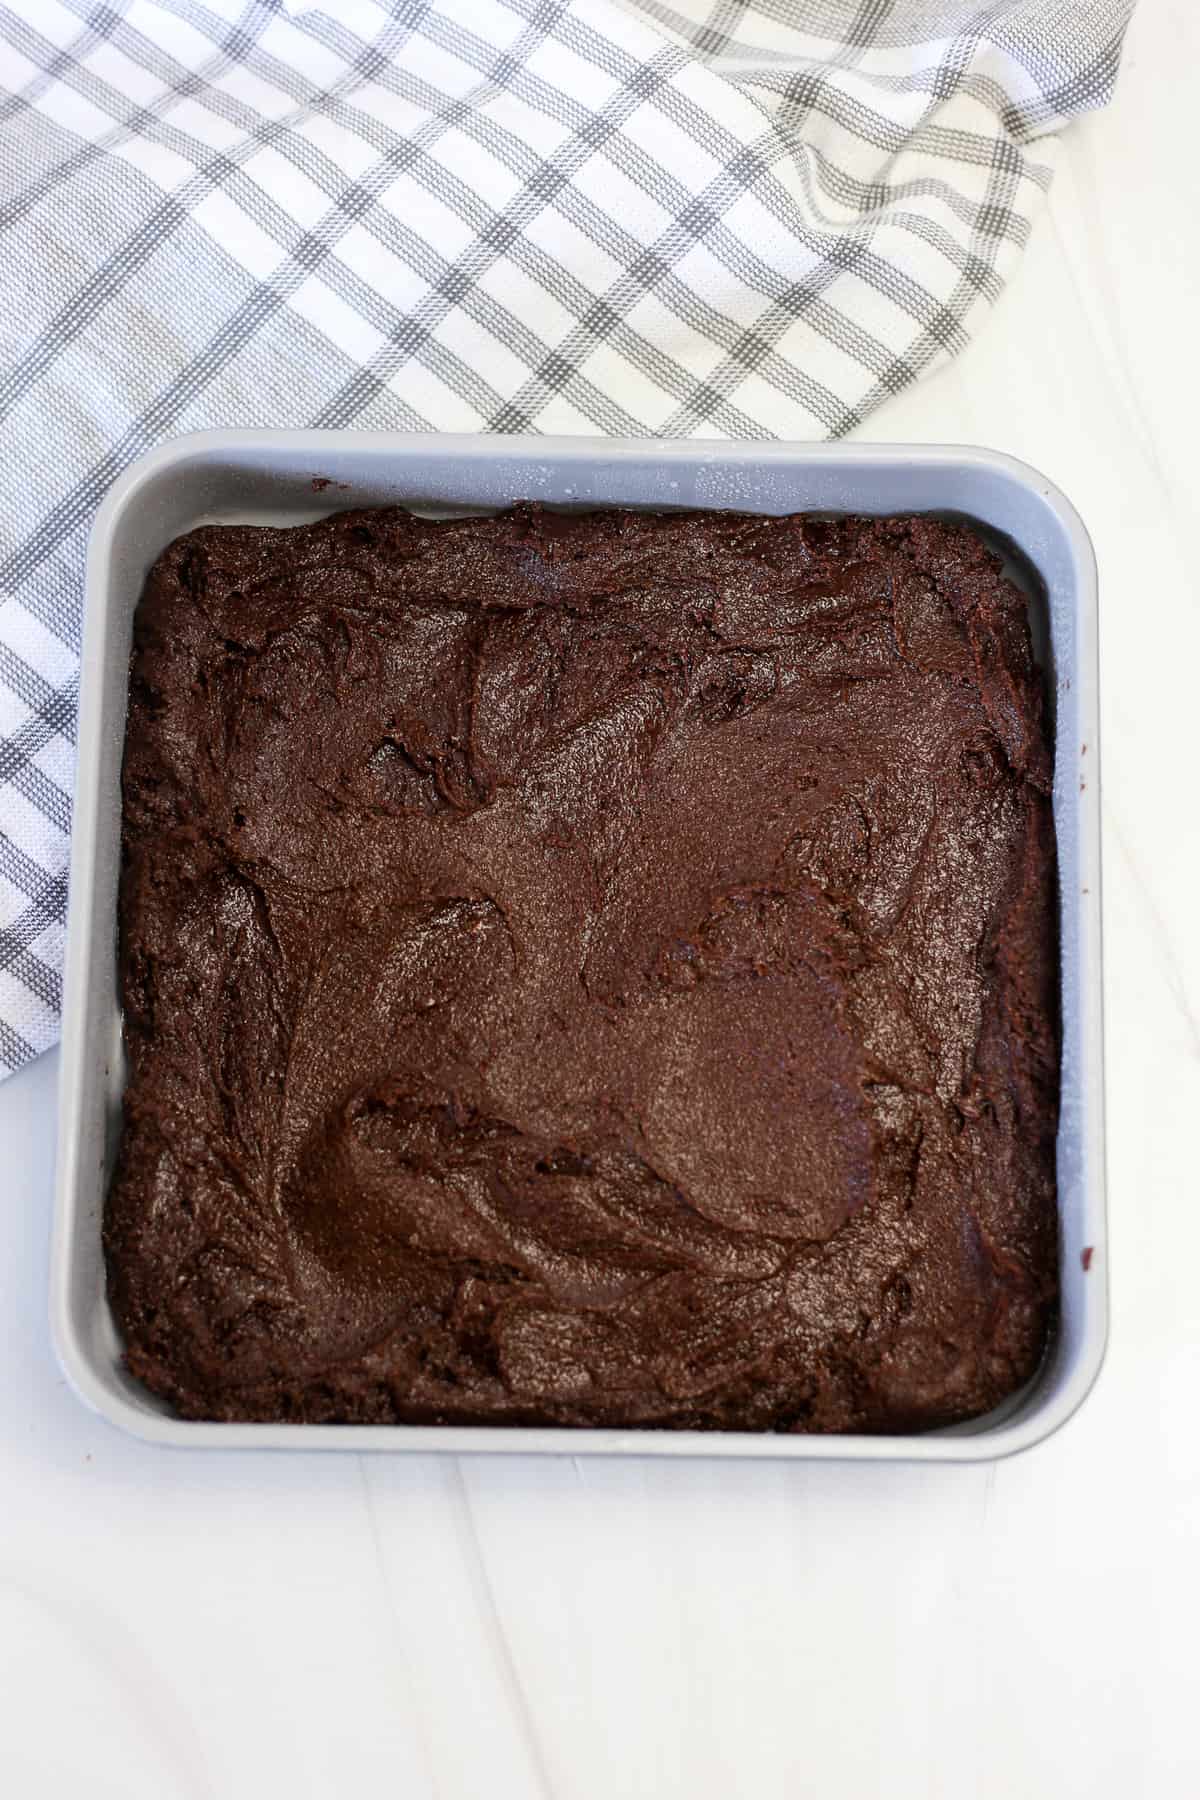
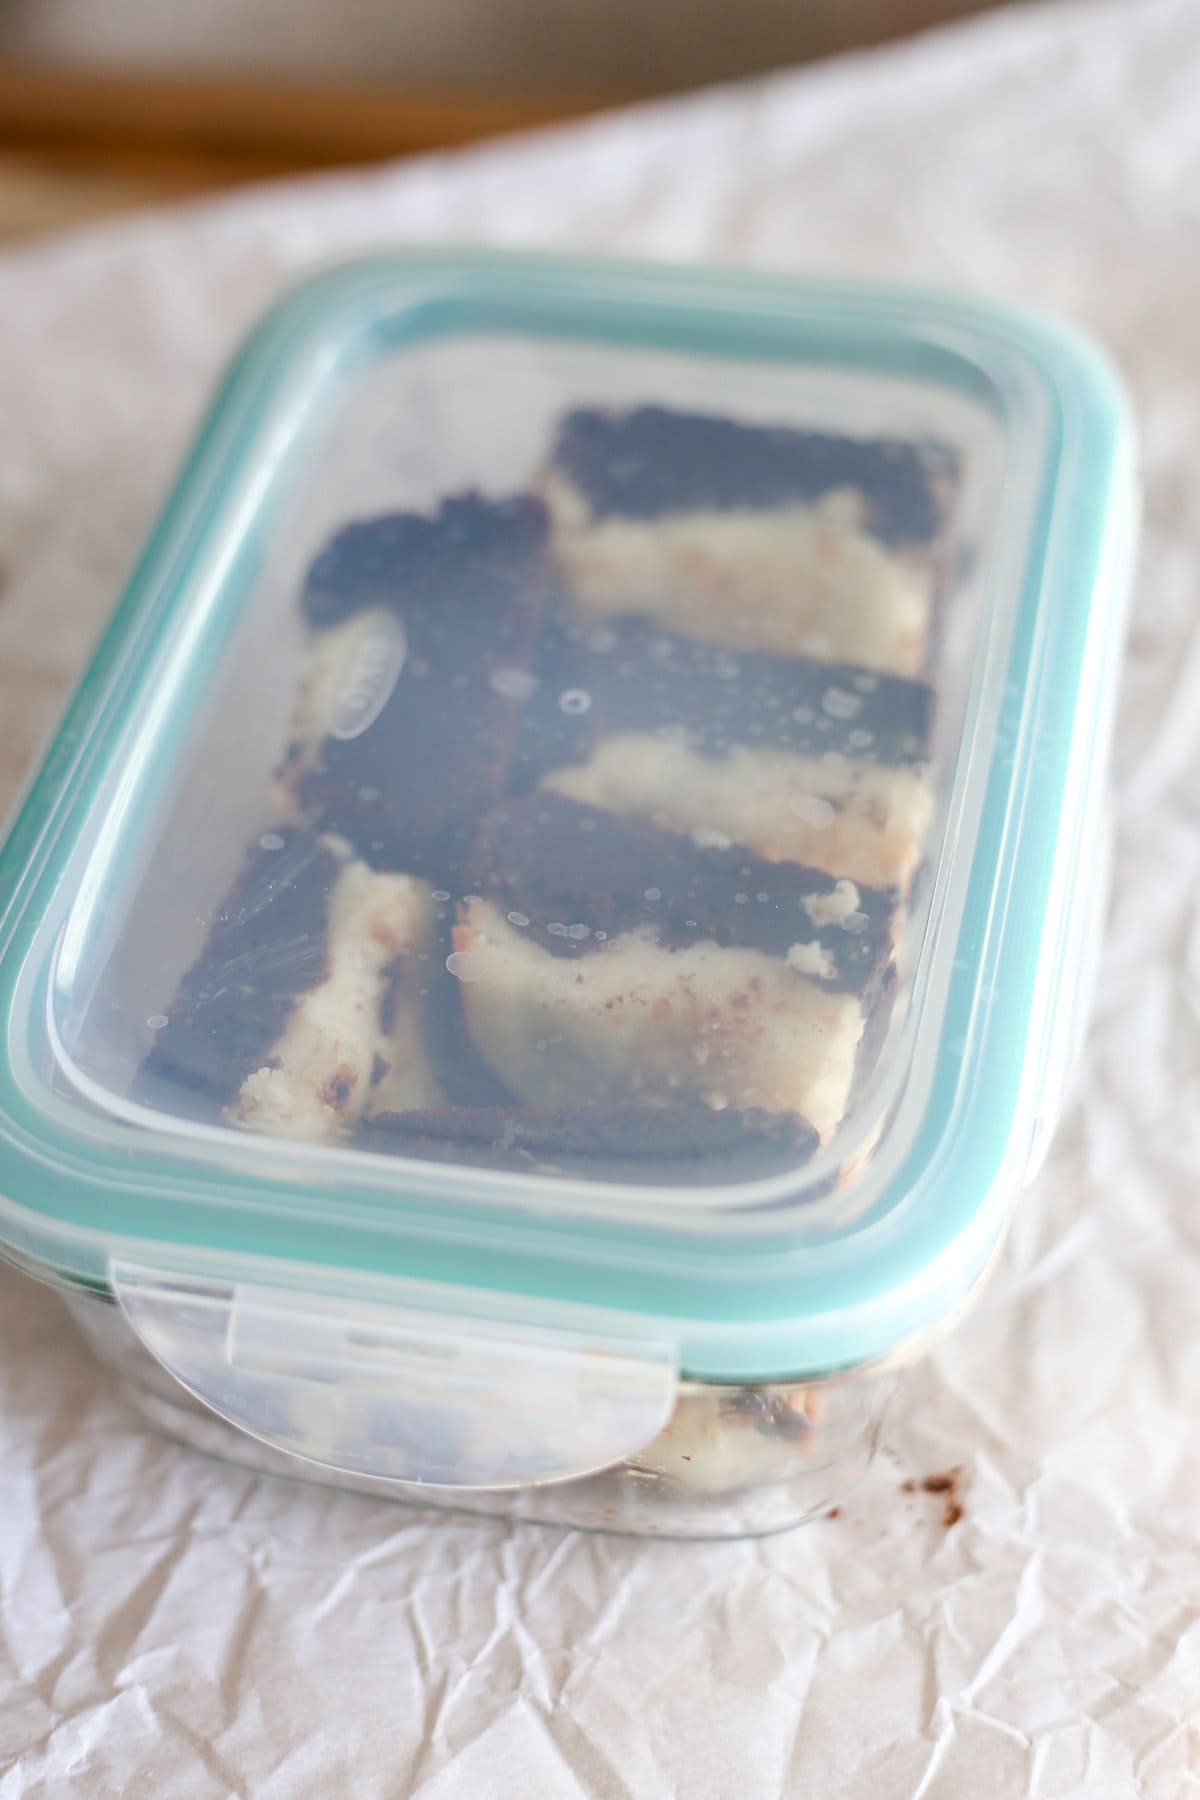
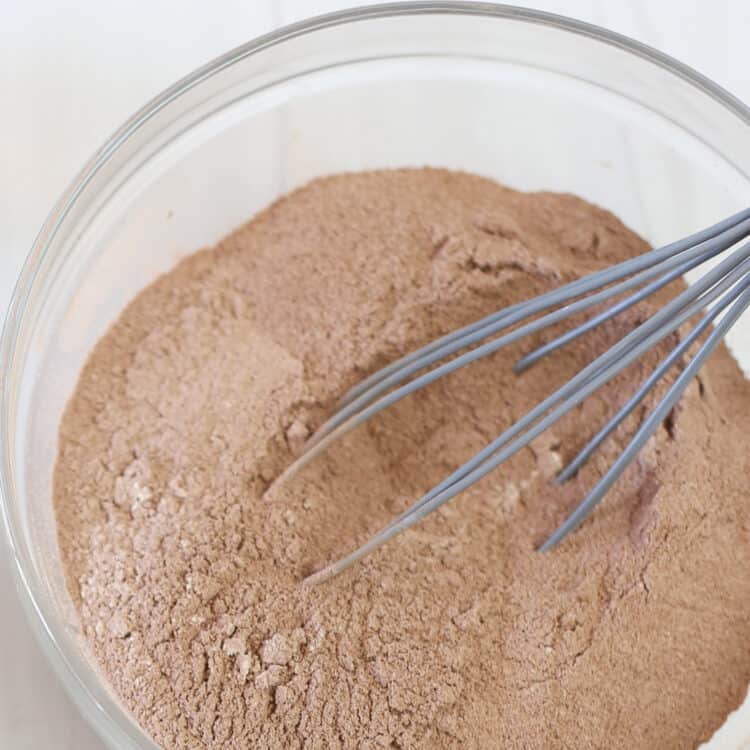
You can use whatever 18 ounce brownie mix you prefer, but we suggest using our Double Chocolate Brownies. The mix used in these is the same used in many other brownie-based recipes like our Brownie Mix Cookies and Peanut Butter Brownies.
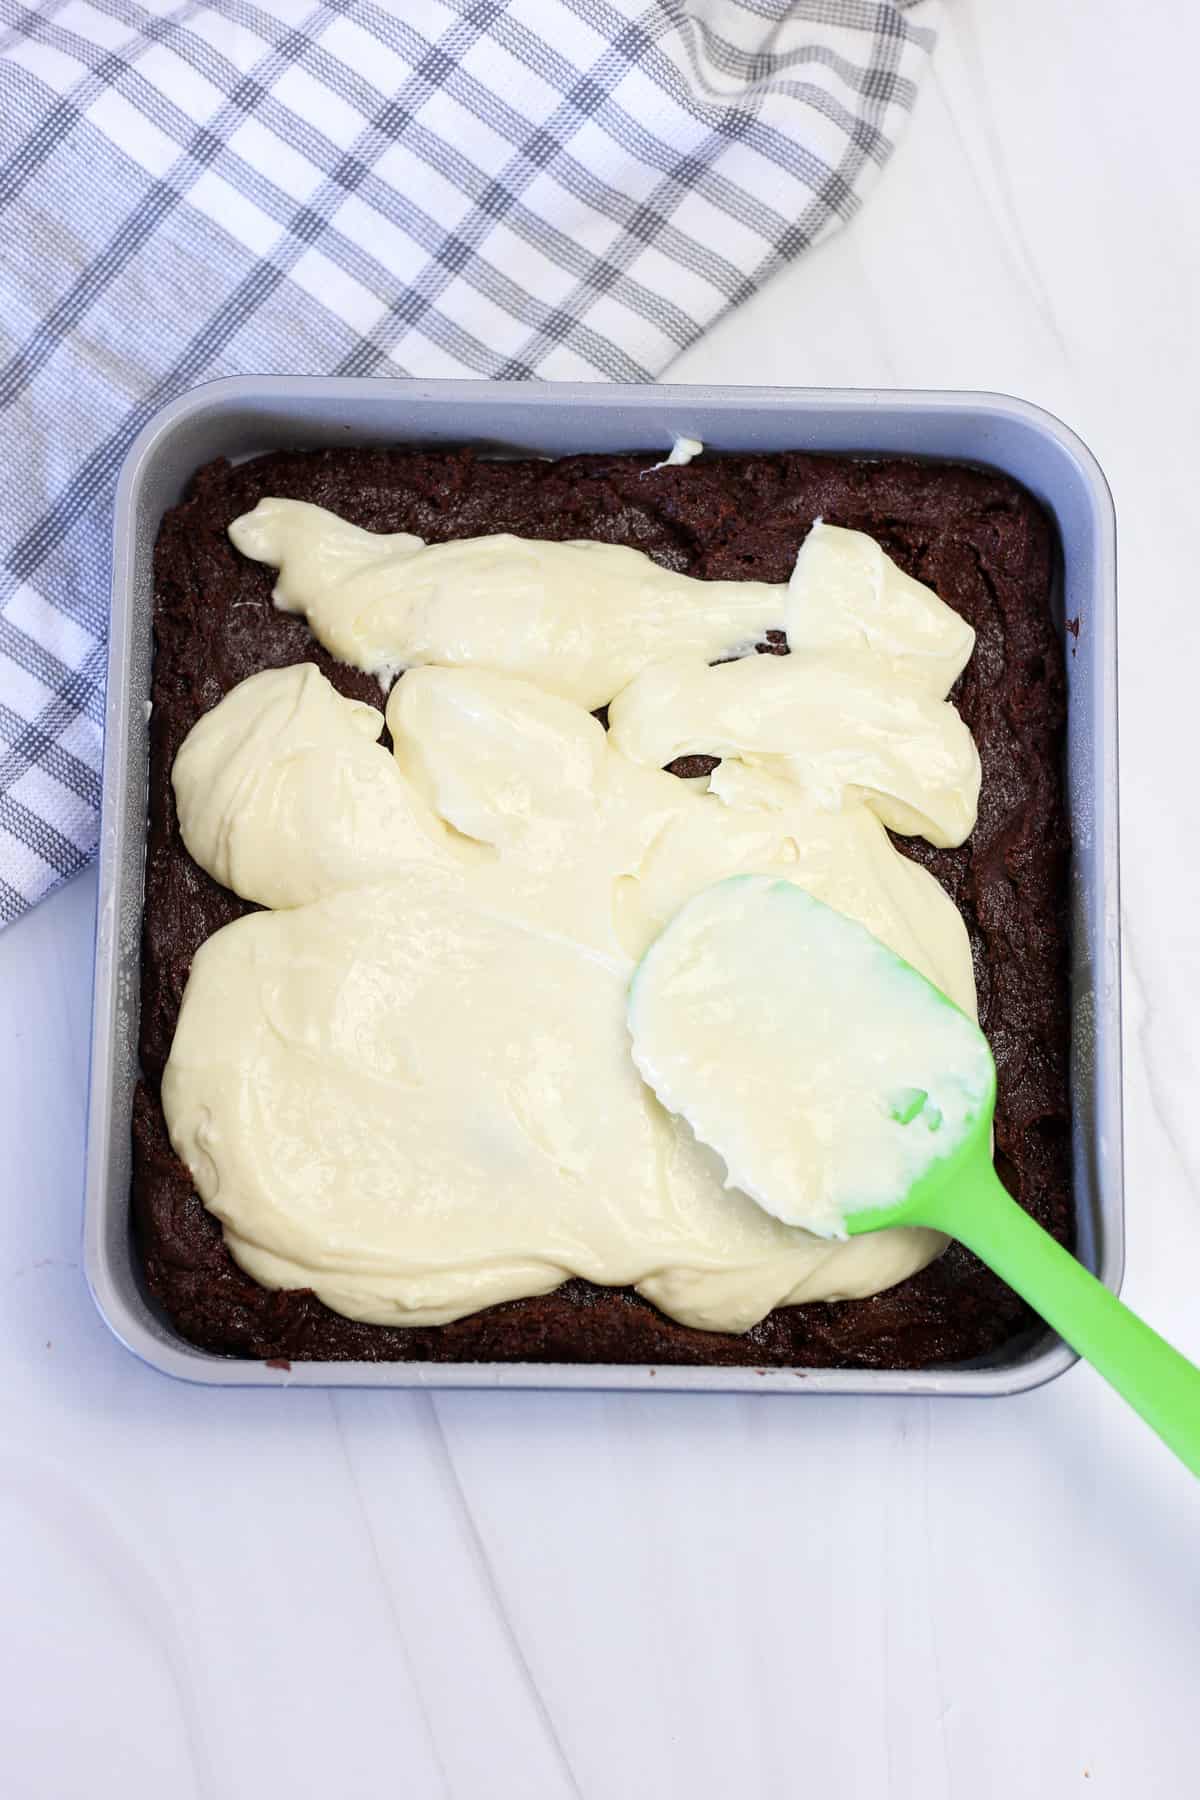
Spread the brownie batter into the prepared pan. Then spread the cheesecake mixture over the brownie batter in an even layer, tapping on the counter a couple times to even out the batter and pop any air bubbles.
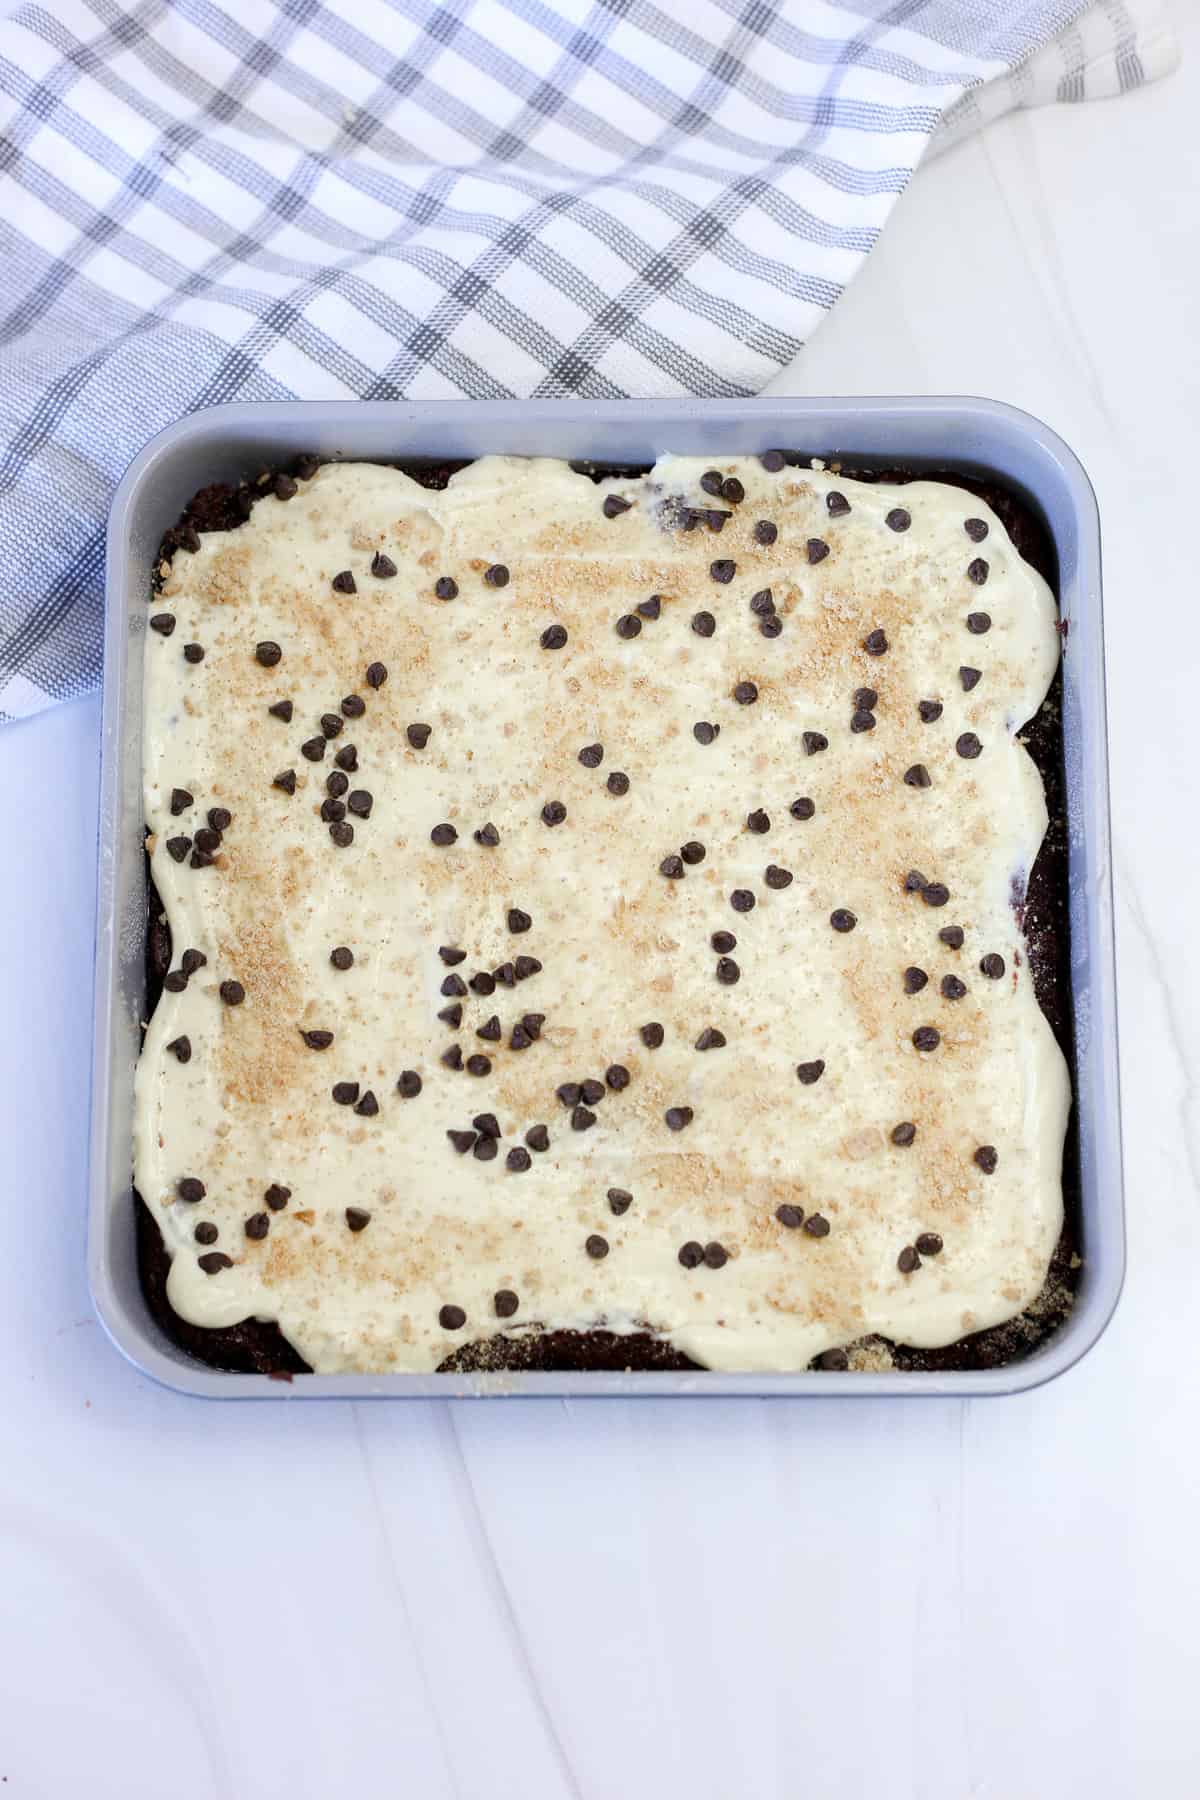
Sprinkle with the mini chocolate chips and graham cracker pieces/crumbs. Cover the top of the pan tightly with aluminum foil and bake according to directions.
Chill and Serve
Brownies can be enjoyed warm. However, they will taste best after they’ve chilled in the fridge for a couple hours after they are cooled so that the cheesecake can fully set up.
Can You Freeze Cheesecake Brownies?
Yes, you can! Here’s how…
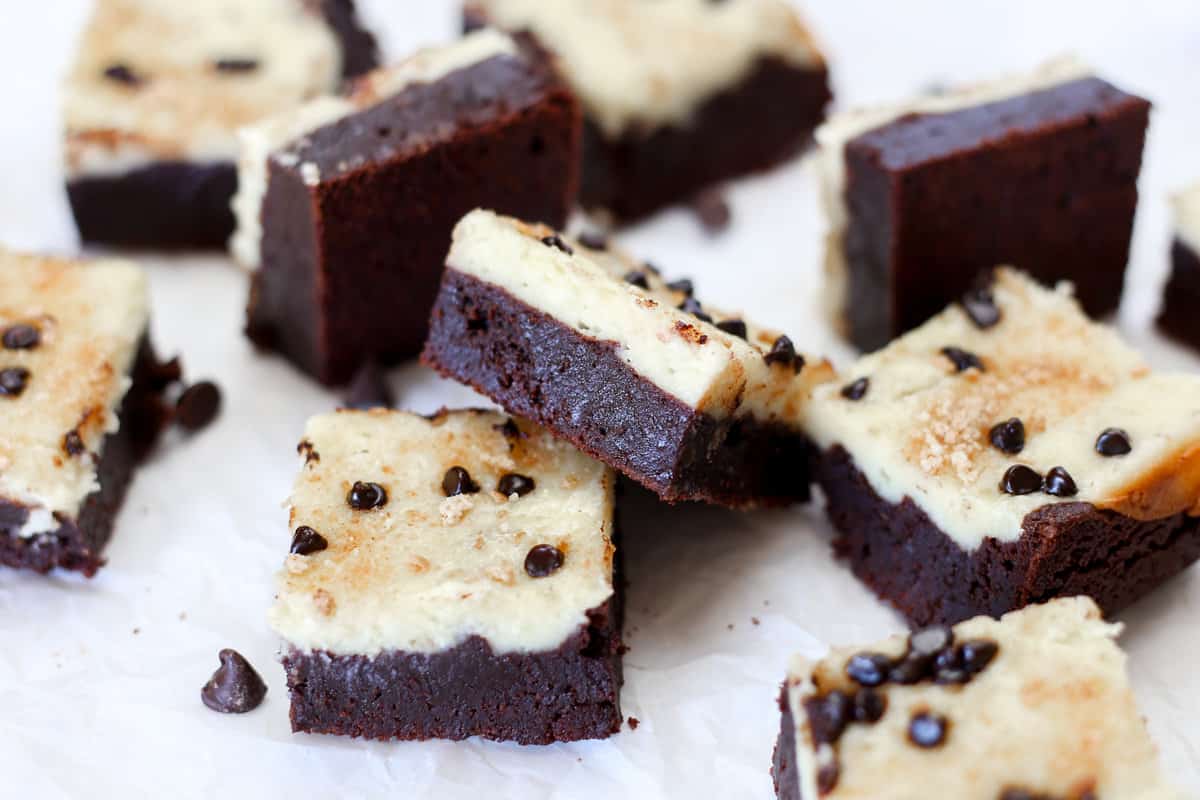
Freeze For Later: Store in an airtight container or ziploc bag after they are fully cooked and fully cooled (this is important!). The brownies can be frozen before or after they are sliced and kept in the freezer for up to 3 months.
Prepare From Frozen: Remove brownies from the freezer and let thaw in the refrigerator.
15+ Recipes With a Brownie Mix
Try making these restaurant-quality desserts by starting with a store-bought or our homemade brownie mix. They are easy and absolutely mouthwatering!
FAQs
It is easiest to cut these while they are cold so that the slices will be cleaner. Brownies are usually cut best with a plastic knife.
No, you can use any type of chocolate chip on top. You can even leave these out if you want. Chocolate sprinkles could be fun too.
They can be served either chilled or at room temperature for up to 5 days, but it’s best to store them in the fridge. You can also freeze them in an airtight container.
No, this just adds a little texture but the brownies are delicious if you don’t have this ingredient.
More Dessert Recipes You Might Like
Chocolate Chip Cheesecake Brownies
Ingredients
Cheesecake Layer:
- 10 ounces cream cheese (softened)
- 7 tablespoons granulated sugar
- 1 large egg (room temperature)
- 3/4 teaspoon pure vanilla extract
Brownie Layer:
- 3 large eggs
- 3/4 teaspoon pure vanilla extract
- 6 tablespoons unsalted butter
- 2/3 cup semi-sweet chocolate chips
- 1 batch Homemade Brownie Mix (sub: 18-ounce box of brownie mix)
Toppings:
- 1 tablespoon graham cracker crumbs
- 1 tablespoon mini chocolate chips
Instructions
- Cheesecake Mixture: In a medium bowl using a stand mixer or with a hand mixer, beat softened cream cheese and sugar on medium speed until smooth and creamy. Scrape bowl, then add egg and vanilla and beat on medium-low speed until smooth. Cover mixture and store in fridge until needed.
- Prep: Preheat oven to 325°F. Grease an 8×8 pan generously with butter/cooking spray, or line with parchment.
- Wet Ingredients: In a medium bowl, whisk together eggs and vanilla. In a microwave-safe bowl or glass measuring cup, melt the butter and chocolate chips together in short 10-20 second bursts until smooth, stirring frequently. Be careful not to let the mixture get too hot.
- Combine: Stream the butter and chocolate mixture into the eggs and vanilla while whisking. Once smooth, add brownie mix and mix on medium-low speed with a stand mixer or with a hand mixer until no flour is visible (but be careful not to overmix). The batter will be thick.
- Layering: Spread the brownie batter into the prepared pan so that it is evenly distributed. Remove the cheesecake mixture from the fridge and spread over the brownie batter in an even layer, tapping on the counter a couple times to even out the batter and pop any air bubbles. Sprinkle with the mini chocolate chips and graham cracker pieces/crumbs. Cover the top of the pan tightly with aluminum foil.
- Bake: Bake for 30 minutes, rotate, then bake for an additional 35-40 minutes, checking with a toothpick to ensure doneness (once the brownies are close to being done the foil can be removed). The brownies are done when there is no wet batter remaining on the toothpick and cheesecake is just barely starting to brown around the edges, but is mostly set (you want to see very little jiggle). Let cool most of the way before slicing. Store in the fridge for up to 5 days.
Freezer Instructions
Notes/Tips
- If baking in a glass or ceramic pan, add 5-10 minutes to the bake time.
- The cheesecake layer may interfere with the accuracy of the toothpick test when checking the doneness of the brownies, so don’t rely solely on those results when determining if the brownies are done. The color and setness (no wet batter visible) of the cheesecake will also aid in determining when these are done. The cheesecake should be about 90% set before they are removed from the oven. The cheesecake portion should be mostly white but just starting to turn golden brown on the edges.
- Brownies can be enjoyed warm. However, they will taste best after they’ve chilled in the fridge for a couple hours after they are cooled so that the cheesecake can fully set up.
- If not using a box mix, be sure to combine the brownie mix ingredients in a separate bowl first.
- Cream cheese can be softened by sitting at room temperature for 1-2 hours or by microwaving in short bursts.
- Using a room-temperature egg for the cheesecake topping will ensure that it combines with the cream cheese and doesn’t separate.
- Any size or flavor of chocolate chip can be sprinkled on top!
- Other Topping Variations: caramel drizzle, freeze-dried strawberries, Reeses’ peanut butter cups, Nilla wafers instead of graham crackers, sprinkles, etc.
Nutrition

Recipe Contributor: Rachel Riegel
Pastry Chef Rachel Riegel developed and rigorously tested this recipe for Thriving Home.
Rachel grew up in northern Michigan with a family that loved to cook and bake. She attended a career center for culinary and baking and pastry arts in high school and went to college at The Culinary Institute of America in Hyde Park, New York. She graduated in August 2023 with a Bachelor’s in Food Business Managment and Baking and Pastry Arts.
In her free time, she loves to read, listen to true crime podcasts, go on walks, travel, and spend time with her fiancé.
Find more of Rachel’s desserts here.
These are incredible. Easy to make and a crowd-pleaser!
Great! My daughter LOVED them. Going to make them again this weekend!