How to Easily Update an Oak Mantel

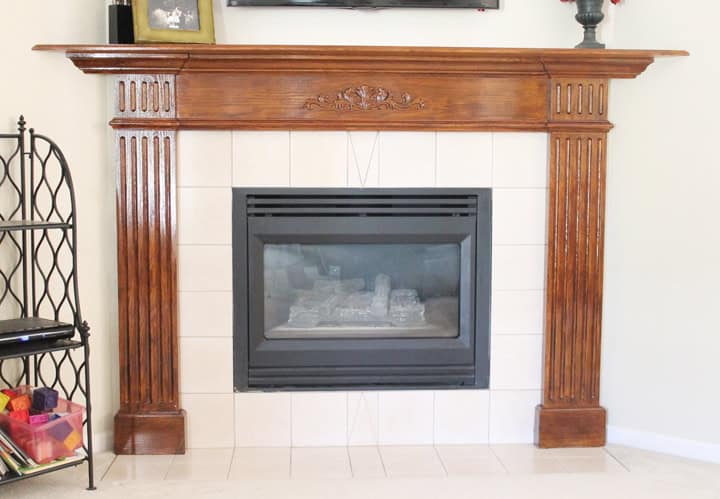
Another victory against the oak monster infesting our home has been won. I found an easy way to update our living room mantel and couldn’t be happier with the results.
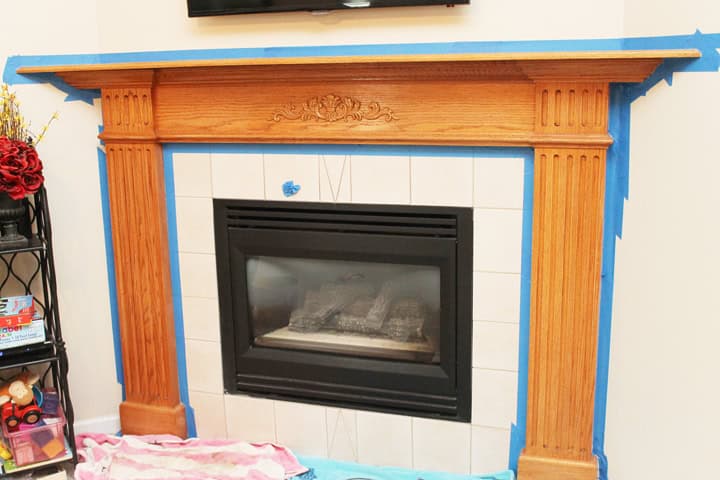
If you’ve been following along for a while you know that my husband and I have been taking on projects left and right in order to update our new home. It’s been a fun learning curve for sure but I am loving the new look of things. One thing that particularly aged our home was the amount of light oak everywhere. Kitchen cabinets, bathroom vanities, hand rails and of course our mantel.
Oak oak oak.
Once upon a time oak was all the rage. Now it’s the source of rage for interior decorators or DIY updaters like myself. Oak is hard to update because like we learned when updating our kitchen cabinets, it takes a ton of work to cover up.
My solution:
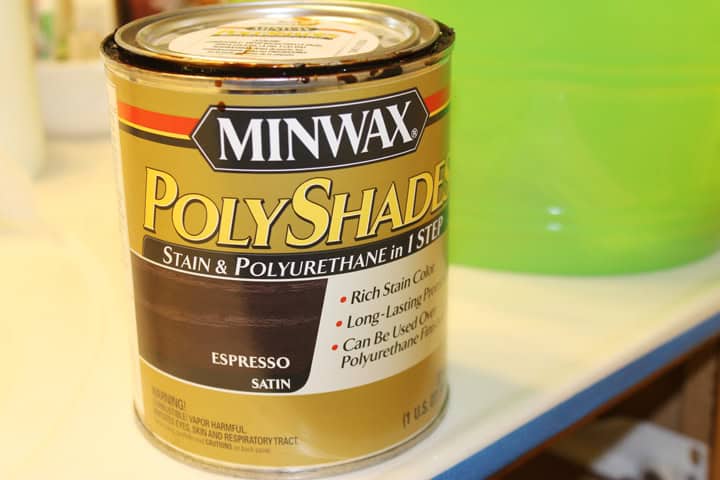
PolyShade stain.

I like PolyShade stain for a lot of reasons.
- It doesn’t take much prep to use it (hardly any sanding!)
- You can see the results quickly
- It is stain and polyurethane in one
- You can adjust the depth of color depending on how many coats you use
- It has “Polly” it the name
All jokes aside, this is what I used to update our oak mantel and I would recommend it to other DIY updaters.
Here is how to update your oak mantel using PolyShade stain:
Give your mantel a LIGHT sanding
Not much sanding is required for this stain. It serves more as a top coat. I made the mistake of sanding too much when using this for my daughter’s bed frame and learned my lesson. Give it just a light sand to give the stain a little something to grip to. I used a 120 grit sand paper and it worked fine. Wipe the dust off and tape up your edges.

Apply Stain
The key with PolyShade stain is to paint it on in very thin coats. Keep the edge of your high quality brush wet but don’t glob on the stain. Brush it on very lightly, spread it around until your brush doesn’t have any more stain to move around. Make sure to wipe up any drips or heavy spots. They tend to gather in grooves or cracks so keep an eye on those.
Let Stain Dry and Apply Second Coat
Every time I have used this stuff I have found that it needs at least two coats to achieve the color I want. The directions say to give it 6 hours to dry but I have found that it needs a little more time. The directions also say to give it a light sand between coats but I didn’t do that and it turned out fine.

That’s it! Just make sure to keep eager little hands away from it for a while and you should have an updated mantel in no time!
Bathroom vanities are next on my list. Watch out, oak. I’m on a mission.
Got an oak infestation in your home as well? You might like to see how we painted our kitchen cabinets.

Is Espresso the color you used on the mantle? It seems so light compared to everything else I have seen.
Yep! You can control the level of darkness by how many coats you apply. If I remember correctly, I applied to light coats and was happy with the results.
I really like how your mantel turned out. It seems much more reasonable than painting over a stain. Nice job.