DIY Ruffled Fabric Flower
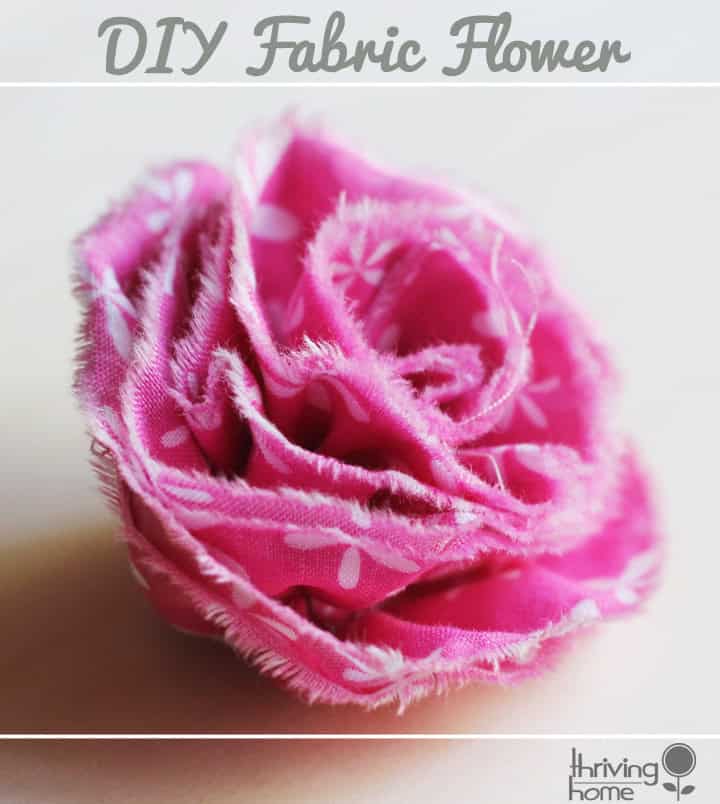
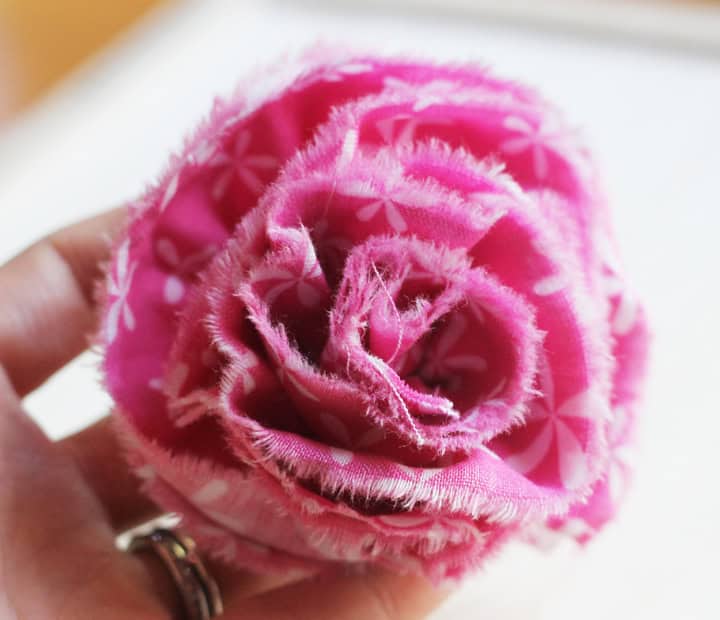
Fabric flowers are a crafter’s dream. They are cheap. They are easy. They don’t require much sewing skill. They can be used for all sorts of different ideas. Take this ruffled fabric flower, for example. I made this in about 10 minutes. It can be used for so many things. Some ideas:
- Turn it into a hair clip by gluing a clip on the back
- Glue a few to a picture frame
- Sew a few onto a purse or bag
- Attach them to a little girl’s skirt
- Attach them to the top of a flip flop
- Make a headband out of it by gluing it on to an band
You get the point. Fabric flowers can be used in a hundred different ways. I wanted to share with you a basic fabric flower tutorial that I have used a few times over the years. It’s very easy and requires very little sewing. Ready to make your own?
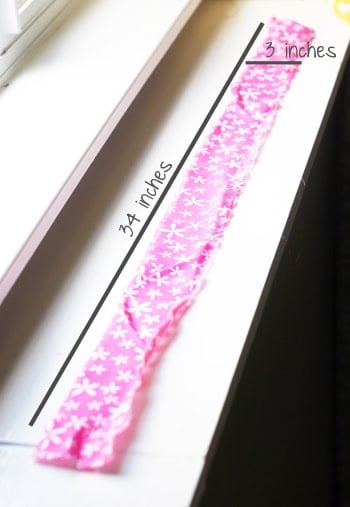
1) Cut a 3×34 inch piece of fabric
It doesn’t have to be exact. In fact, I usually just eyeball it. Make sure you pick a fabric that is going to fray a bit too if you like that rustic-whimsical look.
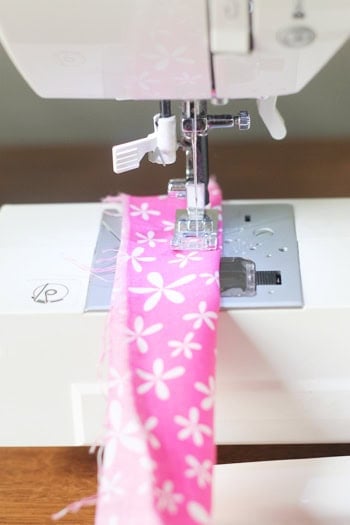
2) Fold the fabric in half, long-ways. Sew a straight baste stitch (a long loose stitch) about 1/4 inch in from the folded seam. Do NOT back stitch!
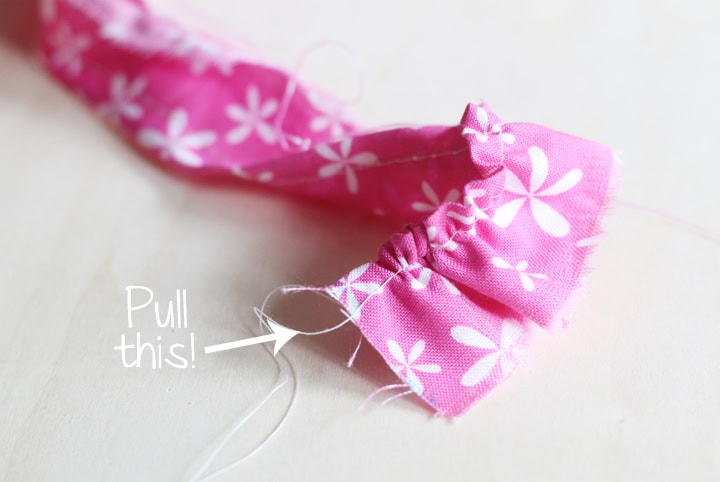
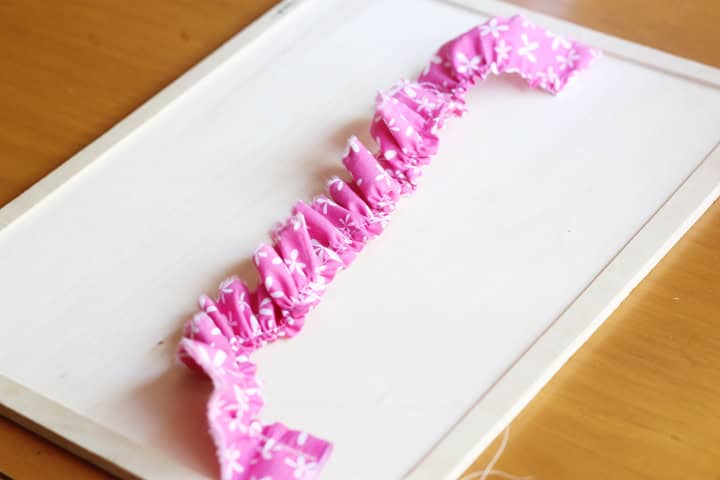
Firmly grab one of the threads that made your baste stitch and start pulling it against the fabric. You’ll kind of figure it out as you go but you have to help the ruffle move down the fabric a bit. Don’t pull TOO hard of your thread might break. I like to work the ruffle about half way down and then start pulling the thread from the other end and work from that direction. Here is more on ruffling fabric if you need help.
Here is what it should resemble when you have finished ruffling your fabric.
4) Begin to roll up the fabric into a flower
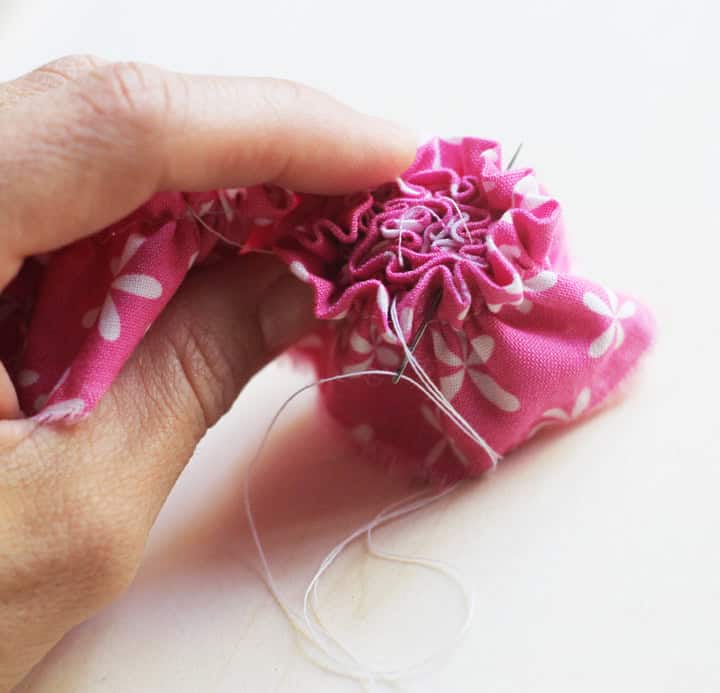
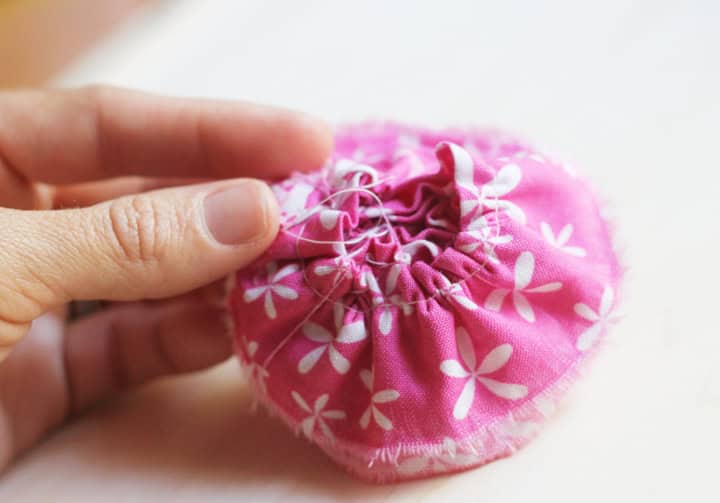
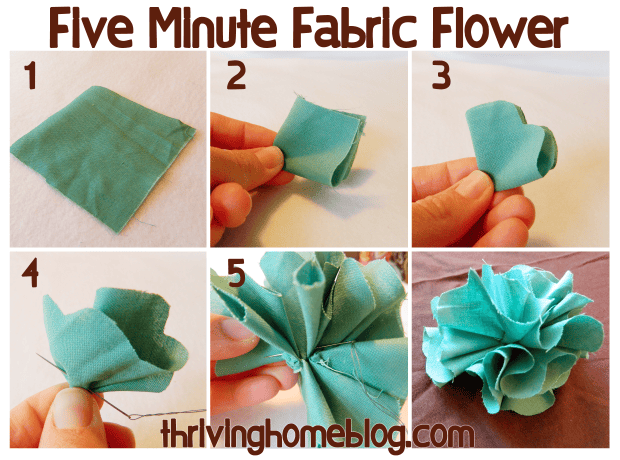
Starting at one end, begin rolling your fabric. After a few layers you will begin to stitch the bottom part of your flower together.
5) Stitch your flower together
Make sure you get a thimble for this part! After you’ve rolled up your fabric a few times, put a few stitches through the bottom to hold it together. Repeat this process over and over again until all the fabric has been rolled and secured by stitching.
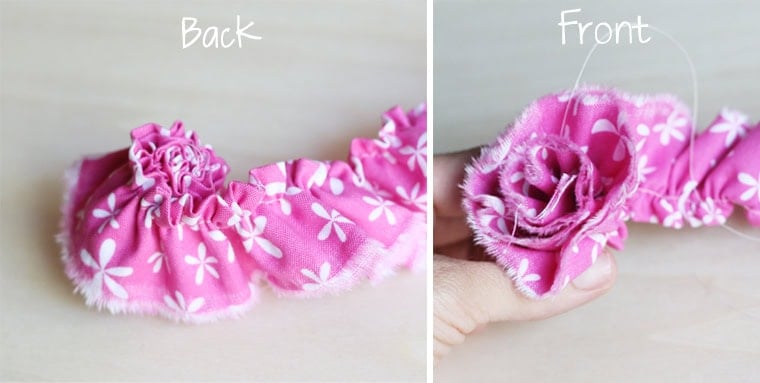
Here is what the back of mine ended up looking like.
Knot it off, fluff it up a bit and you’re done!
Here is another fabric flower tutorial if you’re looking for a different style. Make sure to pin these tutorials for future crafting!
I would stitch a fine line near the frayed edge…this would still allow fraying but would stop it from fraying too much and threads everywhere
Love that flower
I will be making some
Thank you for sharing
You’re welcome!
I love your flowers and I plan to make some.
Thanks, Linda!
Lovely and so easy thanks
Thanks for the feedback, Tracy. Glad it was helpful!
What kind of sewing machine do you have and recommend ?
I love finding new ways to make flowers from fabric – well not even just fabric, anything really!
So pretty, and such great clear instructions thanks