Hanging Foam Bats
Here is an easy-peasy bat craft that comes together quickly and is a fun Halloween craft for all ages: Hanging Foam Bats! Below you will find step-by-step instructions with pictures PLUS a free printable bat template to use if you want. Happy crafting!
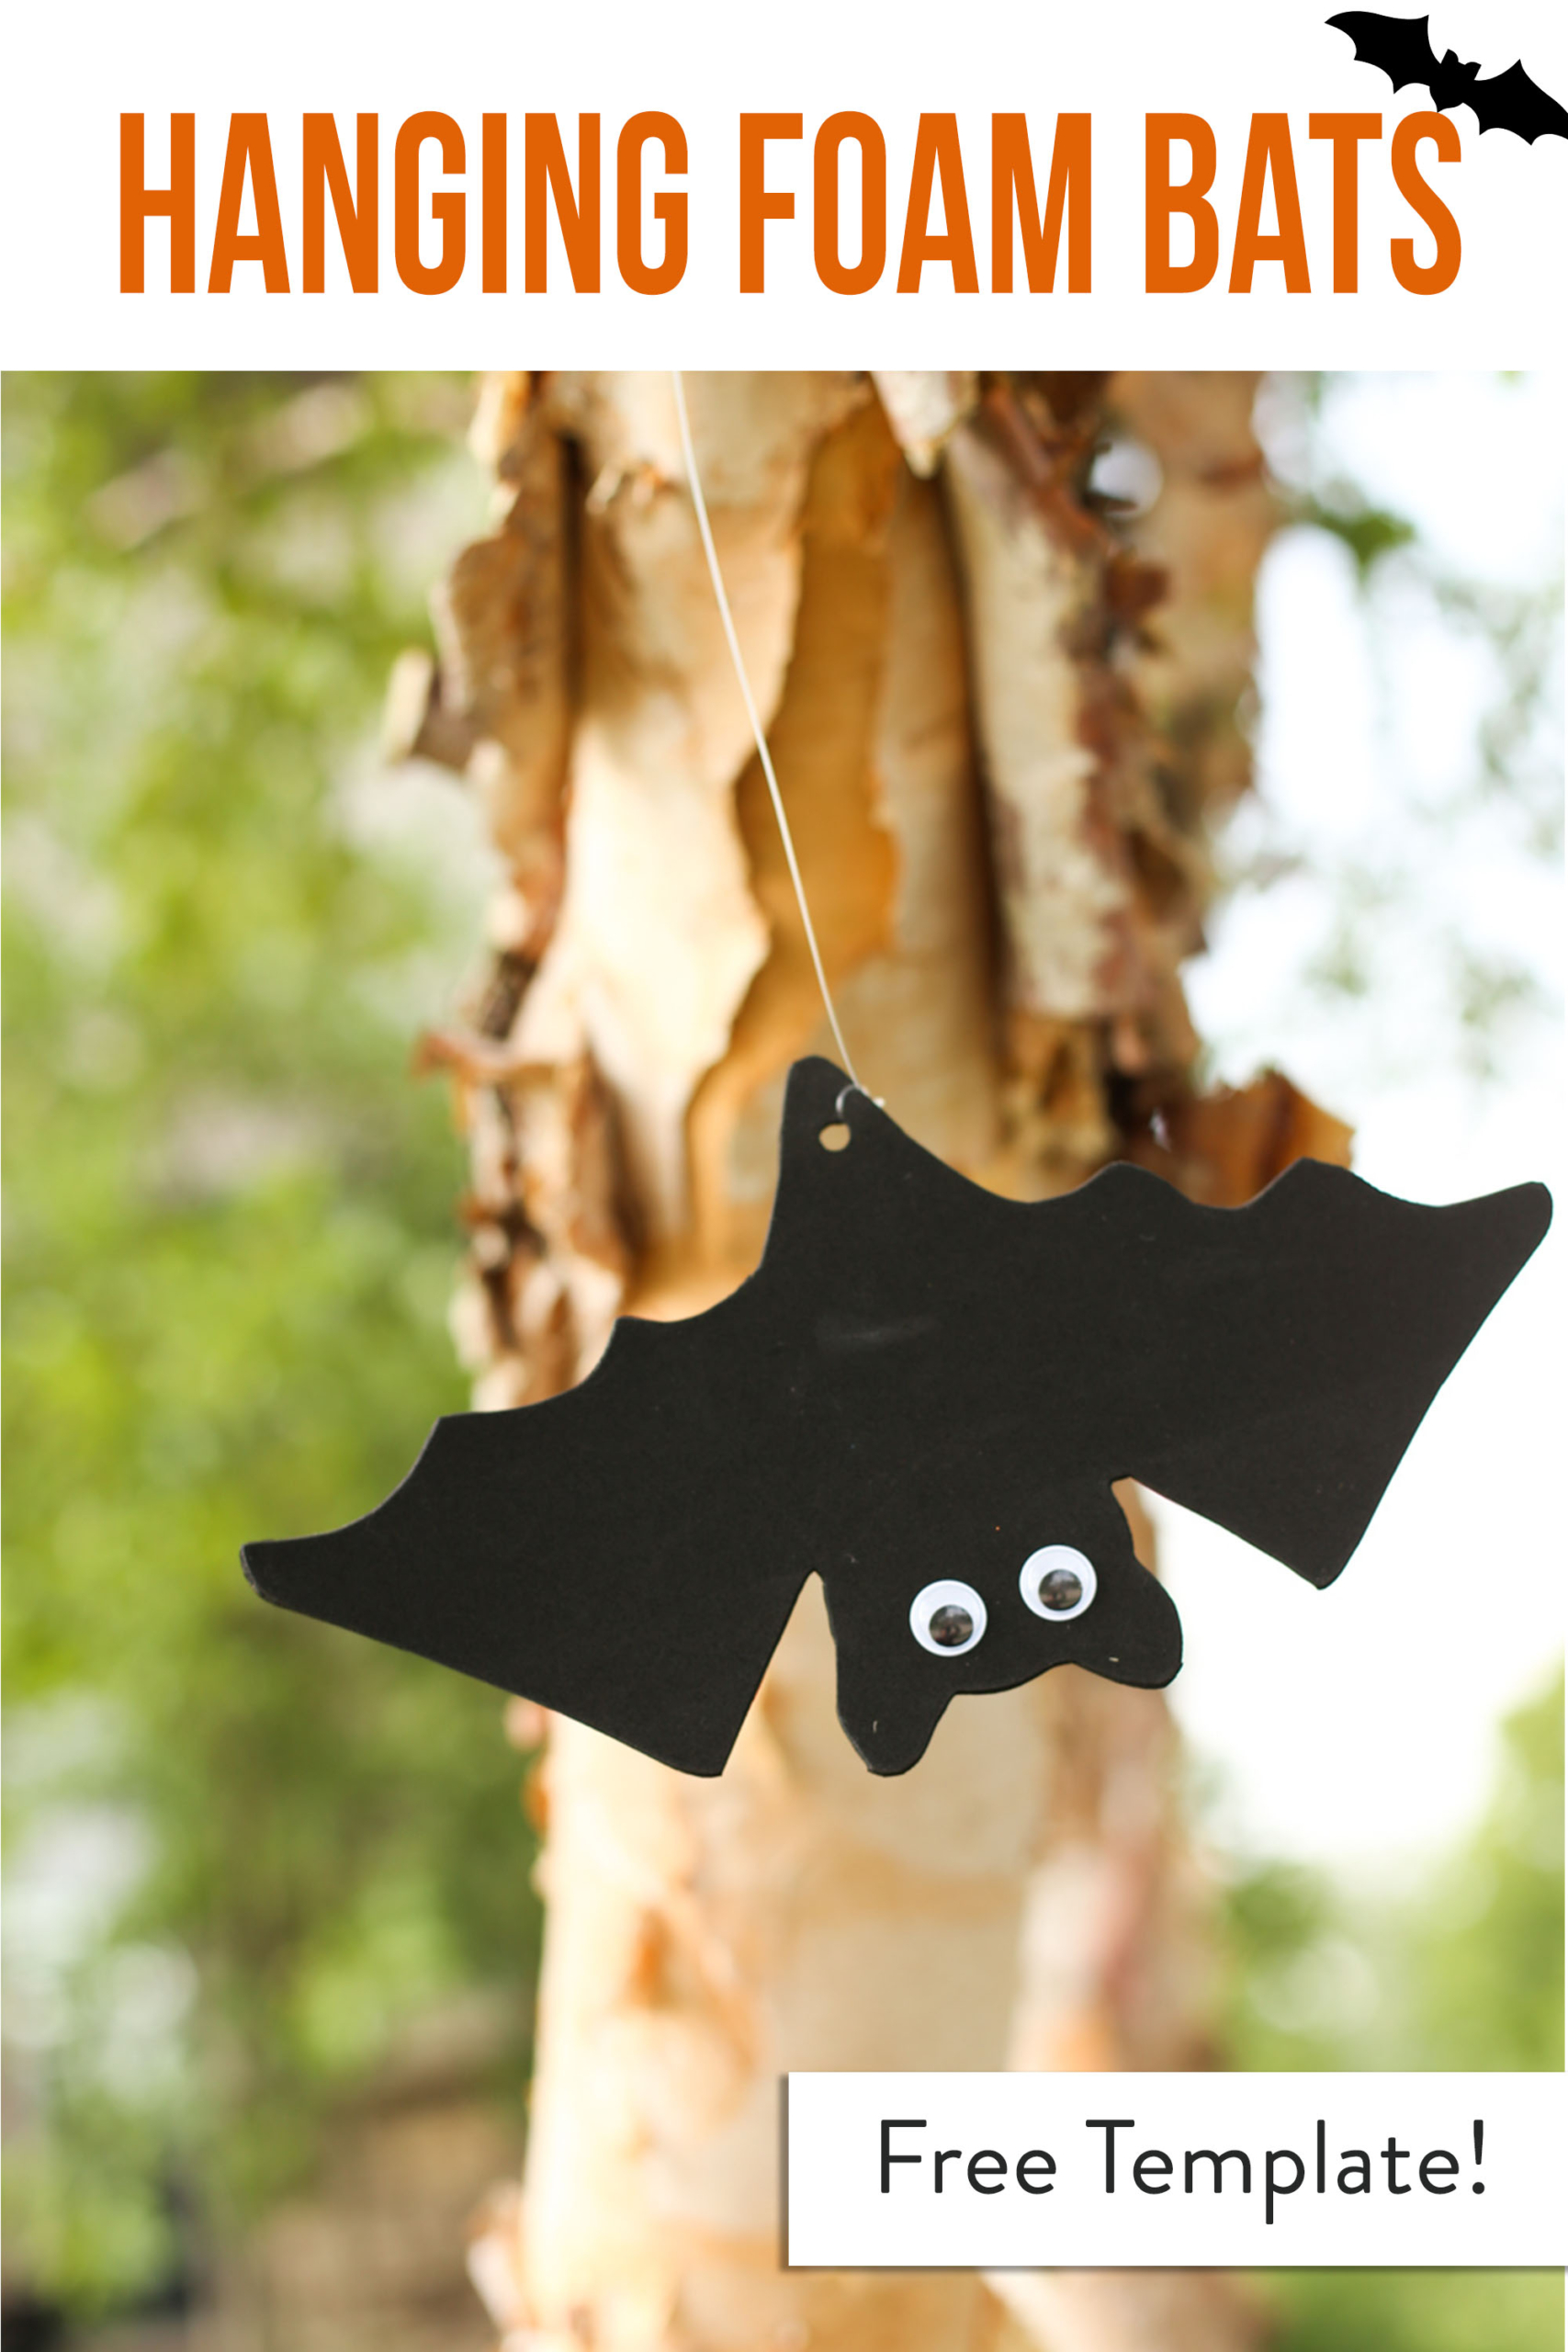
Supplies You Need for the Halloween Craft
- Black Foam Paper
- Googly Eyes – I like the self adhesive ones linked here
- Scissors
- Bat Template – Download and bring below
- Hole punch (for hanging)
- Fishing Line (for hanging)
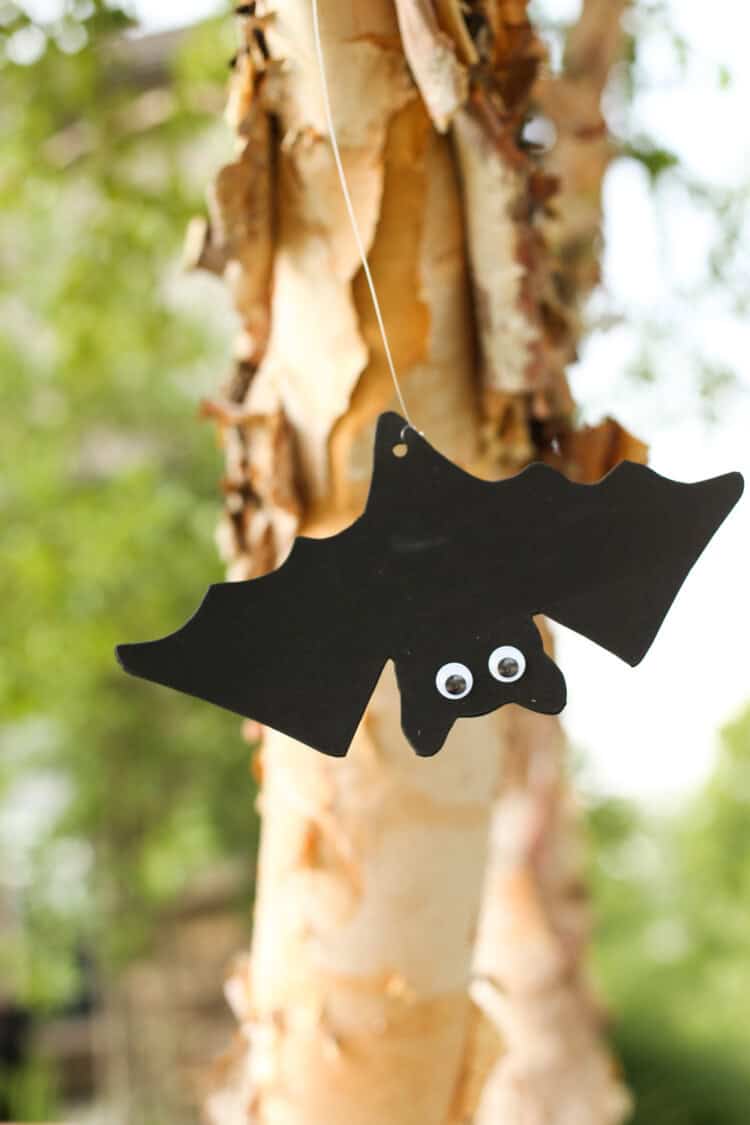
Foam Bat Template
Step 1: Cut out the bat template provided above
If you have your own template, make sure it’s large enough to be seen from a distance.
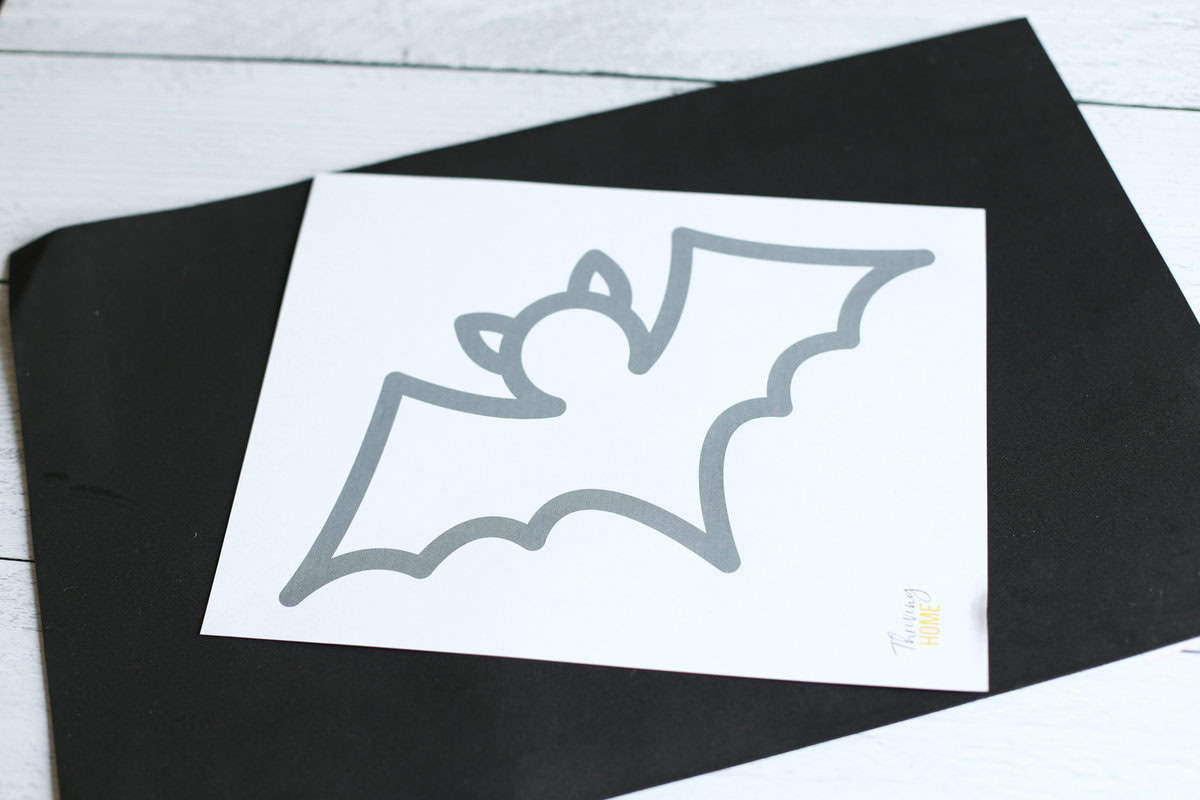
Step 2: Trace the bats
Using a marker, trace around your bat template. I had large foam sheets to I was able to do 2 on each one.
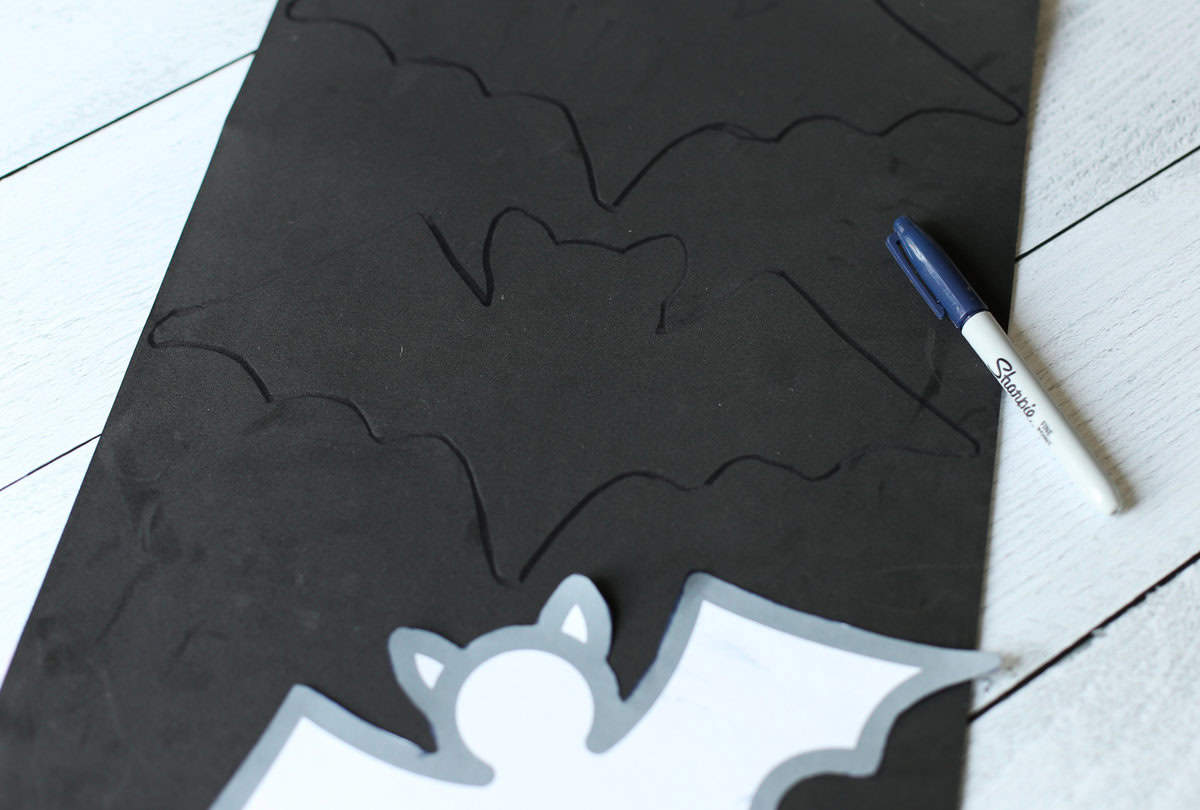
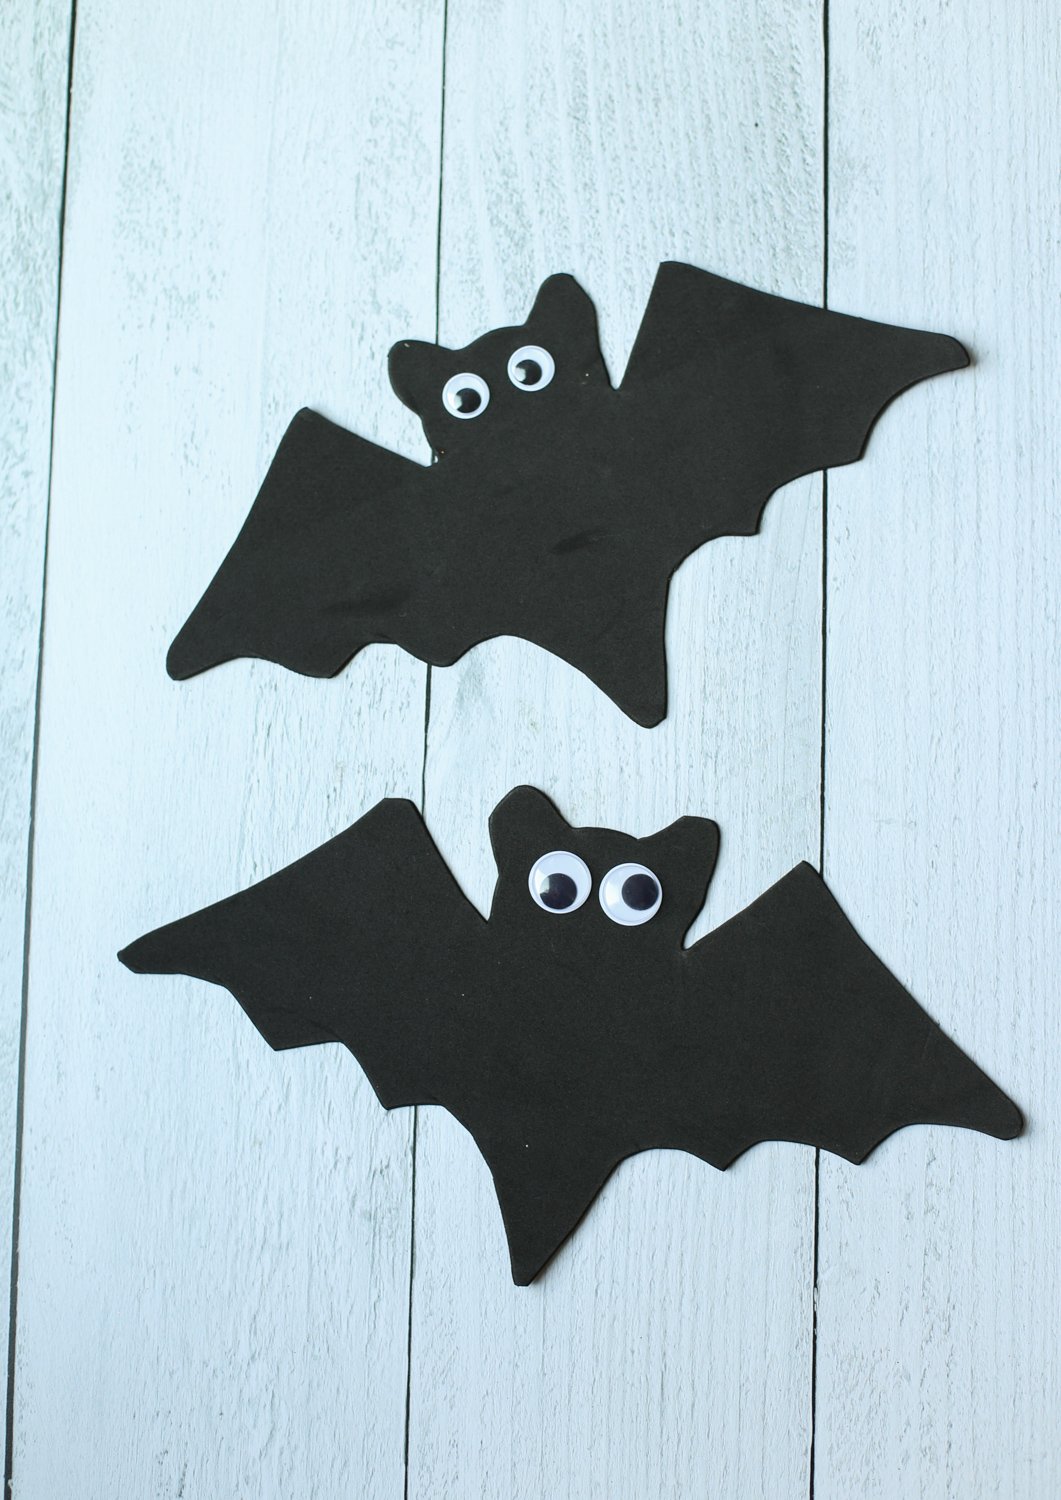
Step 3: Cut out your bat and add eyes.
Feel free to have fun with the eyes. Large eyes and small eyes will both look great on this bat craft.
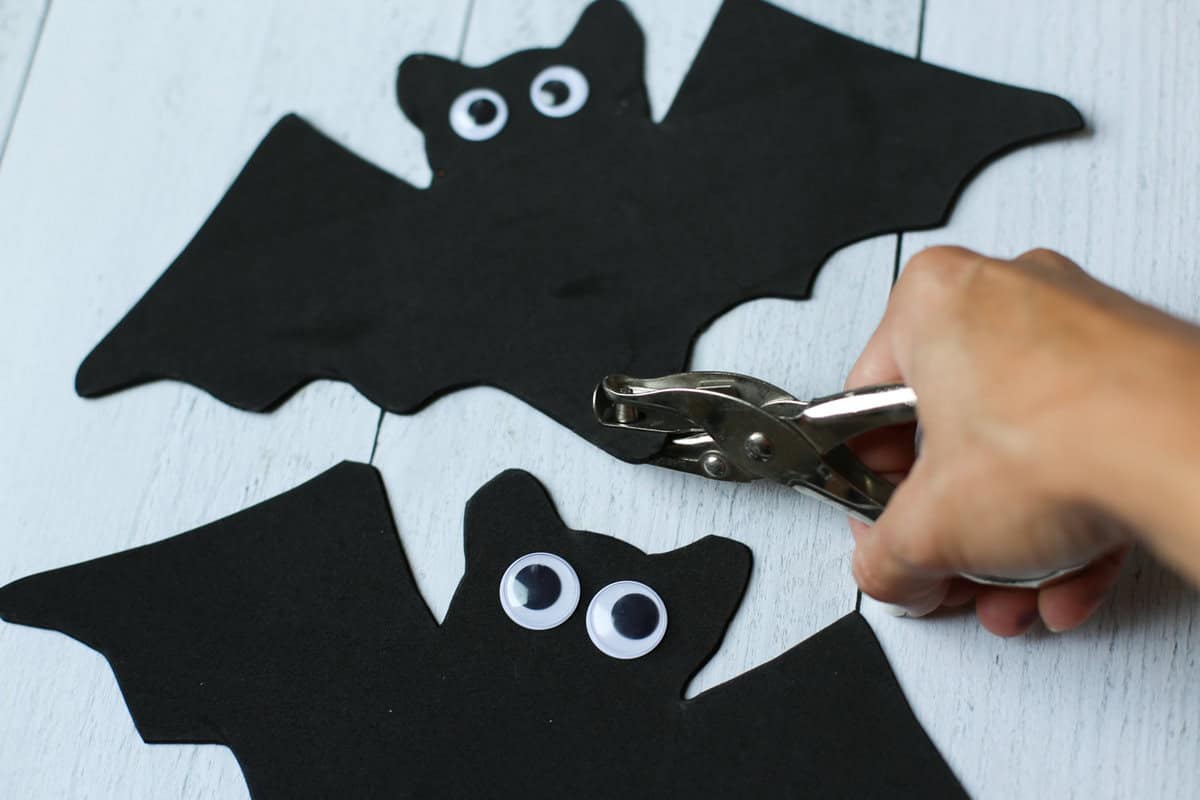
Step 4: Add a hole punch and fishing line
If you want to hang your bat around your house or outside, punch a hole at the bottom of it.
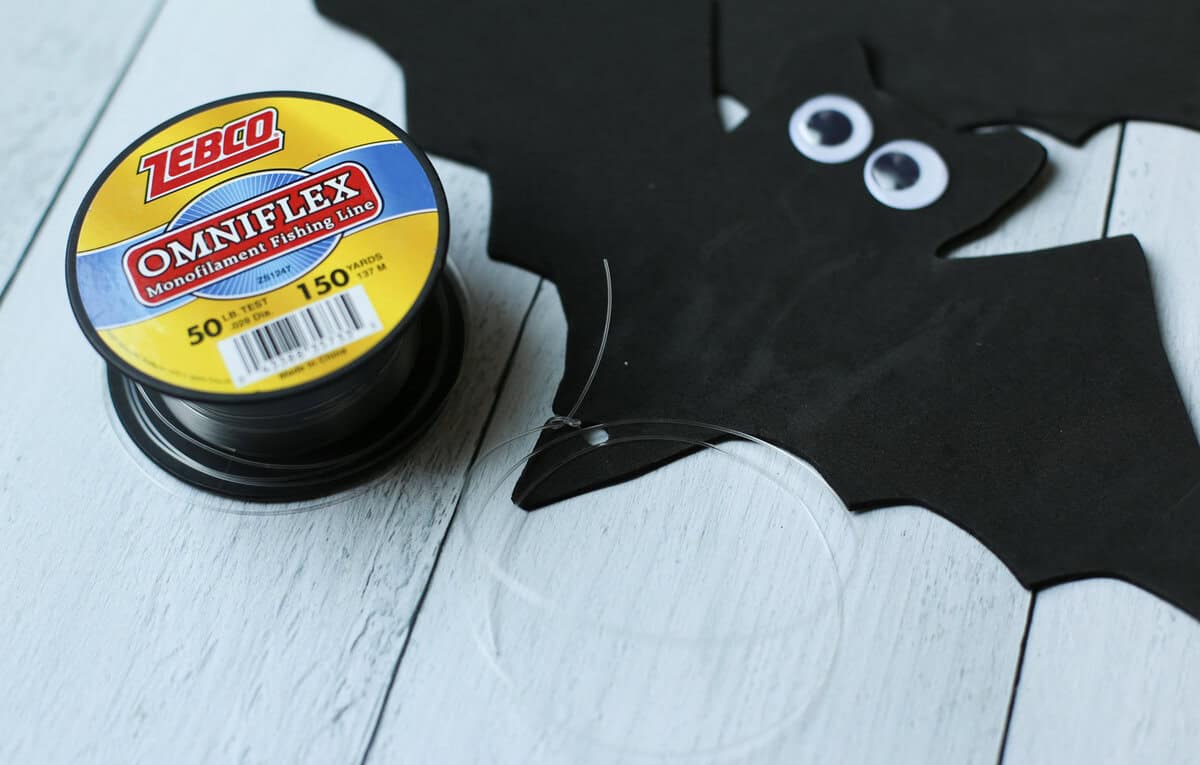
Using fishing line or string, tie a knot and cut the line at your preferred length.
Step 5: Let your bat fly!
You can get creative about where you hang your foam bat. It’d be fun to hang in some door frames, stairwells, windows, house plants etc.
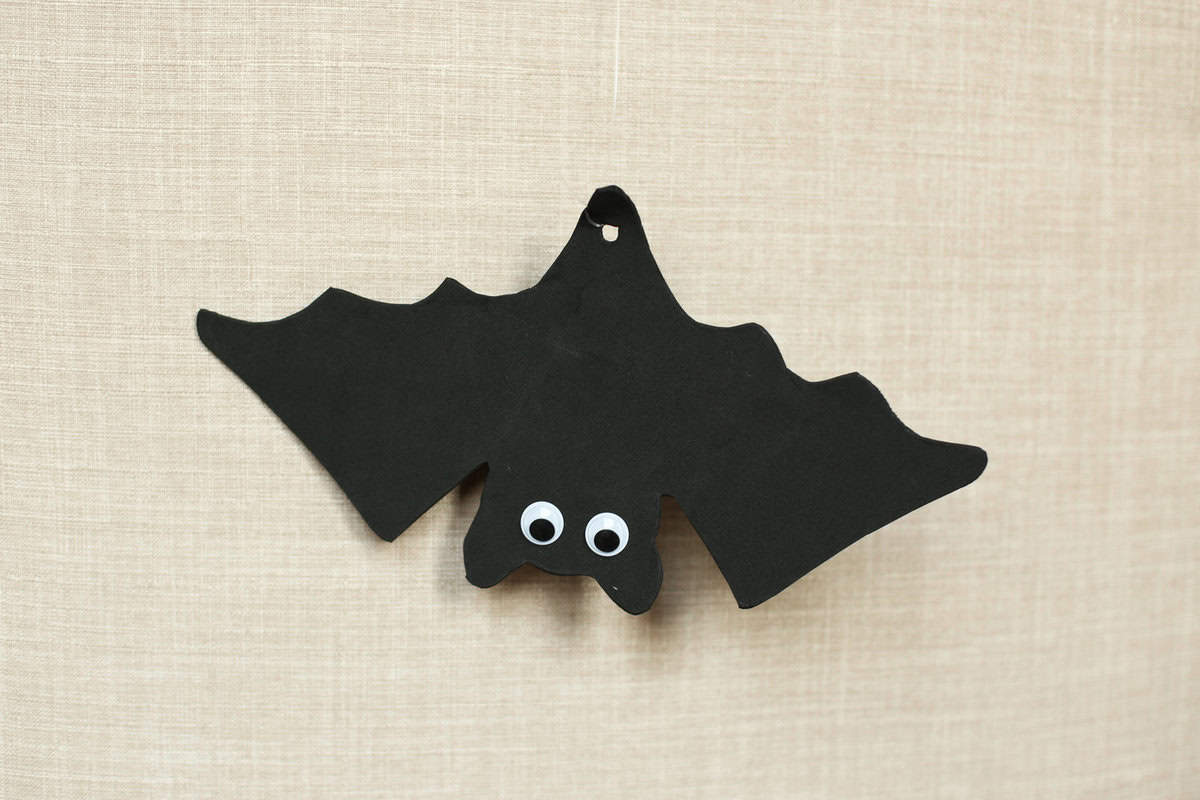
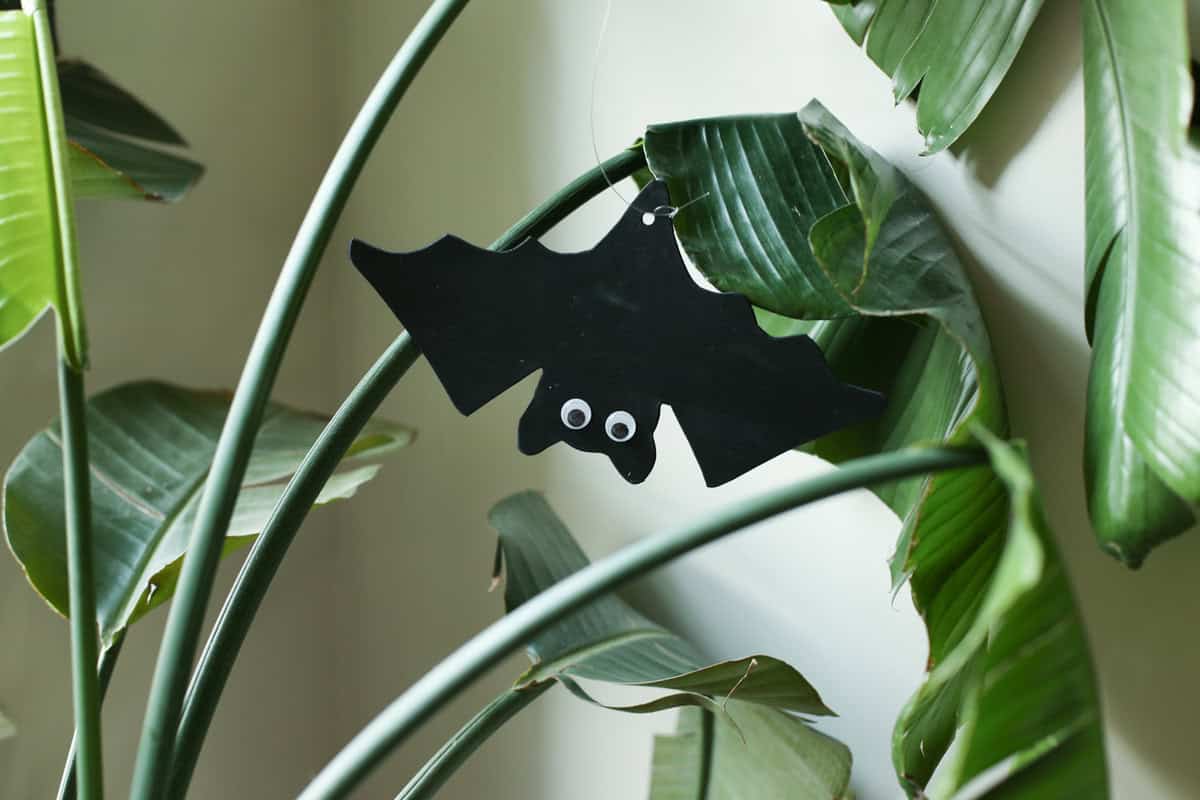
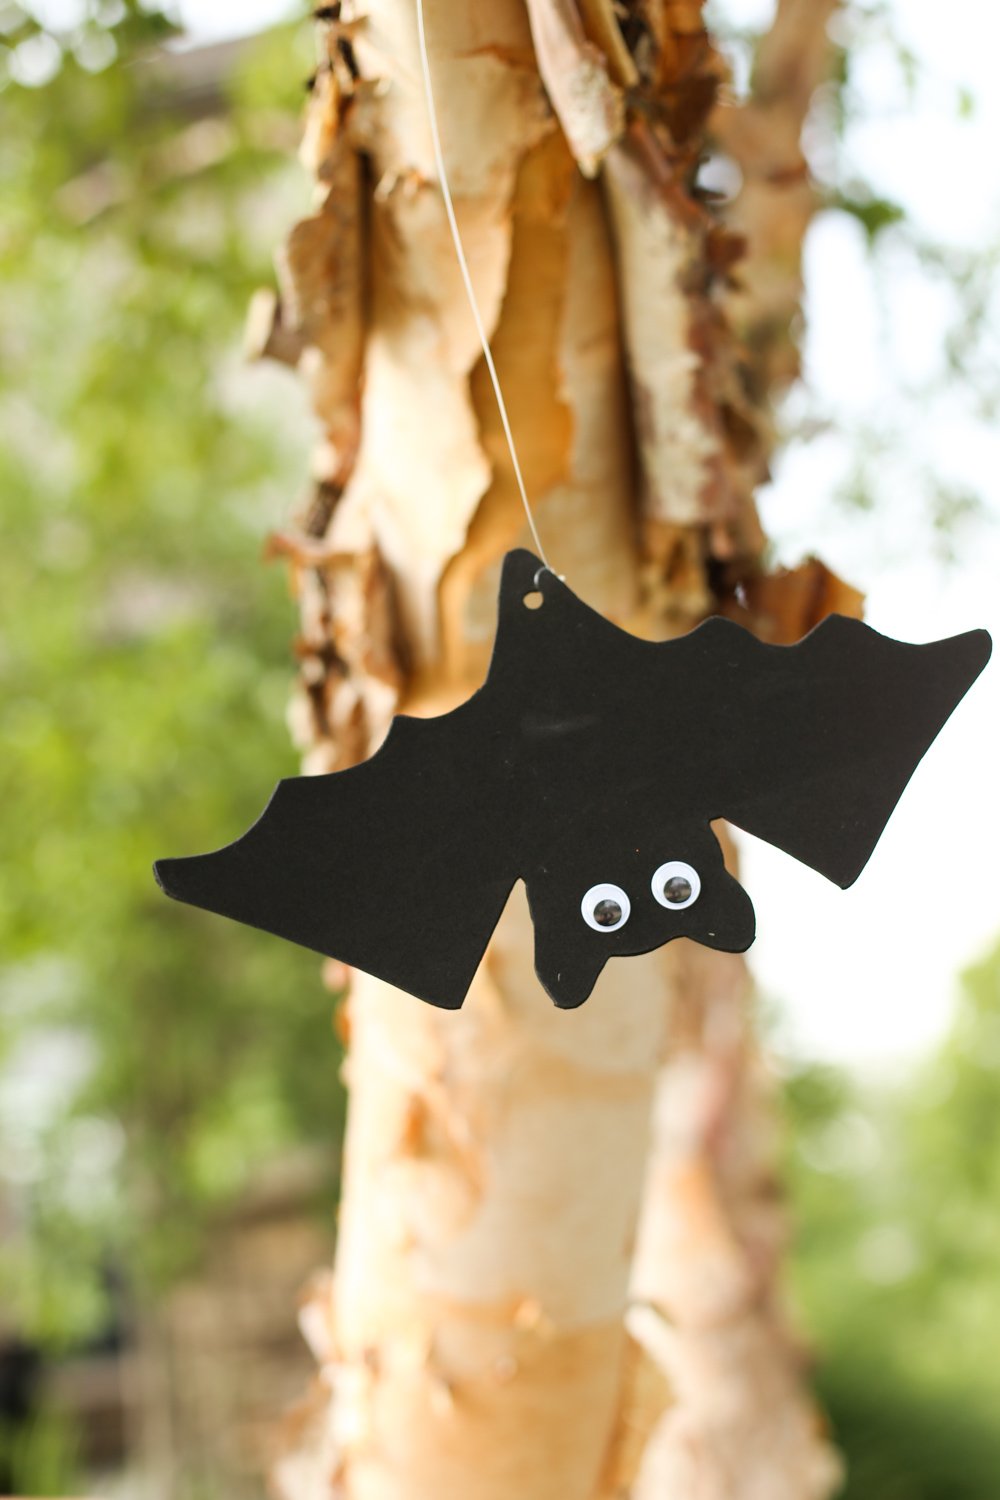
Or you can hang your foam bats from trees outside! Since the bats are made from foam and not paper, they will hold up well.


Leave a Comment