DIY Scented Soap Bars
This post may contain affiliate or sponsored links. Please read our disclosure policy.
by Jessica Ellingsworth of Mayvn, Contributing Author
DIY Soap
One of the first obstacles I found when researching soap-making with kids is the process of mixing oils with lye, a caustic substance. Even though there is no lye in the final product (if ingredient ratios are correct, digital scale required!), there is still the saponification process that has potential hazards when rookie moms and small hands are involved. Who knew I had two little aspiring chemists on my hands?!
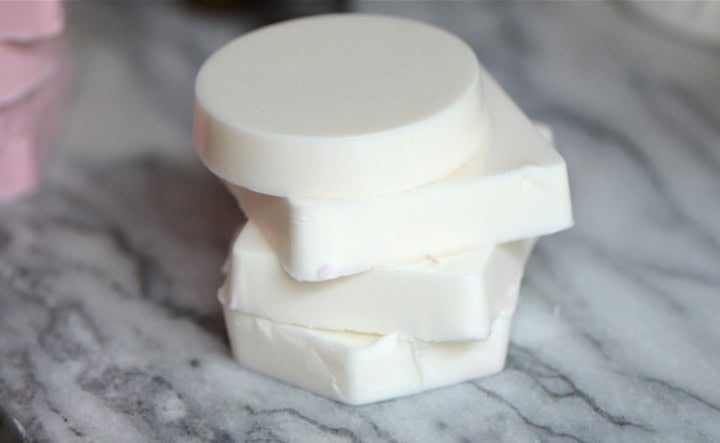
Taking their ages and my inexperience into account, I found and purchased blocks of raw soap bases that have already been through this process for me, leaving the fun part of melting, scenting, and pretty packaging to us. Another pro for doing a melt and pour: there is no ‘curing time’, so soap is ready immediately after cooling–a win for kids! All three of my kids really enjoyed the process and love knowing they made something so useful. My husband and son even made a “manly” soap.
Depending on the costs of your chosen essential oils, I estimate a small bar of natural homemade melt and pour soap costs around $1.50.
Without further adieu, here is the 7-step process for making DIY Scented Soap Bars:
1. Assemble tools and ingredients. You’ll need:
- glass measuring cups
- sharp knife
- a pot
- soap molds (plastic or silicone work best so there is ‘room to give’.) I even used a clover cupcake mold I had stashed away and found an inexpensive soap mold at Michael’s craft store.
- bars of soap bases–I purchased organic coconut oil bases at Bulk Apothecary, but they can be found a number of places.
- essential oils and droppers–You can pretty much fragrance with anything you can dream of. For our maiden voyage in soap-making, we settled on batches of Rose Oatmeal, Sweet Orange and Eucalyptus.
- Finely ground nuts, oatmeal and herbs for texture (optional). Chopped herbs like lavender are beautiful for Spring.
- a small amount of rubbing alcohol in a small spray/spritz bottle
- craft paper, tags and pretty ribbon if gift-giving.
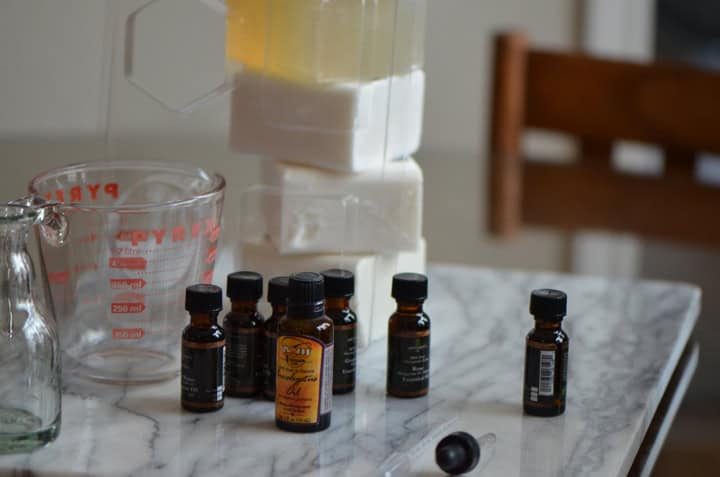
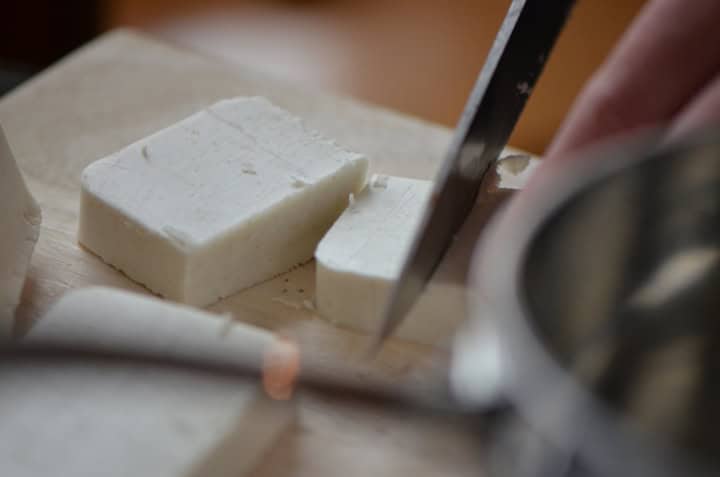
2. Cut blocks into cubes. Heat slowly in a pot over low heat until melted.
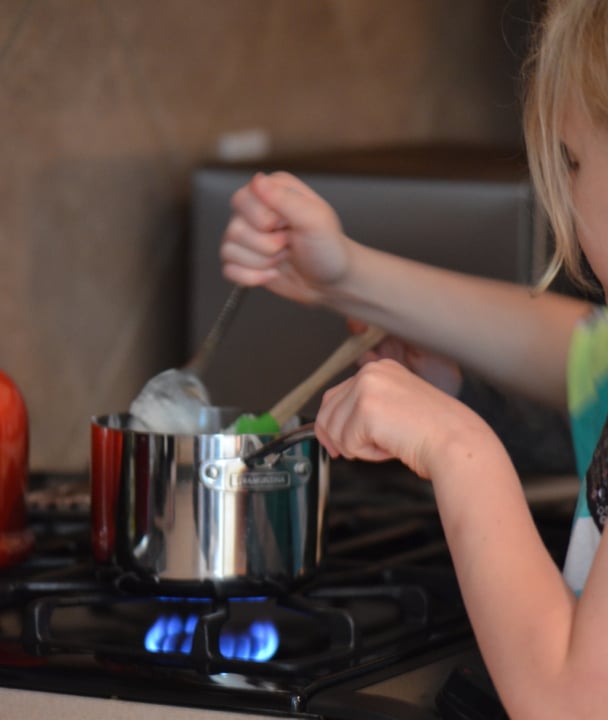
3. Take off of the heat and add fragrance, colors and/or textures, to your preference. Natural soap colorants made with mica can also be purchased. Pro tip for fragrance: 5 grams of essential oil per pound of soap.
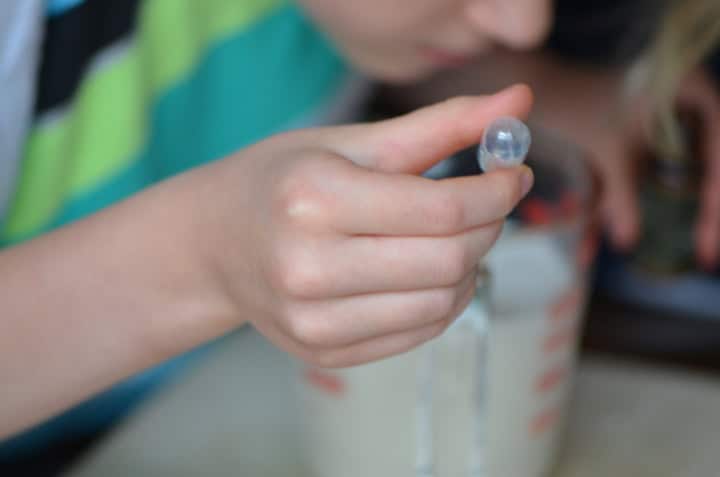
4. Pour into molds.
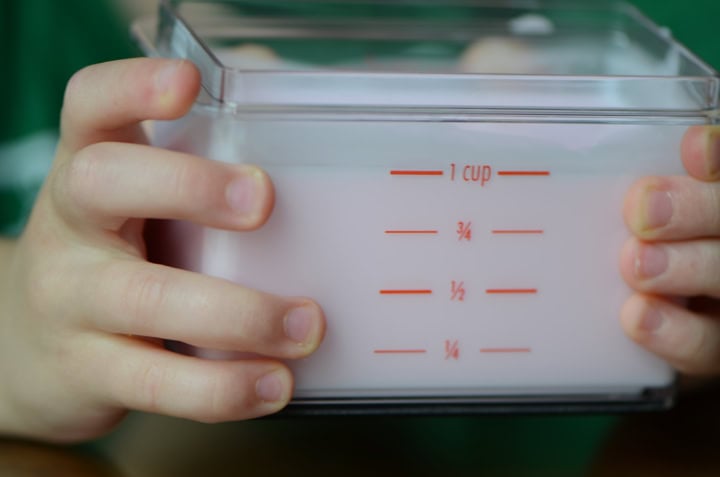
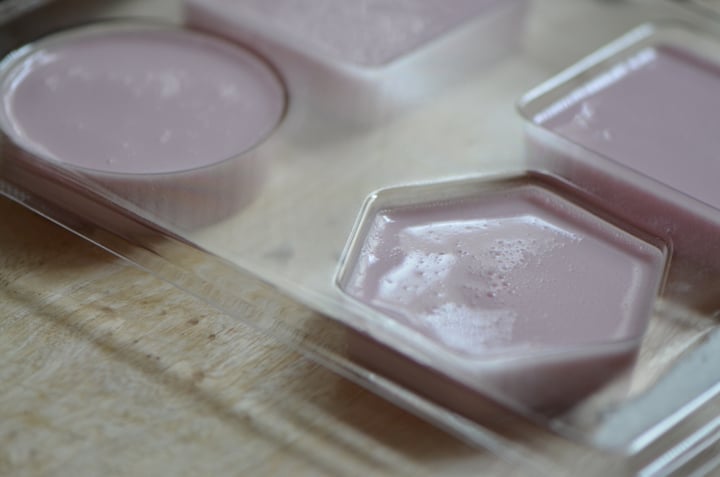
5. Spritz lightly with rubbing alcohol to dissipate bubbles.
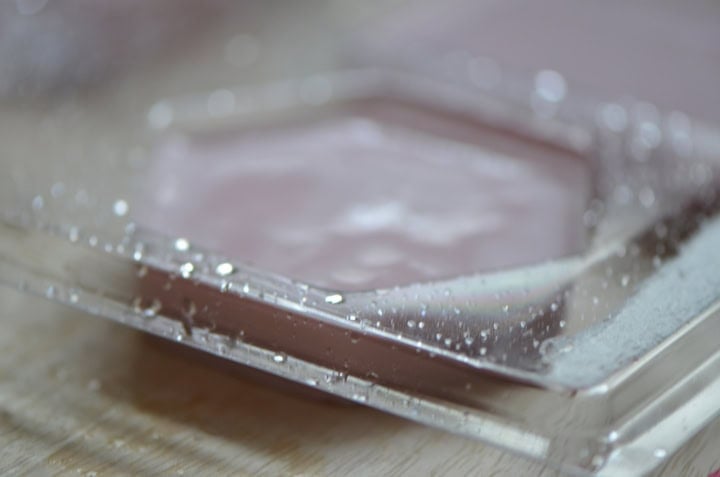
6. Let soap firm up in the molds for 2-4 hours. The soap will be firm to the touch and easily release from the sides of the mold.
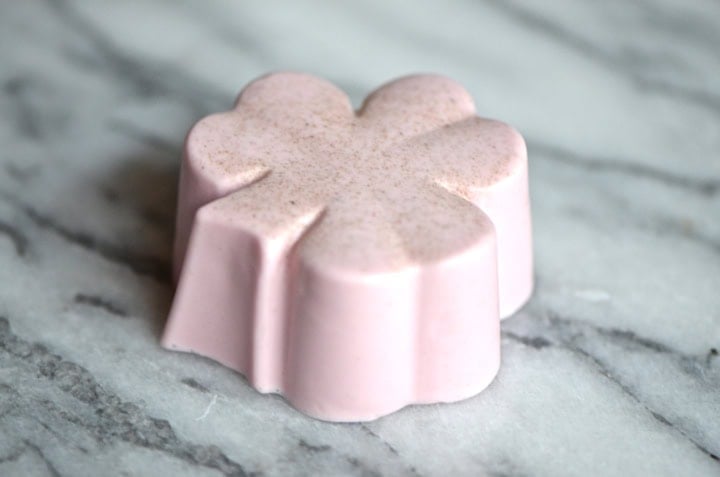
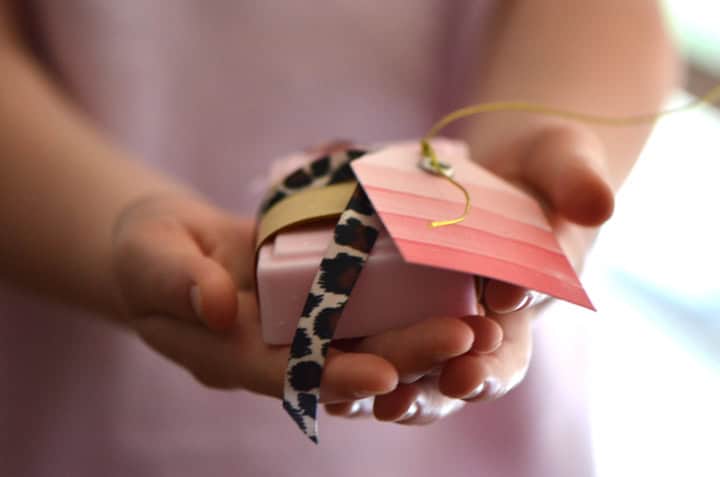
7. They are now ready for use or package in paper and pretty ribbons for fragrant gift-giving.
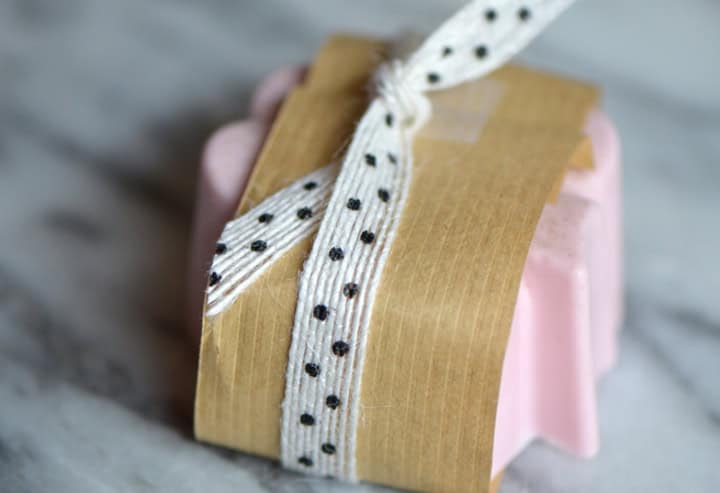
Happy Spring!
About the Author

Jessica is a freelance writer, stylist, and recipe developer. She lives in Austin with her husband, two daughters, and son. She loves makeup artistry, interiors, travel, being in the kitchen with her kids, creative living, and exploring the streets of Austin for inspiration and the best food dives. She blogs at Mavyn.

It explains the melt-and-pour method, allowing you to customize your soap with different essential oils and natural ingredients. The step-by-step instructions make it easy to create beautiful, aromatic bars that make great gifts or personal treats.
Thank you so much for this recipe! I found it so helpful for the business I’m doing at school. Most people are doing slime for their little business but I found you inspiring so thank you for sharing this recipe!
You’re welcome Avery!
Why won’t my soap lather up.
I tried to make sented soap and now it won’t lather up
Oh goodness Penny, a friend of ours wrote this post many years ago and I have never made it myself. Perhaps this link might help: https://www.diyproducts101.com/why-does-my-homemade-soap-not-lather/
I Love this will try it out
Please teach how to make soap bars i wanna start my own business, and tell me where can I get ingredients…. Im in Durban