Painting Oak Cabinets
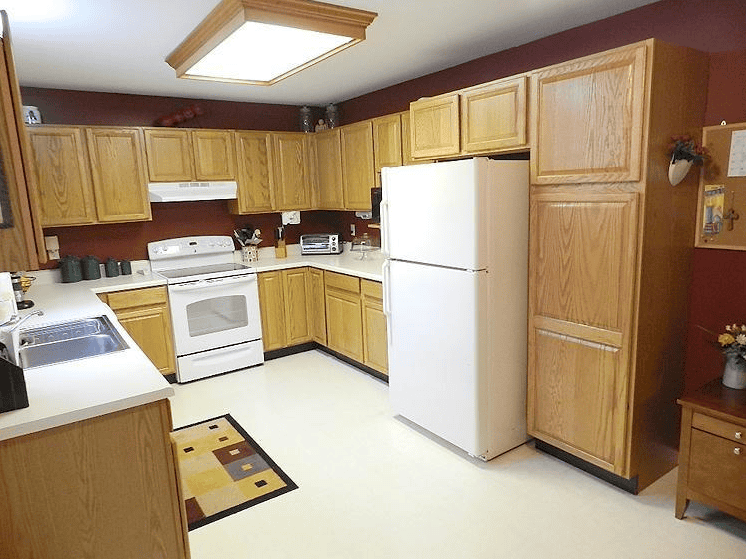
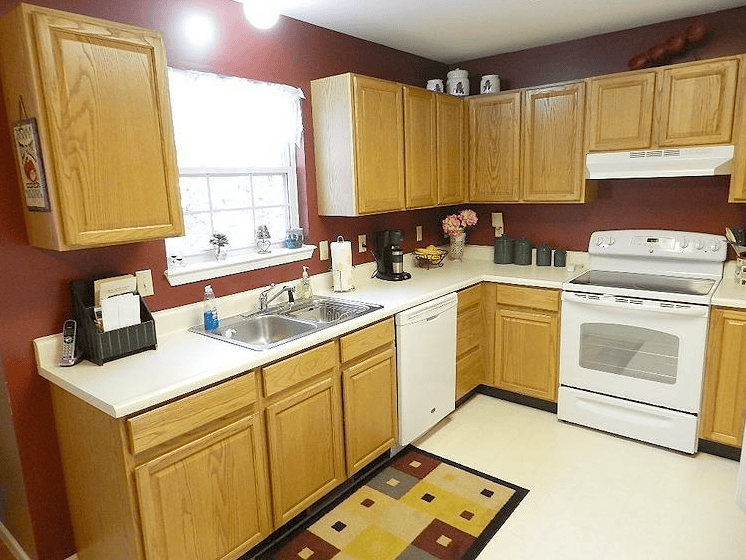
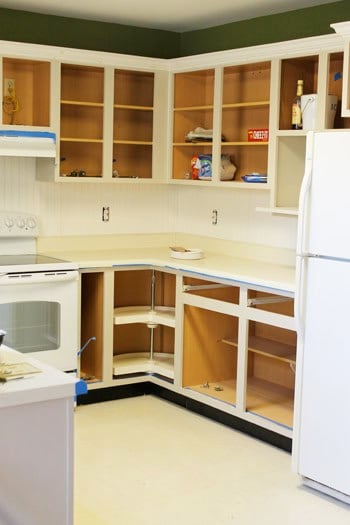
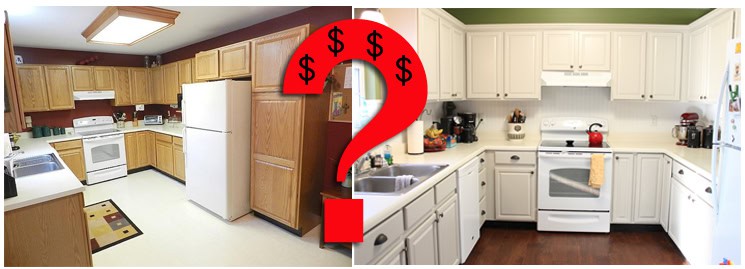
One of the biggest changes you can make in your kitchen that will give you bang for your buck is updating oak cabinets. It’s a lot of work but totally worth it. As you can see in the before pictures of our new home, there was a whole lot of oak going on.
From tutorials that I had read, I knew painting cabinets would be a lot of work but I have also seen how it completely transforms a kitchen. Before I jump in on how exactly we did it, I want to share a few thoughts on the kitchen cabinet painting process It is A LOT of work. It is not a task to take on solo.
- Your kitchen will be unusable during the process. We had the luxury of not living at the house while we were doing our cabinets but if we were, it would have been nearly impossible to use the kitchen.
- Plan for it to take a minimum of a week to complete. Probably longer.
- Dust. Will. Be. Everywhere.
- Think ahead about where you will put all of your cabinets during the process. You will need some stands to put them on to dry.
Lastly, I want to make sure to communicate that I am NOT an expert. I am simply sharing about the process we went through and the method we used. There are tons of different ways to paint oak cabinets and the way we did it is one among many. I found the tutorial from Young House Love quite helpful but even did a few things differently after talking to a man at our local paint store.
Now that I have made all of my disclaimers, I’ll get to how we painted our kitchen oak cabinets.
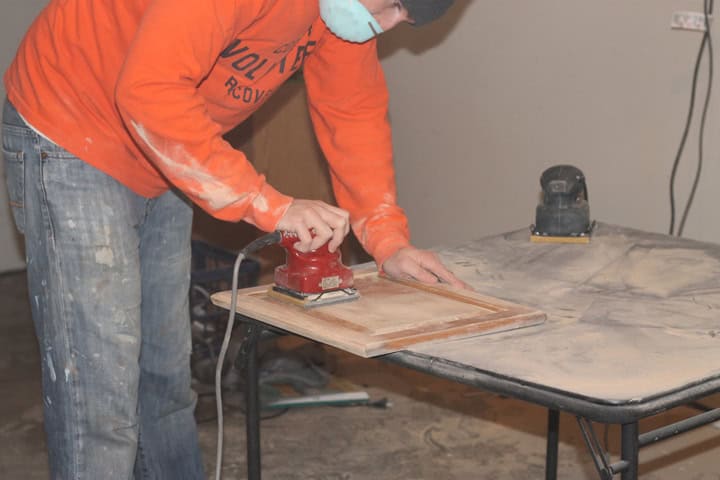
After removing all the hardware and cabinets from the walls, we got right to sanding. This took A LOT longer that we had anticipated. My dear husband sanded these cabinets for almost two days. I was afraid he would get asthma from all the dust!
Using a palm sander, we sanded all of them down with an 80 grit sandpaper and then again with a 120 grit. I had to go along and manually sand the grooves that the palm-sander couldn’t reach too. Dust was everywhere. Since it was mid-winter, we had to do the sanding in the garage rather than outside. I made the mistake of leaving my car in the garage during the sanding too. It was in need of a car wash!
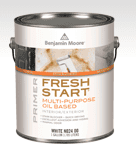
Since oil based primer won’t dry unless it’s warm, we had to do all of this inside. Luckily we had the whole basement to use and block off since the fumes were pretty strong.
We did two coats of primer (letting them dry adequately in between) and then two coats of paint. We used the Benjamin Moore Advance line. This was recommended by a trusted contractor as well as many other people who have painted cabinets. This line of paint is made to be durable but is water based so it’s a lot easier to work with. The color I picked out was called Revere Pewter with a satin finish. Since all my appliances are white, I didn’t want to go with white cabinets too. I thought a light gray would look good so I took a risk and bought a gallon of the color.
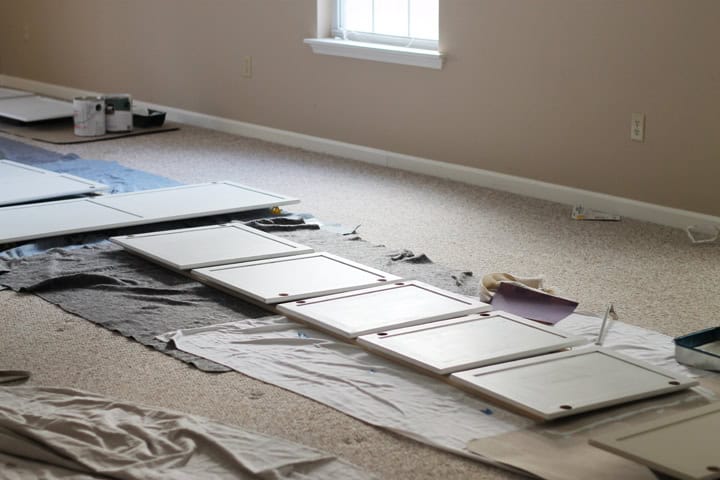
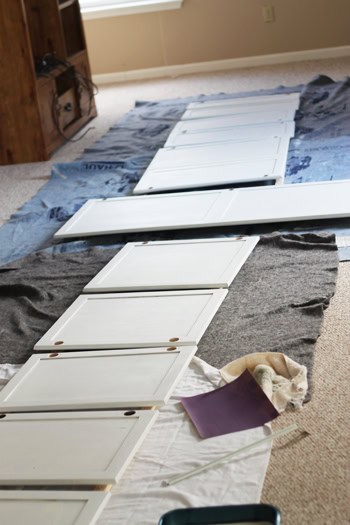
To apply the paint, we went along the grooves with a paint brush first and then followed up using a very low nap, 4 inch roller since I didn’t want much texture on the cabinet paint. What’s a bit of a pain with painting cabinets is you have to wait for one side to dry before you flip it and paint the other side. The actual painting time doesn’t take that long. Just the drying!
We had to go through the same process on the inside cabinets too. Sand, prime and paint. I used a roller for most of this.
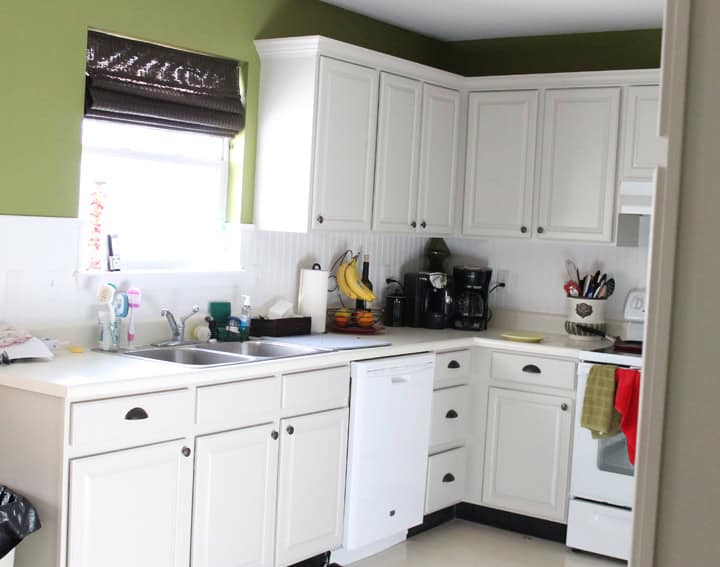
After letting them dry a few days, we added hardware.
I chose an oil-rubbed bronze finish and actually got them off of Ebay. This saved quite a bit of money but you run the risk of not seeing them before you purchase them. I’m not super picky so the savings was worth the risk for me.
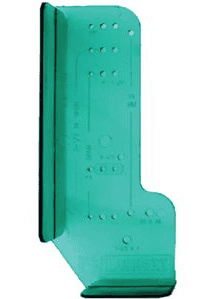
In order to make sure all of our hardware was installed evenly and in the same place, I used a hardware installation template. This was the best $7.00 we spent.
I went around on each cabinet and using the template, marked where the knob would go. My husband had to do a little math in order to measure where the pulls for the drawers would go.
I did make one big oops and accidentally marked and installed a knob on the wrong side of a cabinet. All we had to do was to fill it with wood filler, sand it down a bit and paint over it though. Crisis averted.
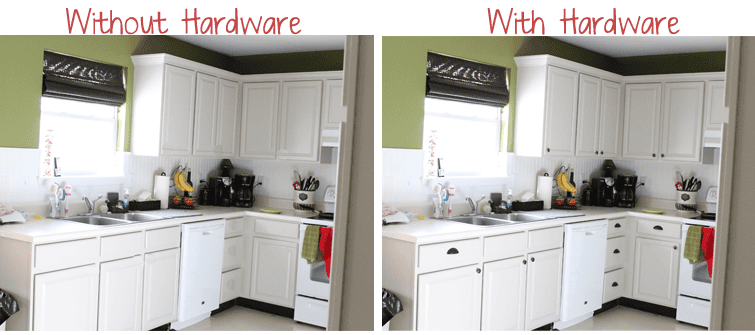
I think adding hardware to cabinets adds SO much to the overall look. To prove my point, here is a quick-and-dirty photo-shopped version of the cabinets without hardware.
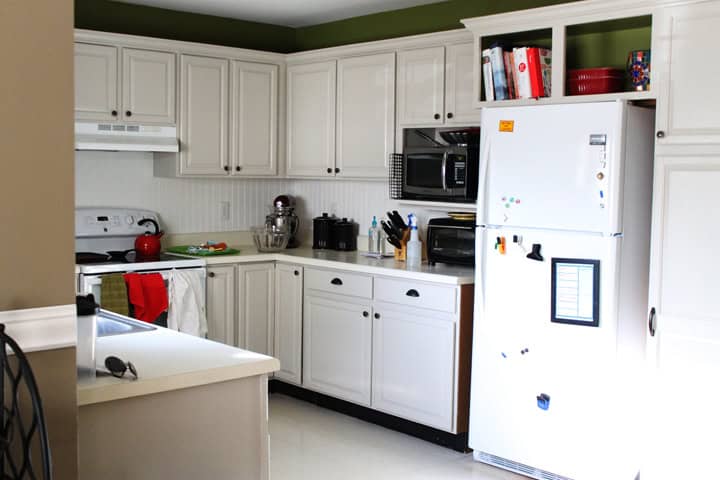
After we got them all up and in place, we saw lots of little spots that needed touch-ups and such. Despite a few imperfections here and there (mostly likely I am the only one who notices) I LOVE how they turned out.
As you can see in this picture, I chose to open up two small cabinets above the fridge to give the kitchen a bit more character. I just primed and then painted the inside of the cabinets the wall color (Benjamin Moore: Winding vines).
As I am writing this post, I am listening to the wood floors being installed in the kitchen, dining room, and entry way. I have no idea how my kids are napping through the war zone up there but they are. I can’t wait to see how it all turns out!
Lastly, if you are interested in the budget breakdown of our entire kitchen flip, here is a post on that.

Did you paint the inside of the cabinets (the sides and shelves) and if yes has it held up well to chips from taking things in and out the cabinets?
I painted the inside of the cabinets, not the drawers. The paint has held up remarkably well! No chips at all.
Hi…some time has gone by and I’m wondering how the paint has held up? I’m considering painting ours but we are tough on our cabinets (6 kids).
They have held up amazingly well! They wipe down easy and I haven’t seen one chip which is a small miracle considering the beating they have taken from my little people. Highly recommend this paint line. Don’t go cheap or cut corners!
I’m glad you found it helpful, Mary! I don’t find darker colors more problematic than the lighter colors – it’s all a matter of preference. My kitchen is all white but with a black island. But, I’ve painted some two-toned kitchens as well and love them. ?
I can’t tell from the picture, did the primer and paint cover up the grain from the oak? It doesn’t look like you used a sealer over the paint, how is the paint holding up from nicks and stains?
I don’t notice a grain unless I’m really looking for it. However, this really depends on how course the grain in your cabinets is. Ours wasn’t too bad. I didn’t use a sealer over the paint and we haven’t had any chipping or staining. Been about a year since we painted them. In fact, I’ve wiped quite a bit of crud off of the cabinets and they have taken a beating from our little ones. I’d sure sure use Benjamin Moore Advance paint again.
Looks fabulous! I was wondering if you had a cost break down. I want to,paint my cabinets and want to see if it will fit in my budget. Or maybe just how many cans of paint and primer you used. Any info would be helpful. Love the hardware!
I sure do! See this post for the budget breakdown. Good luck!
I’ve been thinking about painting our oak cabinets, but they have a wood grain texture to them. Did yours have that and did sanding take care of it or are they still textured?
To be honest, we didn’t have a ton of grain in our cabinets. Sanding will help but I don’t think you will be able to make it perfectly smooth. I personally don’t mind a little bit of grain showing. It probably wouldn’t be that noticeable. If I were you, I would ask a painter or someone who works at a paint store this question and get their opinion. Good luck!
Lovely! Just lovely. I’m sure you think it was worth all the hard work now, but at the time you probably felt like it was a real ‘heavy’ job, huh? Looks beautiful and I’m sure you will enjoy the changes for many years to come. I appreciate both you gals and look forward to your lovely posts in the new year.
Thanks, Better Baker. You always leave the most encouraging comments. We appreciate you! 🙂