Double Chocolate Brownies
Our rigorously-tested Double Chocolate Brownies are a crowd-pleasing dessert crafted with precision by our expert pastry chef friend. Every fudgy square is packed with rich chocolatey flavor and leaves you coming back for more.
P.S. If you like this recipe, you will also love our Buckeye Brownies!
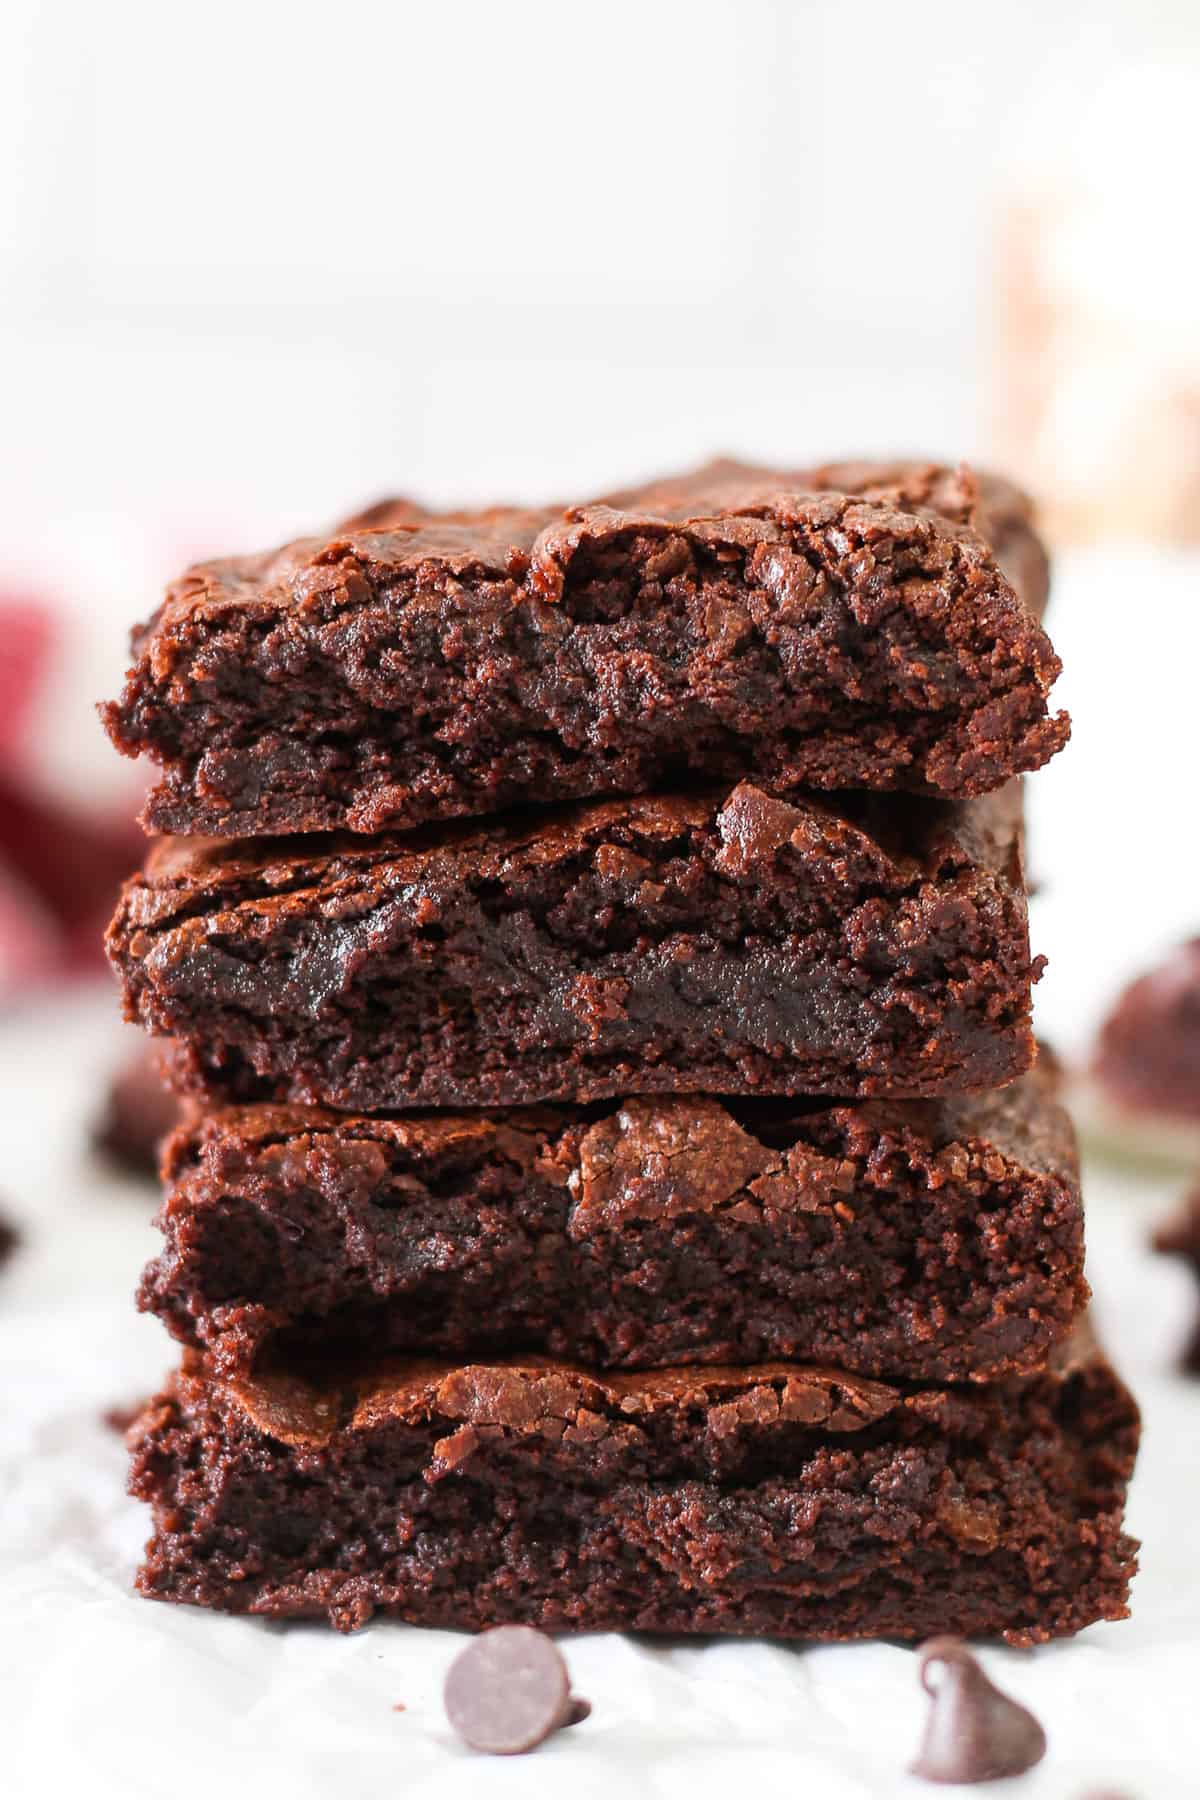
Why You’ll Love This Recipe
- Double. Chocolate. – Instead of tossing chocolate chips into the batter, we melt them in. This insures the extra chocolate is distributed through the whole batch. (We do the same thing with our Chocolate Buttercream Frosting!)
- Rigorously tested – Our recipe contributor (also a pastry chef!), Rachel Riegel, tested many variations of this recipe.
- It can be made in a 9×9 baking dish or a 9×12. The 9×9 dish will yield thicker results, which we both preferred after testing. See the Cooking Notes in the recipe below for more on how the pan size and material affect the baking time.
- Freezer-friendly – Yes, you can freeze brownies! Like our Peanut Butter Brownies and Brownie Cookies, this is a dessert you can make ahead and freeze to enjoy later. We’ll show you how.
Ingredients
Here is what you need to make our Double Chocolate Brownies.
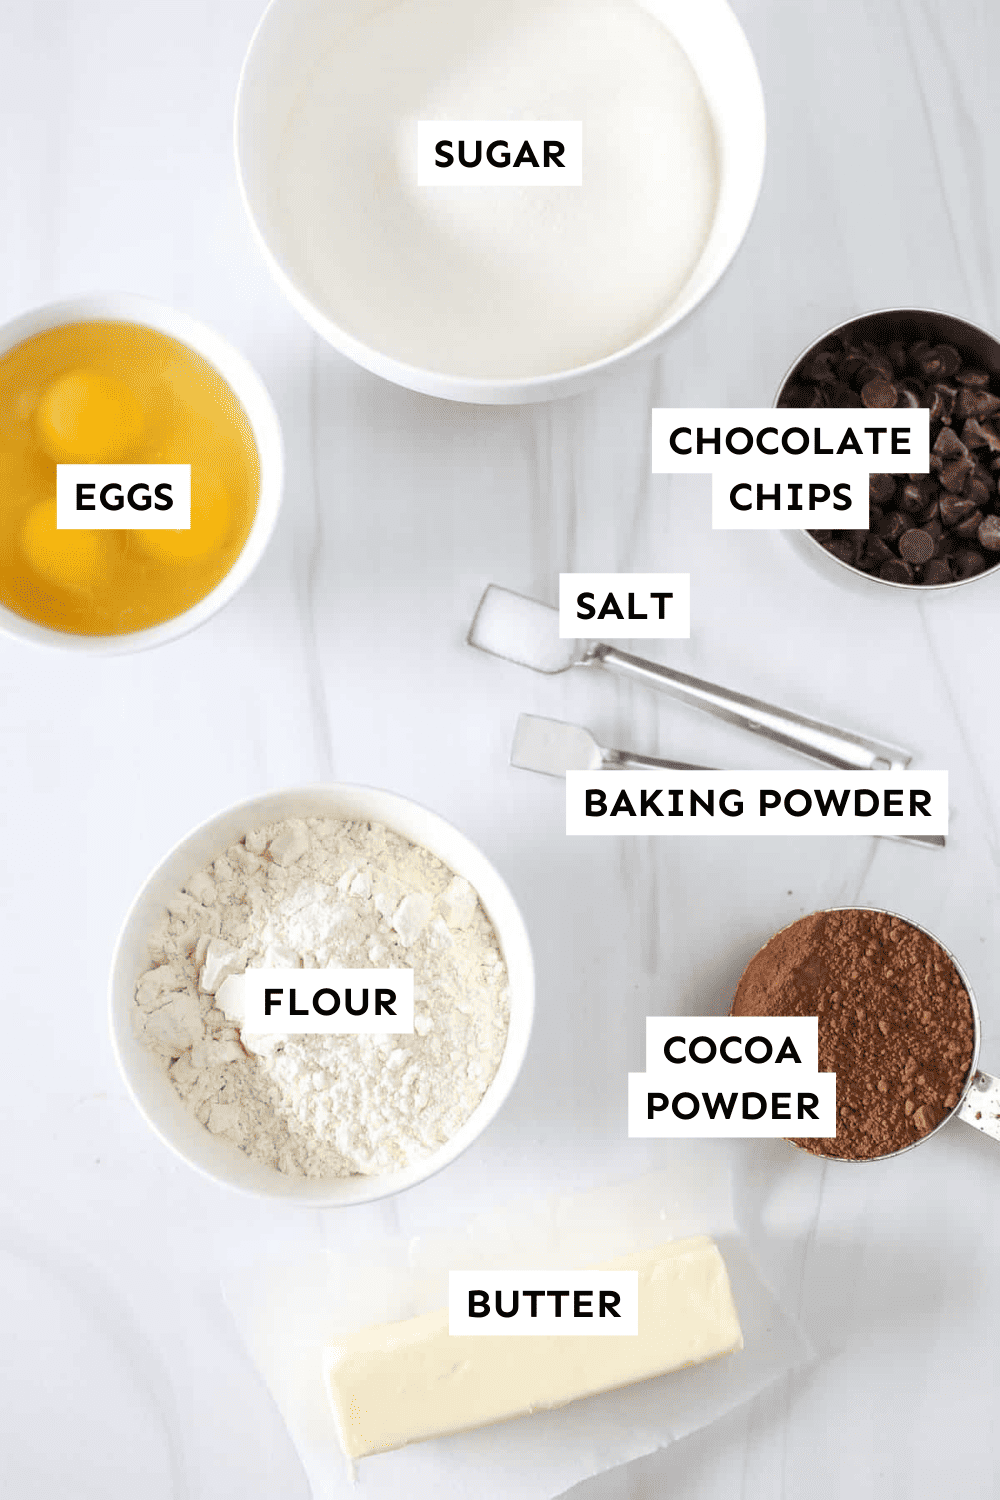
Ingredient Notes:
- Homemade Brownie Mix – This includes sugar, cocoa powder, flour, baking powder, and salt. (Or sub an 18-ounce box of brownie mix.)
- Eggs – Tested with large eggs.
- Vanilla extract – Try making homemade vanilla extract to save money and for better flavor.
- Butter – We tested with unsalted butter.
- Chocolate Chips – Use semi-sweet chocolate chips.
Find the full, printable recipe with ingredient amounts at the bottom of this post.
Mix It Up Ideas
Homemade brownies like these are kind of like a blank canvas. Once you have down the basic recipe, try a twist on it next time with one or more of these ideas:
- Add-ins:
- Nuts like walnuts, pecans, almonds, or hazelnuts add crunch and depth.
- White chocolate chips, dark chocolate chunks, or even caramel bits can elevate the richness.
- Fresh raspberries, chopped cherries, or dried fruits like cranberries or apricots can add a fruity twist.
- Flavor Infusions:
- A splash of brewed coffee enhances the chocolate flavor.
- Cinnamon, nutmeg, or a dash of cayenne pepper can add complexity.
- Peppermint, almond, or orange extracts can bring a new dimension to the taste.
- Toppings:
- Different frosting types like ganache, cream cheese, or a simple chocolate glaze can change the look and flavor of brownies.
- Get creative with toppings like colored sprinkles, sea salt flakes, or powdered sugar.
Tips for Success
- Use a metal baking dish for the best results. However, we’ve included tips for using other types of pan in the Cooking Notes of the recipe below.
- Don’t over-mix the batter. This will cause the brownies to become tough.
- The batter is very thick and if using parchment in the pan, it may slide around while you are trying to spread it. But, parchment may be easiest when removing the brownies from the pan because of how moist they are.
- The less time spent spreading the batter in the pan, the better! Similar to over mixing, this can create a tougher final product. Try to use longer strokes with your spatula.
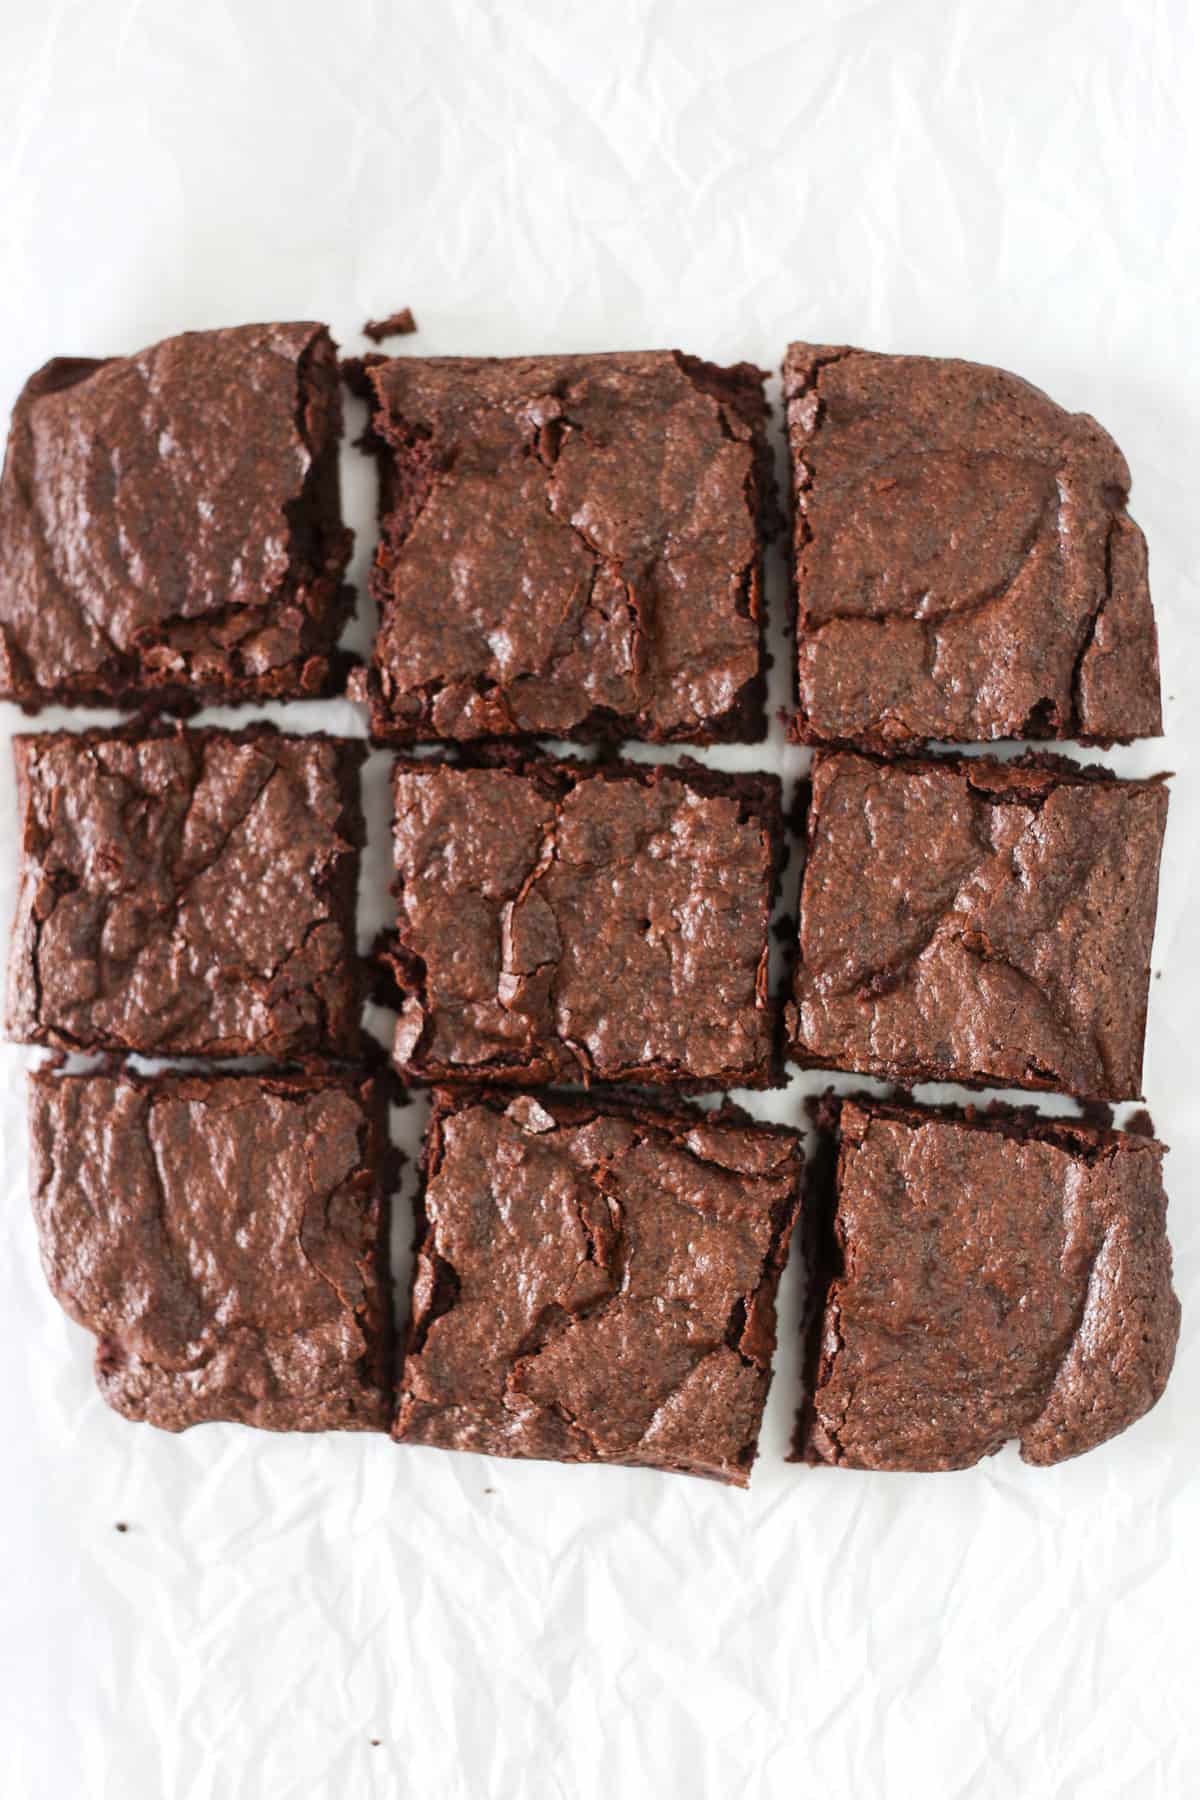
- A plastic knife will provide cleaner cuts than a metal knife when cutting the brownies.
How to Make Homemade Brownies
Prep
Preheat oven to 350°F. Grease a 9×9 metal pan generously with butter/cooking spray or line with parchment.
Melt Chocolate Mixture
Here is why we call the “Double Chocolate” Brownies. They have an extra boost of melted chocolate throughout the batter!
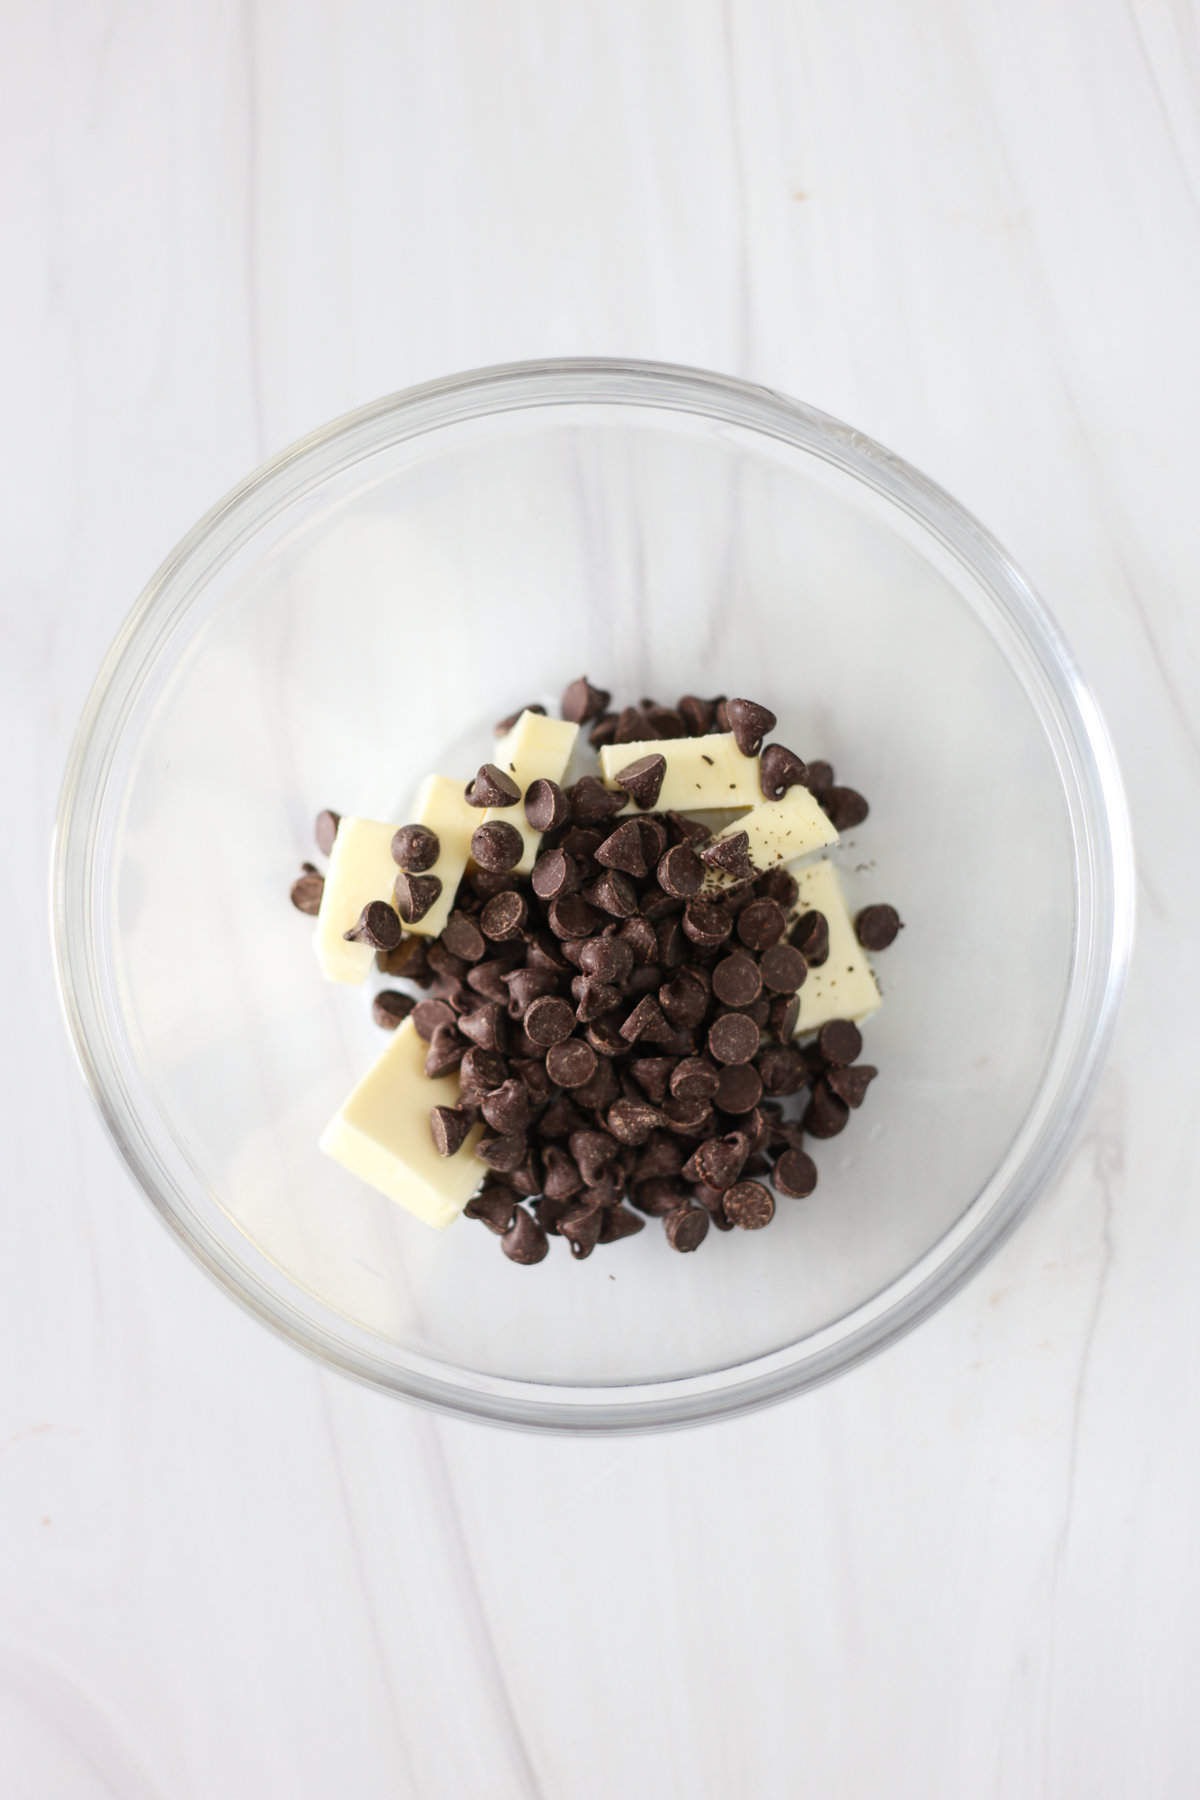
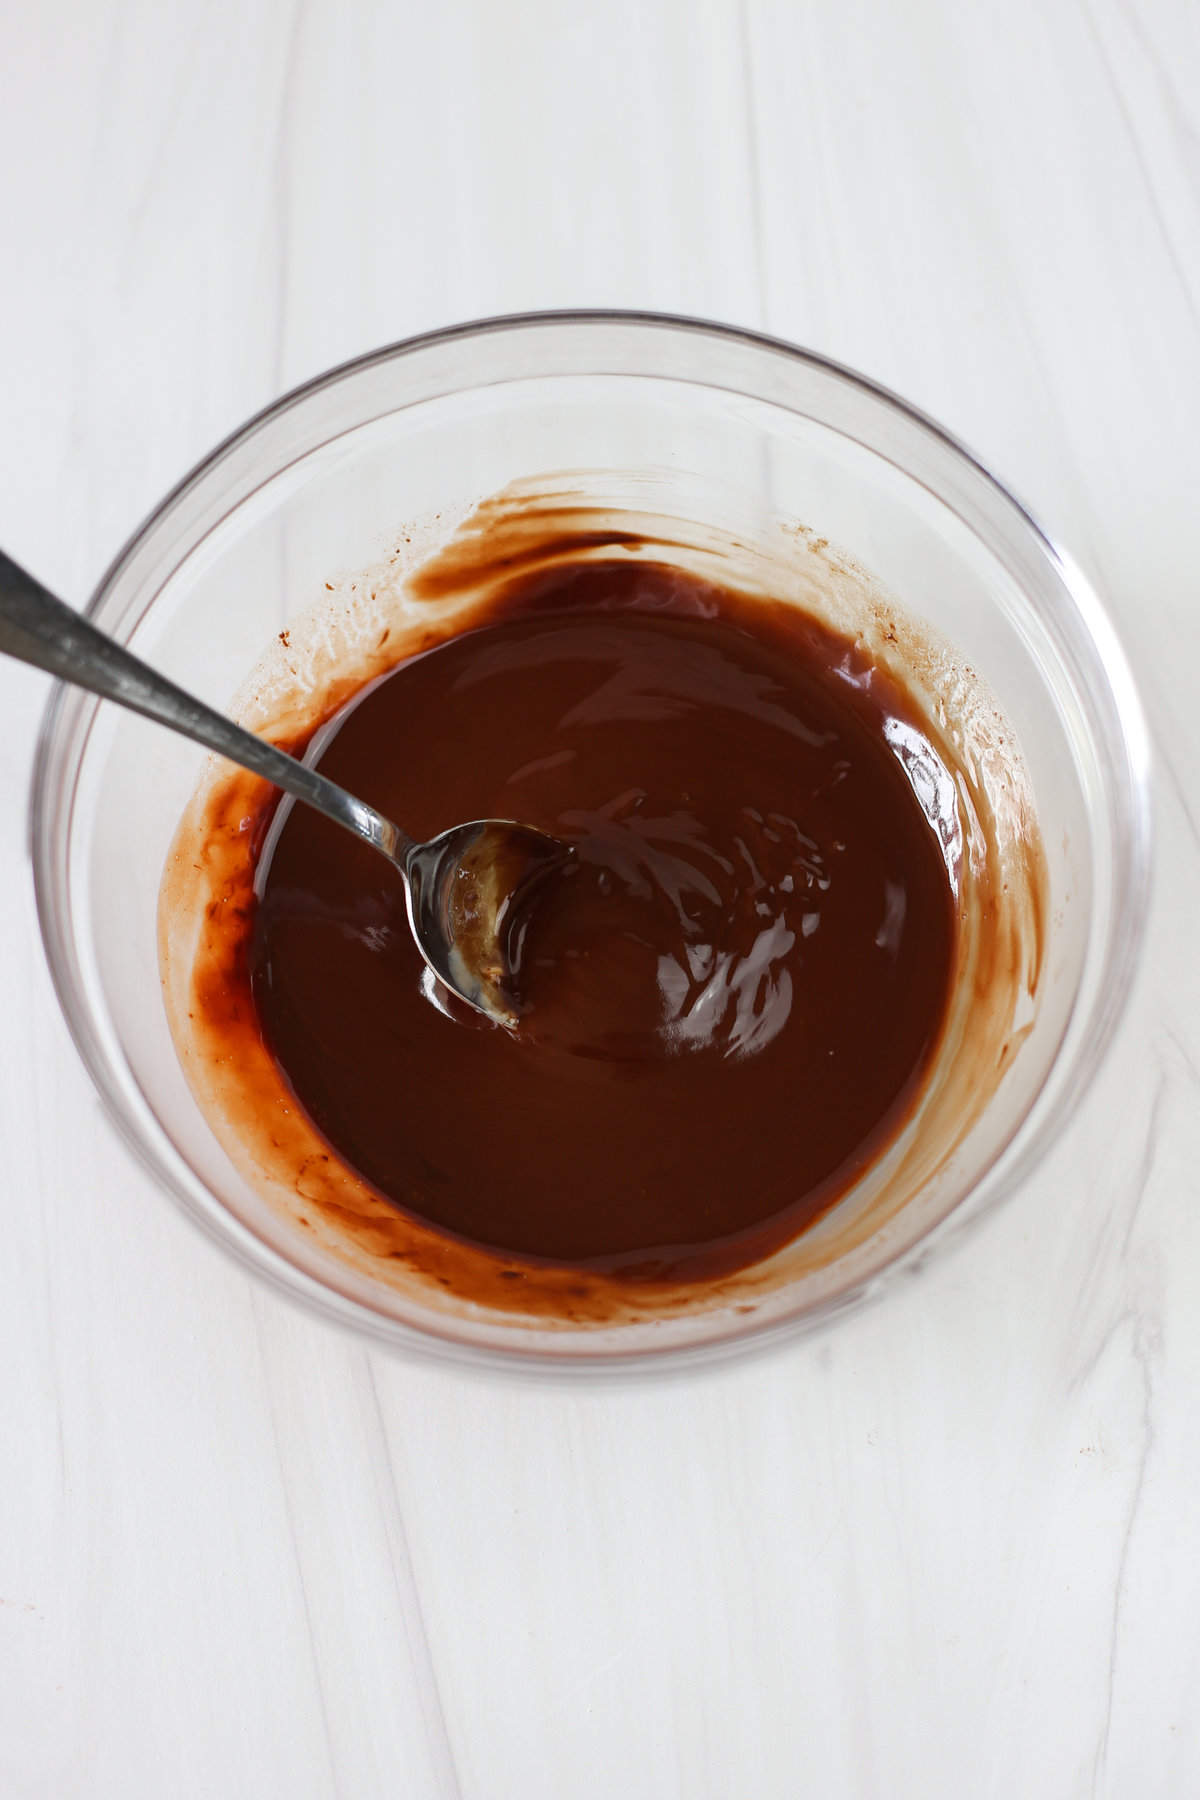
Melt the butter and chocolate chips together in short 10-20 second bursts until smooth, stirring frequently. Set aside to cool slightly for about 5 minutes.
Combine Wet Ingredients
In a large bowl, whisk together eggs and vanilla. Stream the cooled butter and chocolate mixture into the eggs and vanilla while whisking.

Combine with Dry Mix
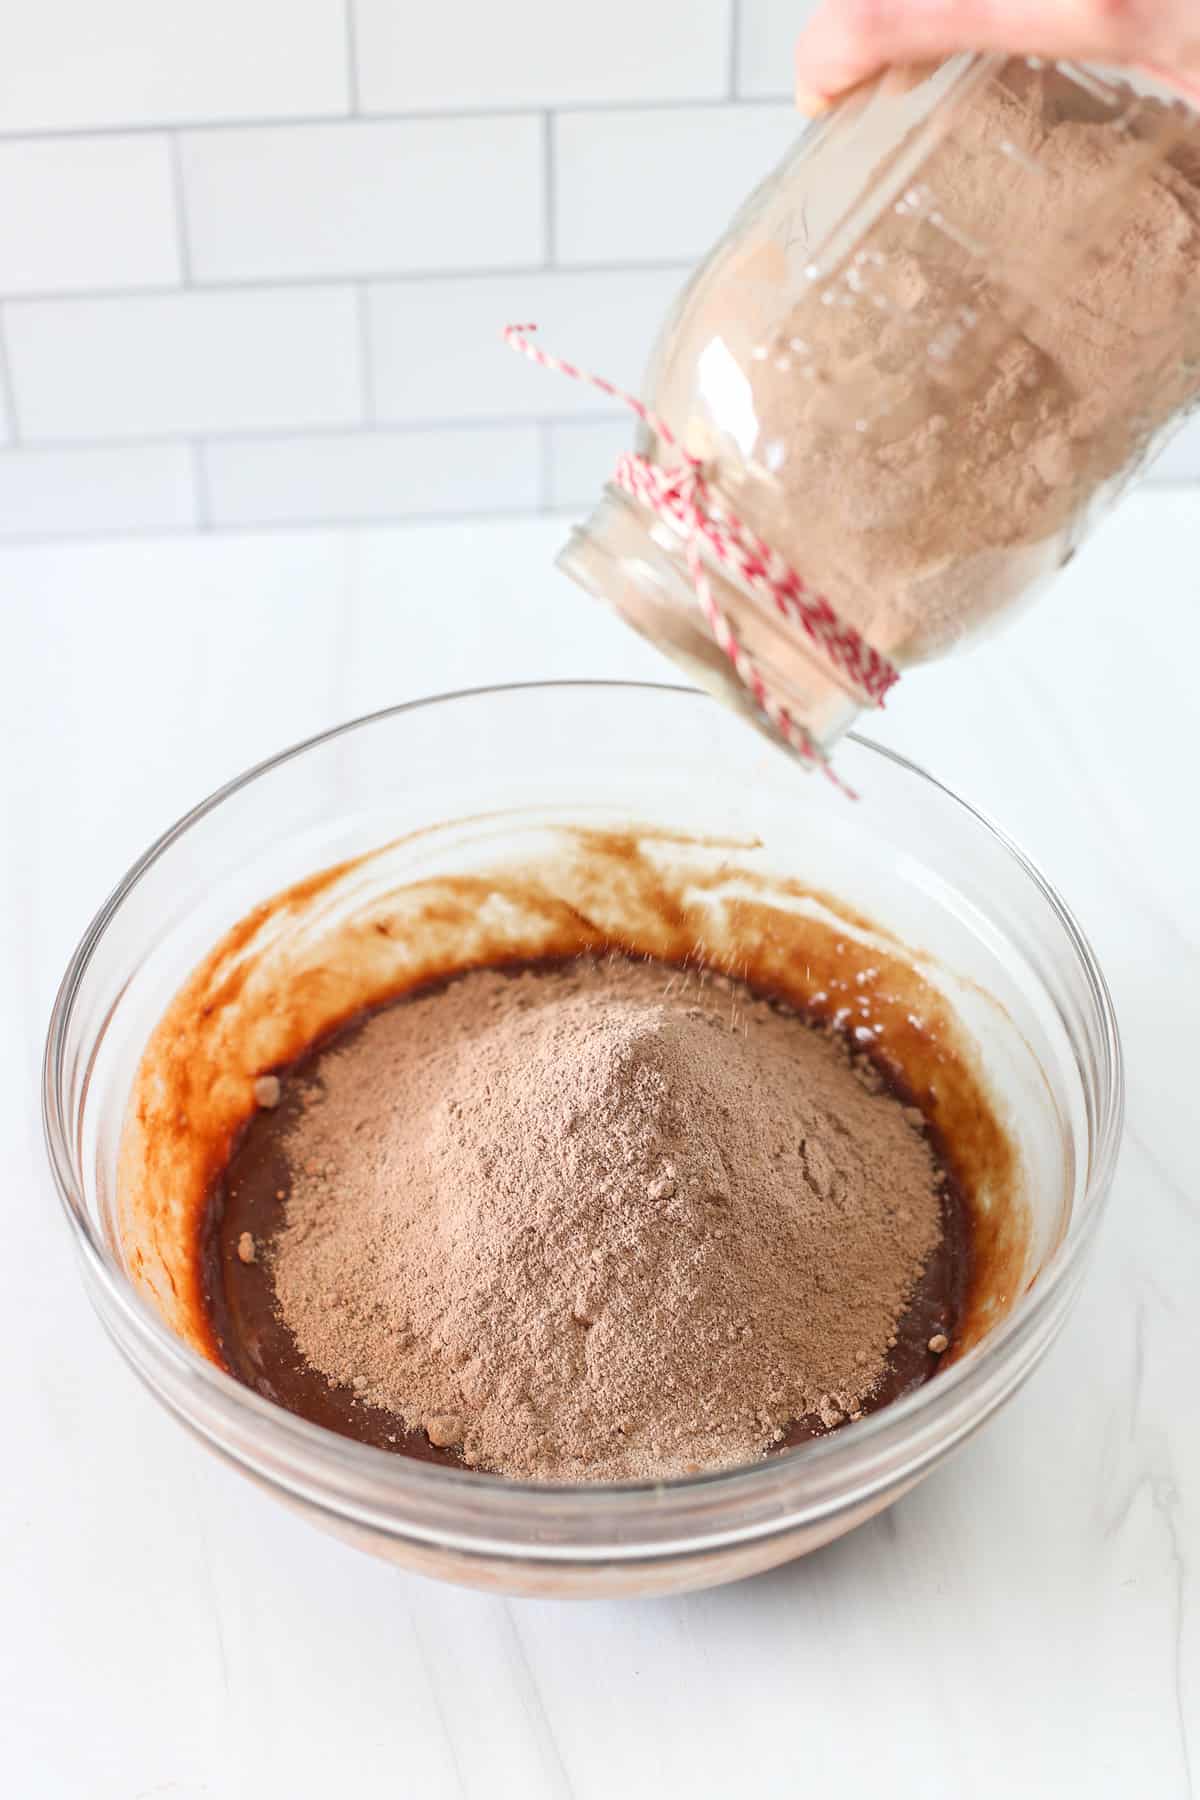
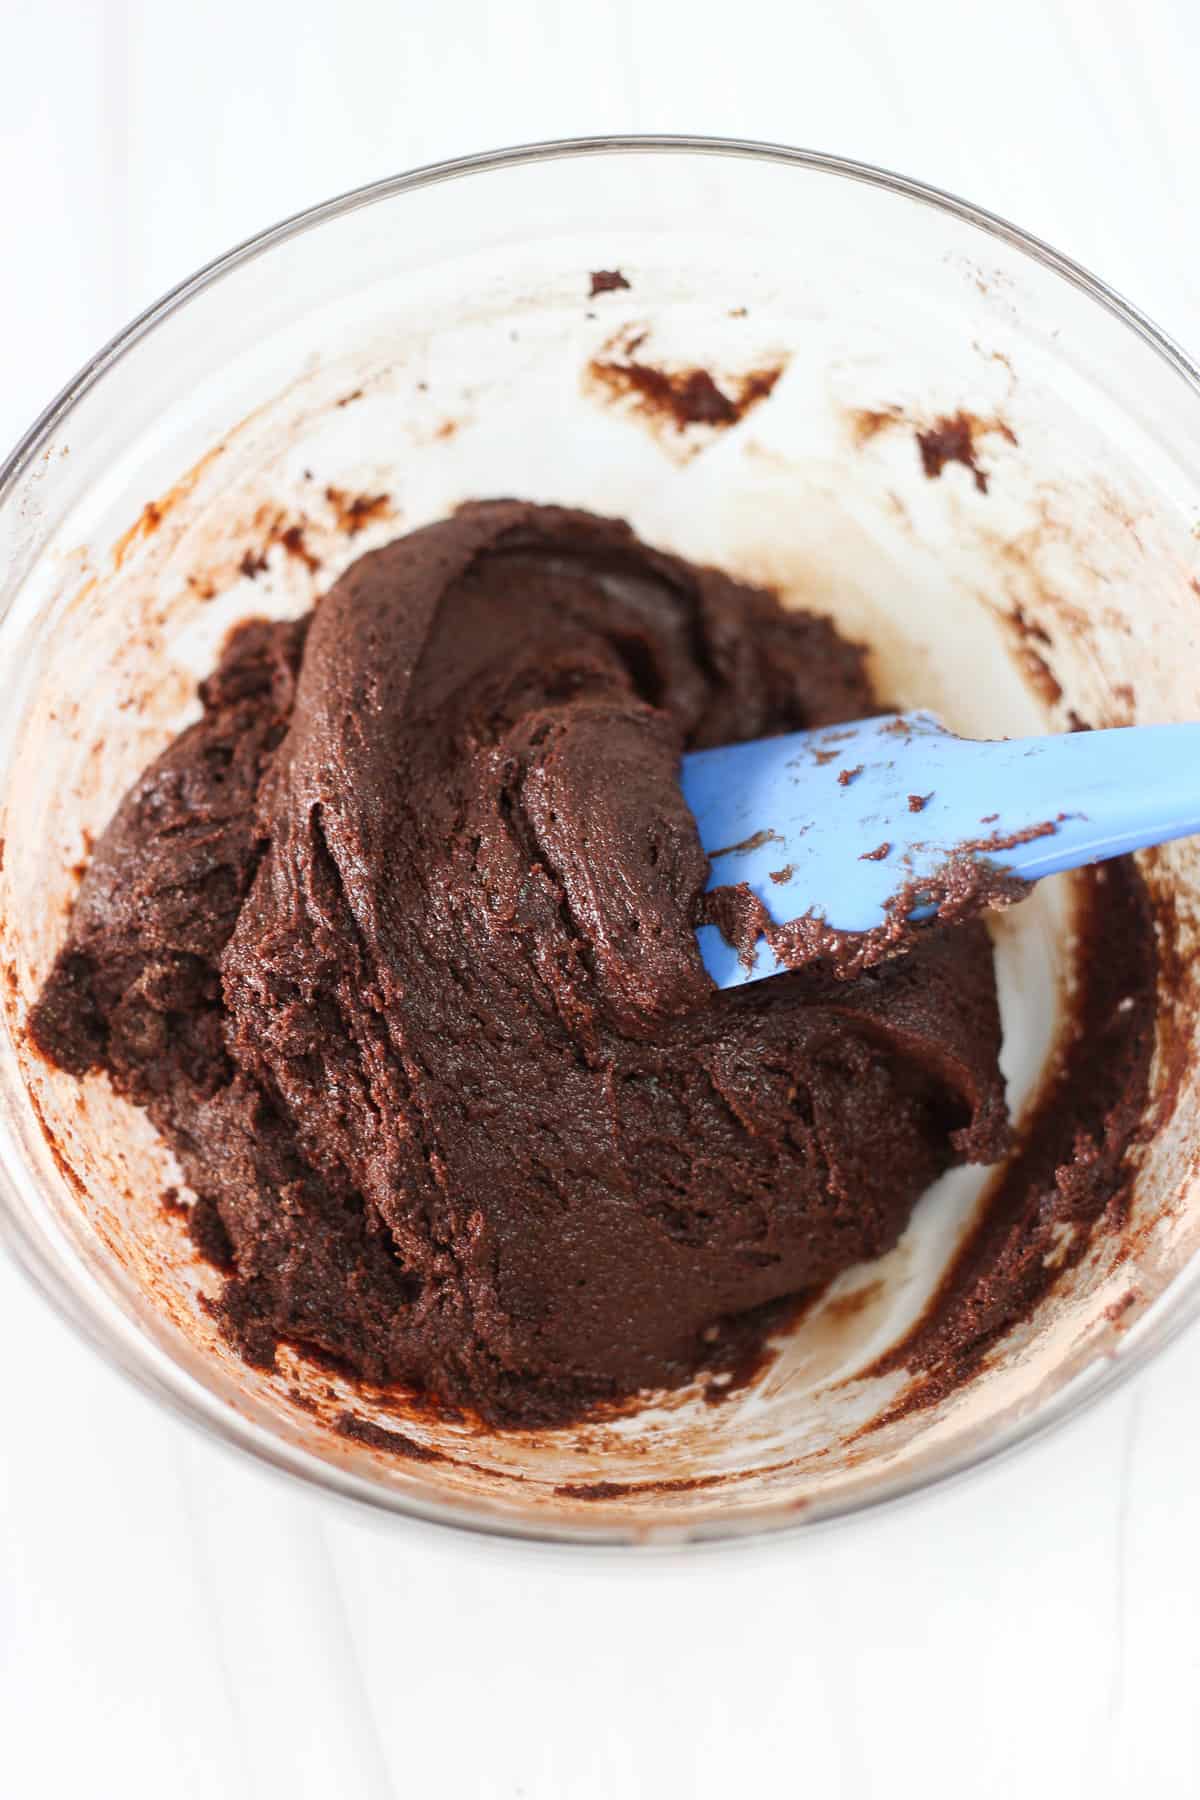
Add the brownie mix and fold together with a spatula until no flour is visible. The batter will be thick and take some work to combine.
You can also use a hand mixer for this step. Just be careful to not overmix.
Bake
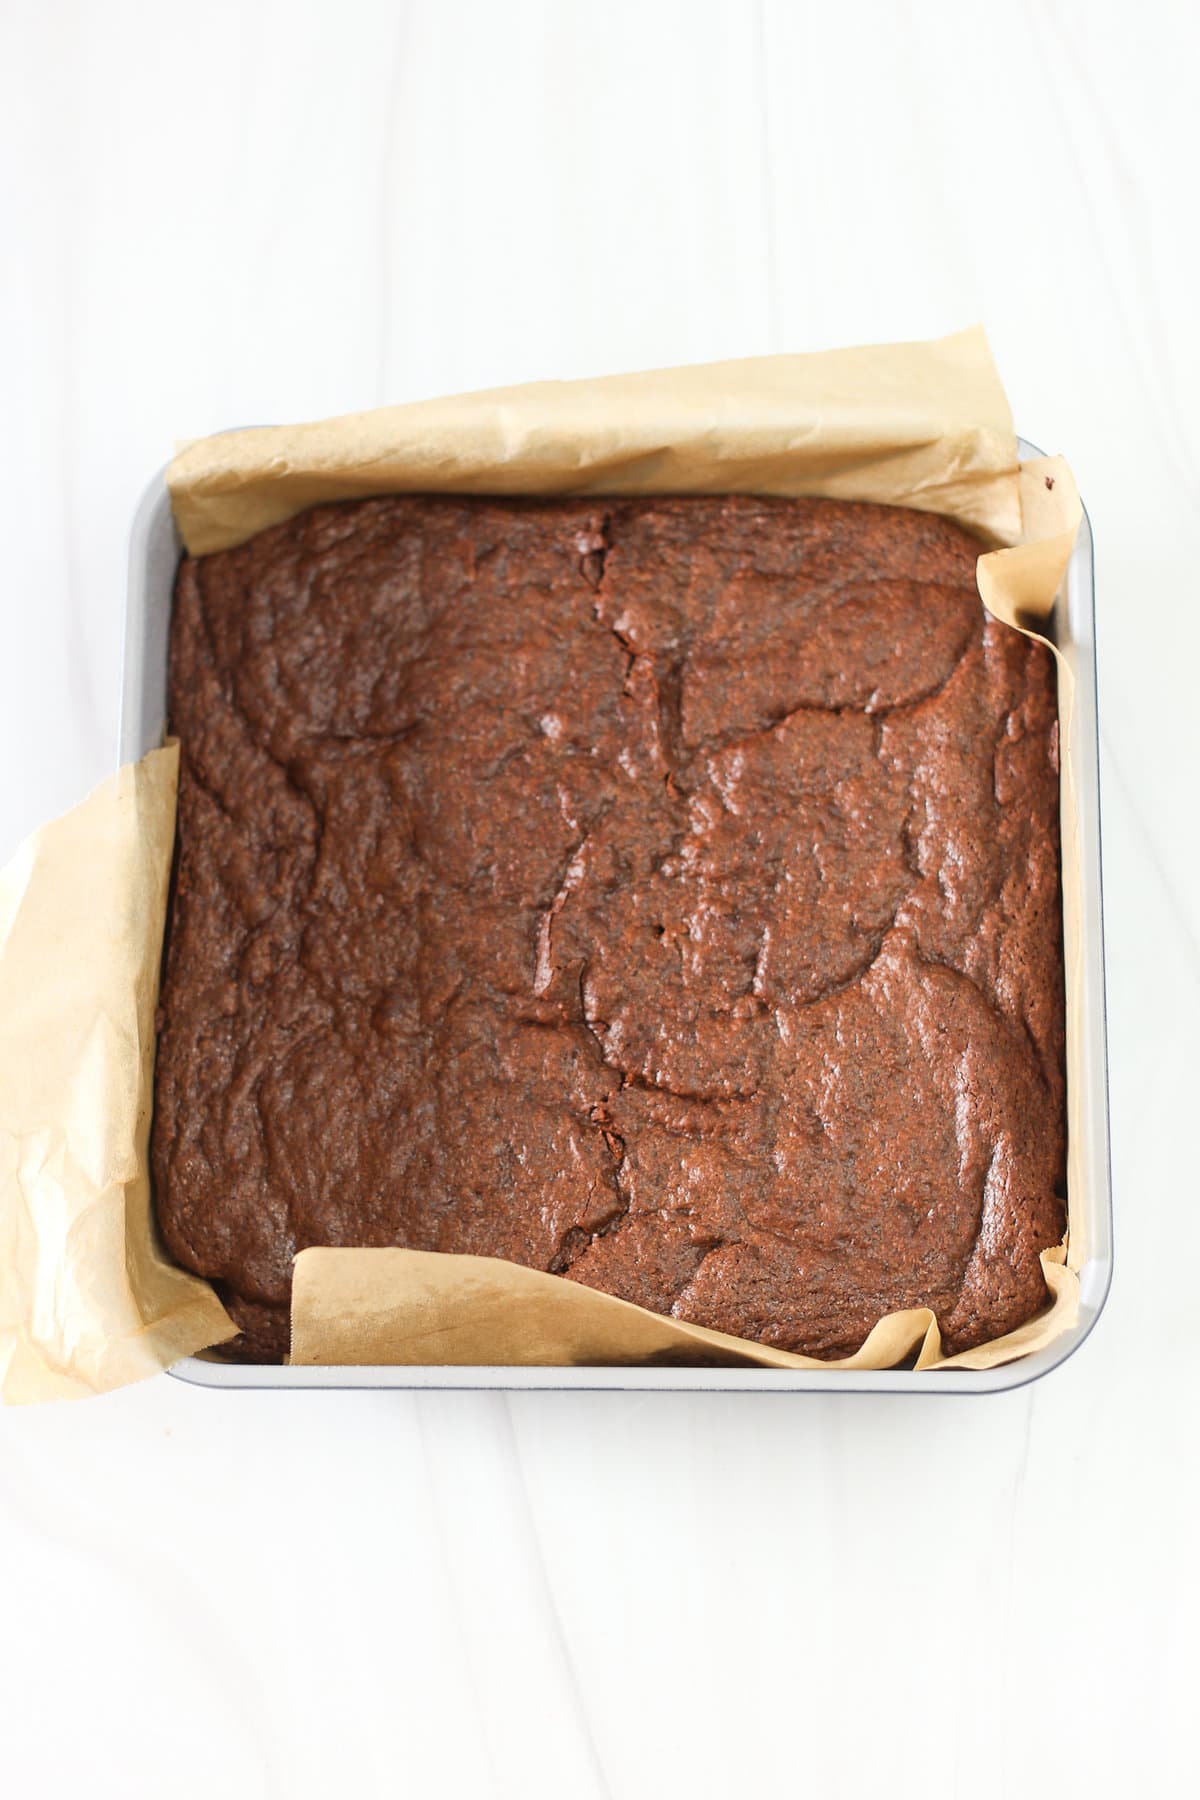
Spread the batter into the prepared metal pan so that it is evenly distributed. Bake rotating halfway through the bake time.
Insert a toothpick to check doneness. They’re done when there are only a few moist crumbs remaining on the toothpick and no wet batter is visible.
Let brownies cool most of the way before slicing.
How the Pan Affects the Outcome
We tested these homemade brownies in various types and sizes of pans and here’s what our team discovered:
If using a 9×9 metal pan, bake for 22-27 minutes.
If using a 9×13 metal pan, bake for 15-20 minutes.
If using a 9×9 ceramic pan, bake for 35-40 minutes.
If using a 9×13 ceramic pan, bake for 22-27 minutes.
If using a glass pan, this article says to try dropping the temperature from 350°F to 325°F and increasing the time anywhere from 5 to 15 minutes, depending on the volume of batter. (We haven’t tested this yet, but plan to soon!)
Can You Freeze Brownies?
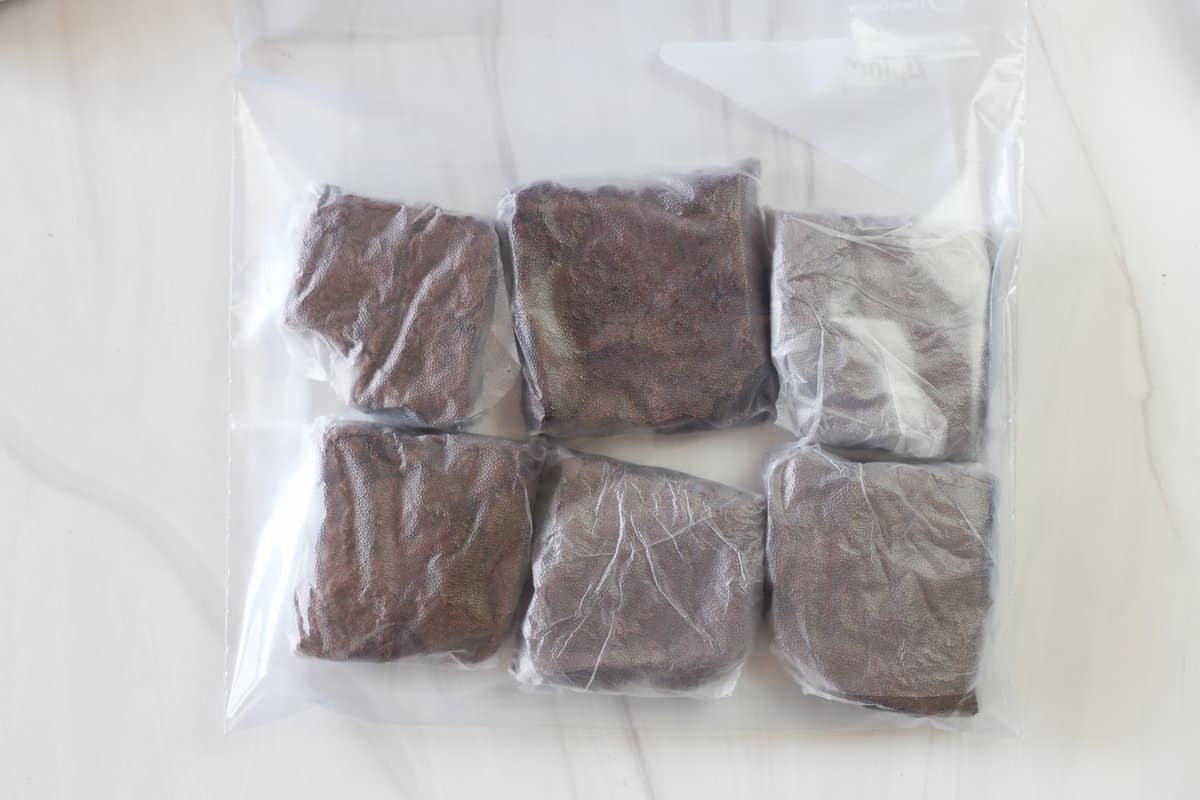
Yes, brownies can be frozen before or after they are sliced and kept in the freezer for up to 3 months. They do lose a bit of moisture when freezing, so be sure to wrap them very tightly.
Freeze For Later: After cooling completely, wrap individual brownies in plastic wrap. Store in an airtight container or freezer bag.
Prepare From Frozen: Take brownies out of the freezer and let thaw to room temperature. You may want to microwave them for just 5-10 seconds at a time until warmed up a little.
Brownie FAQs
These are more on the fudgy end. Fudgy brownies have a dense and moist texture, with a higher fat-to-flour ratio. Cakey brownies, on the other hand, have a lighter, more cake-like texture due to a higher proportion of flour.
Yes, the batter is very thick in this recipe. Do your best to combine it but not over mix. You can use a hand mixer if you’d like.
Yes! Brownies work well to freeze. We suggest you slice them, wrap them individually with plastic wrap, and place in a freezer bag to help retain moisture. After they thaw on the counter, microwave for 5-10 seconds to bring them back to life.
Yes, but you will need to adjust baking time. It takes recipes longer to cook in glass dishes so allow for extra baking time. We tested this in an 8×8 dish and it took around 35-40 minutes.
Use dairy-free chocolate chips, such as Enjoy Life brand. Replace the butter with melted coconut oil. Or, melted ghee is a great substitution, but note that it is only lactose-free but not dairy-free.
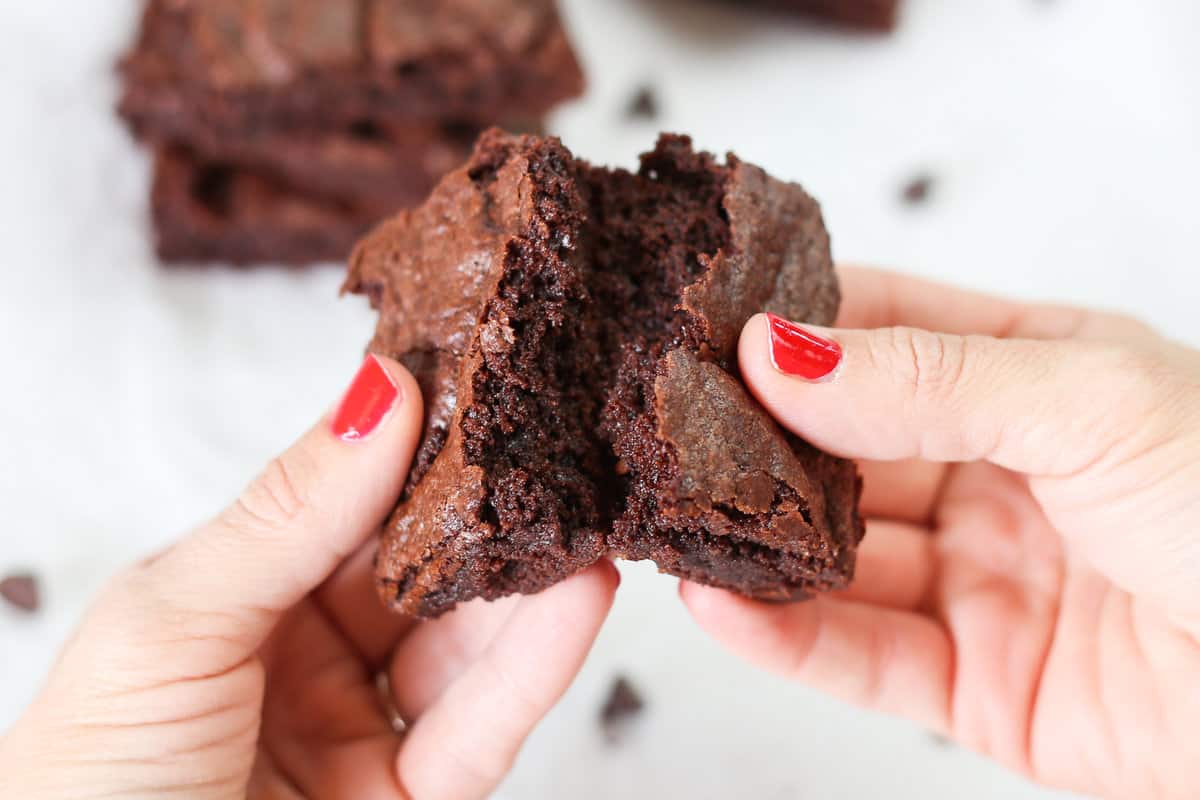
15+ Recipes That Start With Brownie Mix
Try making these restaurant-quality desserts by starting with brownie mix. They are easy and absolutely mouthwatering!
More Dessert Recipes
Double Chocolate Brownies
Ingredients
- 6 tablespoons unsalted butter
- 2/3 cup semisweet chocolate chips
- 3 large eggs
- 3/4 teaspoon pure vanilla extract
- 1 batch Homemade Brownie Mix (sub: one 18-ounce box of brownie mix)
Instructions
- Prep: Preheat oven to 350°F. Grease a 9×9 metal pan* generously with butter/cooking spray or line with parchment paper.
- Melt Chocolate Mixture: In a microwave-safe bowl or glass measuring cup, melt the butter and chocolate chips together in short 10-20 second bursts until smooth, stirring frequently. Be careful not to let the mixture get too hot. Set aside to cool for 5-10 minutes.
- Wet Ingredients: In a large mixing bowl, whisk together eggs and vanilla. Stream the slightly cooled butter and chocolate mixture into the eggs and vanilla while whisking. Whisk until smooth.
- Combine with Dry: Add the brownie mix and fold together with a spatula until no flour is visible (but be careful not to over-mix). The batter will be thick.
- Bake: Spread the batter into the prepared metal pan so that it is evenly distributed. Bake for 22-27 minutes, rotating halfway through the bake time. Insert a toothpick to check doneness. They’re done when there are only a few moist crumbs remaining on the toothpick and no wet batter is visible. Let brownies cool most of the way before slicing.
Freezer Instructions
Notes/Tips
- If using our brownie mix recipe, be sure to mix it up in a separate bowl or shake it in a mason jar before adding to the wet ingredients in Step 4.
- *Changes for Various Pan Types and Sizes: We tested this recipe in various types and sizes of pans and here’s what our team discovered:
- If using a 9×13 metal pan, bake for 15-20 minutes.
- If using a 9×13 metal pan for a double batch, bake for 35-40 minutes.
- If using an 8×8 ceramic pan, bake for 35-40 minutes.
- If using a 9×13 ceramic pan, bake for 22-27 minutes.
- If using a glass pan, this article says to try dropping the temperature from 350°F to 325°F and increasing the time anywhere from 5 to 15 minutes, depending on the volume of batter. (We haven’t tested this yet, but plan to soon!)
- The butter and chocolate could also be melted over a double boiler (a heatproof bowl placed over a pot filled with 2 inches of boiling water). This is a safe way to melt chocolate and prevent it from scorching because it is not being exposed to direct heat, but steam.
- The batter is very thick and if using parchment in the pan, it may slide around while you are trying to spread it. But, parchment may be easiest when removing the brownies from the pan because of how moist they are.
- The less time spent spreading the batter in the pan, the better! Similar to overmixing, this can create a tougher final product. Try to use longer strokes with your spatula.
- A plastic knife will provide cleaner cuts than a metal knife when cutting the brownies.
- You may find a stand mixer to be helpful for this recipe. Use the whisk attachment for the wet ingredients and the paddle attachment to fold the dough together. Again, don’t over mix!
Nutrition

Recipe Contributor: Rachel Riegel
Pastry Chef Rachel Riegel developed and rigorously tested this recipe for Thriving Home.
Rachel grew up in northern Michigan with a family that loved to cook and bake. She attended a career center for culinary and baking and pastry arts in high school and went to college at The Culinary Institute of America in Hyde Park, New York. She graduated in August 2023 with a Bachelor’s in Food Business Managment and Baking and Pastry Arts.
In her free time, she loves to read, listen to true crime podcasts, go on walks, travel, and spend time with her fiancé.

Incredible brownies! Chewy and very moist. I used Ghirardelli cocoa powder, salted butter (so i omitted the salt), and added a tablespoon of coffee concentrate. Decadent!!
Wonderful! Glad you enjoyed these Cheri. Thanks for taking the time to leave a review.
Made these primarily for grandkids at Thanksgiving but everyone loved them! Quite possibly the best brownies I’ve ever had! I was grateful for the tips and guidelines in this recipe because the batter is very thick and I would have thought I did something wrong. I used an 8×8 glass pan and they turned out perfect. Highly recommend!
Yay! Glad to hear the brownies were well-received by all ages and that our tips helped you feel more confident in the recipe. Thanks for taking the time to leave a review Liz.
So good!
So glad you liked them Amy! Thanks for taking the time to leave a review.
Delicious and easy. I’ve really enjoyed every recipe I’ve made with Thriving Home. Thank you
Glad you have enjoyed our recipes Jennifer. Thank you so much for taking the time to leave a review!