Pie in a Jar
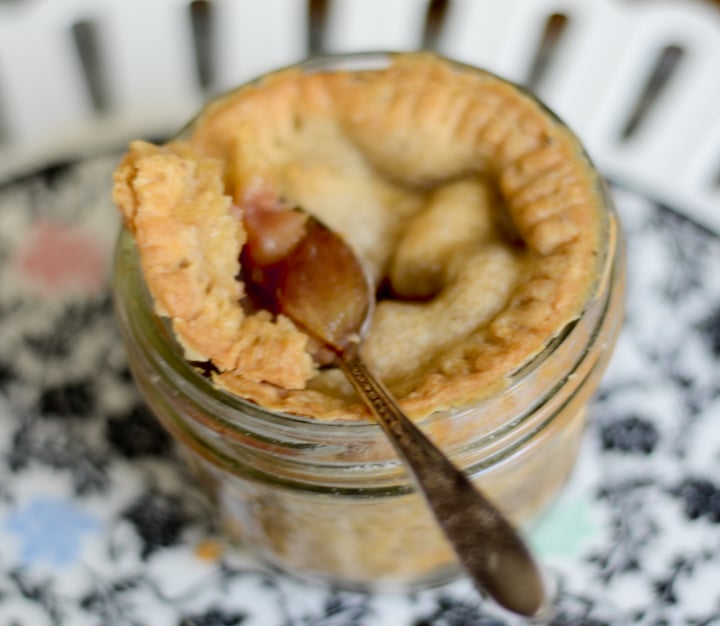
Making Pie in a Jar is a fun and easy dessert idea the whole family will love. These personal-sized pies are made in little mason jars that can go straight from your freezer to your oven to your mouth.
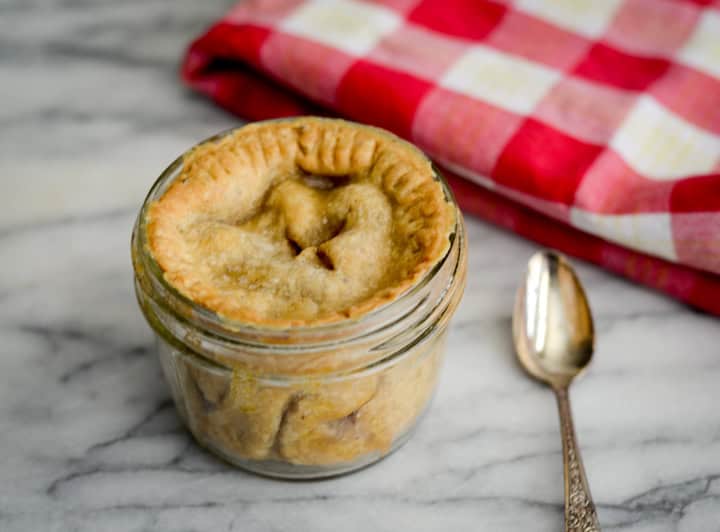
This recipe, the photos, and the post was originally submitted by Jessica Ellingsworth. Thanks for the inspiration and beautiful photography, Jess!
About this Recipe
These tiny tarts, or ‘pies in a jar’ are all the rage in my local bakeshops but can rack up a hefty price tag when entertaining or buying for gifts.
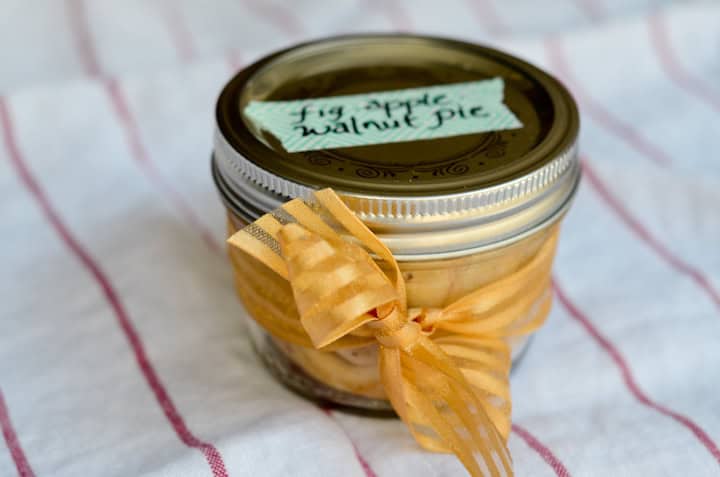
Making them at home is more economical and the creative possibilities are endless. Just use 4-ounce mason jars and jazz them up with a cute label and ribbon and you have a delightful gift!
What Type of Crust Do I Use for Pie in a Jar?
To make mini pies in a jar, you can use crust from the store OR you can make your own healthier version.
If you want to make your own crust, here is what you need to make a whole wheat pastry crust that will serve as a great foundation.
- Whole wheat flour (I used King Arthur)
- Butter (I used Kerrygold)
- Ground flaxseed
- Egg
- Vinegar
Pro Tips for the Best Pie Crust Every Time
- Use very cold butter cut into small cubes.
- Use very cold water–I put ice in my water and stream it in through the top of the food processor. Cold is the name of the game here. If you really want to go the extra mile, chill your pie plate too; not necessary though.
- Whether making pie dough with a food processor OR by hand with a pastry cutter, don’t make the butter pieces too small. (Yes, I m disagreeing with Grandma’s ‘cornmeal texture’ theory.) You want visible chunks of butter to melt and make tiny pockets during baking yielding the flakiest crust you ever put into your mouth!
- Use the smallest amount of water it takes to give the dough a ‘shaggy’ appearance. You want a tender, flaky crust, not a bread dough texture. Be willing to use a little less or more than the recipe calls for to give your dough that shaggy appearance.
- Cold vodka (yes, hard liquor!) can be substituted for water, and many pastry chefs prefer it because it is dryer (less water by volume) than water and the alcohol evaporates during baking. Less water means less toughening of the gluten.
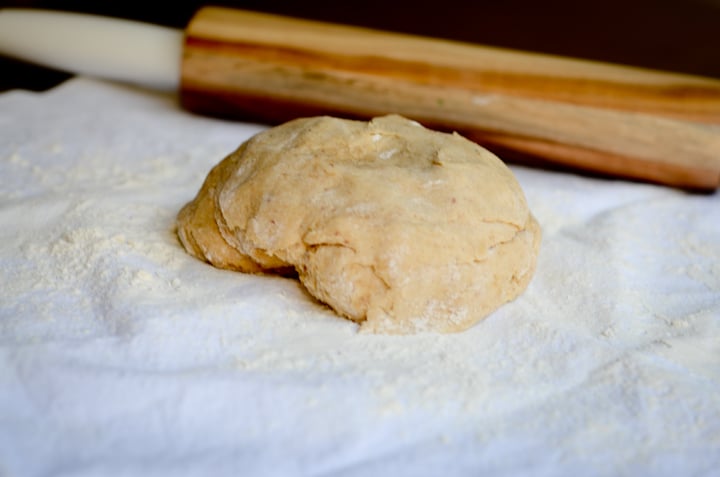
- Make an even disk with floured hands, wrap in plastic, and chill in the fridge for 30 minutes (or longer if making a pie later). This makes the start of rolling the dough much easier with cold dough and a uniform ball.
- Do not knead; the more a pastry crust is handled, the tougher it will be.
- Make sure there is visible browning all over the crust—under baked pastries just aren’t as delicious. 🙂
What Type of Filling Should I Use for a Pie in a Jar?
Here’s the fun part! You can use whatever you have on hand!
Just keep in mind, you’ll need about 1/2 cup filling for each jar. You can use any filling your little pie-craving heart desires, even (gasp) canned!
Here’s the basic recipe (for 6-8 jars)
- 4 cups of prepared fruit (pitted, diced, peeled, etc.)
- 4 tablespoons sugar- brown or white (use more or less depending on sweetness of fruit)
- 4 tablespoons flour- (again, more if your fruit is super juicy like cherries, less if it’s pretty dry)
- 2 tablespoons butter
- Seasonings/flavorings- cinnamon, nutmeg, vanilla and almond extract, citrus zest etc)
Below, I’ve shared one of my favorite options: Apple, fig, & walnuts but don’t feel like you have to use this exact recipe.
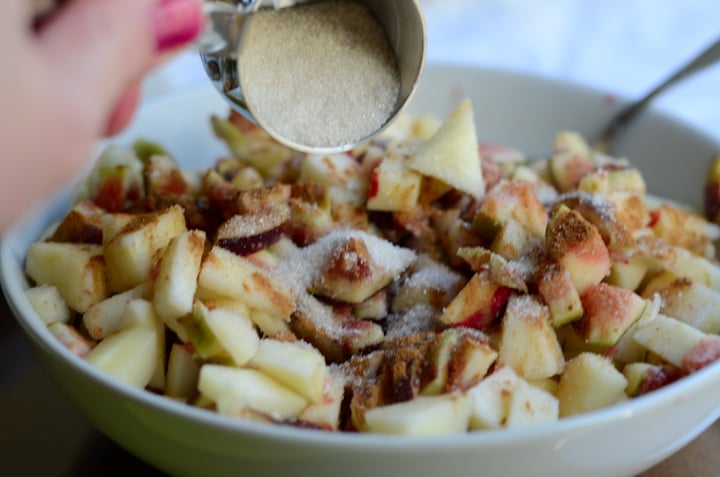
Mix all of your filling together.
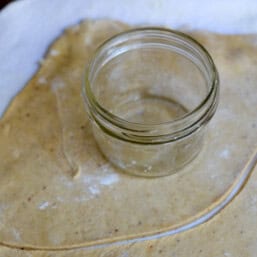
Roll out pastry dough and measure your pie circles. Be sure and use the wide-mouth mason jars for an easier time filling.
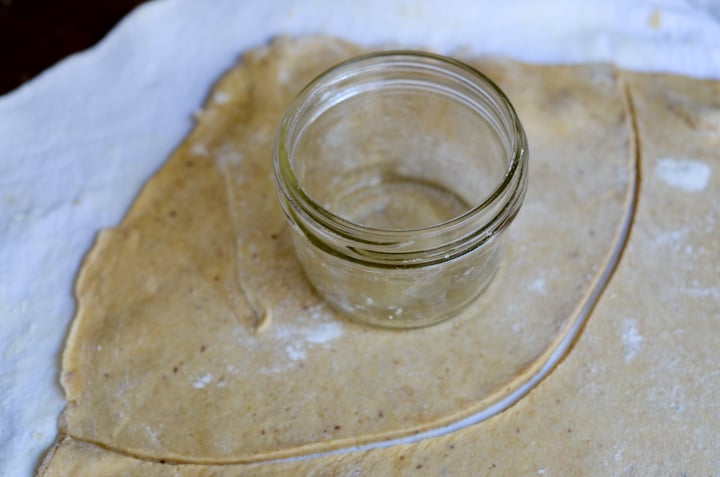
Press dough in and fill.
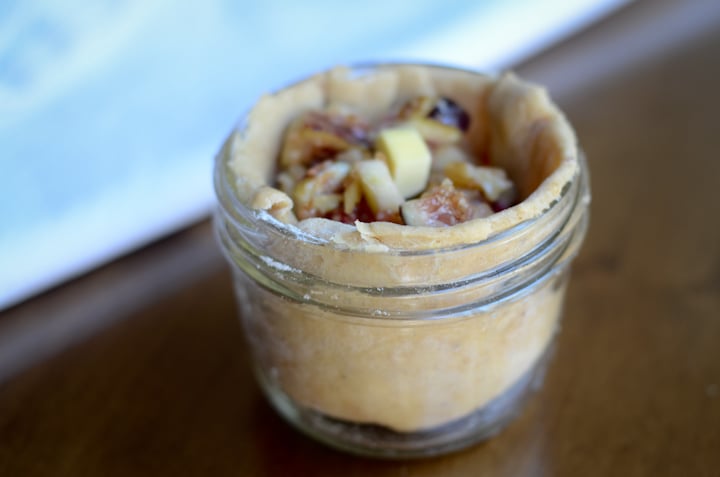
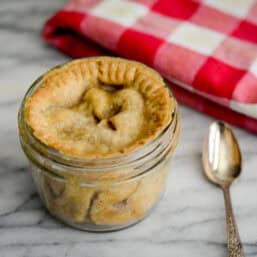
Measure your crust for the top using the mason seal. Either press the top on with your finger or press it with a fork like I did for a rustic look. Cut a a design on the top for venting during baking.
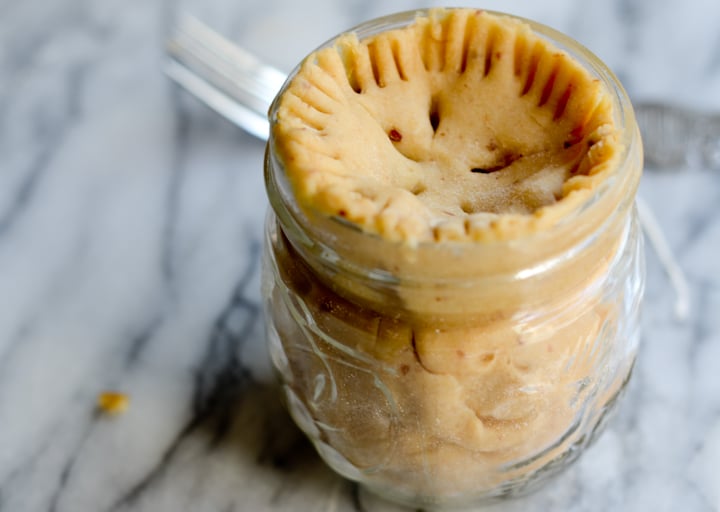
At this point you can put the lid on for freezing, or if baking right away, brush a little heavy cream on the top (optional) and sprinkle a little sugar over the top.
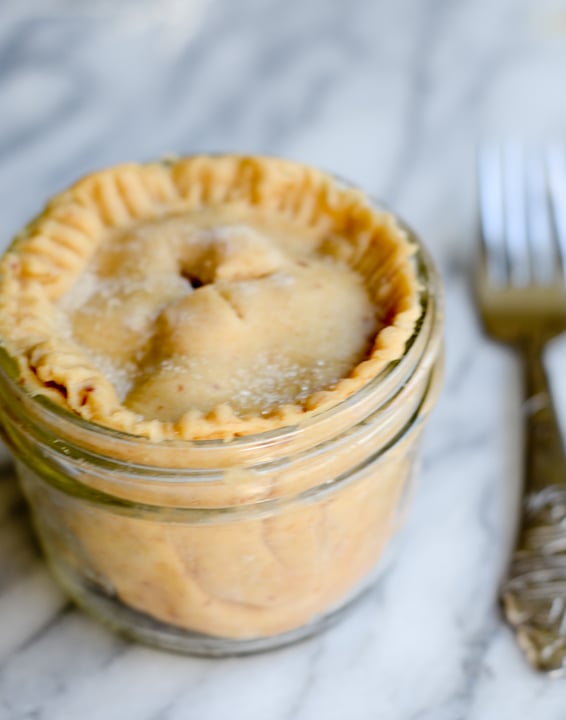
Bake at 375°F for 20 minutes.
FAQs About Pie in a Jar
About an hour and 20 minutes.
The dough size can be customized depending on the size of jar, but individual serving size with a wide top works best. I used the wide mouth jelly jar size (5-6 ounces each).
No thawing needed. Take them straight from the freezer, take the lid off and bake on a baking sheet. Just line up on a baking sheet in case of bubbling over and bake at 375°F. That’s another beauty of a mason jar.
I would do a low temp oven or toaster oven to maintain the crispness of the crust.
Yes, this is especially good for older preschoolers and elementary ages. It is great to involve them in the filling, laying the crust on the top, sealing the edges, packaging it with a bow, and most of all giving away a homemade creation that they helped make!
More Recipes to Give as Gifts
Pie in a Jar: Whole Wheat Pastry Crust
Ingredients
- 2 cups whole wheat flour (I used King Arthur.)
- 10 tablespoons cold butter (I used Kerrygold.)
- 1 tablespoon ground flaxseed
- 1 egg
- 1 teaspoon vinegar
- 1/2 cup water (icy cold )
Instructions
- Mix flour, salt, and flaxseed in a food processor.
- Add cold butter and cut in using a pastry blender, or pulse in the food processor.
- Mix water, egg, and vinegar in a measuring cup.
- Add 2 to 3 tablespoons ice water mix at a time, until dough forms into a ball. Gather up and pat into a disc. If possible, cover and refrigerate dough for 30 minutes before rolling out.
- When ready to use, roll dough out on a lightly floured surface.
Nutrition
Pie in a Jar: Apple Fig Walnut Filling
Ingredients
- 2 cups chopped figs (Cut the ends off and rough chop. I used the beautiful 'brown turkey' variety.)
- 2 apples (peeled, cored, and chopped)
- 1/3 cup sugar
- 1/2 cup walnut (chopped )
- 1 teaspoon cinnamon
- splash pure vanilla extract
Instructions
- Chop and mix fruit and walnuts.
- Add sugar, cinnamon and vanilla. Mix well.
- Roll out pastry dough and measure your pie circles. Be sure and use the wide-mouth mason jars for an easier time filling.
- Press dough in and fill.
- Measure your top using the mason seal. Either press the top on or fork press it like I did for a rustic look. Cut a a design on the top for venting during baking.
- At this point you can put the lid on for freezing, or if baking right away, brush a little heavy cream on the top (optional) and sprinkle a little sugar over the top.
- Bake at 375°F for 20 minutes.
Nutrition
Thanks to Jessica Ellingsworth for sharing this post with us!
so unique and cute!! perfect for a little snack!
Indeed! Thanks for the review.
The internet states not to place mason jars in the oven, as they are not tempered to withstand the temperature. Is there an alternative to using a jar that isn’t as dangerous?
Hi Christina. We haven’t had any issues in our testing, but I understand your concern. Here are some oven-safe ramekins that are the same 4-ounce size and are a sure-fire safe way to go with this recipe: https://amzn.to/3SUuhkd
These look great! Do you think it would work for pecan and pumpkin that don’t have a top crust?
I bet it would! Fun idea!
So cute! I love mini desserts– I could probably eat all of these at once. ?