Gluten-Free Bread Crumbs
This post may contain affiliate or sponsored links. Please read our disclosure policy.
Say goodbye to lackluster store-bought, gluten-free bread crumbs. Get ready to elevate your gluten-free cooking game by making your own at home. It’s easy and fast!
Why Homemade Is Better Than Store-Bought
Making homemade gluten-free breadcrumbs offers several advantages over store-bought options:
- Freshness and Quality Control: You can choose high-quality gluten-free bread, ensuring the best taste and texture for your recipes.
- Cost Savings: Gluten-free products can be expensive, and store-bought gluten-free breadcrumbs are no exception. Making your own allows you to save money.
- Texture and Taste: Gluten-free bread crumbs from the store turn out gummy and weird when I’ve used them in recipes like meatballs or breaded chicken breasts. I’ve found that making my own results in MUCH better texture and taste.
- Reduced Additives and Preservatives: Most store-bought bread crumbs contain additives, preservatives, or artificial ingredients.
- Flexibility and Versatility: Whether you prefer a fine or coarse texture, you can easily adjust the bread crumbs based on your preference.
Ingredients Needed
Guess what? You only need ONE ingredient for this recipe. Yep, just one.
- 5 slices (5 ounces) gluten-free bread
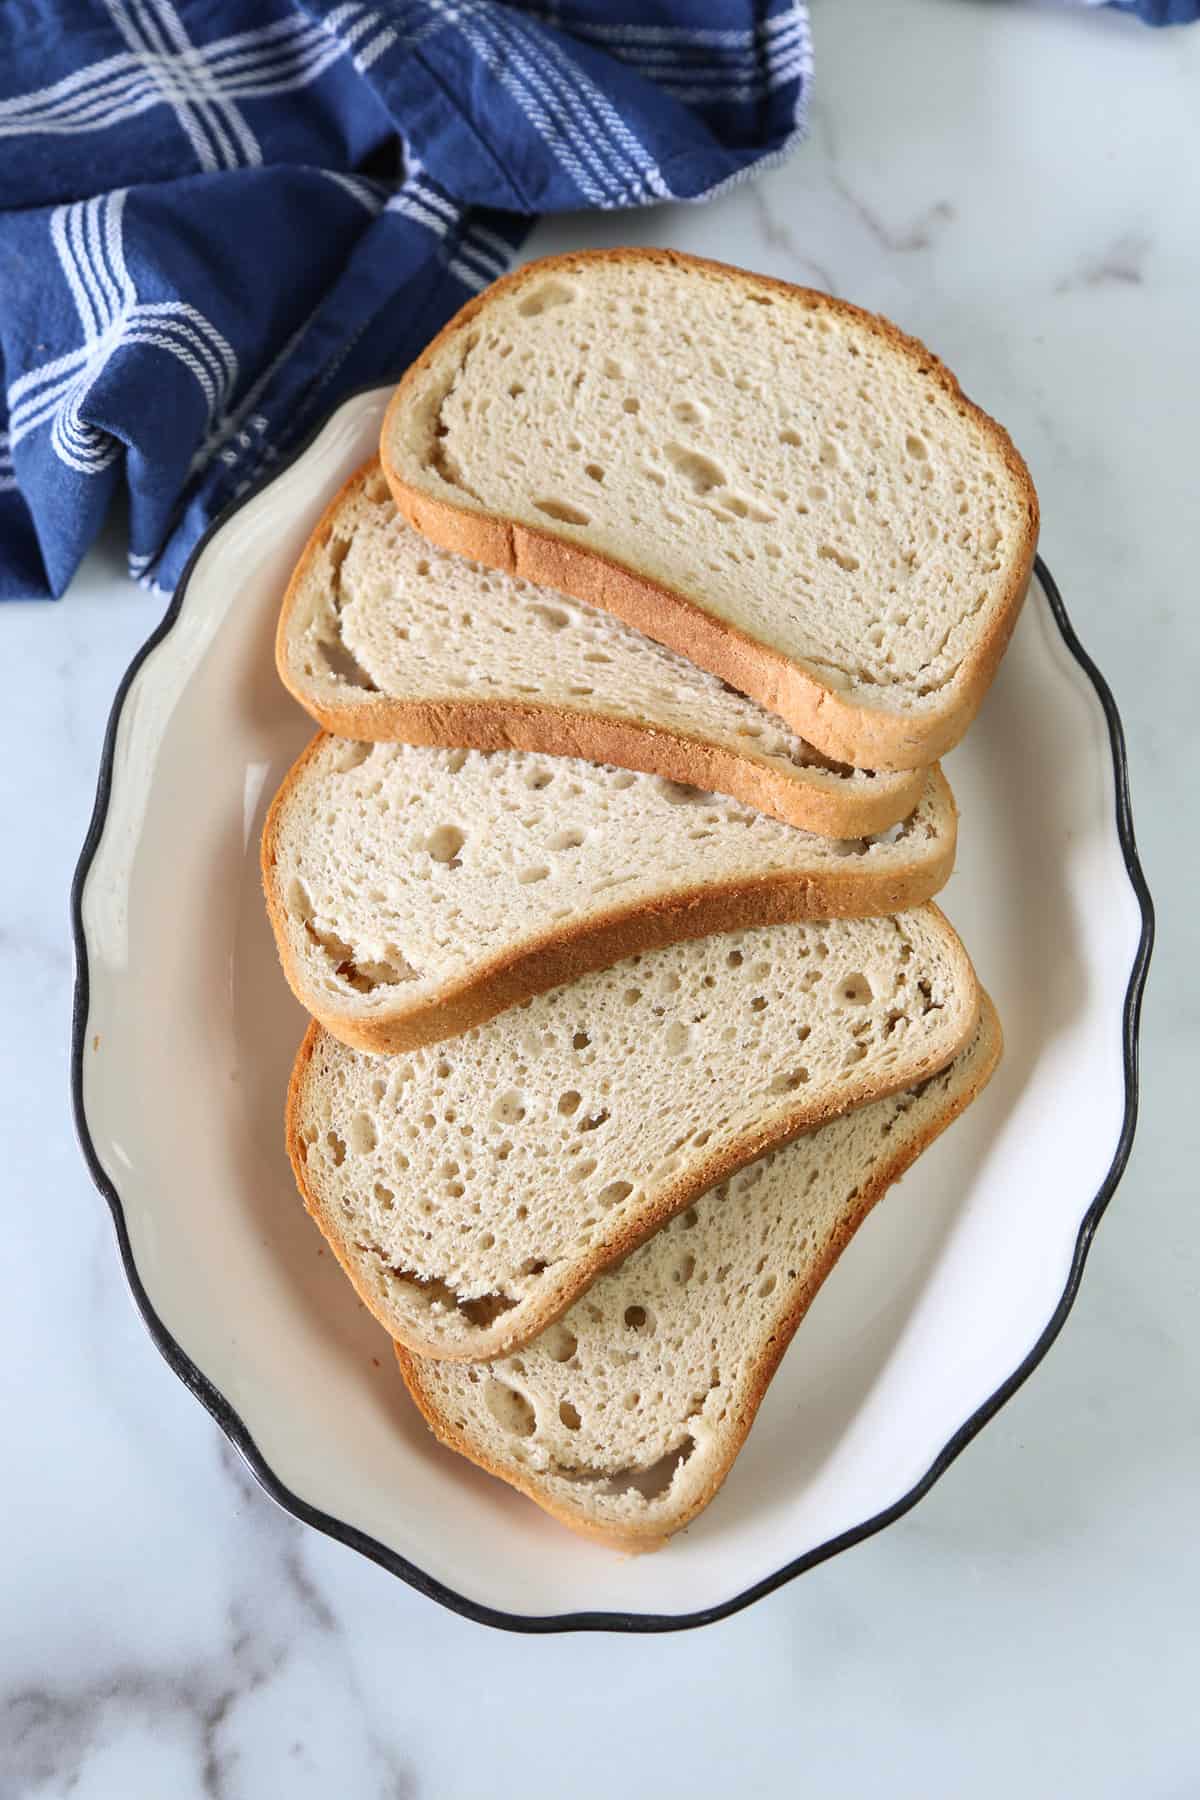
I prefer to use a 100% whole grain loaf, like Canyon Bakehouse or Udi’s brands, since they are usually “cleaner” ingredients and often have more fiber. Be sure to read the ingredient list and avoid any weird additives or preservatives. If you can’t pronounce and/or don’t recognize the word, there’s a good chance it shouldn’t be in your bread. 😉
Equipment Needed
Next, grab these three kitchen tools to have on hand for this recipe.
- Parchment paper
- Sheet pan (I prefer to use a rimmed sheet pan.)
- Food processor or blender
How to Make Gluten-Free Breadcrumbs
Follow these simple steps to churn out some easy gluten-free breadcrumbs. Go ahead and make a LOT, because we’ll show you how to freeze them to use later.
Preheat the Oven
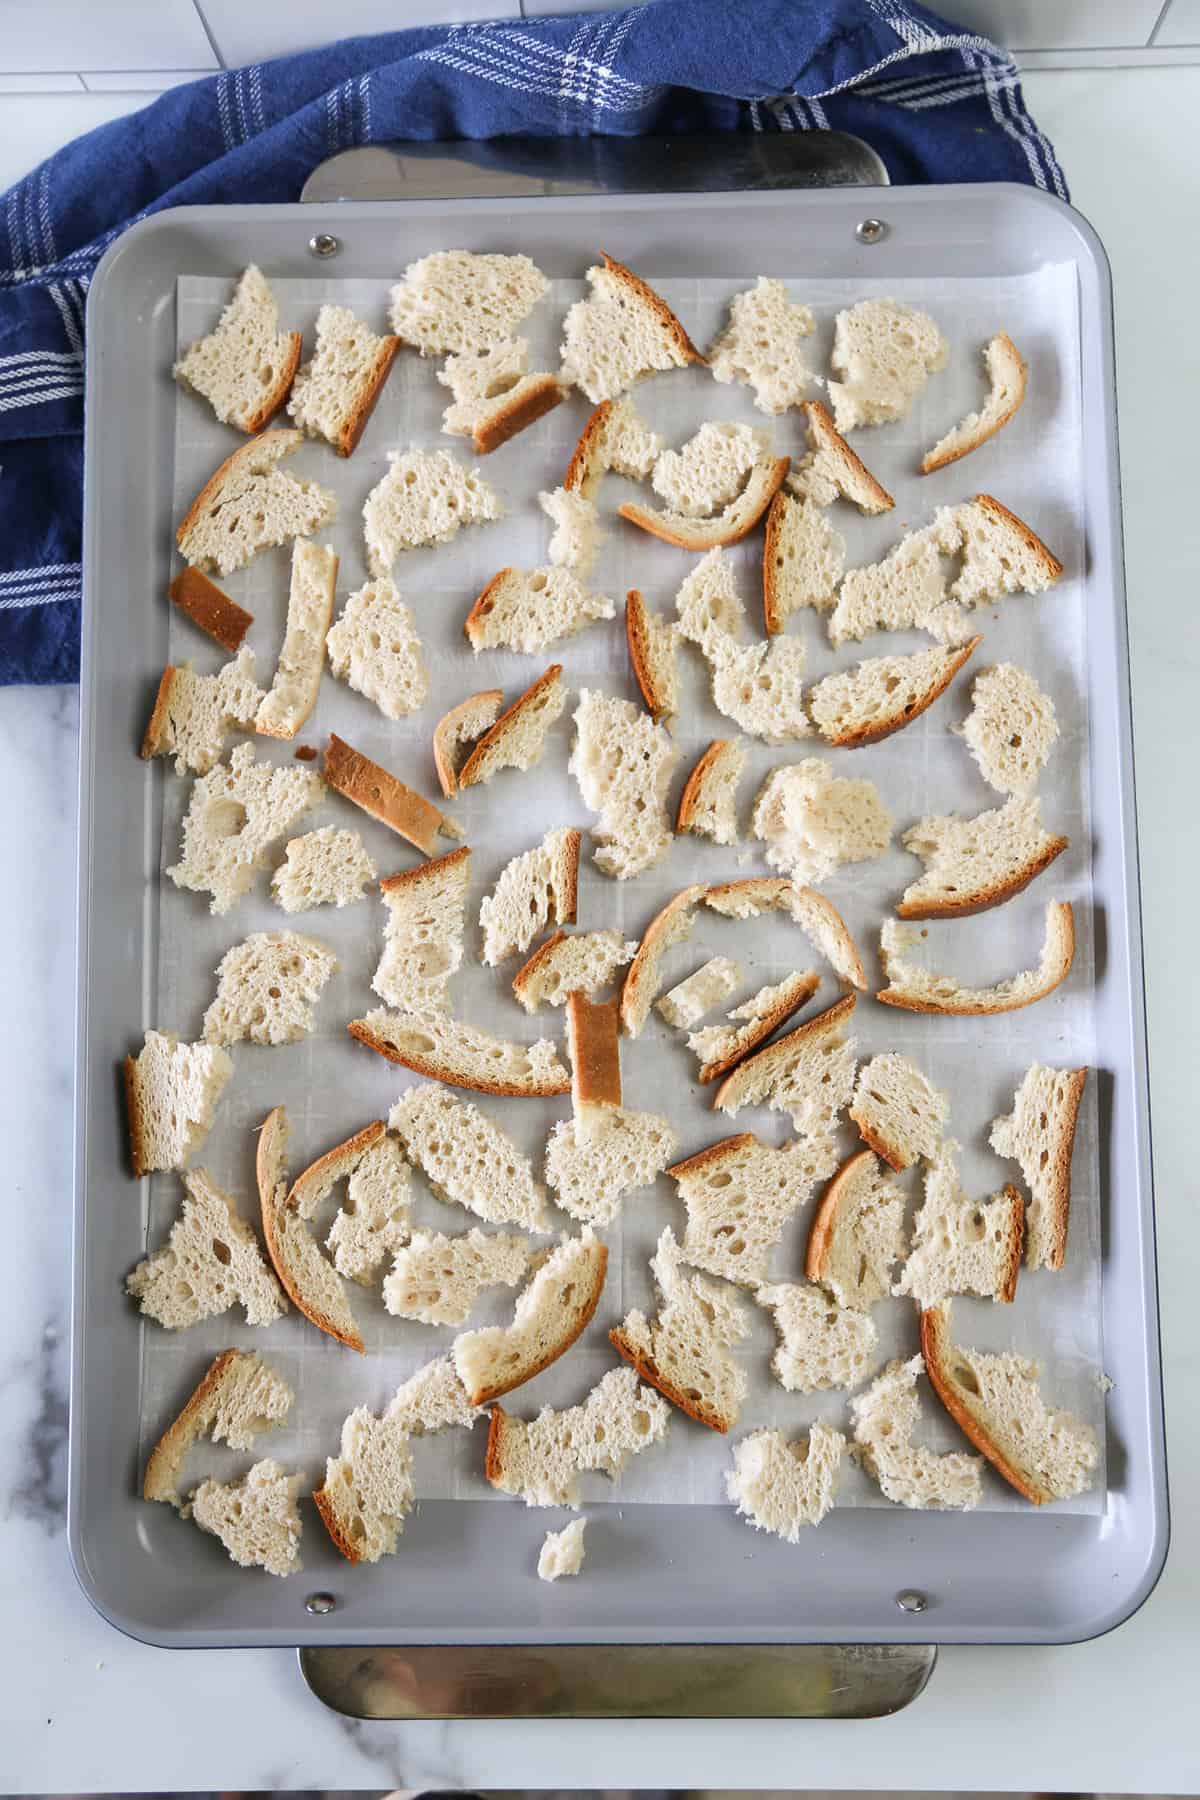
Preheat the oven to 350°F. Cover a rimmed baking sheet with parchment paper.
Tear Up Bread
Tear or cut the bread slices into about 1-inch pieces and spread them out in a single layer on the pan.
Tip: Skip Baking
If your bread is plenty stale, you can skip the next step of baking it! If you have time, set the bread on the counter for a couple of days instead of baking it.
Bake and Cool
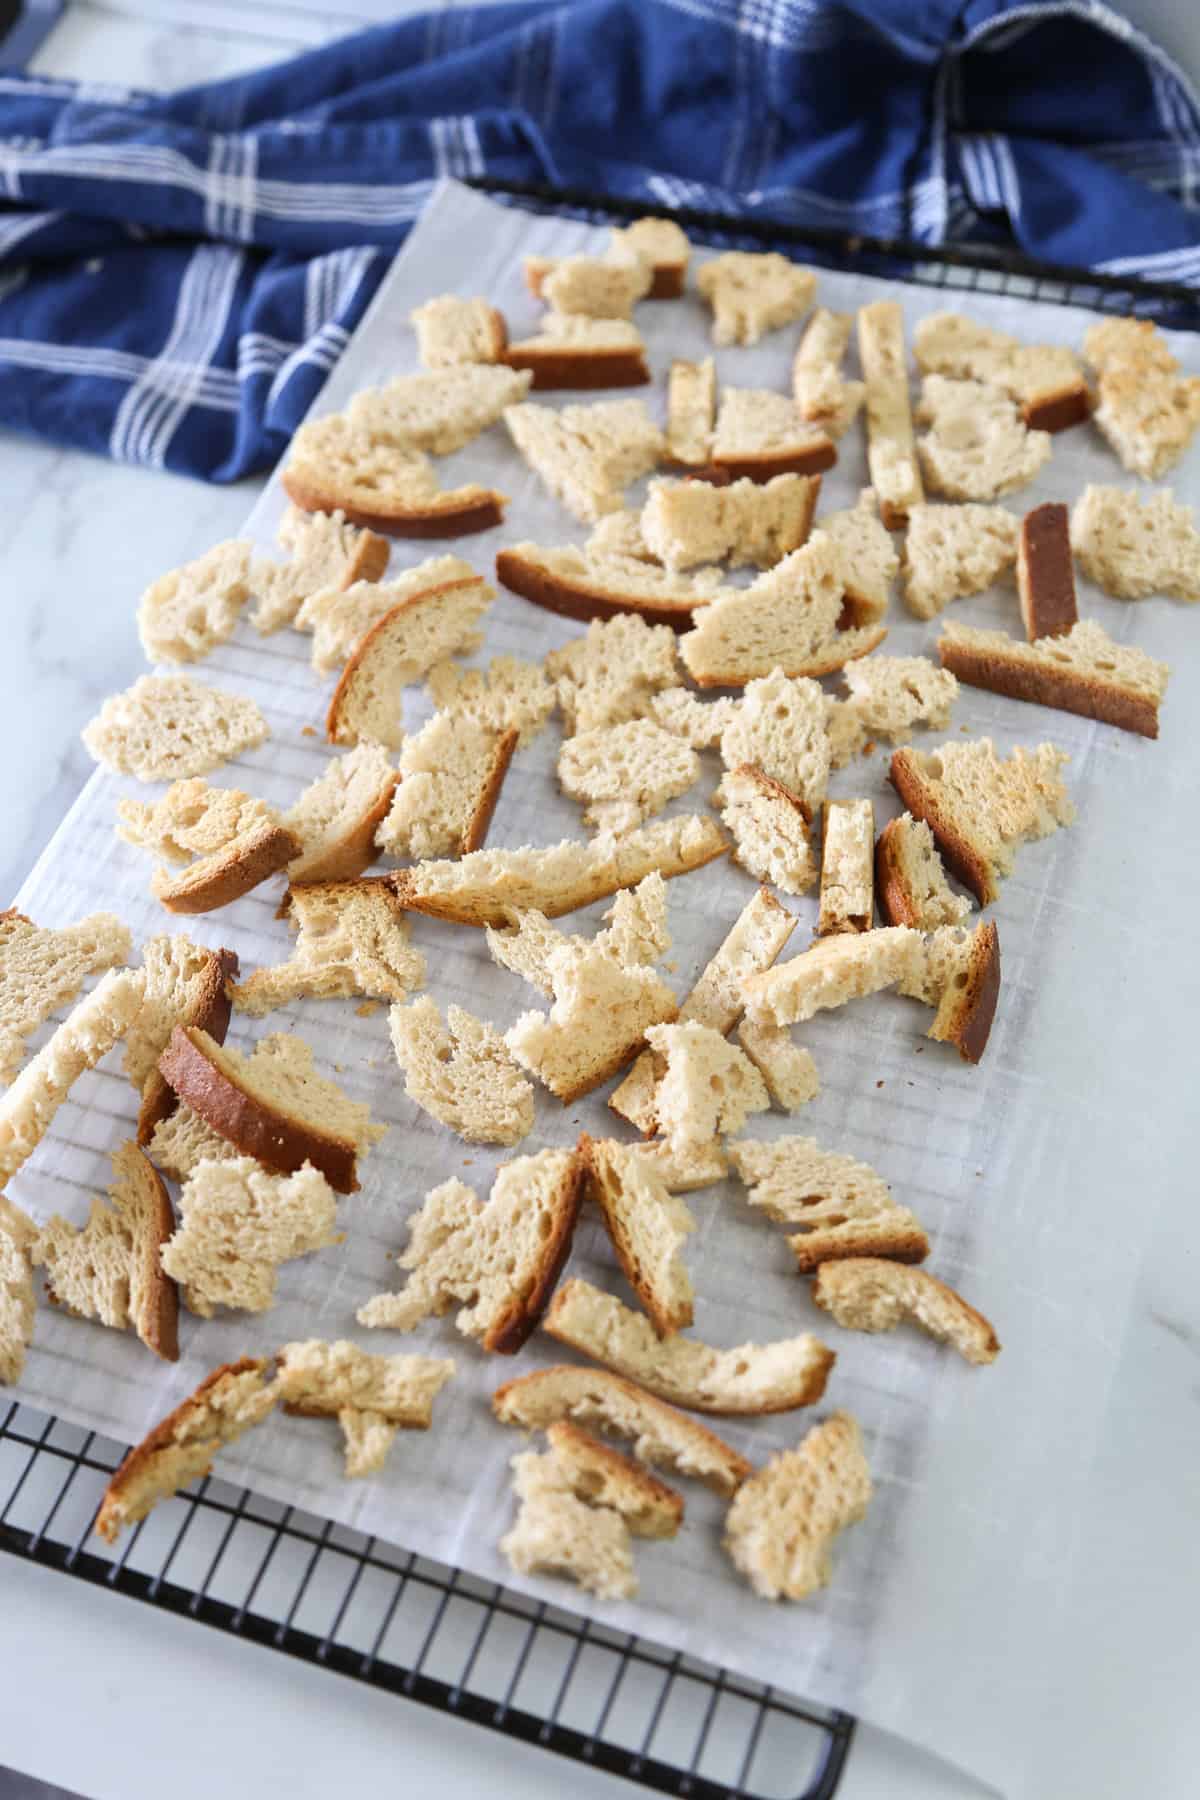
Bake for about 7 minutes. Flip each piece over and bake another 3 minutes or until the bread is golden and toasted. Remove the pan from the oven. Carefully transfer the parchment paper with bread pieces to a cooling rack and let the bread cool completely (about 5 minutes).
Process or Blend
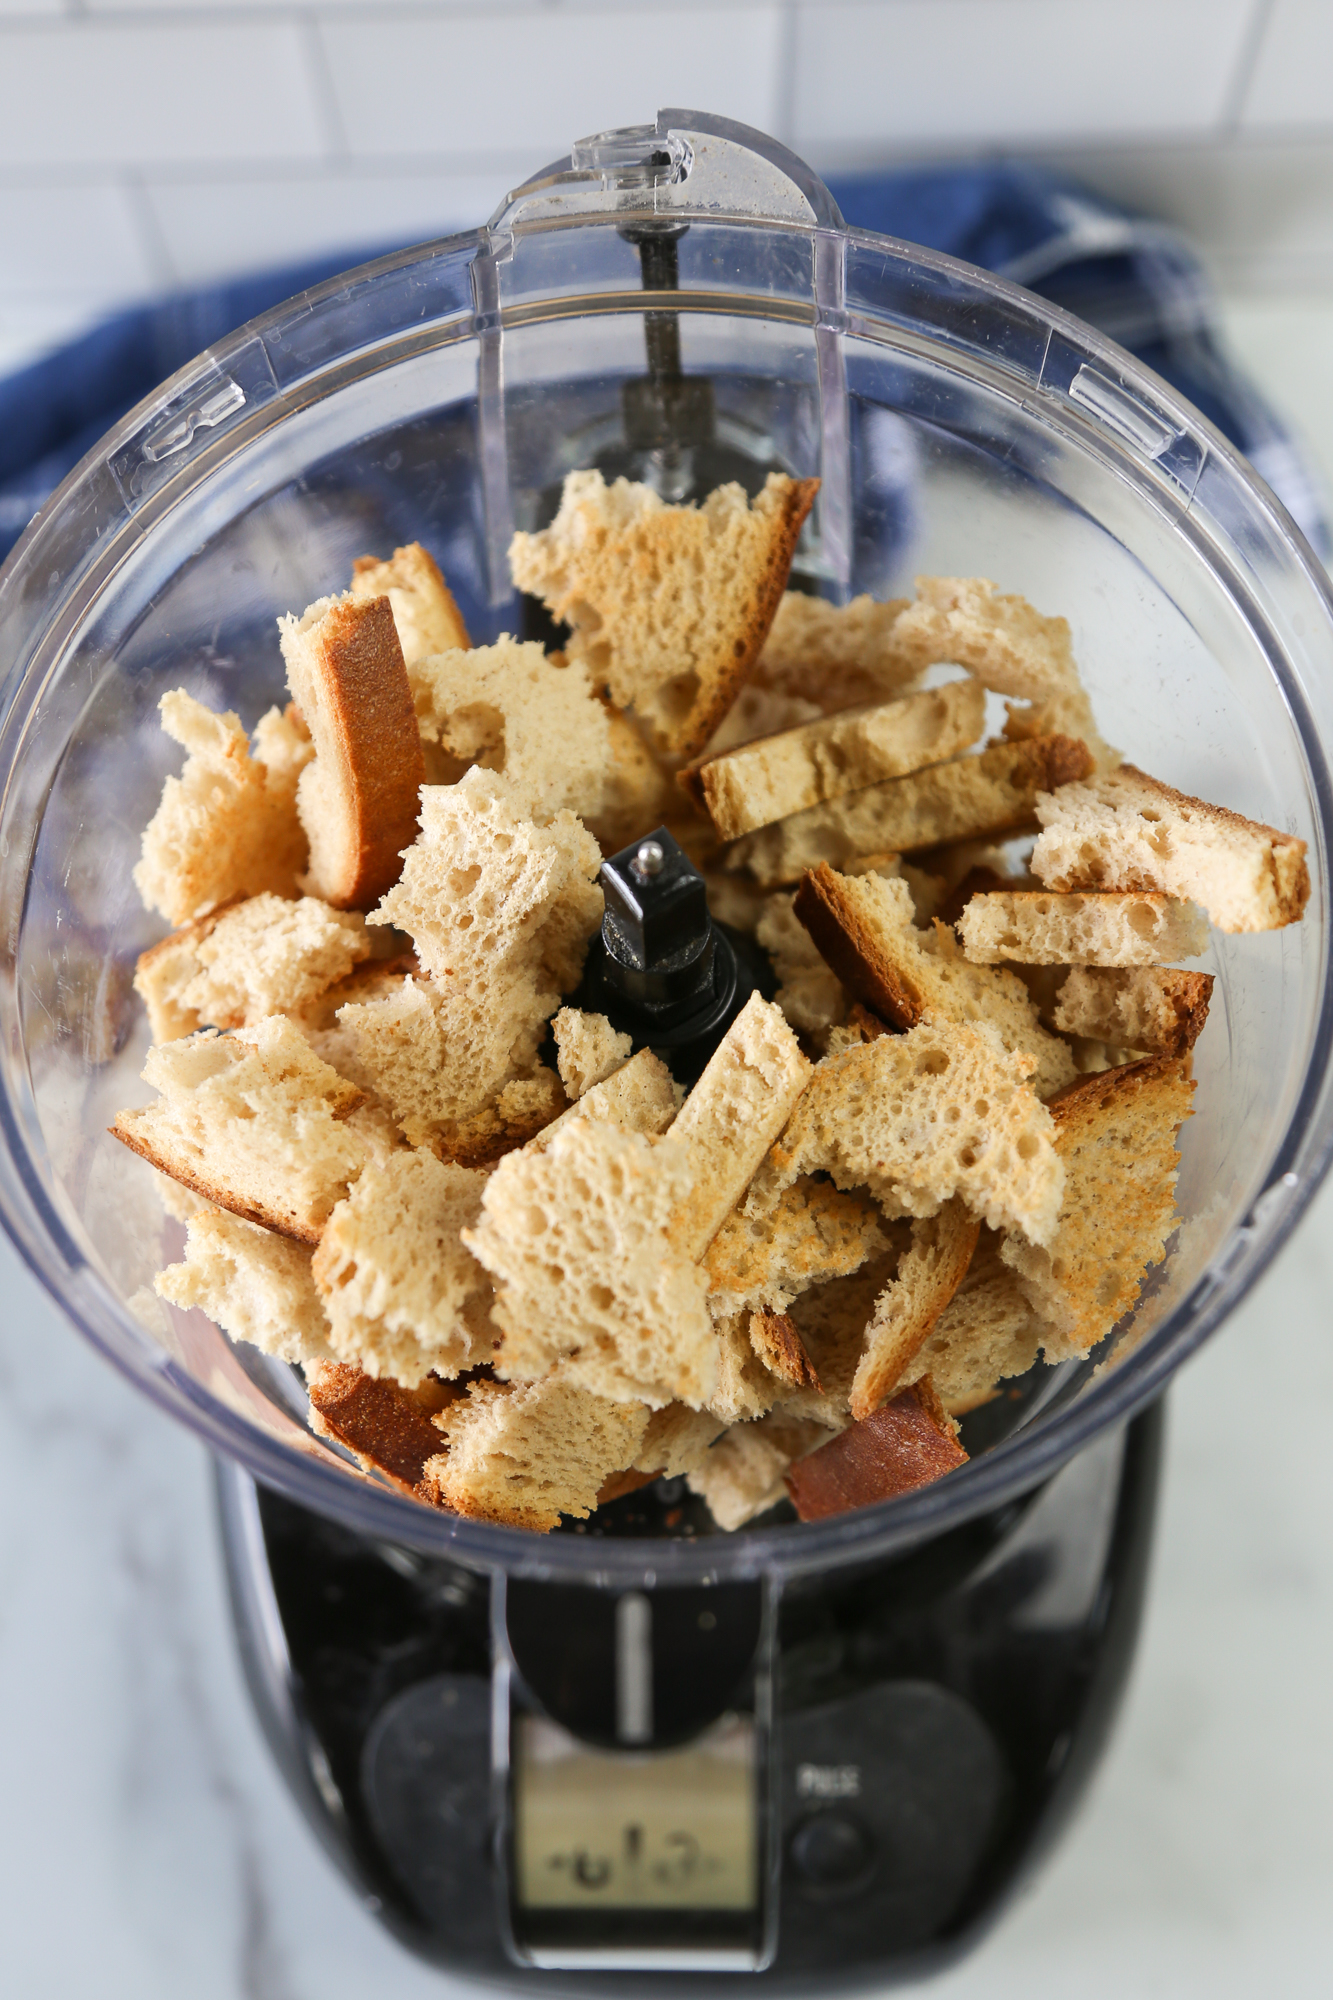
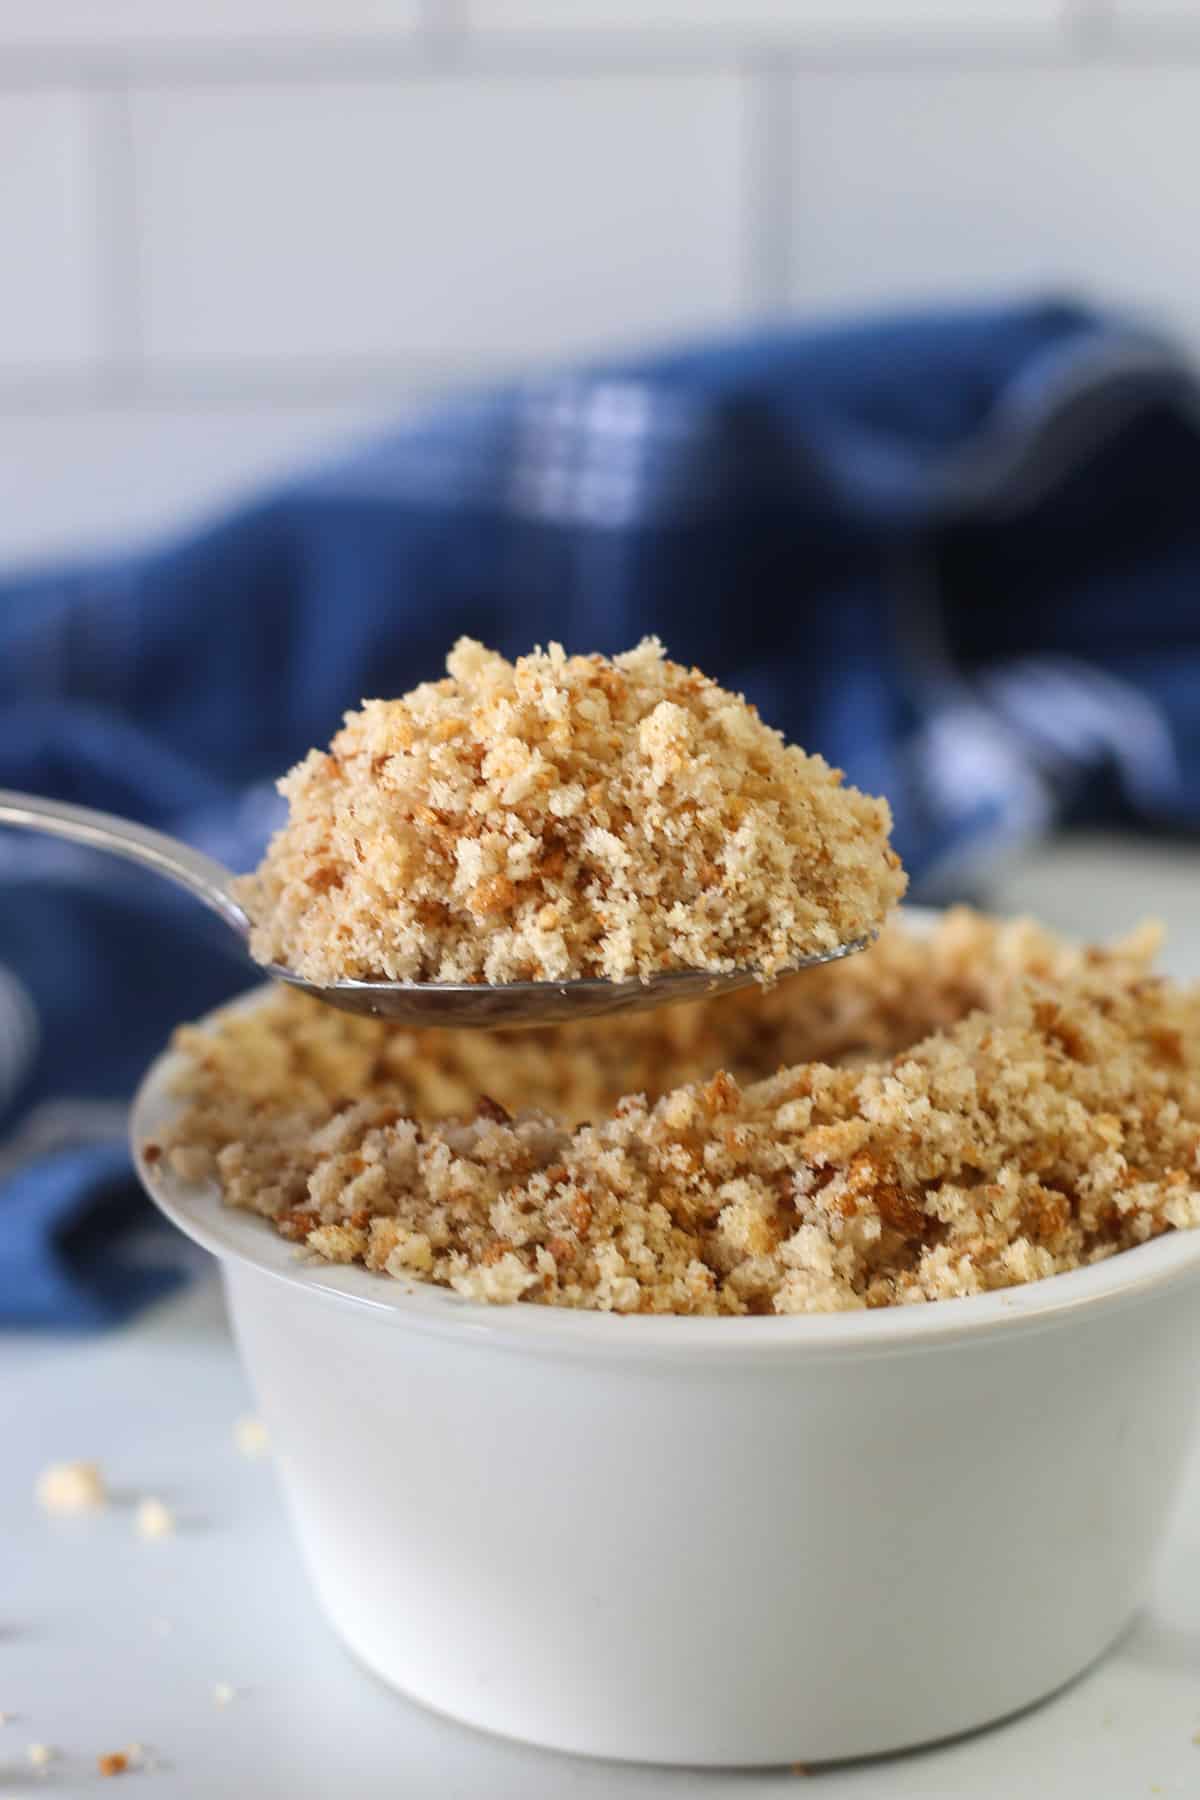
Place the cooled bread pieces in a food processor or blender. Process/blend until the breadcrumbs are fine. They are ready to use in any recipe or to freeze now.
Can I Freeze Gluten-Free Breadcrumbs?
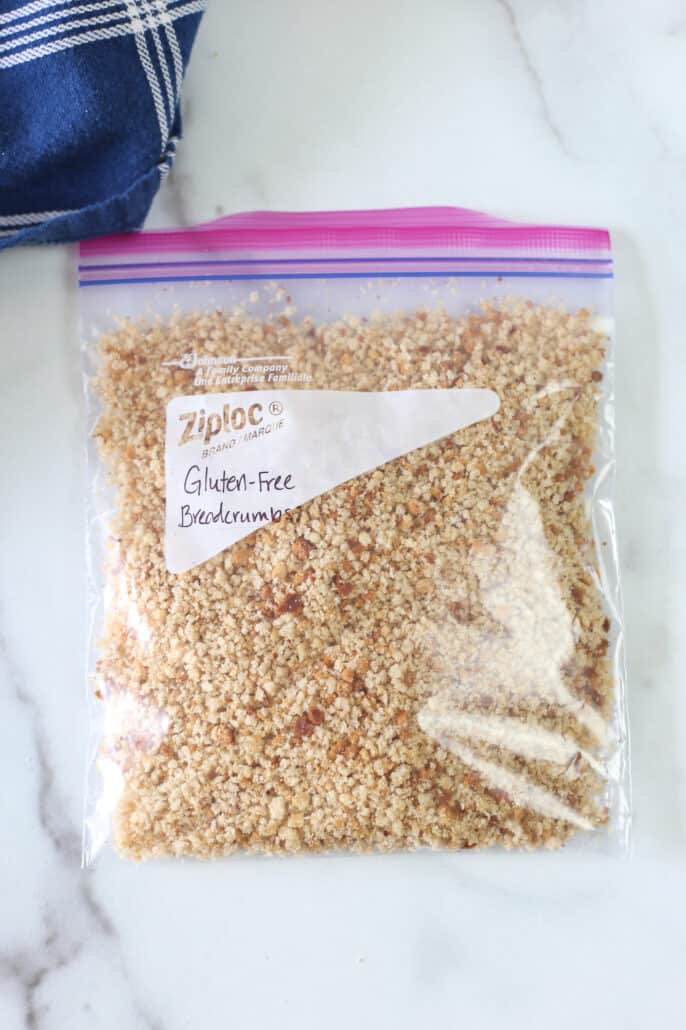
Absolutely! Like I mentioned, go ahead and make a big batch of these while you’re going to the trouble. Then, freeze them using these steps:
- Place them in a freezer-safe bag, squeezing out as much air as possible.
- Label the container with the name, amount of breadcrumbs, and the freezing date.
- Freeze the breadcrumbs on a flat surface, so they don’t all clump together in the freezer.
When you’re ready to use your frozen breadcrumbs, either thaw them overnight in the fridge or use the defrost setting on the microwave to quickly thaw them.
FAQs
It’s a type of breadcrumb made without gluten-containing grains like wheat, barley, and rye. They are suitable for individuals who have gluten intolerance or celiac disease.
Yes, many grocery stores now offer gluten-free breadcrumbs in their specialty or health food sections. You can also find them in some online retailers that specialize in gluten-free products. But, I honestly haven’t found a GF breadcrumb that I can endorse yet. They seem to have an unnatural, gummy texture to them after cooking.
If you use our recipe, I think they are exactly the same or better!
Yes, if you use our recipe, you can substitute gluten-free breadcrumbs for regular breadcrumbs in all recipes.
The best method for storing homemade breadcrumbs is in an air-tight bag or Mason jar in the fridge for up to a week or in the freezer for up to 3 months. Use our freezing instructions in the recipe below.
What to Make With Gluten-Free Bread Crumbs
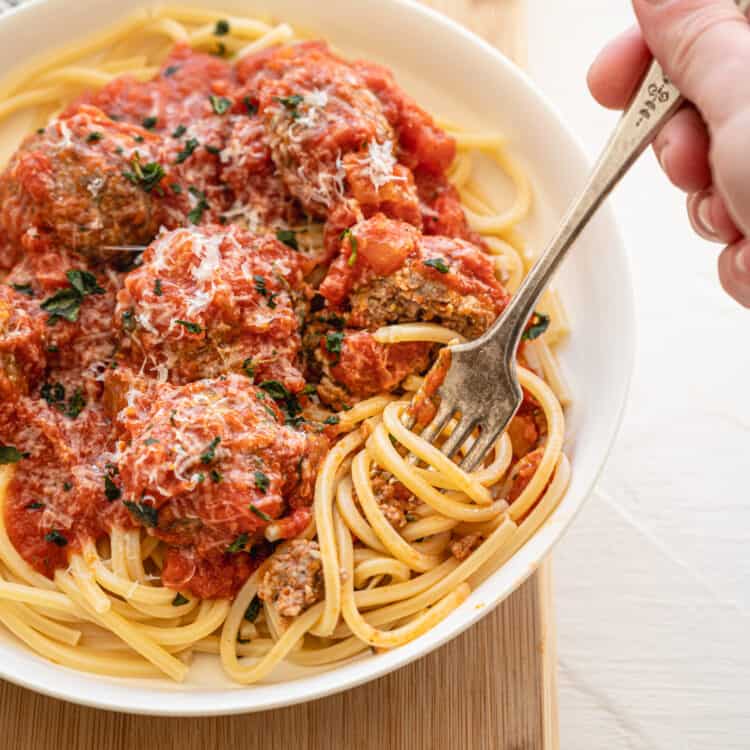
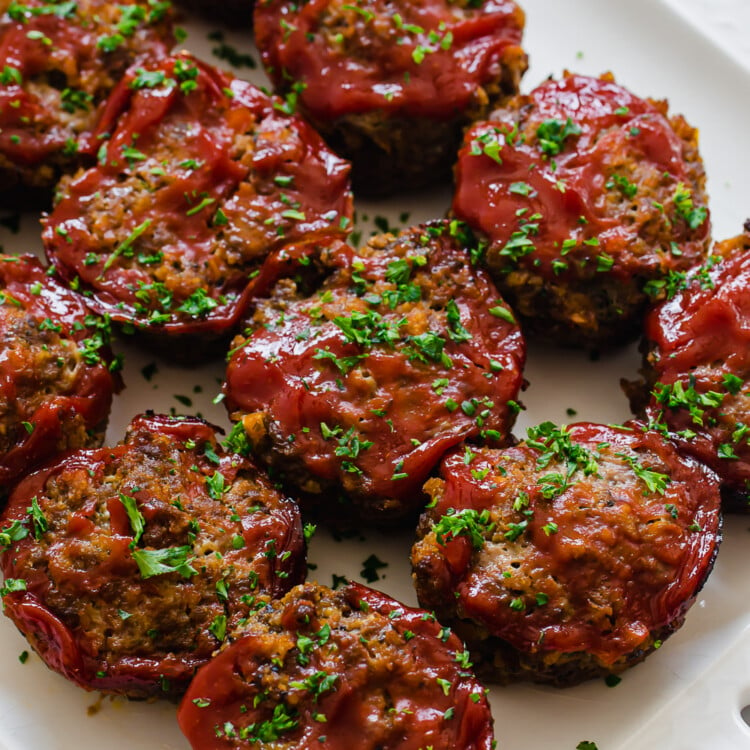
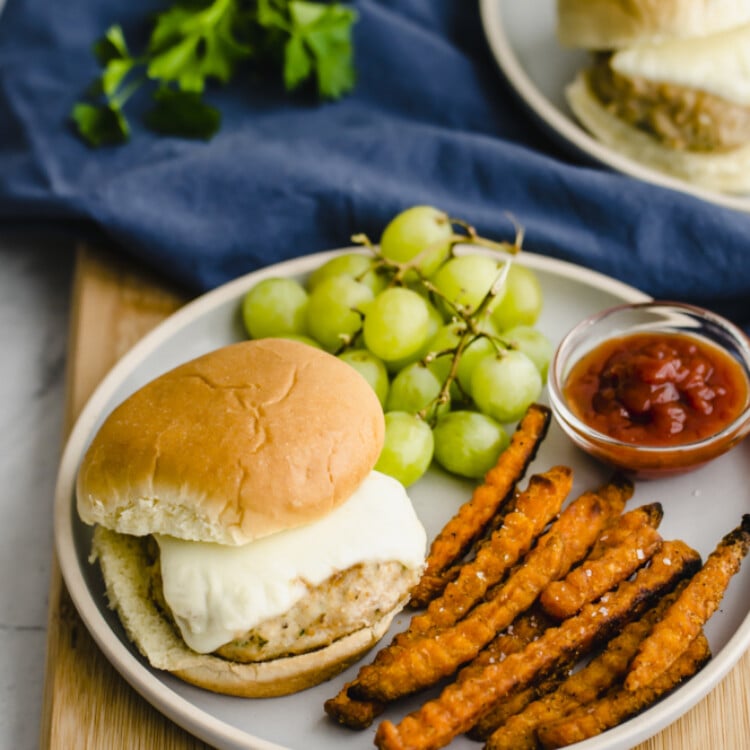
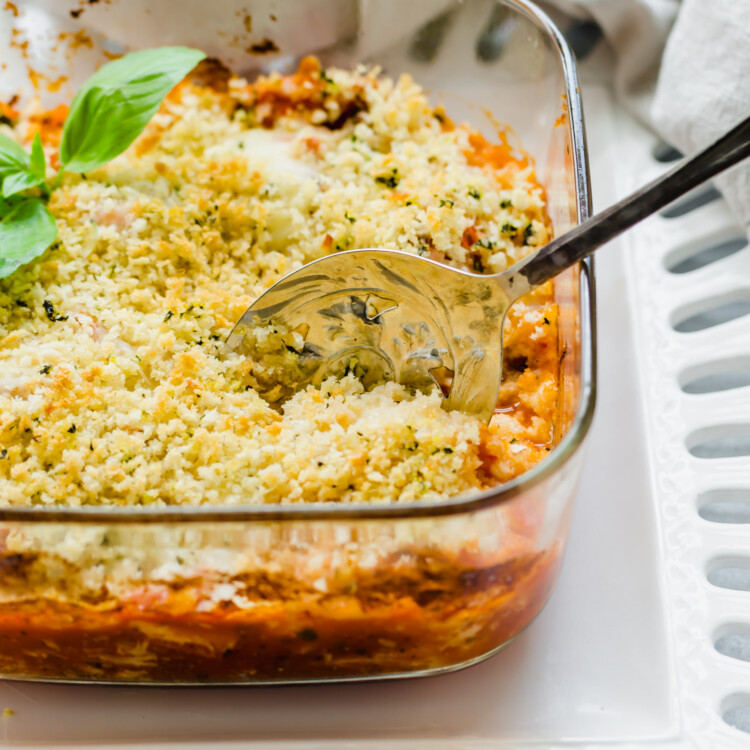
Now it’s time to use up those delicious breadcrumbs. Try some of these popular recipes.
Did you make this? Snap a photo and tag us on Instagram at @thrivinghome so we can see your creations and cheer you on!
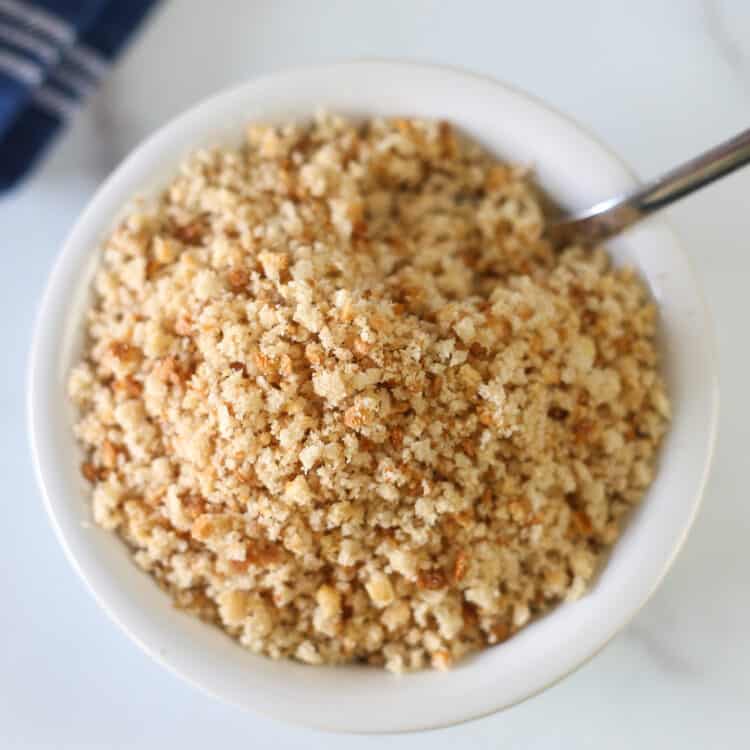
Gluten-Free Bread Crumbs
Making your own homemade gluten-free bread crumbs takes very little work, and they are so much tastier than the store-bought kind!
Ingredients
- 5 slices (5 ounces) gluten-free bread (see Cooking Notes below)
Before You Begin! If you make this, please leave a review and rating letting us know how you liked this recipe! This helps our business thrive & continue providing free recipes.
Instructions
- Preheat the oven to 350°F. Cover a rimmed baking sheet with parchment paper.
- Tear or cut up the bread slices into about 1-inch pieces and spread them out in a single layer on the pan.
- Bake for about 7 minutes. Flip each piece over and bake another 3 minutes or until the bread is golden and toasted. Remove the pan from the oven. Carefully transfer the parchment paper with bread pieces to a cooling rack and let the bread cool completely (about 5 minutes).*
- Place the cooled bread pieces in a food processor or blender. Process/blend until the breadcrumbs are fine. They are ready to use in any recipe now!
Notes/Tips
- I prefer to use a 100% whole grain loaf, like Canyon Bakehouse or Udi’s brands.
- Instead of baking the bread, you can set the torn-up bread on the counter for a few days until it gets hard and stale. Then, process it into breadcrumbs.
I recently tried this and it’s so much better than store-bought GF breadcrumbs. I so appreciate your GF tips and recipe substitutions!
Hi Cathy! I’m so glad you gave these a try and that you’ve found our GF info helpful.
Thanks so much for making this so easy! Thankful to have a go-to gluten free version.
You bet. Glad it’s helpful.