Homemade Brownie Mix
This post may contain affiliate or sponsored links. Please read our disclosure policy.
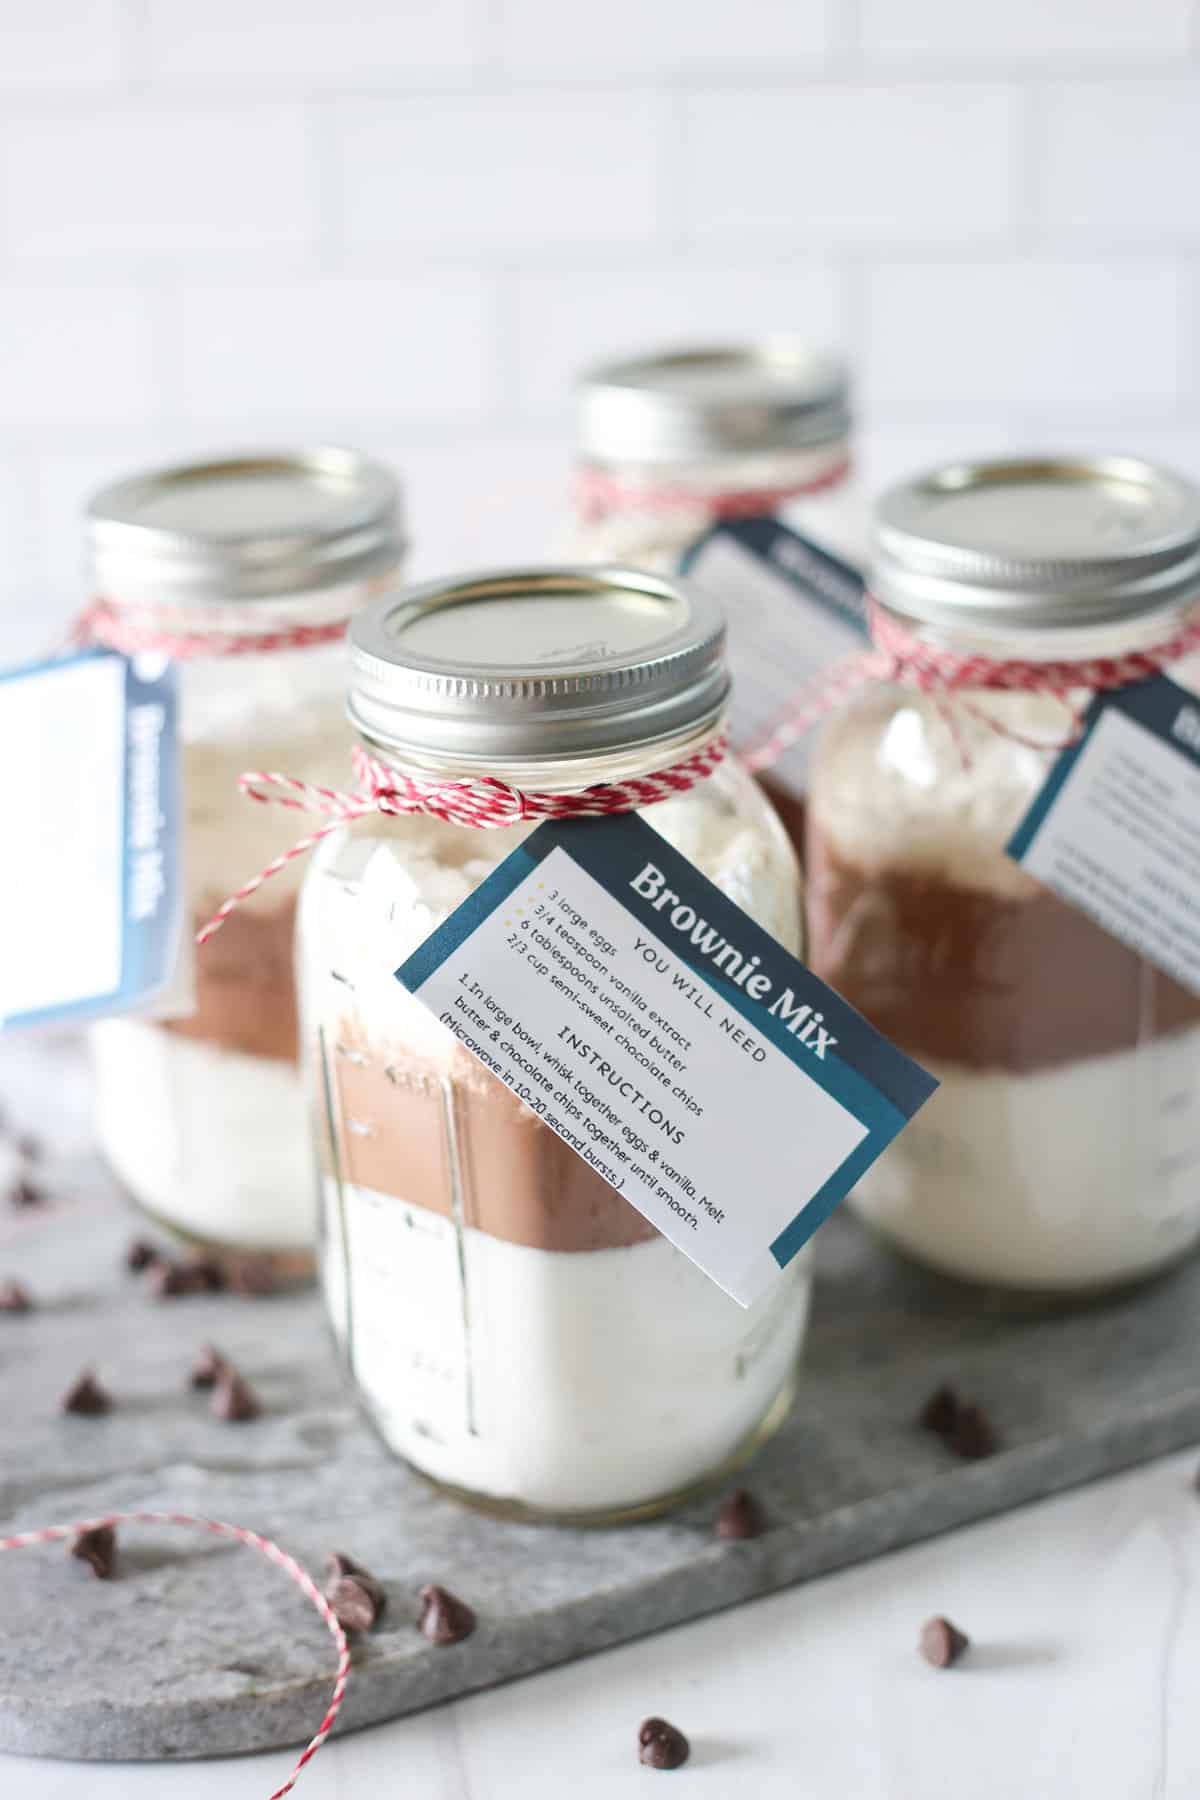
With the help of a pastry chef, we’ve developed the perfect homemade Brownie Mix that can be made into Double Chocolate Brownies or used in all kinds of mouthwatering brownie mix recipes. Store it in your pantry or freezer for spontaneous baking sessions or assemble it in jars for gifting. Simply pour, mix, and bake your way to chocolatey perfection.
Why Make Homemade Brownie Mix?
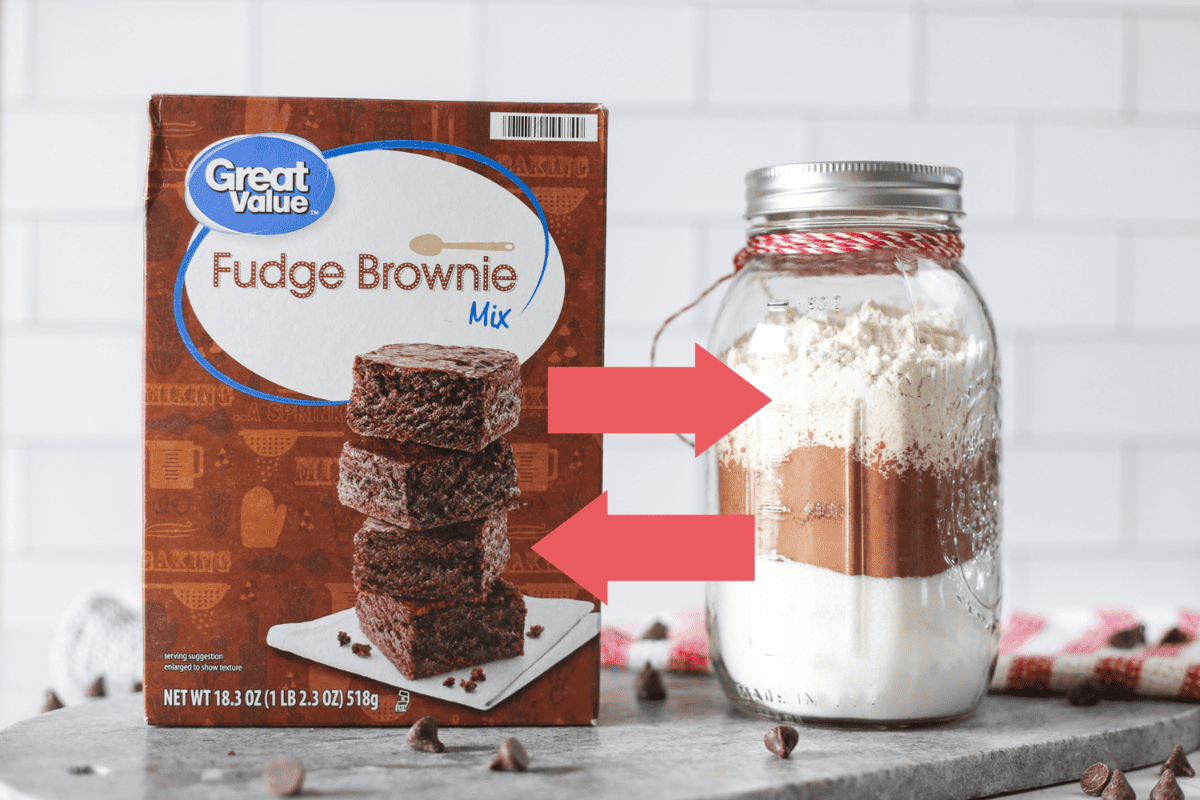
- This recipe is a 1:1 substitution for a boxed brownie mix. (We have the same for Yellow Cake Mix too!)
- You never know when you’ll need a ready-to-make dessert on hand.
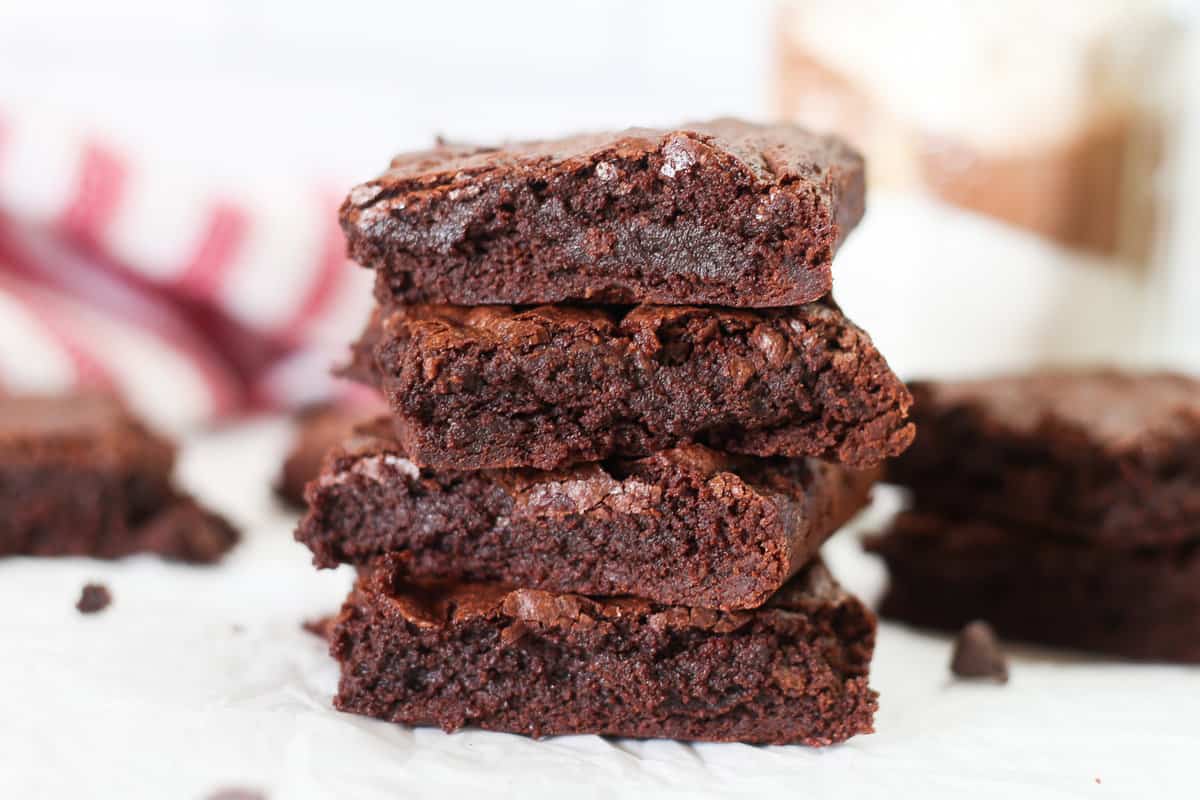
- The brownies taste better. Think fudgy center, chewy edges, and fresh-tasting.
- No preservatives or additives, unlike the store-bought kind. You’ll feel good knowing what’s in this mix.
- When prepped in a jar and with our free printable tag, this Brownie Mix makes a great gift.
- When prepped in bulk, this mix saves money. You can store it in the freezer for up to a year.
Ingredients for the Mix
The ingredients are simple, yet precise. Our contributing recipe developer, who is a pastry chef, tested multiple batches with small changes and landed on this exact recipe! (Then, Rachel and I tested it multiple more times in various pans to make sure it turns out perfectly every time.)
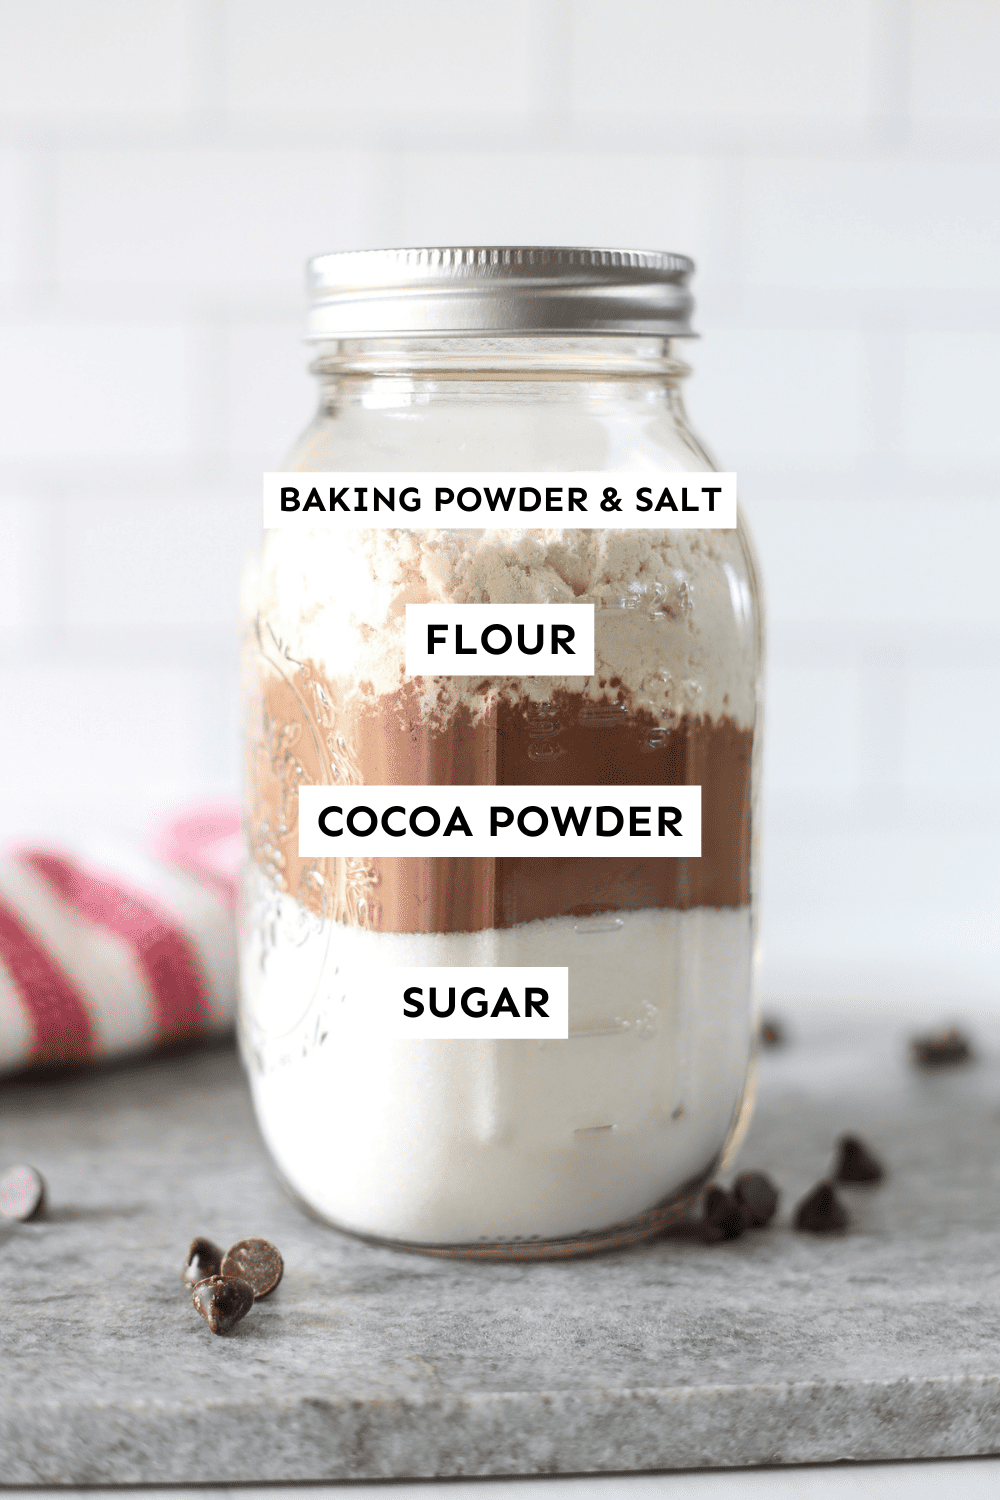
Here are the main ingredients you’ll need for this Homemade Brownie Mix.
To prepare the brownies, you’ll need the following ingredients:
- Large eggs
- Unsalted butter
- Vanilla extract (try making homemade vanilla extract)
- Semi-sweet chocolate chips
Give the Gift of a Mason Jar Brownie Mix
This is a fun, budget-friendly gift to give to teachers, neighbors, friends, and more. We’ve made it super easy to package these for gifting with our printable gift tag that you’ll attach to a mason jar.
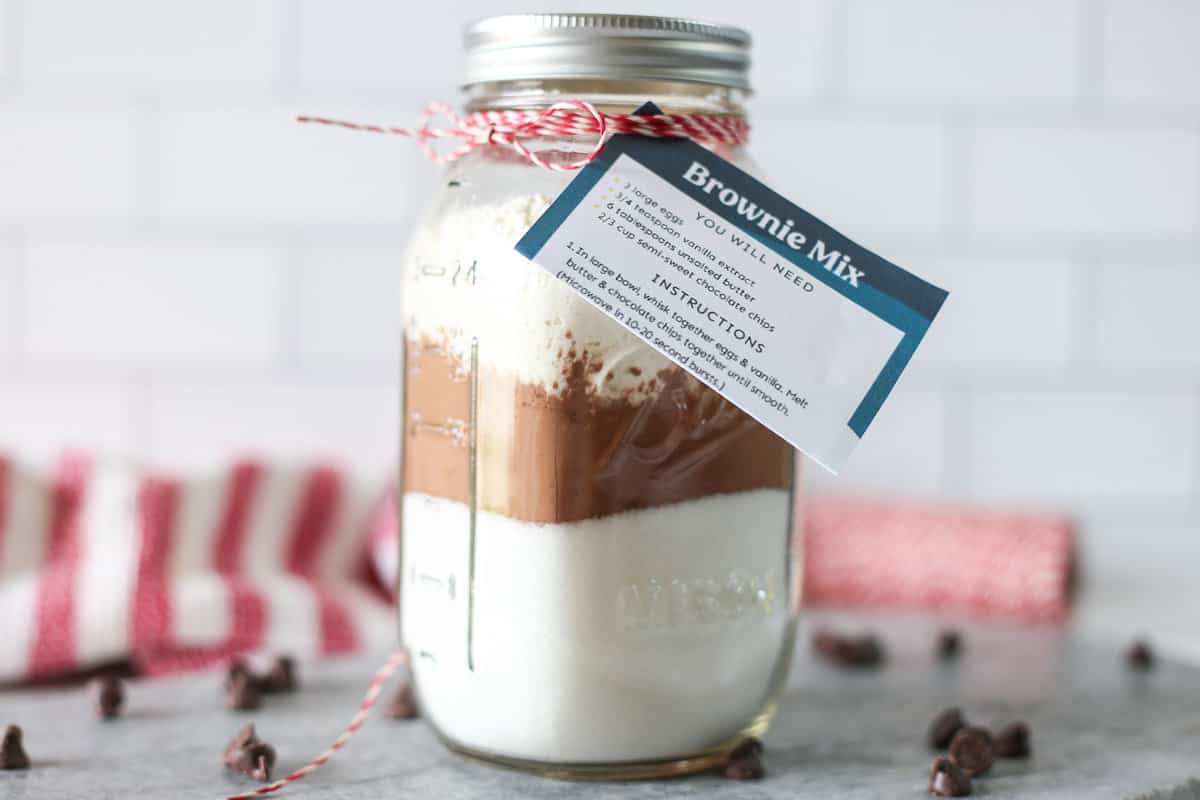
To turn your brownie mix into a gift, you’ll need:
- Large (32-ounce) Mason Jar – Use a funnel to make adding ingredients easier.
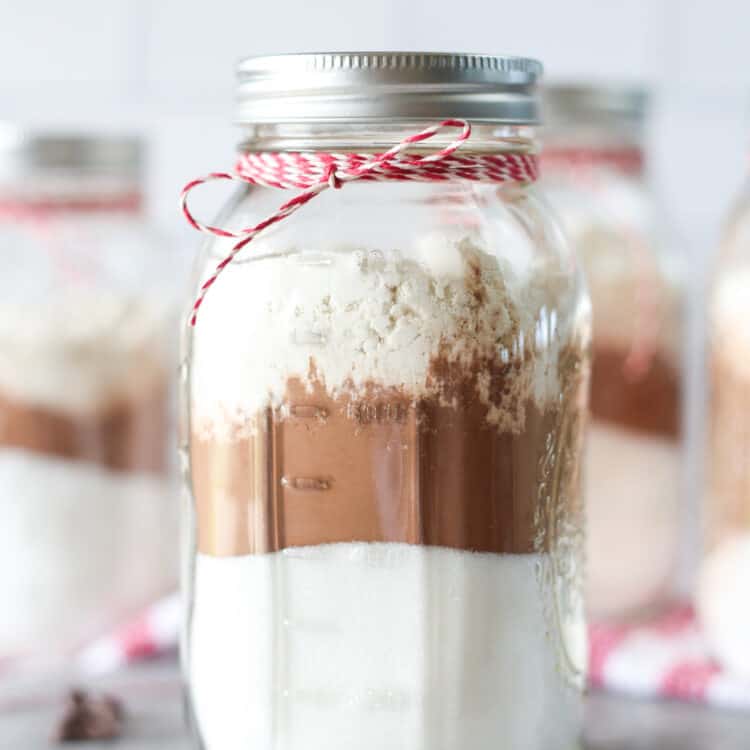
- Dry Mix Ingredients – Be sure to add them in the order of the recipe so they look layered and pretty!
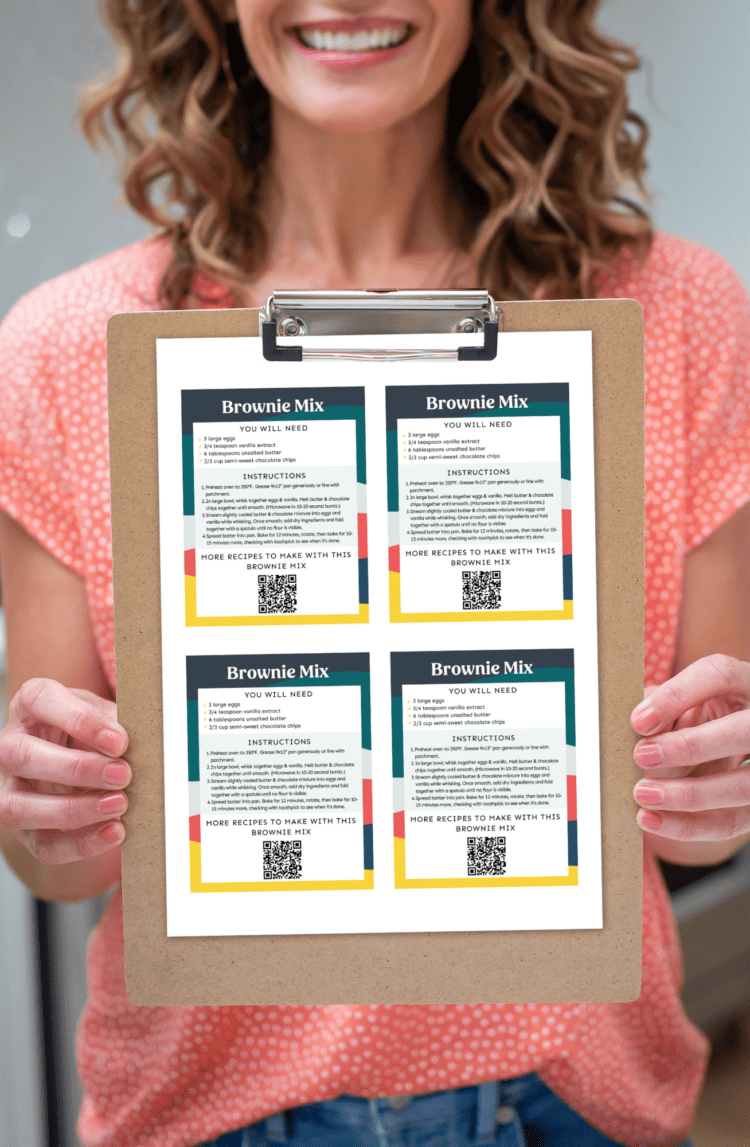
- Printable Brownie Mix Tag – Download yours for free below and then print on card stock or regular printer paper.
- Ribbon or twine – Wrap the ribbon/twine around the mouth of the jar, fold the tag in half, and stuff the corner of the folded tag under the ribbon. Or, hole punch the tag in the top left corner and thread it through the ribbon.
Brownie Mix Tag
Tip for Storing in Bulk
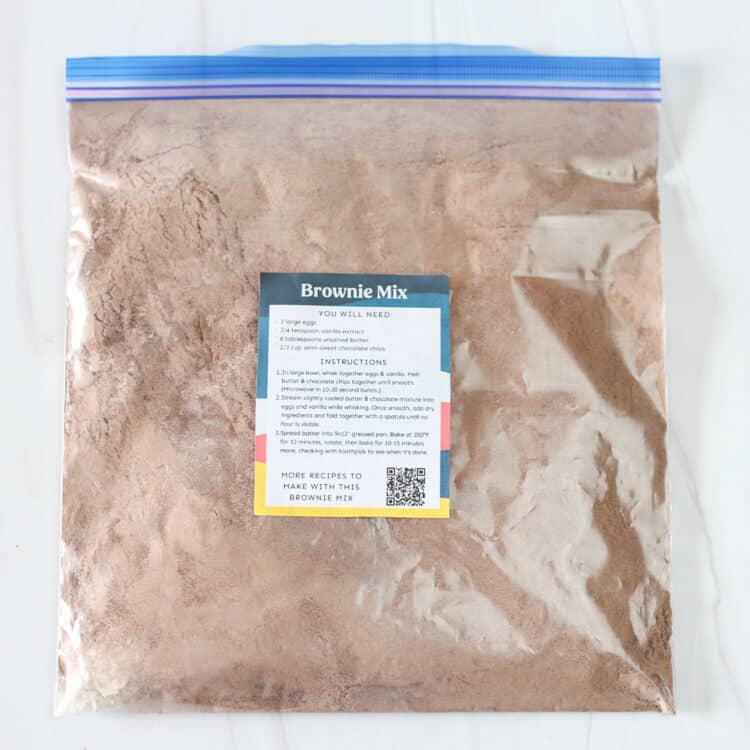
To save time and money, consider prepping this mix in bulk to use at home. Add the ingredients to gallon-size freezer bags, squeeze out all excess air, tape on the Brownie Mix Tag, and stack in the pantry for up to 6 months or the freezer for up to at least 1 year.
How to Prepare the Homemade Brownie Mix
When you’re ready to use the dry mix, either follow the instructions on the tag or use our Double Chocolate Brownie Recipe which is this basic recipe:
You’ll Need:
- 3 large eggs
- 3/4 teaspoon vanilla extract
- 6 tablespoons unsalted butter
- 2/3 cup semi-sweet chocolate chips
Instructions:
- In a microwave-safe bowl, melt butter & chocolate chips together until smooth. (Microwave in 10-20 second bursts.) Let it cool slightly for 5 minutes or so.
- In a large bowl, whisk together eggs & vanilla. Stream slightly cooled butter & chocolate mixture into eggs and vanilla while whisking.
- Once smooth, add dry ingredients and fold together with a spatula until no flour is visible.
- Spread batter into a 9×9″ greased metal pan*. Bake at 350°F for 22-27 minutes, rotating halfway and checking with a toothpick to see when it’s done.
Recipes that Use Brownie Mix
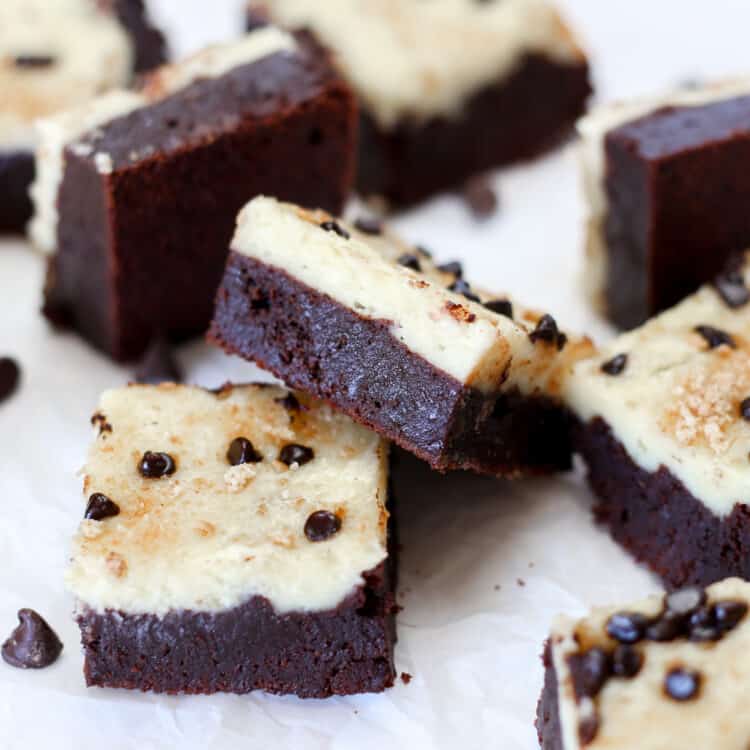
Here are a few more recipes that use this Brownie Mix.
FAQs
Yes, you can freeze brownie mix. Store it in a large mason jar or ziplock bag and freeze for 9+ months.
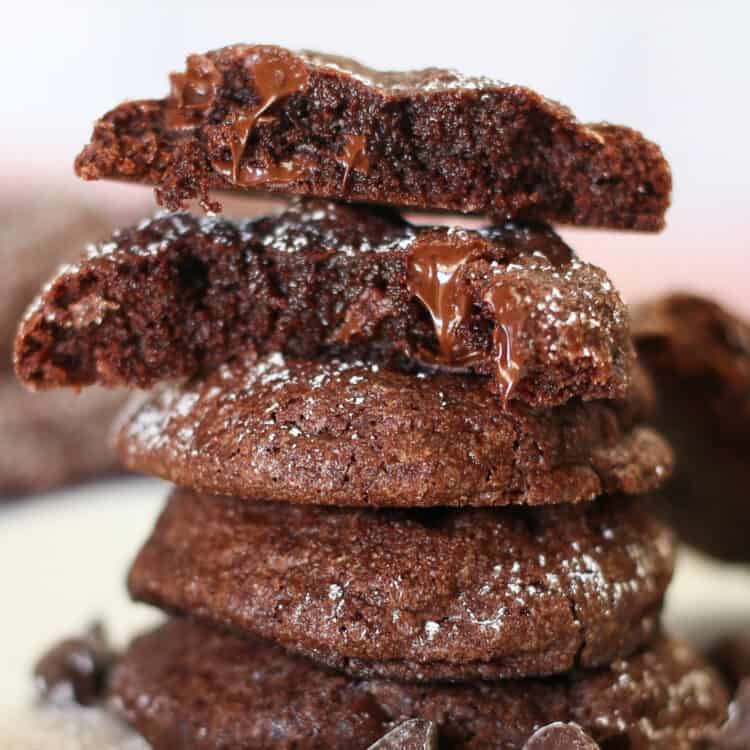
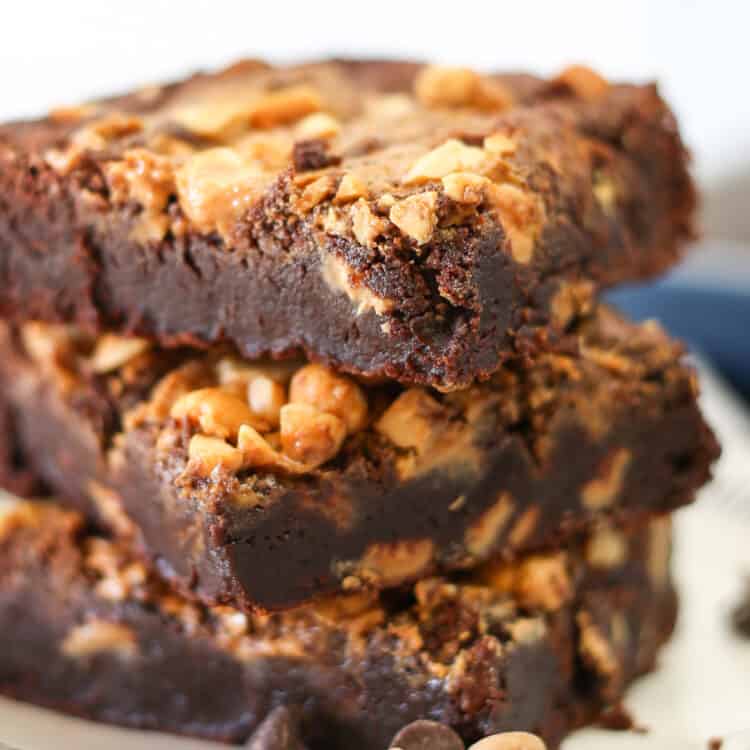
Any recipe that calls for a box of brownies can be used. Check out all these recipes with a brownie mix that our team has developed or curated for you. My favorite is the Brownie Cookies! Runner-up is the Peanut Butter Swirl Brownies.
No, not perfectly. The ingredients will begin to blur together the more you move it around. While the layers look pretty, they aren’t necessary so feel free to give the jar a shake.
Yes, freezing homemade brownie mix can be a great way to extend its shelf life. Store in an airtight container or freezer bag for best results. It will remain good for at least a year in the freezer if sealed tightly.
– Use dairy-free chocolate chips, such as Enjoy Life brand.
– Replace the butter with melted coconut oil. Or, melted ghee is a great substitution, but note that it is only lactose-free but not dairy-free.
15+ Recipes That Start With Brownie Mix
Try making these restaurant-quality desserts by starting with brownie mix. They are easy and absolutely mouthwatering!
Did you make this? Snap a photo and tag us on Instagram at @thrivinghome so we can see your creations and cheer you on!
Homemade Brownie Mix
With the help of a pastry chef, we’ve developed the perfect homemade Brownie Mix. It can be stored in your pantry for spontaneous baking sessions or assembled in jars for gifting. Simply pour, mix, and bake your way to chocolatey perfection.
Ingredients
- 1 1/2 cups granulated sugar
- 1/2 cup cocoa powder
- 3/4 cup all-purpose flour
- 1/4 teaspoon baking powder
- 1/2 teaspoon salt
Before You Begin! If you make this, please leave a review and rating letting us know how you liked this recipe! This helps our business thrive & continue providing free recipes.
Instructions
- In a 32-ounce mason jar or gallon-sized freezer bag, add the dry ingredients in the order listed. Tip: A funnel to make adding ingredients to a mason jar easier.
- Print the Brownie Mix Instructions Tag and attach to the brownie mix.
- Store in the pantry for up to 3 months or in the freezer for up to 9 months.
- To make brownies from this mix later, use the instructions on the printable tag, from Double Chocolate Brownies, or in the Cooking Notes below.
Notes/Tips
This mix is a 1:1 equivalent of a standard 18-ounce box of brownie mix from the store. It can be used interchangeably in other recipes that use a brownie mix.
To Make This Mix Into Brownies: Either use our Double Chocolate Brownies recipe or the instructions below:
You’ll Need:
- 6 tablespoons unsalted butter
- 2/3 cup semi-sweet chocolate chips
- 3 large eggs
- 3/4 teaspoon vanilla extract
Instructions:
- Prep: Preheat oven to 350°F. Grease a 9×9 metal pan* generously with butter/cooking spray, or line with parchment.
- Melt Chocolate Mixture: In a microwave-safe bowl or glass measuring cup, melt the butter and chocolate chips together in short 10-20 second bursts until smooth, stirring frequently. Be careful not to let the mixture get too hot. Set aside to cool for 5-10 minutes.
- Wet Ingredients: In a large mixing bowl, whisk together eggs and vanilla. Stream the slightly cooled butter and chocolate mixture into the eggs and vanilla while whisking. Whisk until smooth.
- Combine with Dry: Add the brownie mix and fold together with a spatula until no flour is visible (but be careful not to over mix). The batter will be thick.
- Bake: Spread the batter into the prepared metal pan so that it is evenly distributed. Bake for 22-27 minutes, rotating halfway through the bake time. Insert a toothpick to check doneness. They’re done when there are only a few moist crumbs remaining on the toothpick and no wet batter is visible. Let brownies cool most of the way before slicing.
*Changes for Various Pan Types and Sizes: We tested this brownie recipe in various types and sizes of pans and here’s what our team discovered:
- If using a 9×13 metal pan, bake for 15-20 minutes.
- If using a 9×13 metal pan for a double batch, bake for 35-40 minutes.
- If using an 8×8 ceramic pan, bake for 35-40 minutes.
- If using a 9×13 ceramic pan, bake for 22-27 minutes.
- If using a glass pan, this article says to try dropping the temperature from 350°F to 325°F and increasing the time anywhere from 5 to 15 minutes, depending on the volume of batter. (We haven’t tested in glass yet, but plan to soon!)

Recipe Contributor: Rachel Riegel
Pastry Chef Rachel Riegel developed and rigorously tested this recipe for Thriving Home.
Rachel grew up in northern Michigan with a family that loved to cook and bake. She attended a career center for culinary and baking and pastry arts in high school and went to college at The Culinary Institute of America in Hyde Park, New York. She graduated in August 2023 with a Bachelor’s in Food Business Managment and Baking and Pastry Arts.
In her free time, she loves to read, listen to true crime podcasts, go on walks, travel, and spend time with her fiancé.

Delicious recipe! Couldn’t find the tag to attach to container to give away.
Hi Selma. When you sign up to get the Brownie Tag printable, it should come to you in an email. It might go to your spam. I also went ahead and sent it to you just now. Thank you so much for the review!
Have you tried subbing 1:1 gluten free flour in this recipe? I’d love to have some regular and GF jars in the pantry.
We haven’t tested that but I don’t see why that wouldn’t work. Let us know if you do!
The best brownies I’ve ever made and had!
Thanks Hannah! Glad you love them!
Like it with Brownies
Thanks Susan!
i havent made these yet, but have made up 4 batches for friends, they said it was a hit…
Glad to hear it Mary! Hope you get to try them yourself soon.
I have made me some. So good. I threw in chocolate chips and walnuts. Brownie’s are so much better with nuts.
Glad you got to finally make some for yourself. I agree that brownies are better with nuts… But NO ONE in my family agrees with me. I never make brownies without chocolate chips though. That is a definite must!
The link to print the tag and instructions does not work.
Thanks for the heads up. Got it working!
Haven’t tried the recipe but just wanted to say that I really hate it when recipes don’t specify what kind of flour to use, self rising or all purpose? I’m assuming since it calls for baking powder I should use all purpose flour but not everyone knows this.
Thanks for the feedback. We will specify that.
Hello ,
Is there any substitute for eggs which we can add ?
I haven’t tested these without an egg, but I’ve read that a “flax egg” can work as a substitute. Try googling that and see if it’s helpful.
This recipe is the BEST homemade brownie I have ever made. It will be my go to recipe from now on! Thank you!!!
Love hearing that! Thanks, Vickie.
Thank you for this super easy amazing recpie! I have taken to many barbques and they are always a great hit!
Great to hear this, Lori!
Hey! I just wanted to ask…. Do you use powdered sugar for these or granulated sugar? I made something similar like this once with granulated sugar and the texture came out so bad!
Are these cake like brownies?
Can I substitute veg oil for the melted butter? I know you can, but I just wanna know if it’ll change the taste too much. Lol.
It might change the taste a tad but it will probably be ok. I’d suggest sticking to butter if you can though!
What a smart idea!!!
What type flour do you use?? All-purpose or self-rising??
Hi there. I used white, all-purpose flour.
Is the cocoa powder with no sugar correct? The bitter kind?
Hi Vikki, this is just baking cocoa powder. No sugar.