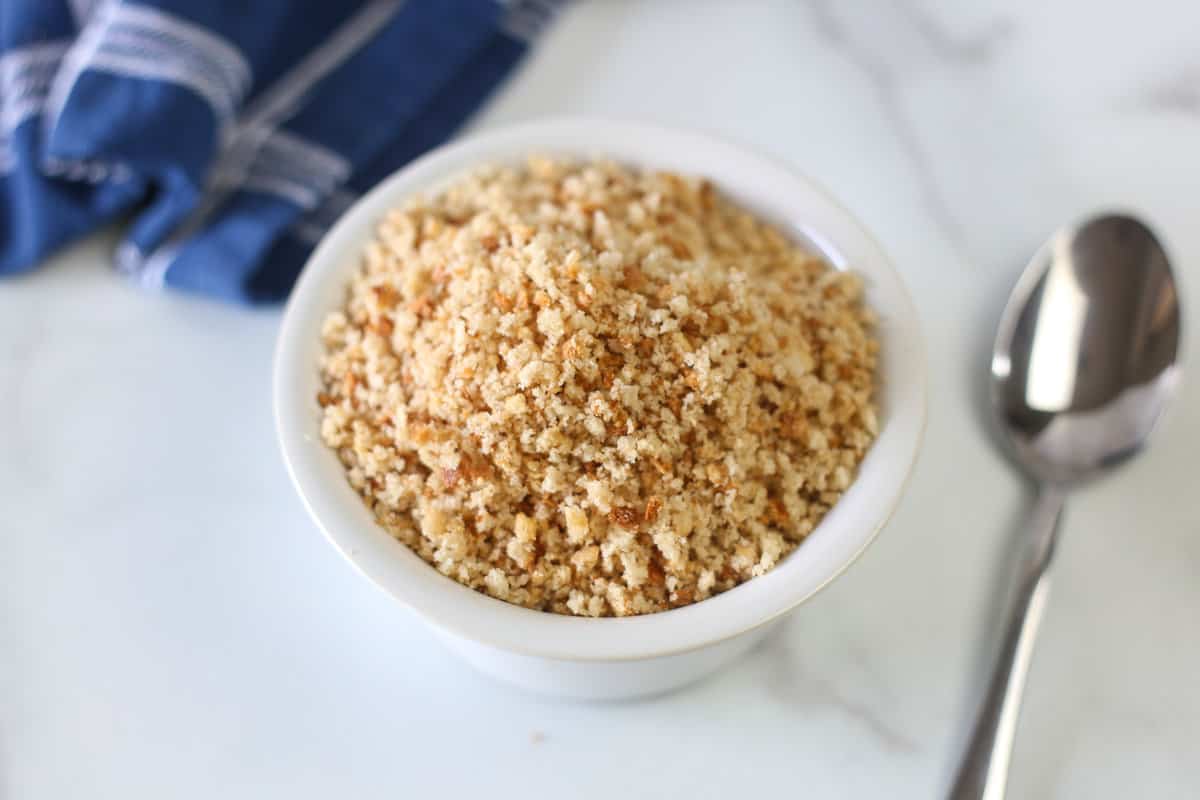
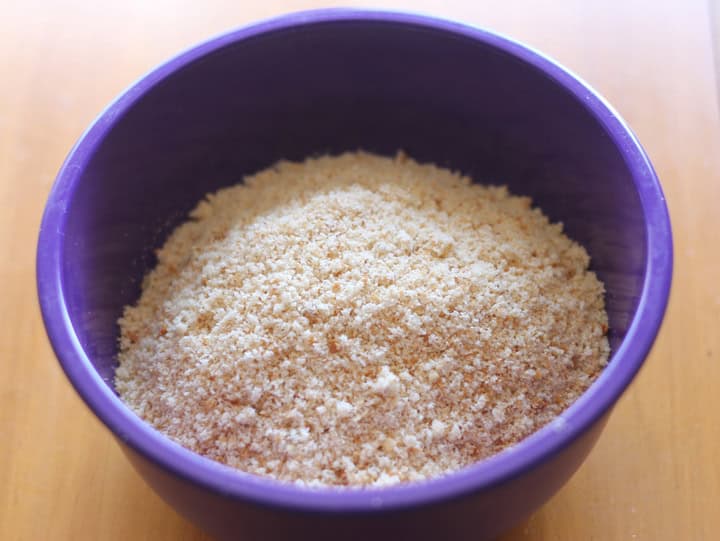
Homemade Bread Crumbs
Let’s talk about how to make bread crumbs! Once you grasp this simple and fast method to make your own homemade bread crumbs, you’ll wonder why you ever paid more for lower quality ones from the store. You can make these gluten-free by using GF bread, too.
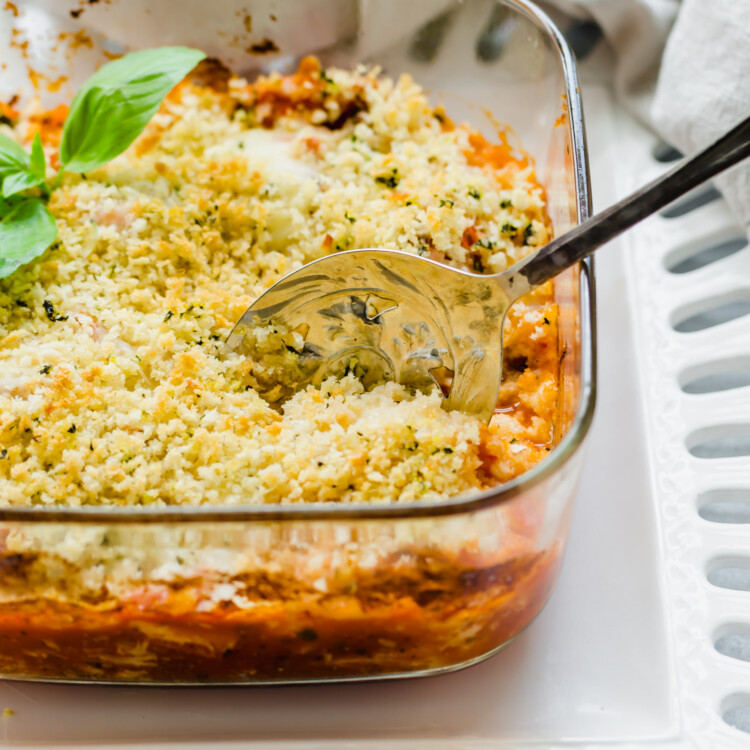
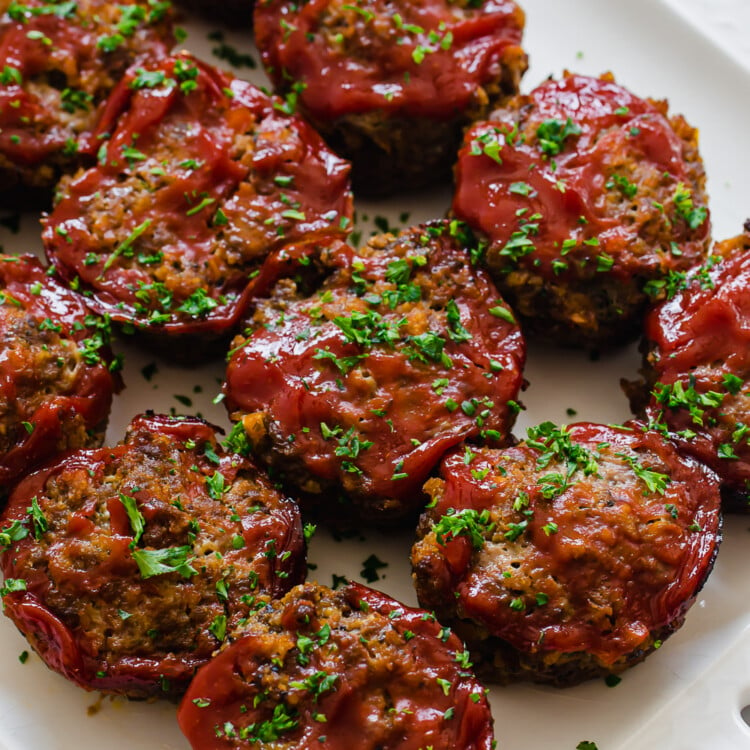
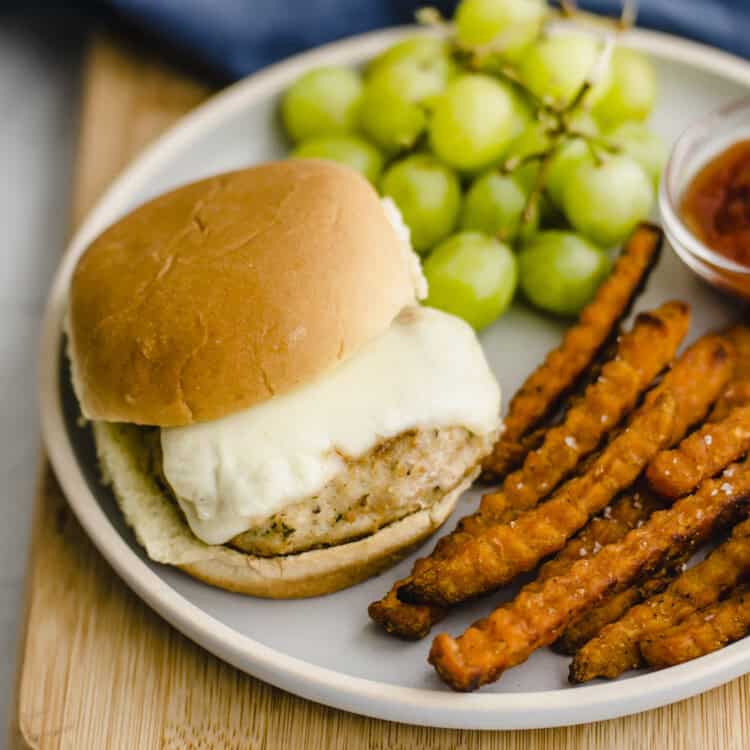
These are perfect to have on hand for recipes like our Chicken Meatballs or Crispy Chicken Cutlets.
4 Reasons Homemade Bread Crumbs Are Better
Making homemade bread crumbs offers several advantages over store-bought options:
- Freshness and Quality Control: You can choose high-quality bread (or gluten-free bread, if needed), ensuring the best taste and texture for your recipes.
- Cost Savings and Less Food Waste: Making your own allows you to save money by utilizing leftover bread that might be otherwise tossed out. You can also use stale bread in our Blueberry French Toast Casserole.
- Reduced Additives and Preservatives: Most store-bought breadcrumbs contain additives, preservatives, or artificial ingredients. By making your own, it’s a little easier to avoid these.
- Flexibility and Versatility: Whether you prefer a fine or coarse texture, you can easily adjust the breadcrumbs based on your preference or the requirements of your recipe.
Ingredients Needed
Good news! You only need ONE ingredient for this recipe. Yep, just one.
- Stale bread
If you don’t have stale bread on hand, just bake or toast some bread until it’s crispy and let it cool.
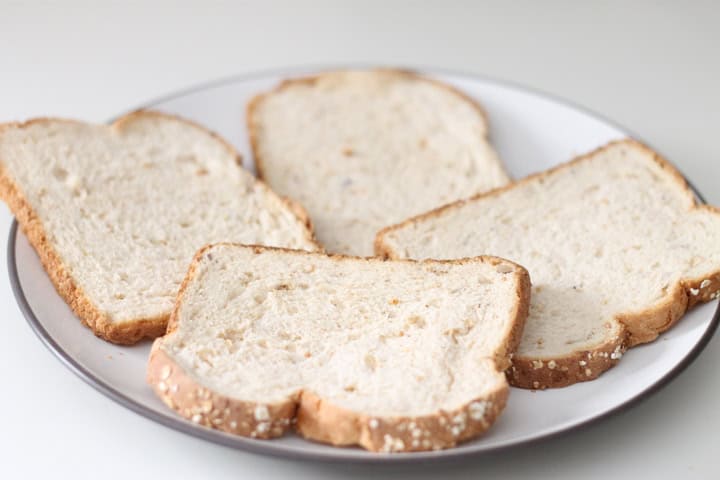
I prefer to use a 100% whole grain loaf, since it has more fiber and nutrients. Be sure to read the ingredient list and avoid any weird additives or preservatives. You can also use gluten-free bread, if you needed.
If you can’t pronounce and/or don’t recognize the word, there’s a good chance it shouldn’t be in your bread. 😉 Using fresh baked bread from a bakery or homemade sandwich bread is the best idea!
Tip: Never Throw Away Bread
Never throw away stale bread or the heels again! Tear them into little pieces and place them in a gallon-sized freezer bag in the freezer. Then, use them for bread crumbs next time you’re ready to make some. I’ve actually done this with completely frozen pieces of bread and it works.
How to Make Bread Crumbs
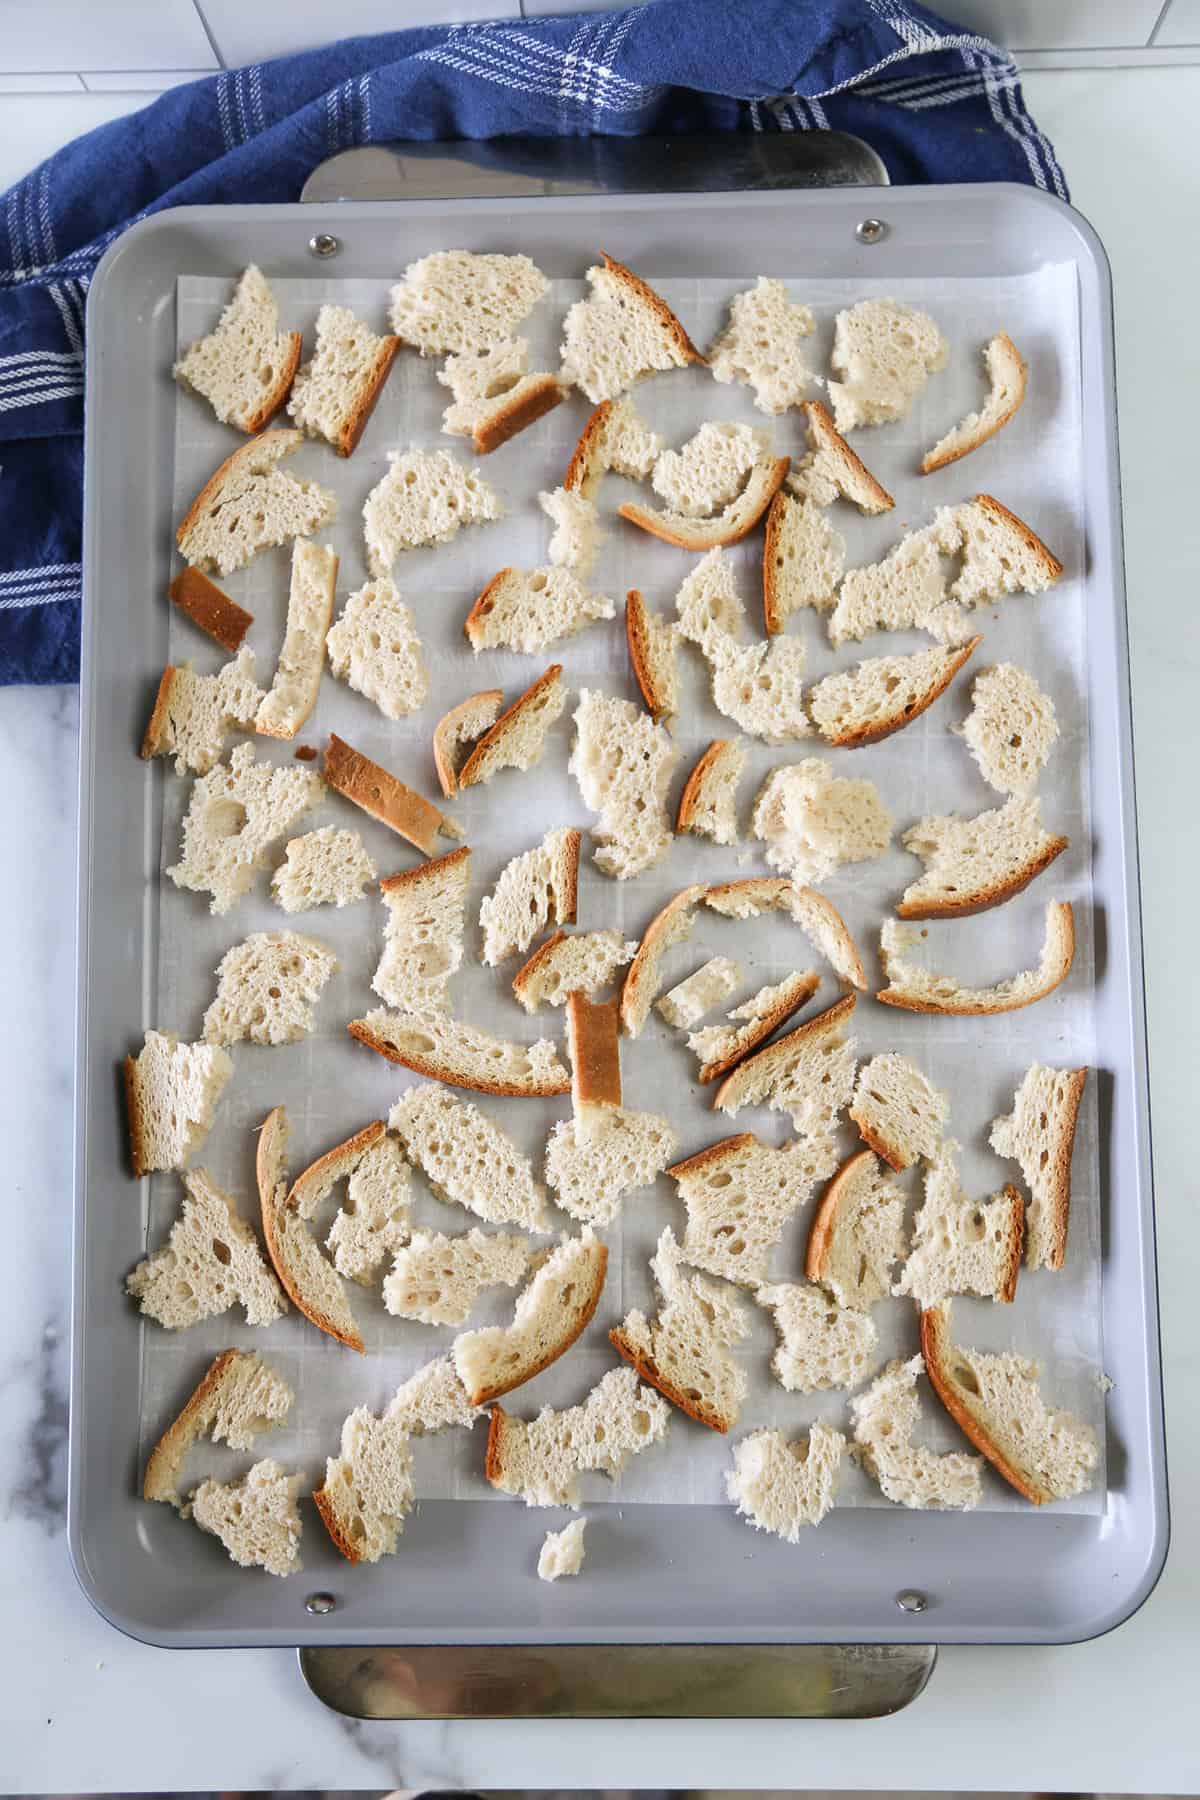
Prepare the Bread
Whether it’s the heels of past loaves that have collected in the freezer or slightly stale bread (not moldy though!) from the counter, you’ve got the perfect ingredient for bread crumbs on your hands.
If it’s not very stale or dry, you can always toast it for a little extra crisp. Tear the bread into small pieces.
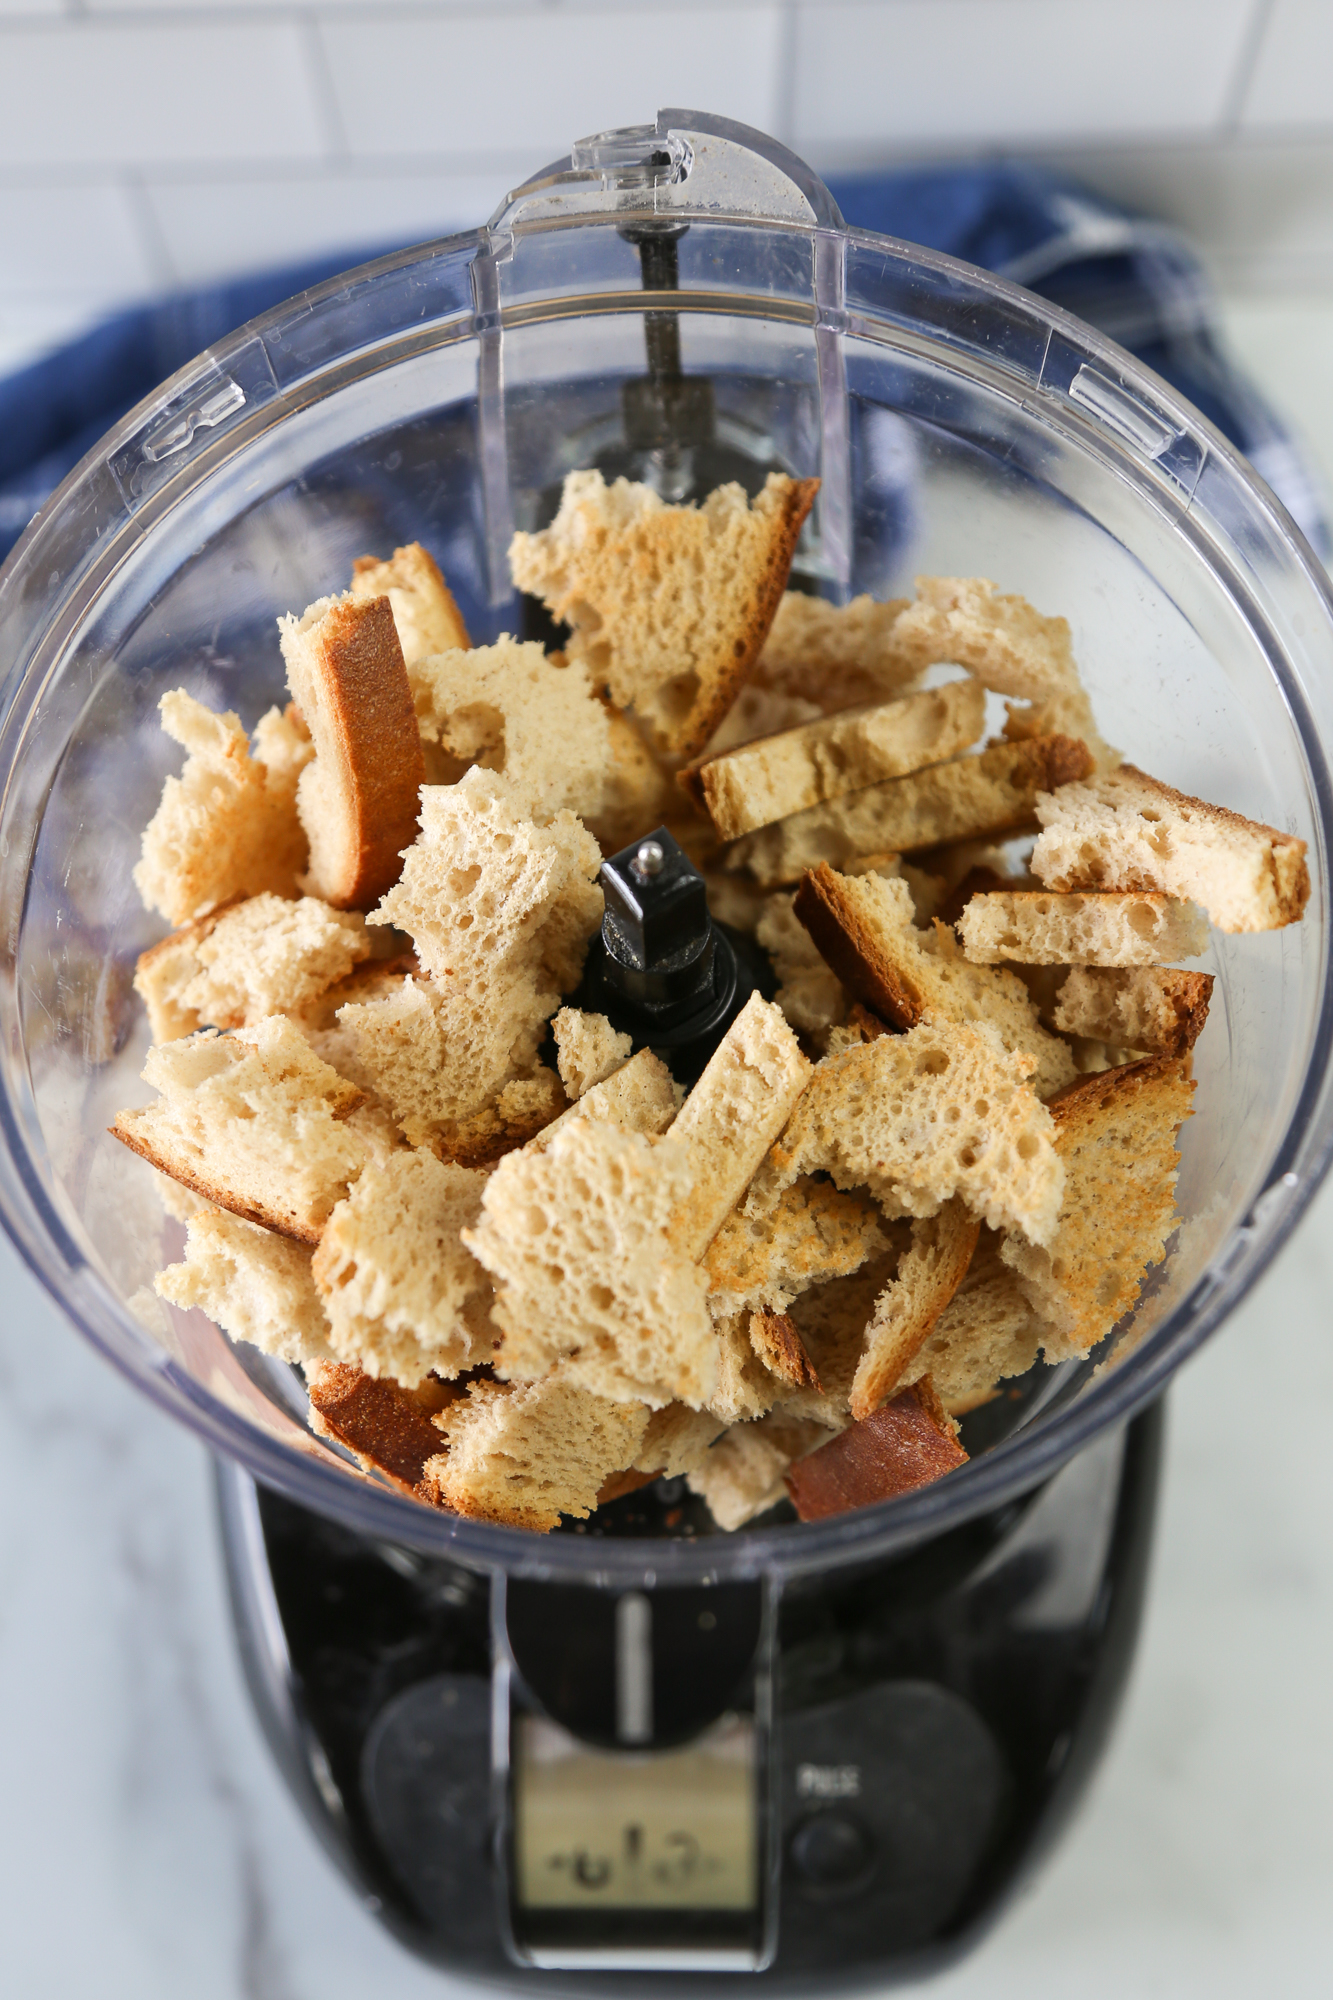
Process the Bread
Place the stale bread pieces in the food processor or a blender. Process/blend until the crumbs are the texture you prefer.
Use or Store
You’ve now got fresh bread crumbs on your hands. Read on for how to use them and store them.
How to Store Homemade Bread Crumbs
If you don’t plan to use your crumbs right away, here’s how to store them:
Store in the Fridge: Store in an air-tight bag or container in the refrigerator for 1-2 weeks.
Store in the Freezer:
- Place them in a freezer-safe bag, squeezing out as much air as possible.
- Label the container with the name, amount of breadcrumbs, and the freezing date.
- Freeze the breadcrumbs on a flat surface, so they don’t all clump together in the freezer, for up to 3 months.
When you’re ready to use your frozen breadcrumbs, simply place them at room temperature for 30 minutes. They thaw very quickly.
Recipes That Use Bread Crumbs
Use up your freshly made crumbs in one or more of these recipes. You can even freeze most of these meals using our freezing instructions.

FAQs
Yes, bread crumbs can go bad if they are not stored properly or kept for too long. Moisture, exposure to air, and the presence of microorganisms can cause them to become stale, moldy, or clump together. To extend the shelf-life of the store-bought kind shelf life, store them in a cool, dry place in an airtight container. If using homemade bread crumbs, we suggest storing the fridge or freezer instead. Discard them if you notice any signs of spoilage like a bad smell, unusual texture, or mold.
The shelf life of bread crumbs can vary depending on factors such as storage conditions and the presence of additives or preservatives. In general, commercially packaged bread crumbs typically have a recommended shelf life of about 6 to 12 months from the date of production. Our homemade bread crumbs recipe will last 1-2 weeks in the refrigerator or up to 3 months in the freezer.
Yes, just use this recipe with your favorite gluten-free bread.

Homemade Bread Crumbs
Ingredients
- 6 slices leftover bread (stale, or toasted and cooled)
Instructions
- Tear up the bread into smaller pieces and put in the food processor.
- Process until the bread is all broken into little bitty pieces-otherwise known as breadcrumbs. You can choose the texture you prefer for your recipe (larger or smaller crumbs).
- Use the bread crumbs right away or store them for later. Store in an air-tight bag or container in the refrigerator for 1-2 weeks. Store in a freezer bag in the freezer for 3 months.
Freezer Instructions
Notes/Tips
- I prefer to use a 100% whole grain loaf, since it has more fiber and nutrients.
- You can easily make these gluten-free by using a gluten-free bread like Udi’s or Canyon Bakehouse brand.
- Tear stale bread into little pieces and place them in a gallon-sized freezer bag in the freezer. Then, use them for bread crumbs next time you’re ready to make some.
I make homemade bread, and store the bread crumbs in a glass quart jar in the refrigerator. With the cost of food, every little bit of savings adds up. No food waste in this house.
Great job Lorraine! Thanks for taking the time to leave a review.
Bonjour
il y a très longtemps que je fais ma chapelure je la conservais dans un bocal en verre du type le parfait dans mon placard de condiment, mais je vais suivre votre astuce pour la mettre au congélateur.
Merci! Here’s the translation Google gave me for our English-speaking friends: I’ve been making my breadcrumbs for a very long time. I kept them in a glass jar of the perfect type in my condiment cupboard, but I’m going to follow your tip to put them in the freezer.
Sometimes it’s amazing how simple it is to make your own ingredients. Thanks for the reminder!
How would you make a topping for this that would be gluten free? Thanks. Nancy
I often substitute almond meal (ground almonds) for bread crumbs. Ground flaxseed is another alternative.
Do you thaw the bread first if its been frozen?
Sorry, that I’m just seeing this comment! Honestly, either way is fine.
You don’t need to store heels in the freezer. Just place in a brown paper bag in a dry place (I use the bag I get when I buy bread from a local bakery), and they dry out beautifully.