Simple Yellow Cake Mix
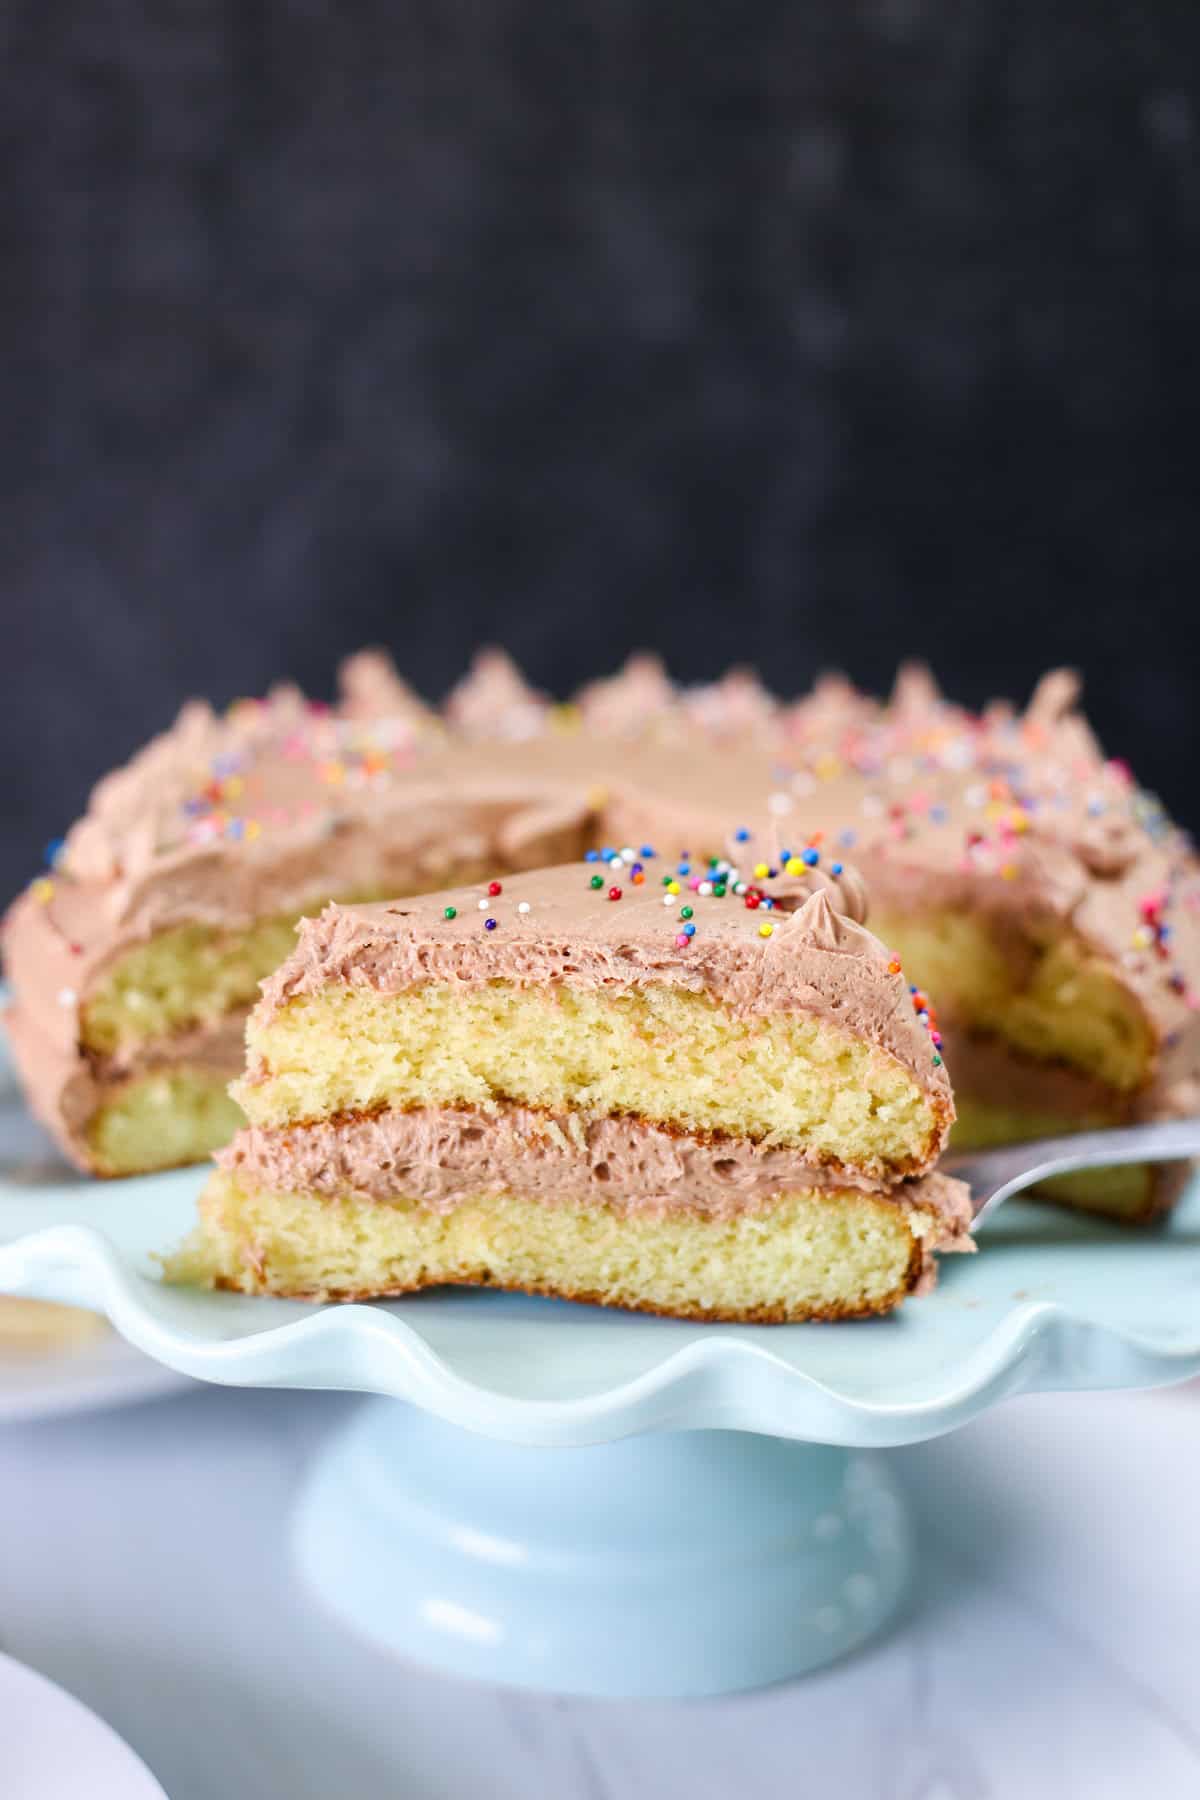
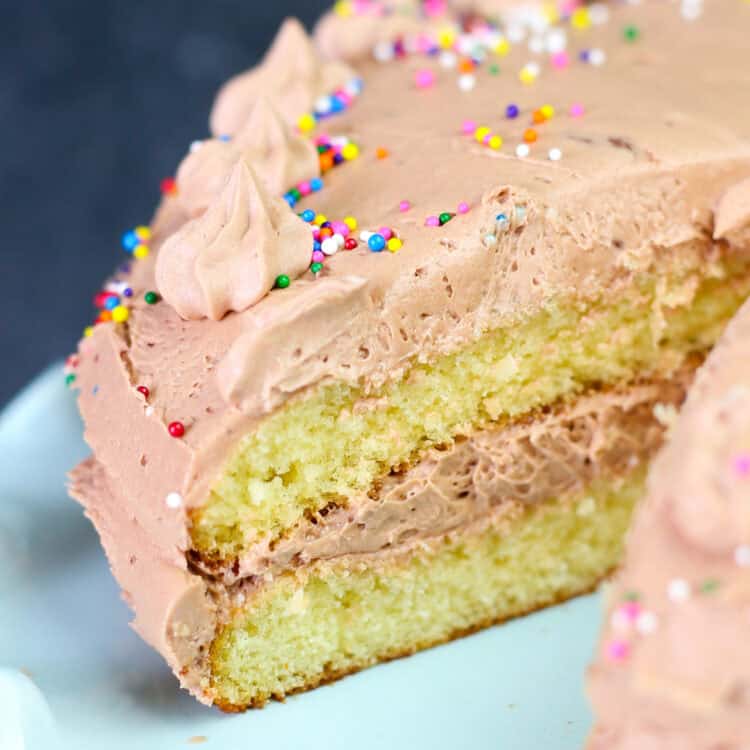
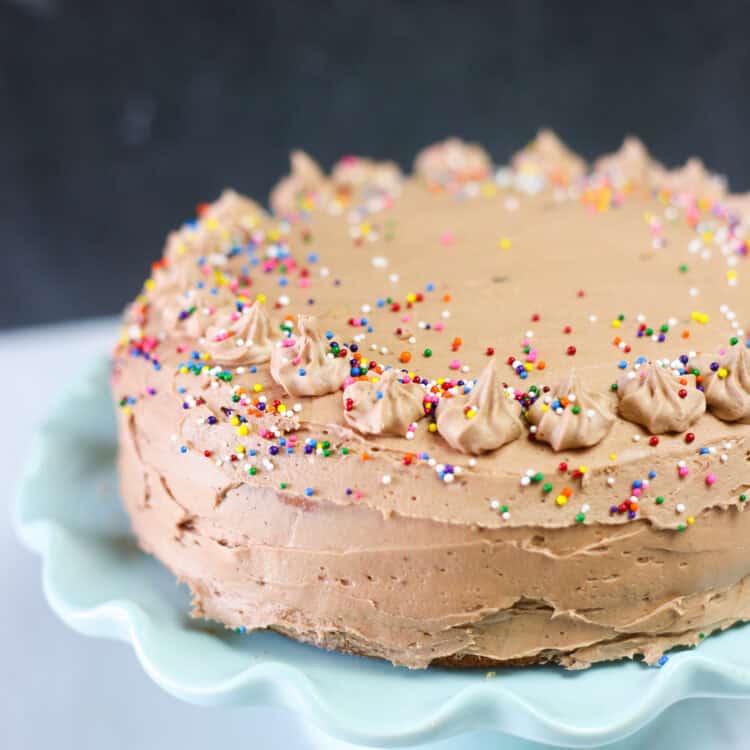
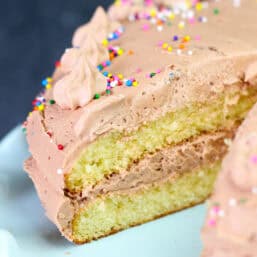
With the help of a pastry chef, we’ve developed this easy homemade Yellow Cake Mix that’s a one-to-one substitute for store-bought cake mix. This mix yields a moist, light, and flavorful round layered cake, 9×13 inch cake, or cupcakes. Top with our decadent Chocolate Buttercream Frosting for a homemade cake to remember.
Why Make Homemade Yellow Cake Mix?
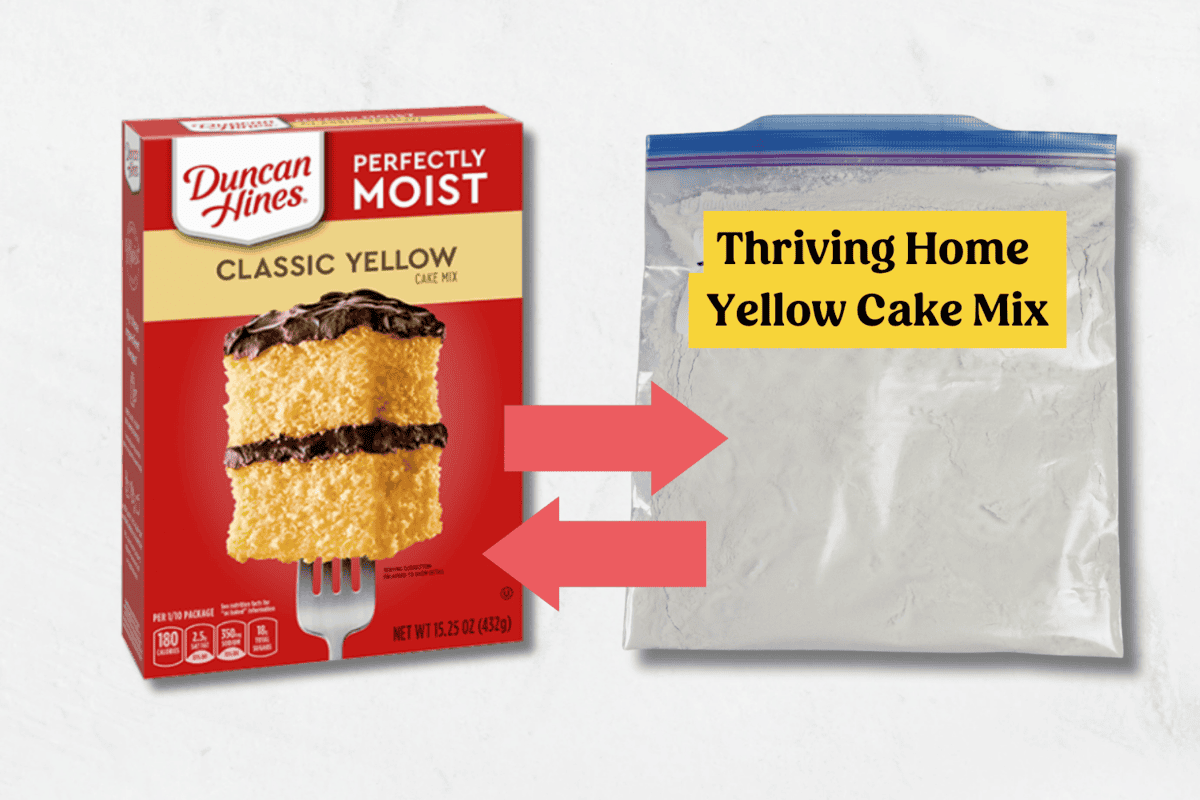
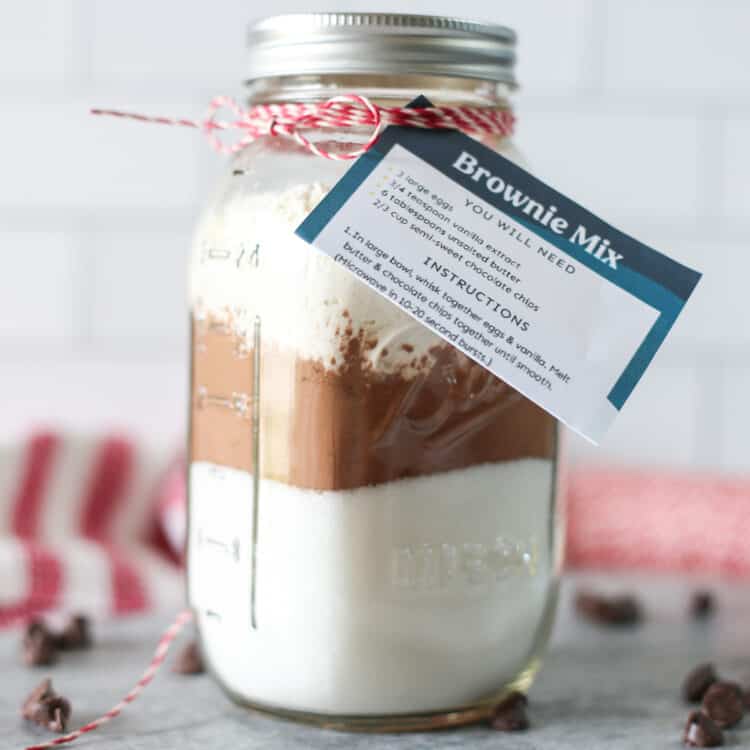
- This recipe is a perfect 1:1 substitution for a boxed cake mix. This is a replacement for a 15.25 ounce box. (We do the same thing with our Homemade Brownie Mix!)
- The cake tastes FAR better. It’s perfectly moist and much better than store bought.
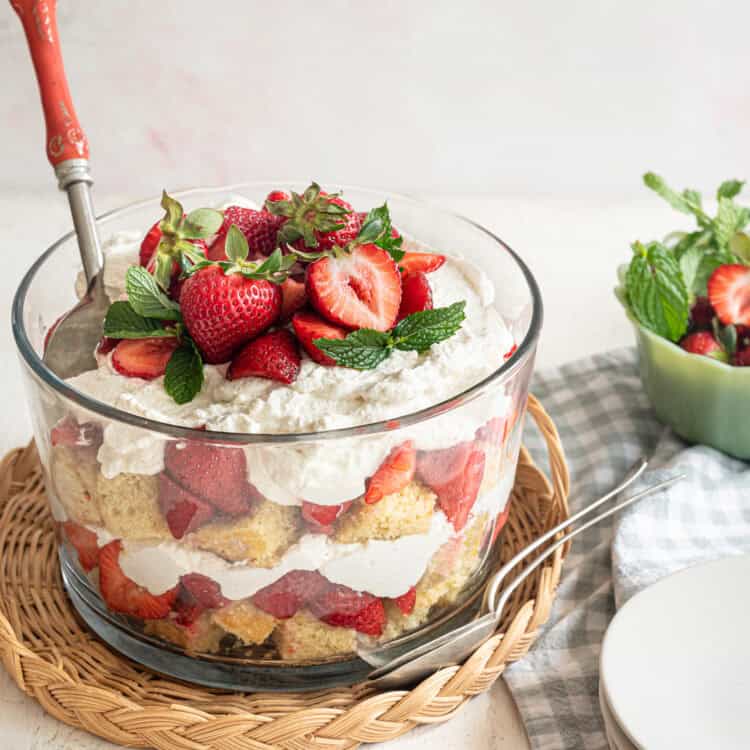
- Make a few batches ahead and store in the pantry for a ready-to-make dessert on hand. Use it in our Strawberry Shortcake Trifle or Easy Peach Cobbler with Cake Mix!
- When prepped in bulk, this mix saves money. You can store it in the pantry for a few months or the freezer for up to a year.
- No preservatives or additives, unlike the store-bought kind. You’ll feel good knowing what’s in this mix!
Our Tests for This Cake
Our contributing recipe developer, who is a pastry chef, began by testing a standard box mix from the store to investigate the size, taste, and texture that she wanted to emulate.
Beginning with a basic formula for cake mix that she learned at The Culinary Institute of America, she tested this recipe six times, tweaking the leavening, the amount of vanilla, the types of pans, and eventually swapping out oil for butter.
Then, we tested it two more times in different pans to make sure it turns out perfectly every time.
We can assure you, this recipe is well-tested, very easy, and WORTH IT. It will be hard to return to a box mix. 🙂
Ingredients for the Mix
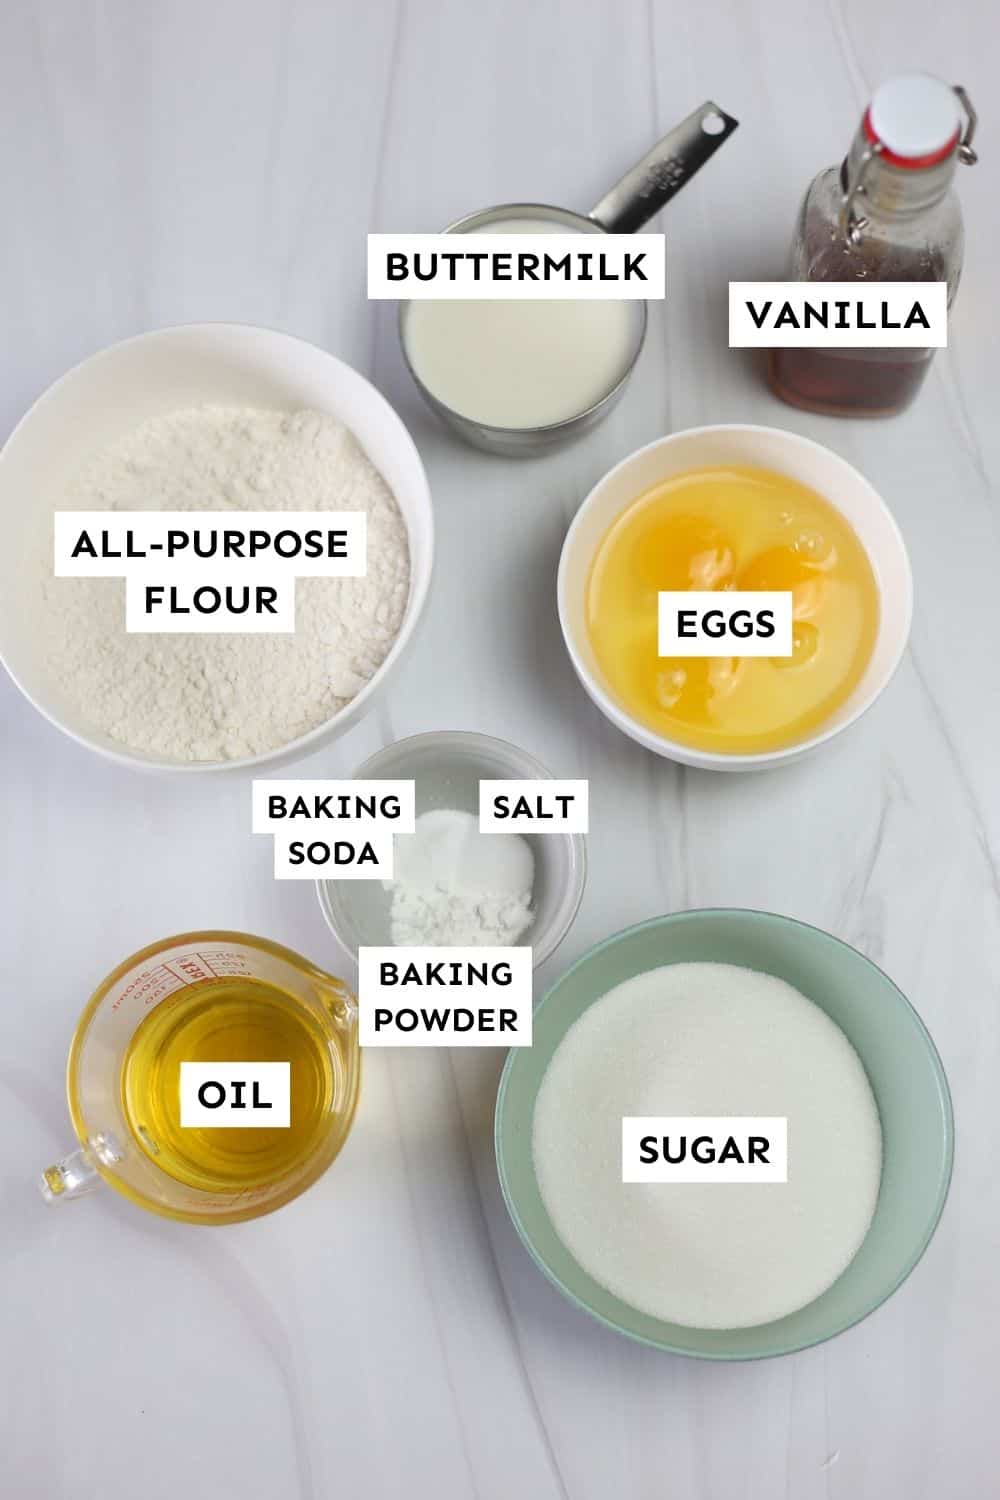
The ingredients are simple yet precise. You likely have most of these on hand.
Ingredient Notes:
- Any neutral oil can be used– vegetable, canola, corn, avocado, etc.
- Buttermilk substitute – Combine ¾ cup milk of choice + 2 teaspoons white vinegar or lemon juice and let it sit for a few minutes. Boom – you have buttermilk!
Tips for Success From Our Pastry Chef
- When combining the wet and dry ingredients, stir just until no flour is visible and no lumps are remaining. Do not over mix.
- The recipe was tested in a metal pan. If using glass or ceramic, cooking time will be longer.
- The batter should be baked immediately. If it sits out for a long period of time, the baking soda may not leaven the cake properly.
- After pouring the batter into the pan(s), tap the bottoms on the counter a few times to release any trapped air bubbles.
- Check the cake’s doneness at the lowest end of the time range in the recipe card below. The cake is done when a toothpick comes out clean with no batter remaining. The top will be lightly golden.
- Let the baked cake cool completely on a wire rack before removing from the pan.
How to Make Yellow Cake Mix
Prep & Make Cake Mix
Combine flour, sugar, baking powder, baking soda, and salt in a small mixing bowl and set aside.
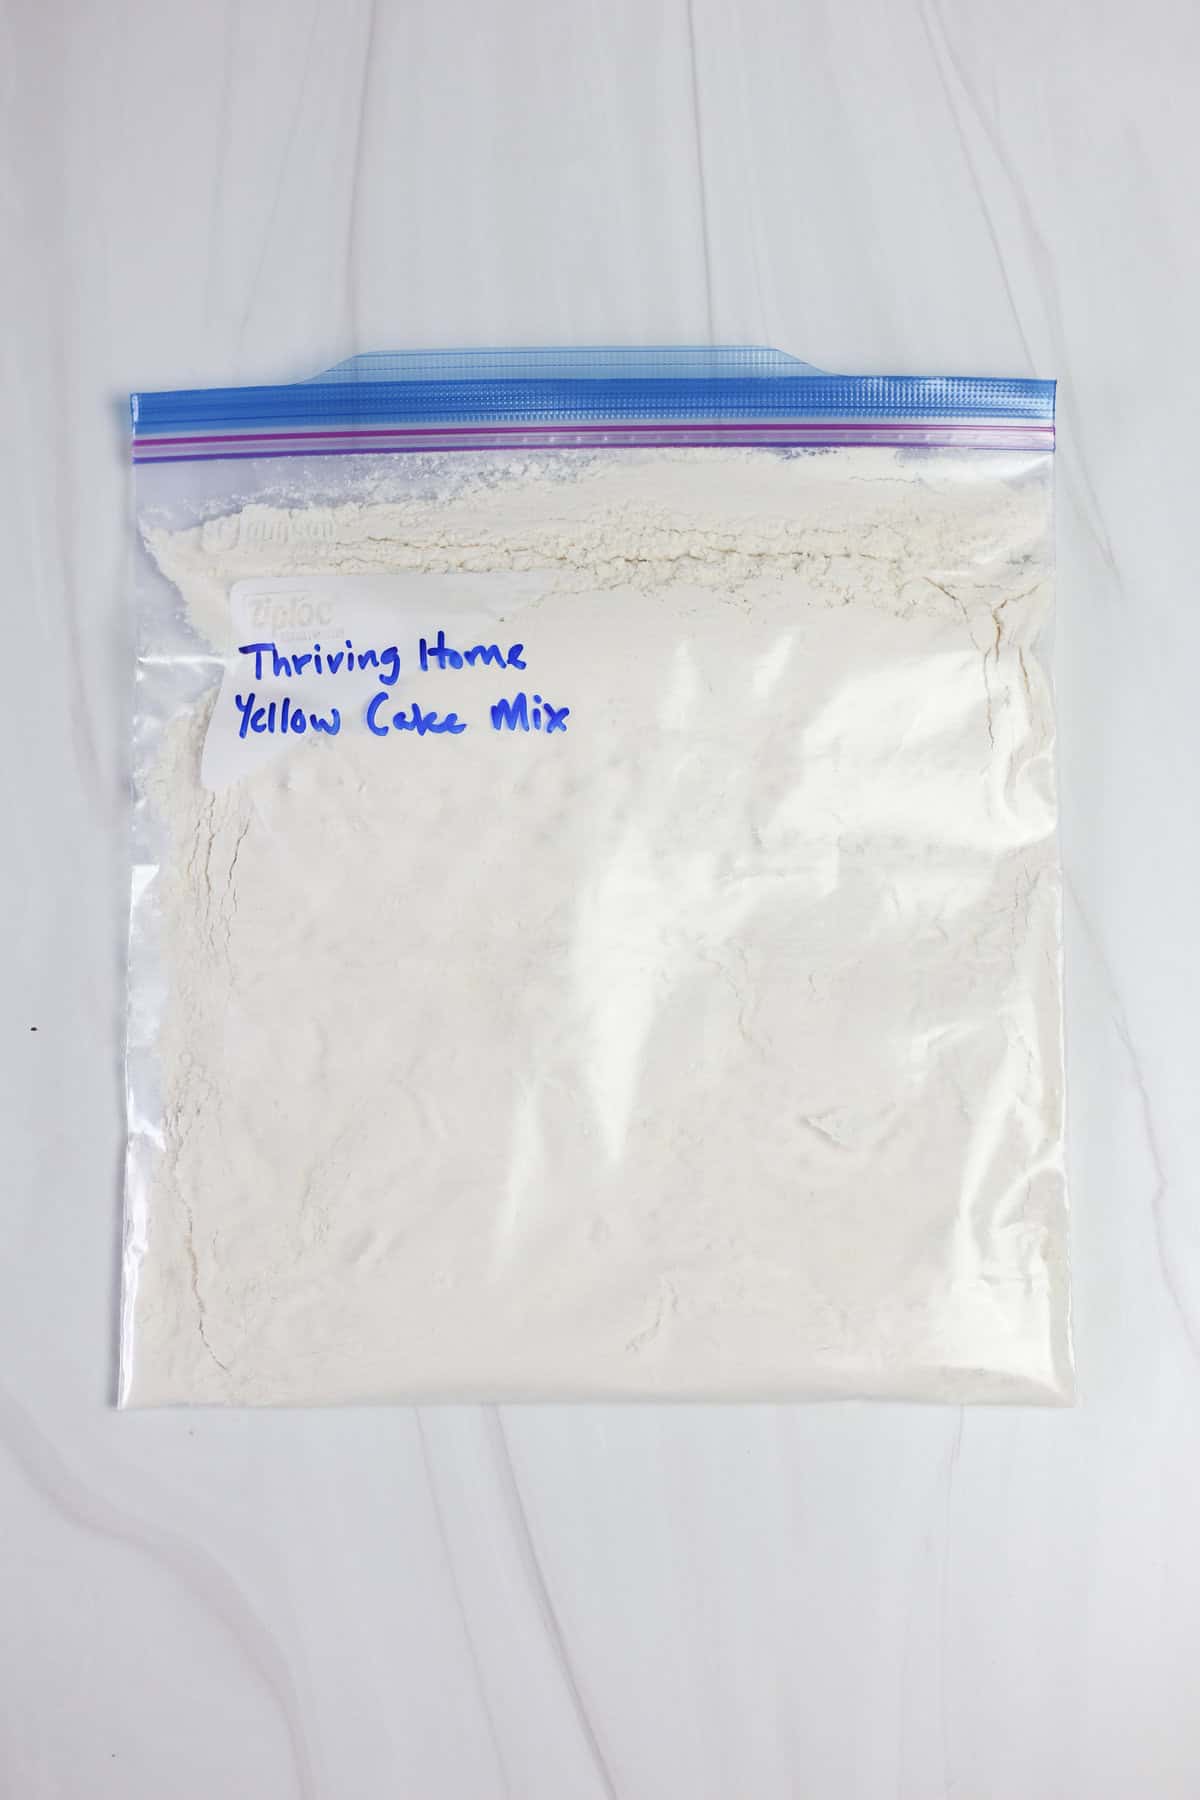
If you’re prepping this for later, store in a freezer bag in the pantry or freezer at this point. Or you can use the cake mix for Pumpkin Dump Cake (yum!).
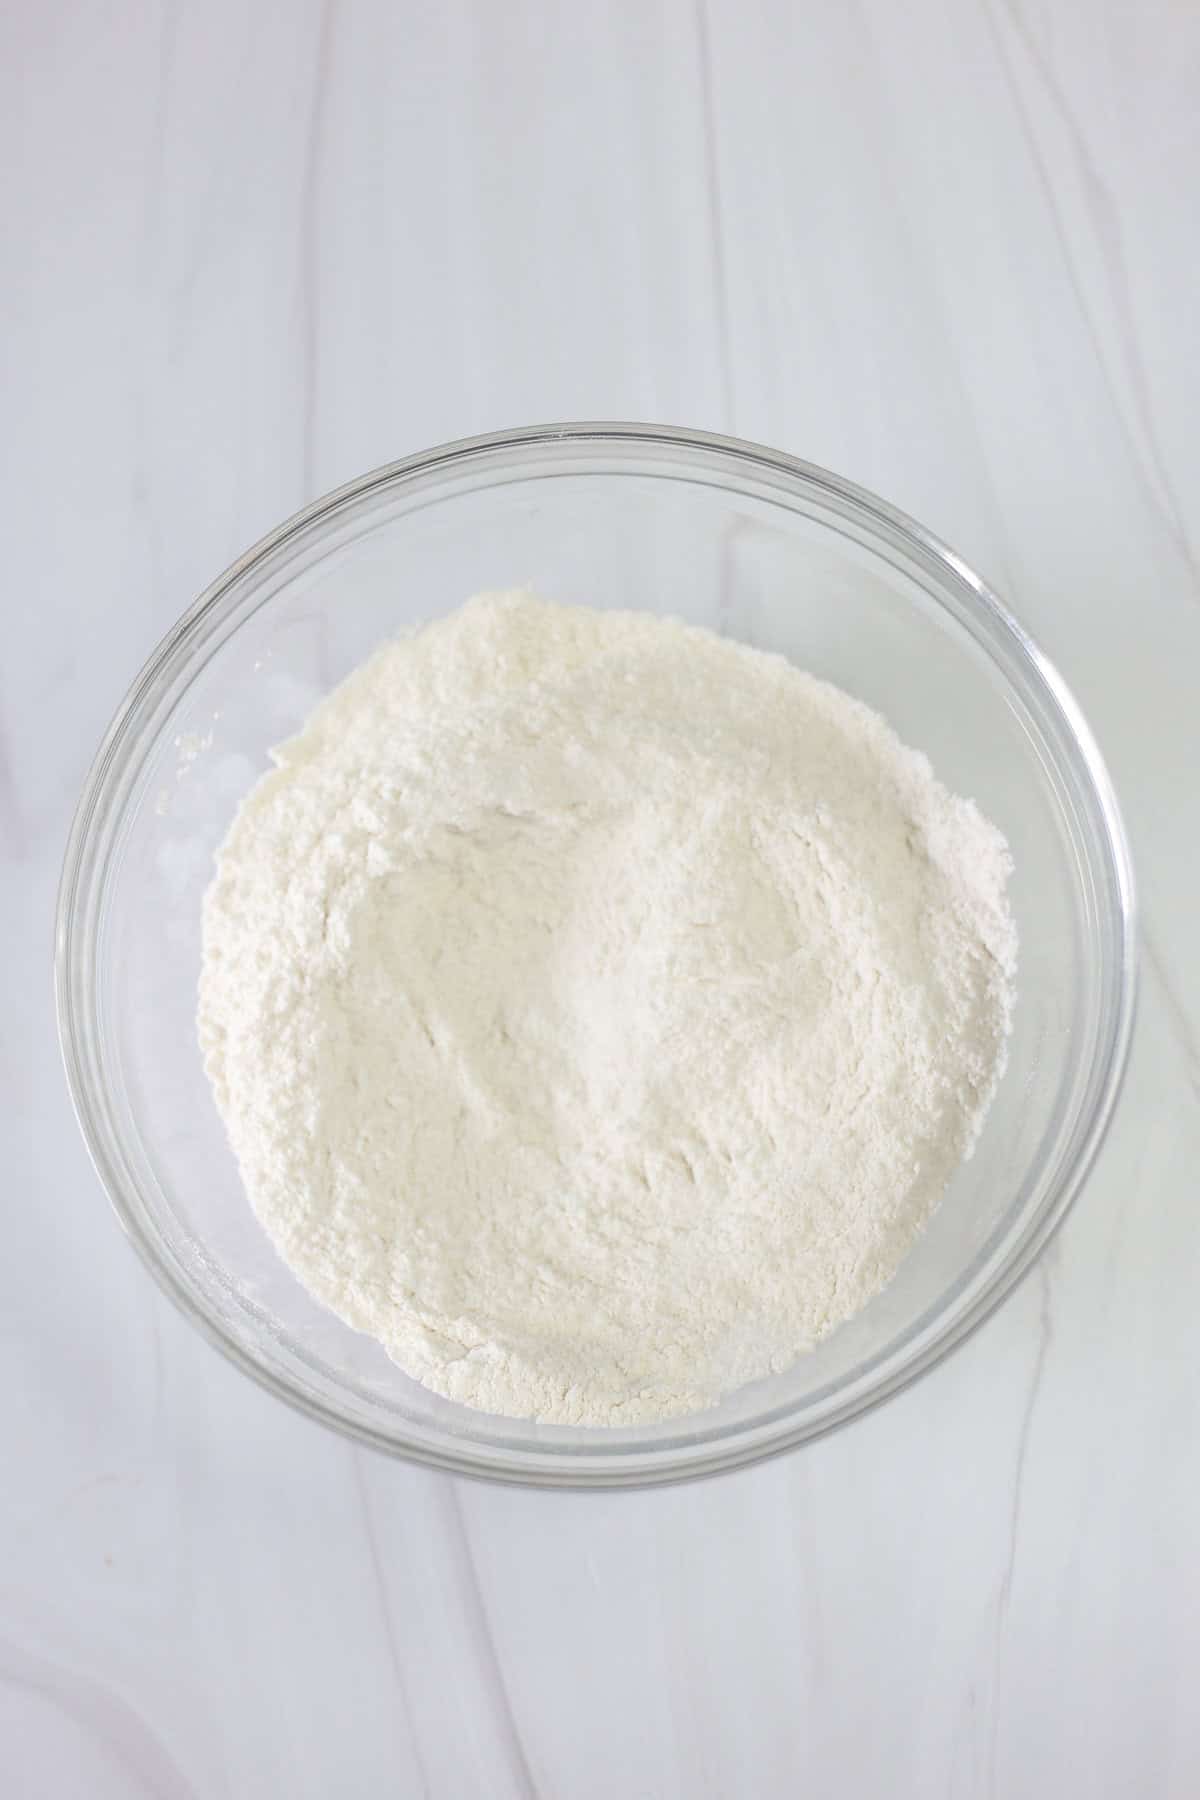
If you’d like to go ahead and turn this into the most luscious homemade cake…keep going!
Prep the Pans and Oven
Preheat the oven to 350°F and prepare metal pan(s) by either lining them with parchment paper or coating with cooking spray.
Wet Ingredients
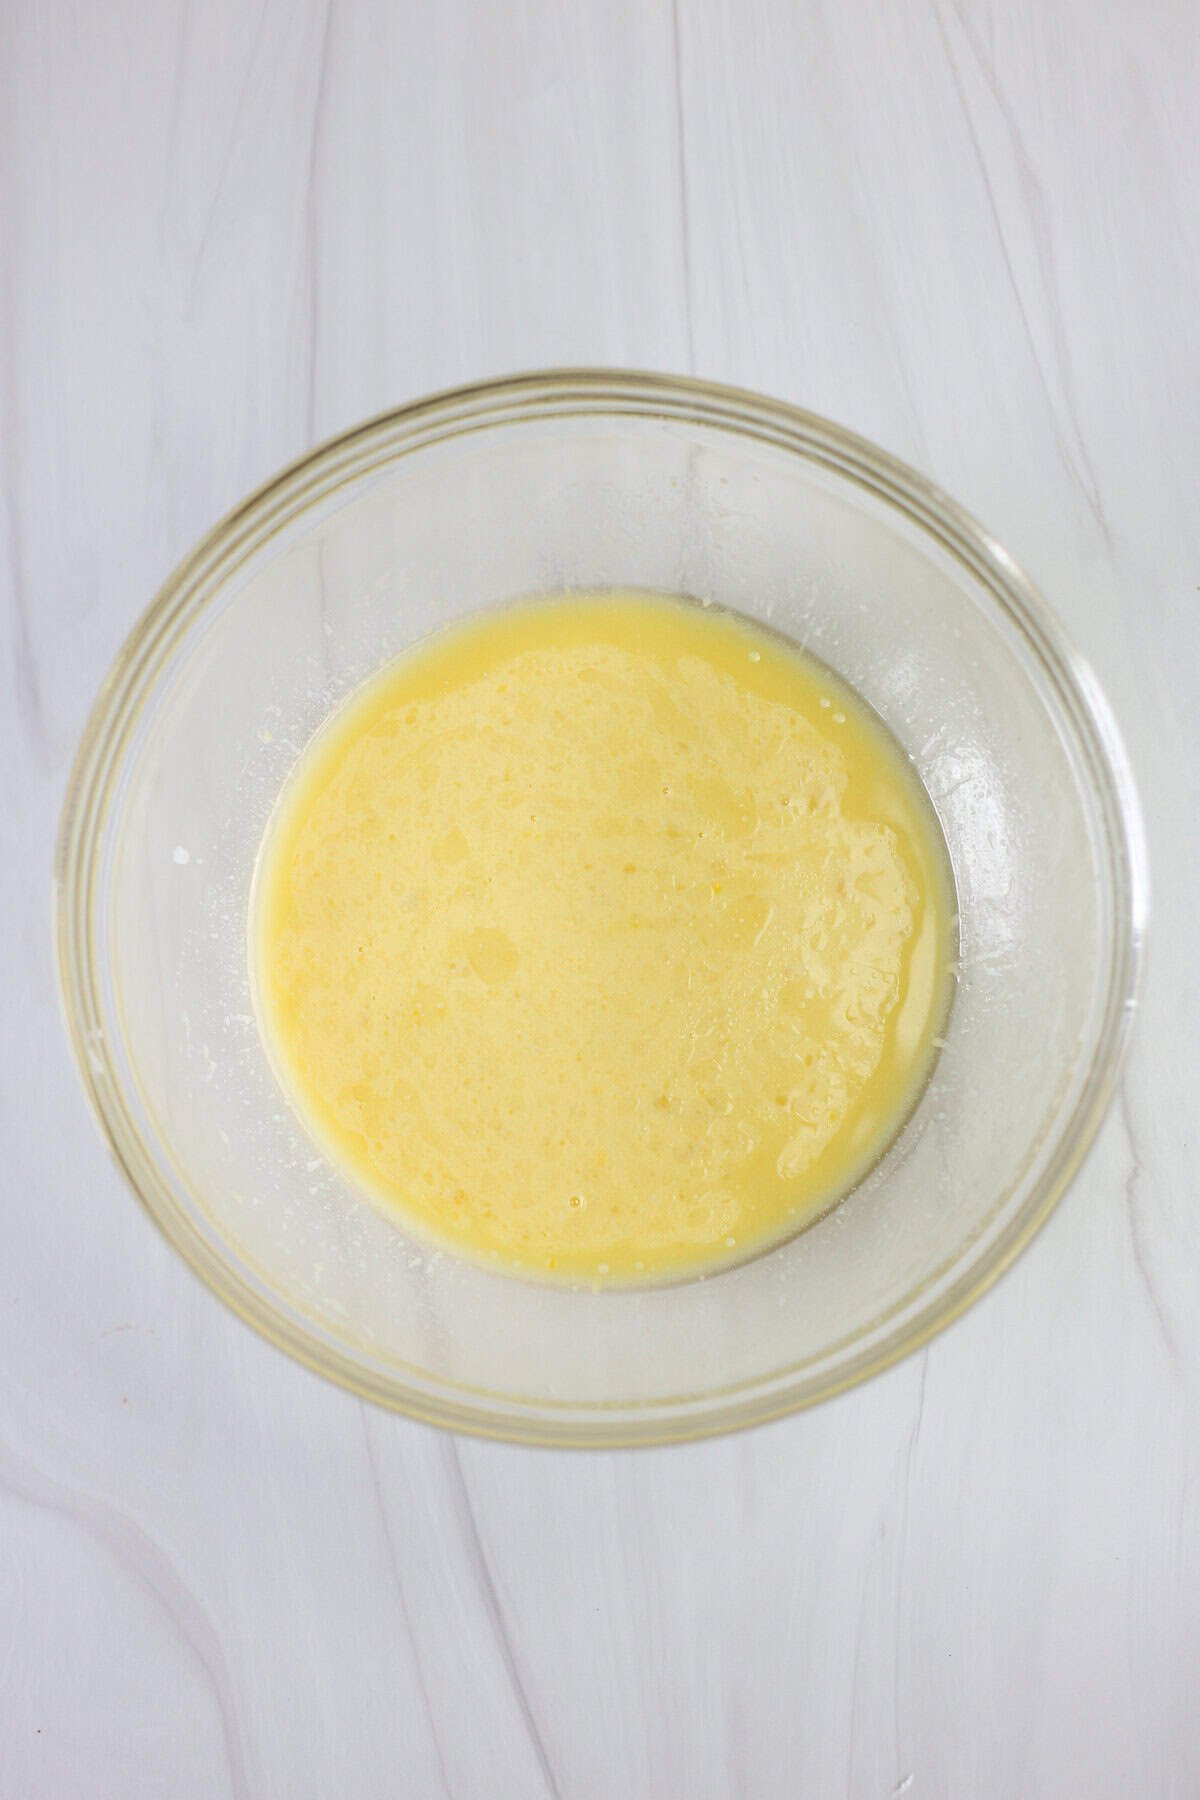
Whisk together the oil, eggs, vanilla, and buttermilk in a medium mixing bowl.
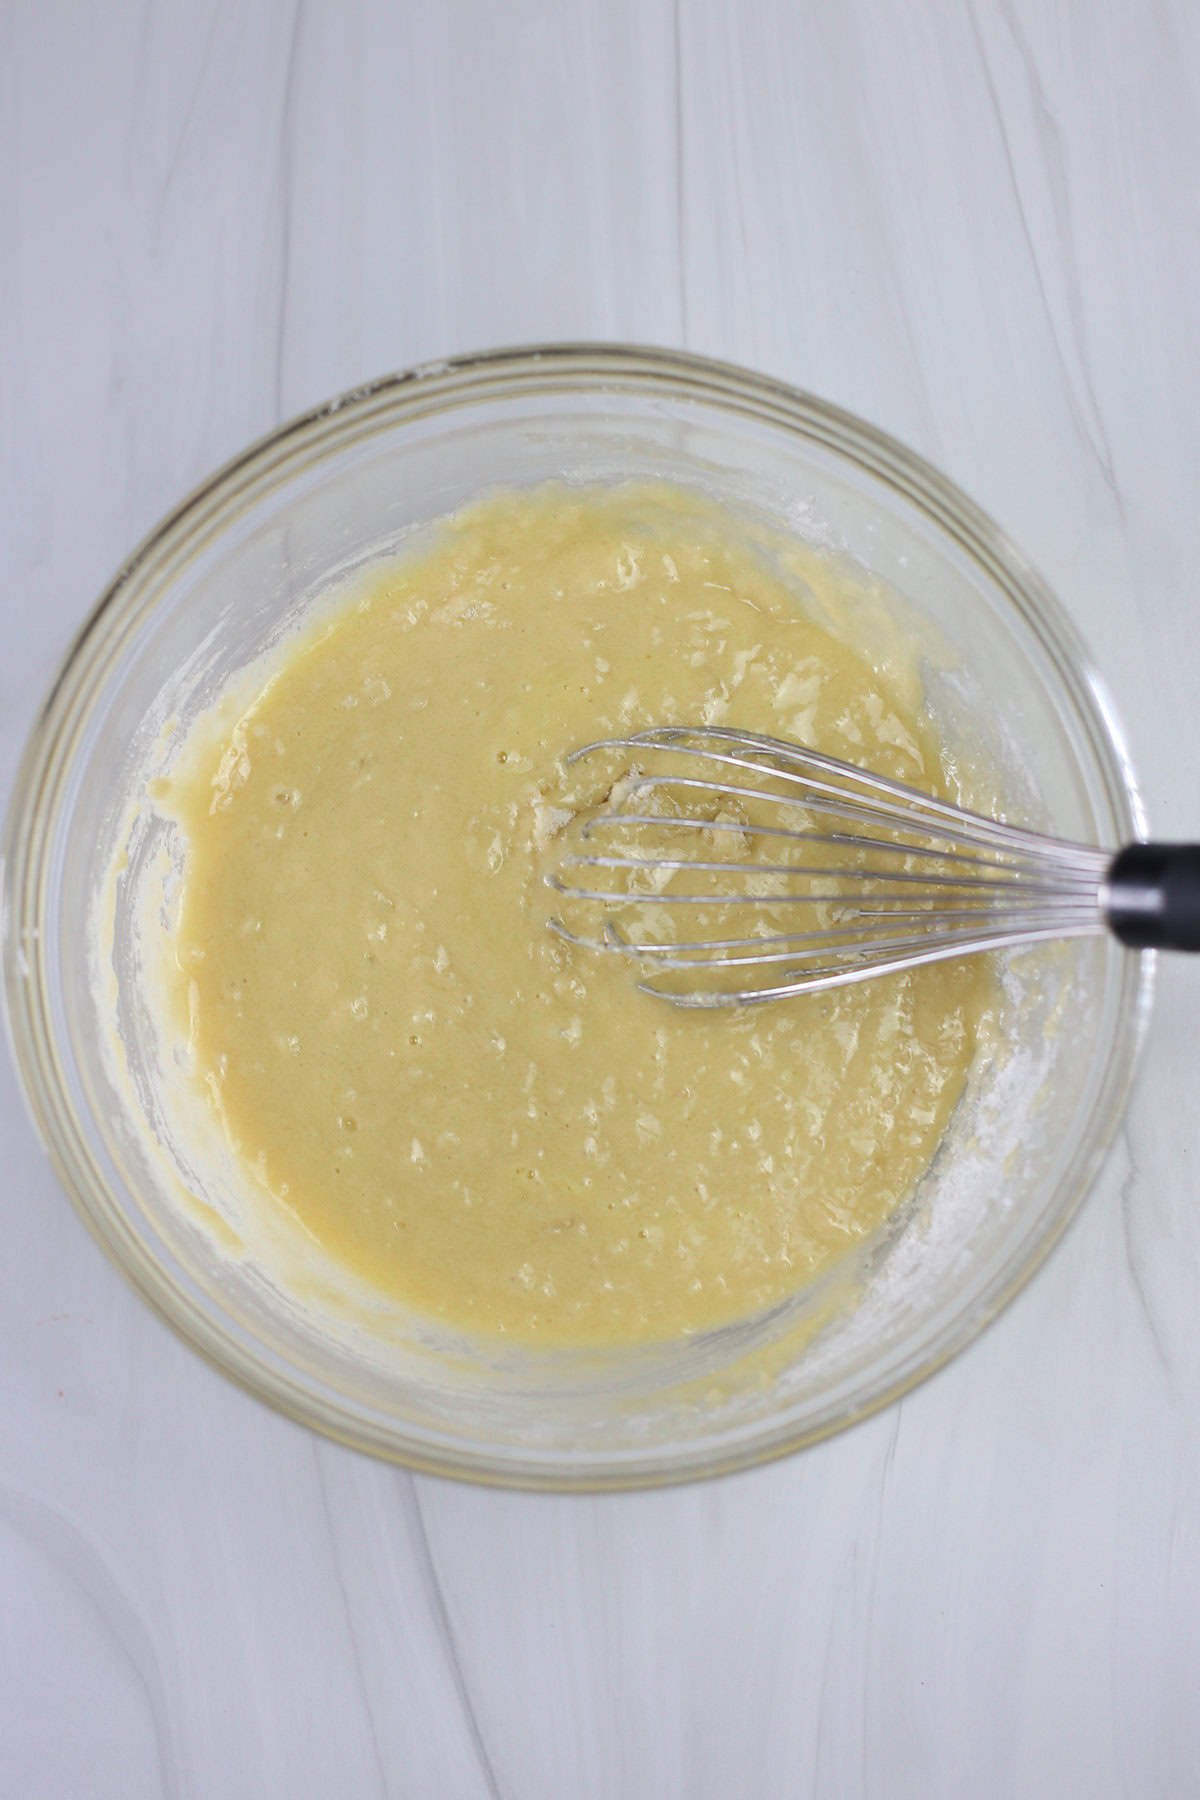
Add the cake mix to the wet mixture and whisk just until no flour is visible and no lumps are remaining (do not over-mix).
Bake
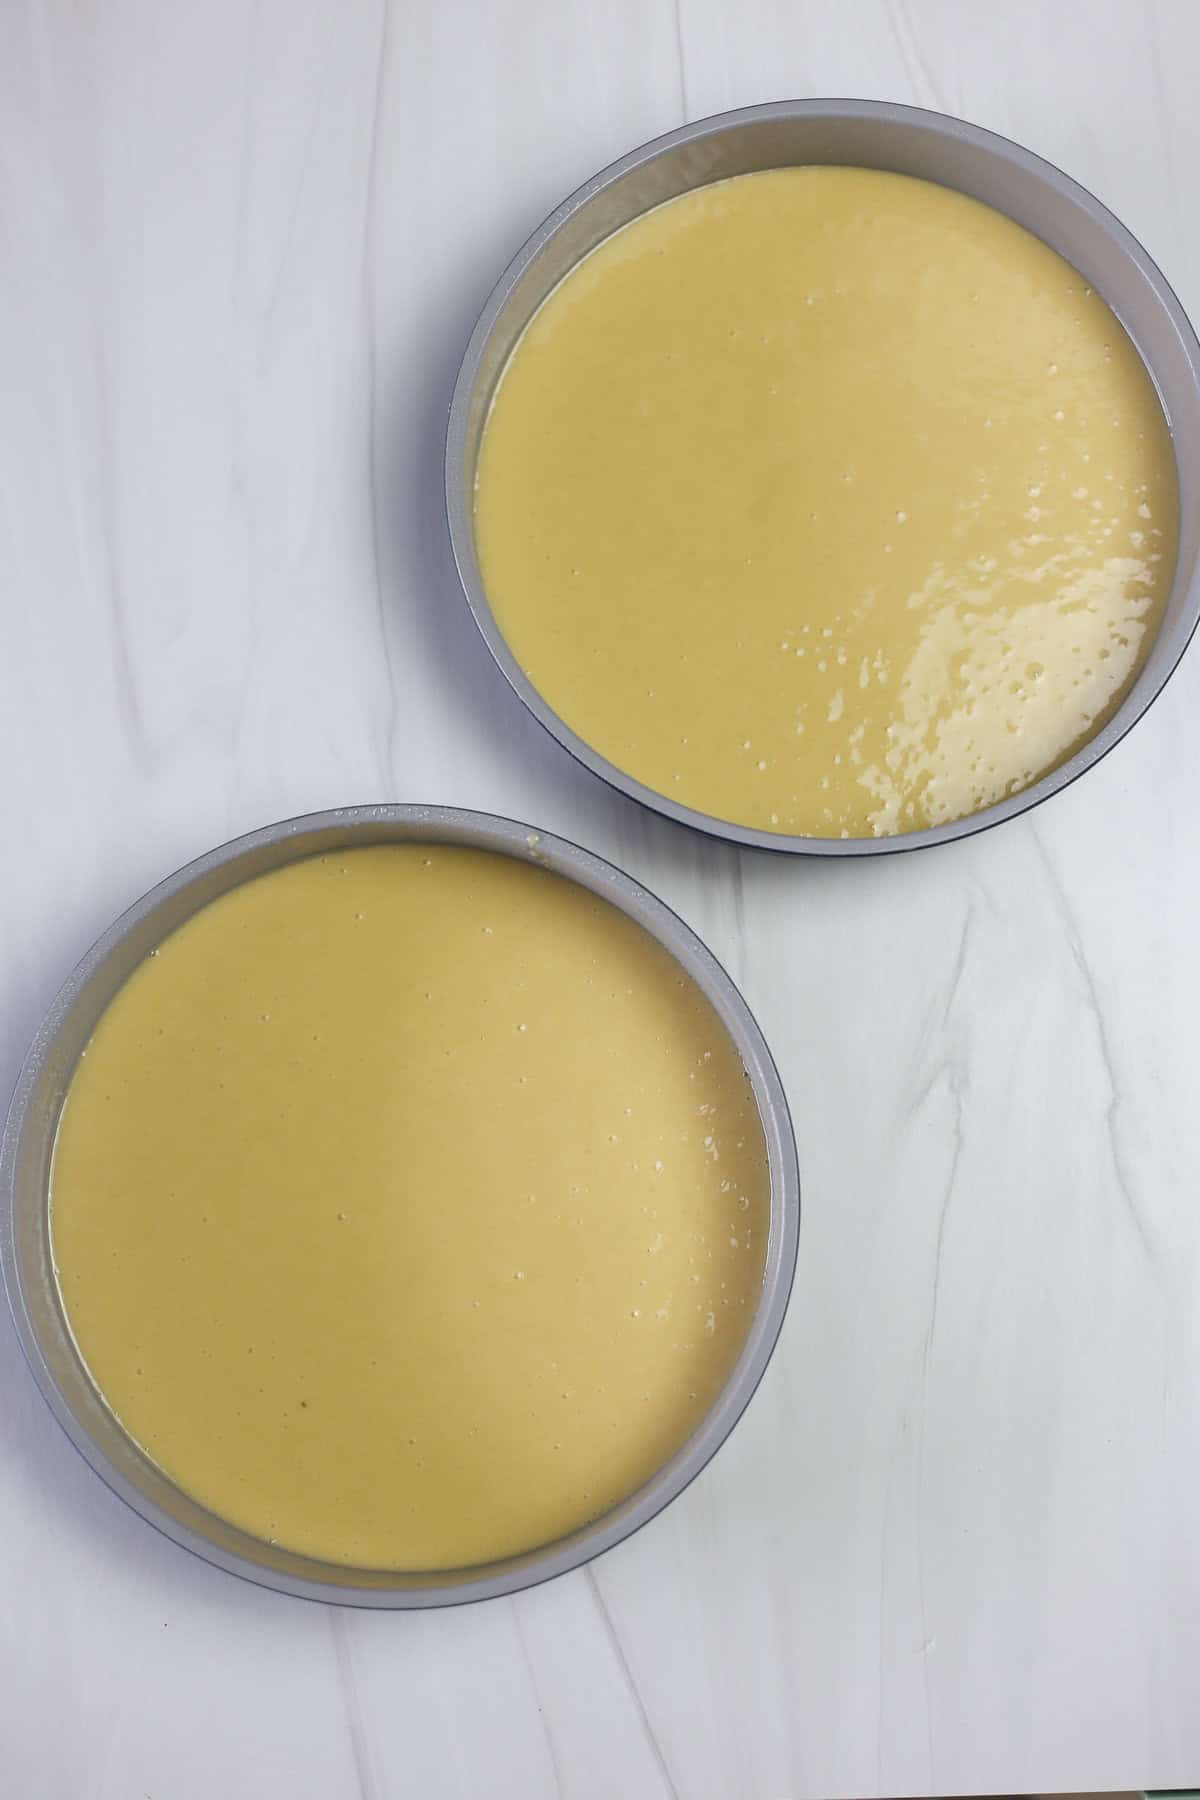
Pour batter into the prepared pans and spread with a spatula until the batter is smooth on top and evenly distributed. Tap the bottom against the counter to remove any air bubbles.
- If using a 9×13″ pan: Bake on the middle rack for 15-20 minutes.
- If using two 8” round metal pans: Bake 18-23 minutes.
Rotate halfway through the baking time.
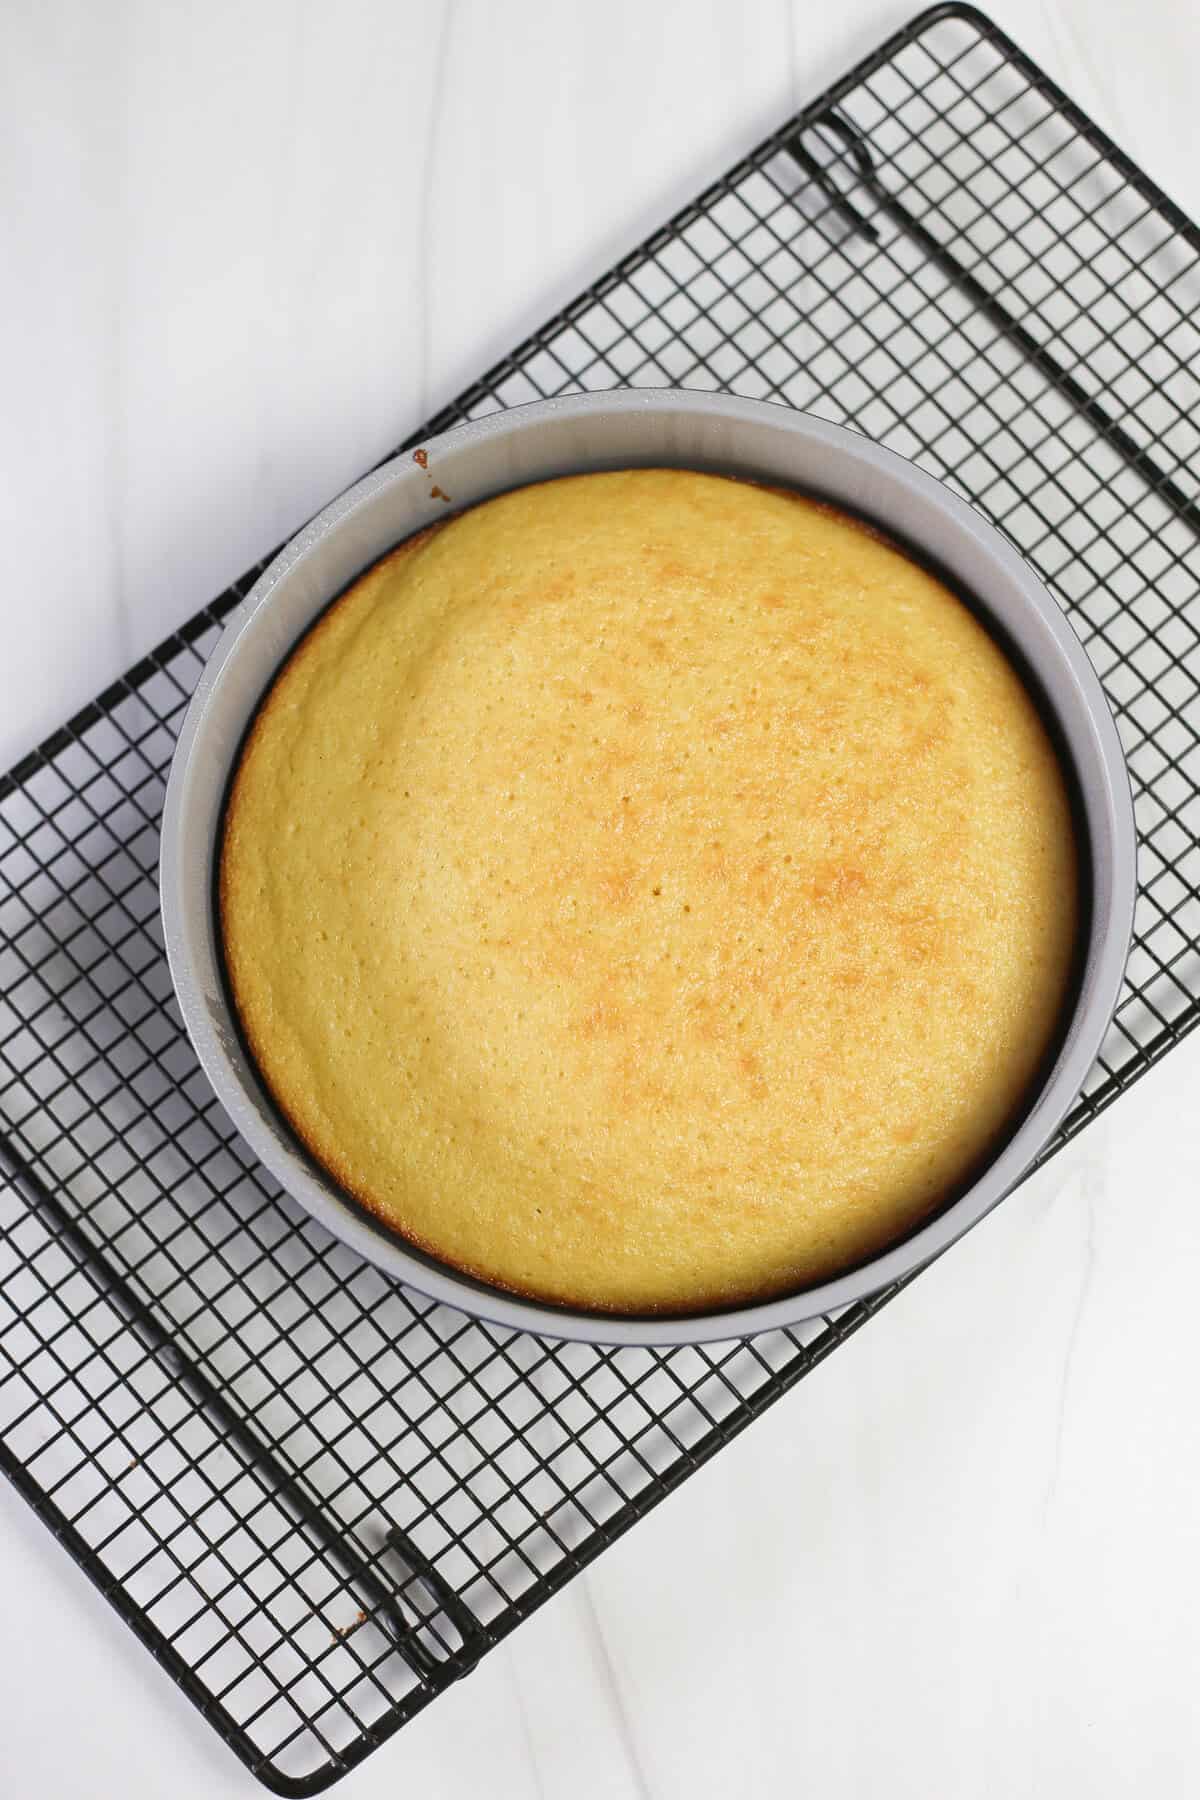
The cake is done when a toothpick comes out clean with no batter remaining. The top will be lightly golden.
Decorate and Enjoy!
Let cool on a wire rack before removing from the pan.
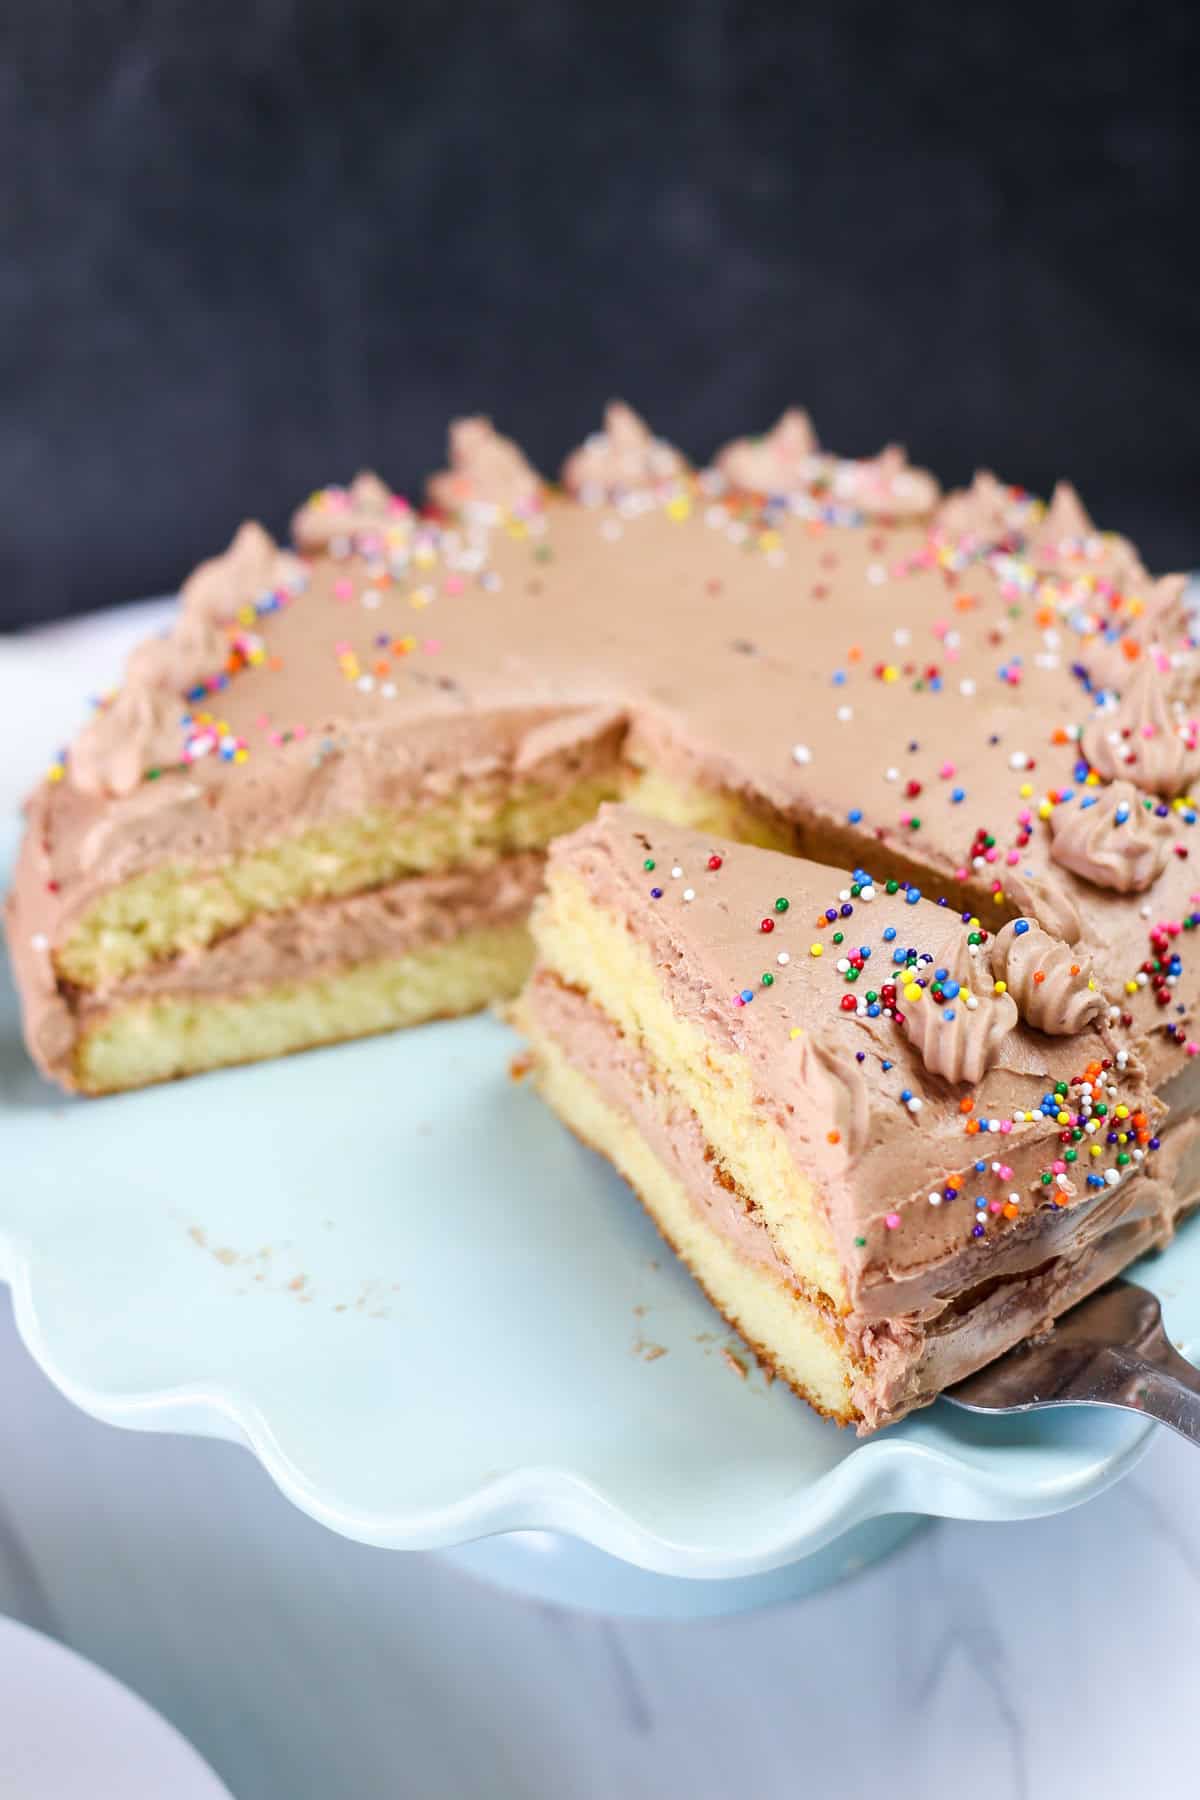
We recommend using a Chocolate Buttercream Frosting. The combination is divine!
Size Variations and Cook Times
This yellow cake mix can be made three different ways:
- In two 8″ pans: Bake on middle rack for 18-23 minutes.
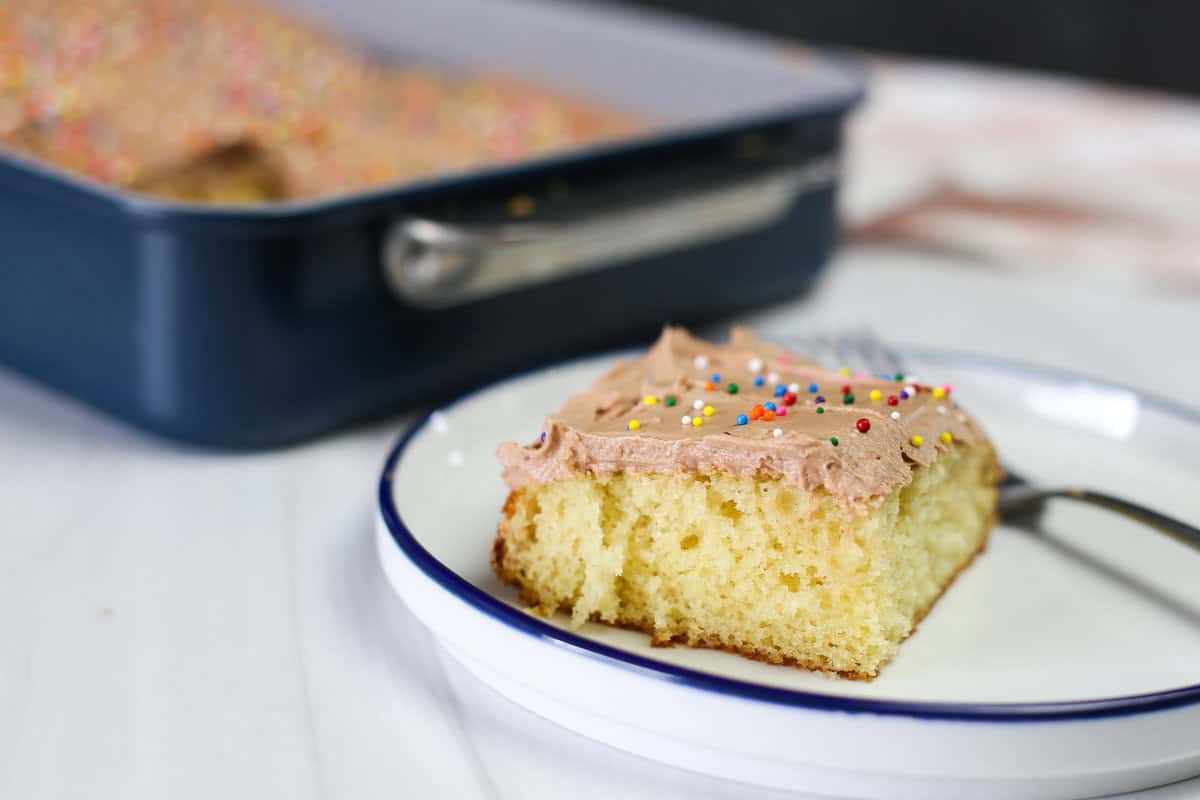
- In one 9×13″ pan: Bake on the middle rack for 15-20 minutes.
- Bake as cupcakes: Fill each hole of a cupcake tin ⅔ full and bake for 13-15 minutes. This recipe will make about 14-15 cupcakes.
Storage Tips
For Yellow Cake Mix:
- Pantry: Place in a storage bag or container, seal, and store in the pantry for up to 6 months (if your ingredients are fresh).
- Freezer: Place in a freezer bag, press out excess air and seal, and store in the freezer for up to 12 months.
For Baked Yellow Cake or Cupcakes:
- Counter or Refrigerator: After the cake has fully cooled and before icing it, wrap in plastic wrap and store on the counter or in the fridge for 4-5 days. If it has fresh homemade frosting on it, it’s best to store it in the refrigerator.
- Freezer: Before frosting the cake and after it has fully cooled, wrap in several layers of plastic wrap or foil (reduce air exposure as much as possible). Store in the freezer for up to 3 months.
FAQs
Yes, this mix works for cupcakes. Fill a greased cupcake tin ⅔ full and bake for 13-15 minutes. This recipe will make about 14-15 cupcakes.
Yes, if you need to bake it in advance, freezing the cake will work beautifully. Wrap the baked and cooled cake tightly in plastic wrap and/or foil and store in the freezer for up to 3 months.
Yes, but you will need to add some additional baking time. The cake is done when a toothpick comes out mostly clean and the top is slightly golden.
How to Video
Simple Yellow Cake Mix
Ingredients
- 1 1/3 cup all-purpose flour
- 1 1/2 tablespoons all-purpose flour
- 1 cup granulated sugar
- 1 1/2 teaspoons baking powder
- 1/2 teaspoon baking soda
- 1/2 teaspoon salt
- 1/2 cup avocado oil (sub: vegetable oil)
- 3 large eggs
- 1 1/2 teaspoons pure vanilla extract
- 3/4 cup buttermilk
- Optional: 1 batch of Chocolate Buttercream Frosting
Instructions
- Prep: Preheat the oven to 350°F and prepare a 9×13 or two 8-inch round metal pans by either lining them with parchment or coating with cooking spray.
- Cake Mix: Combine flour, sugar, baking powder, baking soda, and salt in a small mixing bowl and set aside.
- Wet Ingredients: Whisk together the oil, eggs, vanilla, and buttermilk in a medium mixing bowl.
- Combine: Add the dry ingredients to the wet mixture and whisk just until no flour is visible and no lumps are remaining (do not overmix).
- Bake: Pour batter into the prepared pan and spread with a spatula until the batter is smooth on top and evenly distributed. Tap the bottom against the counter to remove any air bubbles. Bake on the middle rack for 15-20 minutes in a metal 9×13 pan or 18-23 minutes in two 8-inch round metal pans, rotating halfway through. The cake is done when a toothpick comes out clean with no batter remaining. The top will be lightly golden. (Once it's cooled, top with Chocolate Buttercream Frosting, if desired.)
- Store: Let cool on a wire rack before removing from the pan. Wrap in plastic and store at room temperature or in the fridge for up to 4-5 days or in the freezer for up to 3 months.
Freezer Instructions
Notes/Tips
- Gluten Free and Dairy Free Instructions can be found here.
- A perfect replacement in recipes that call for a 15.25 ounce box of yellow cake mix.
- The recipe was tested in a metal pan. If using glass or ceramic, cooking time will be longer.
- The batter should be baked as soon as possible and not sit for an extended period, otherwise the baking soda may not leaven the cake properly.
- Cupcake instructions: Fill holes of a greased cupcake tin 2/3 full and bake for 13-15 minutes. This recipe will make about 14-15 cupcakes.
Nutrition

Recipe Contributor: Rachel Riegel
Pastry Chef Rachel Riegel developed and rigorously tested this recipe for Thriving Home.
Rachel grew up in northern Michigan with a family that loved to cook and bake. She attended a career center for culinary and baking and pastry arts in high school and went to college at The Culinary Institute of America in Hyde Park, New York. She graduated in August 2023 with a Bachelor’s in Food Business Managment and Baking and Pastry Arts.
In her free time, she loves to read, listen to true crime podcasts, go on walks, travel, and spend time with her fiancé.
This has become my go-to for cake! Turns out perfectly every time! So moist and delicious.
Great! Thanks for taking the time to leave a review Charity.
Two questions: Does this work in your cake mix cookie recipes? Did you test the cake mix recipe with sugar free options like Splenda?
Thanks!
Dave
Hi Dave. Our homemade yellow cake mix does work with our cake mix cookies. We tested all of our cookies with both the homemade and the store-bought versions and have some notes on the posts about the difference between the two. We did not test any recipes using any sugar-free options. If you do, leave a comment so others who are interested will know how it turned out for you. Thanks!
Is there a way to add cocoa powder and make it chocolate cake mix?? I trust Thriving Home recipes waaaaay more than just hunting the whole internet for what seems like a good chocolate cake recipe…
Let me ask our pastry chef who developed this recipe and get back to you on that. Thanks for the vote of confidence, Kelsey!