Homemade Vanilla Extract
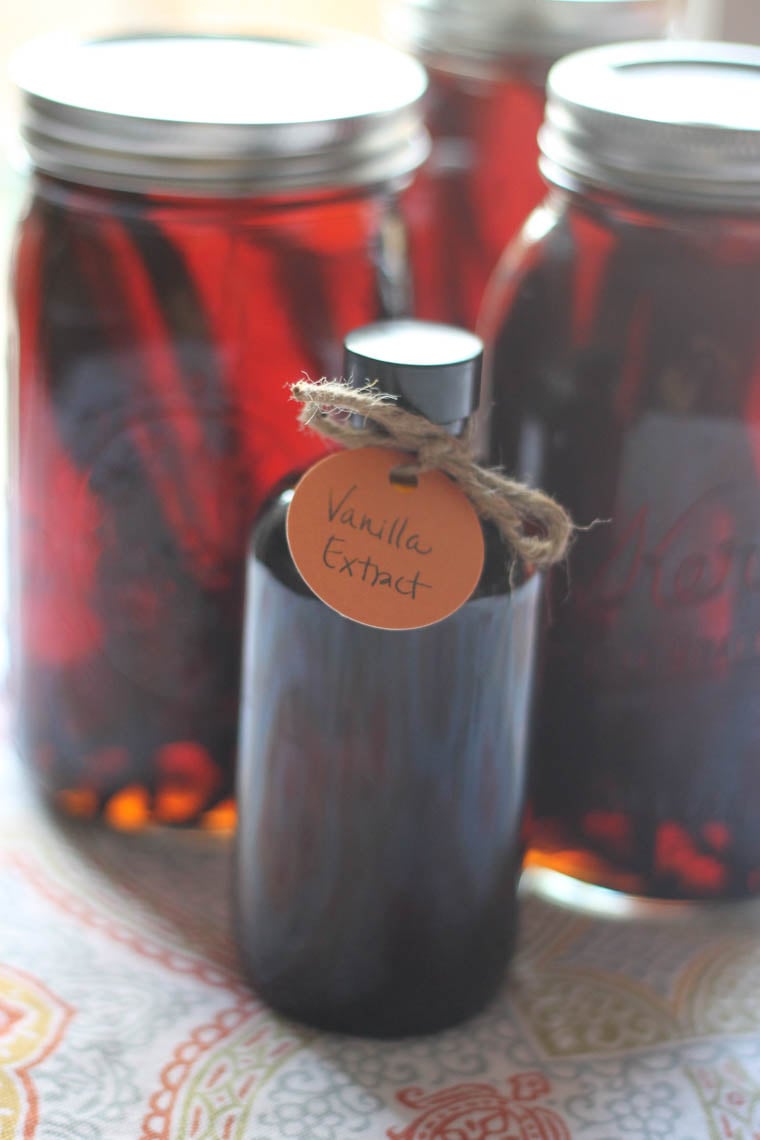
Make your own homemade vanilla extract with just 2 simple ingredients: vanilla beans and vodka! It’s much more cost-efficient than store-bought options. Let’s get started! Use it in baked goods like our Chocolate Chip Zucchini Bread, Gluten-Free Banana Muffins, or our Simple Yellow Cake Mix.
Why Make Your Own Vanilla?
Cost-Effective: Produce more for less money. WAY less money!
Quality Control: Ensure high-quality, pure ingredients.
Customization: Experiment with different beans and alcohols. Some use rum or bourbon.
Freshness: Enjoy more vibrant and robust flavors.
Satisfaction and Gifts: Enjoy the process and create thoughtful gifts. I love to give these as Christmas Gifts!
Ingredients
Making your own vanilla really is SUPER easy. The typical ratio is about 5-6 vanilla beans per 8 ounces of alcohol.
- Vanilla Beans – There are lots of types you can buy. Quality matters.
- Alcohol – I use vodka. You can also use rum or bourbon for different flavors.
Which Vanilla Beans are Best for Making Vanilla Extract?
You can find vanilla beans at most major grocery stores in the spice aisle. If you can’t locate them, try purchasing them online. Here are three popular options.
- Madagascar Bourbon vanilla beans – what most people associate with vanilla flavor. Full, creamy, and sweet flavor. I personally opt for this one.
- Tahitian vanilla beans – floral aroma with cherry-like, licorice, and caramel flavor tones.
- Mexican vanilla beans – both sweet and woody flavor tones with a spicy hint of cloves and nutmeg.
Vanilla beans labeled “Grade B” are specifically sold for extracting purposes. They are also cheaper. Because of this, I always opt for grade B. But, grade A will for sure work!
How to Make Homemade Vanilla
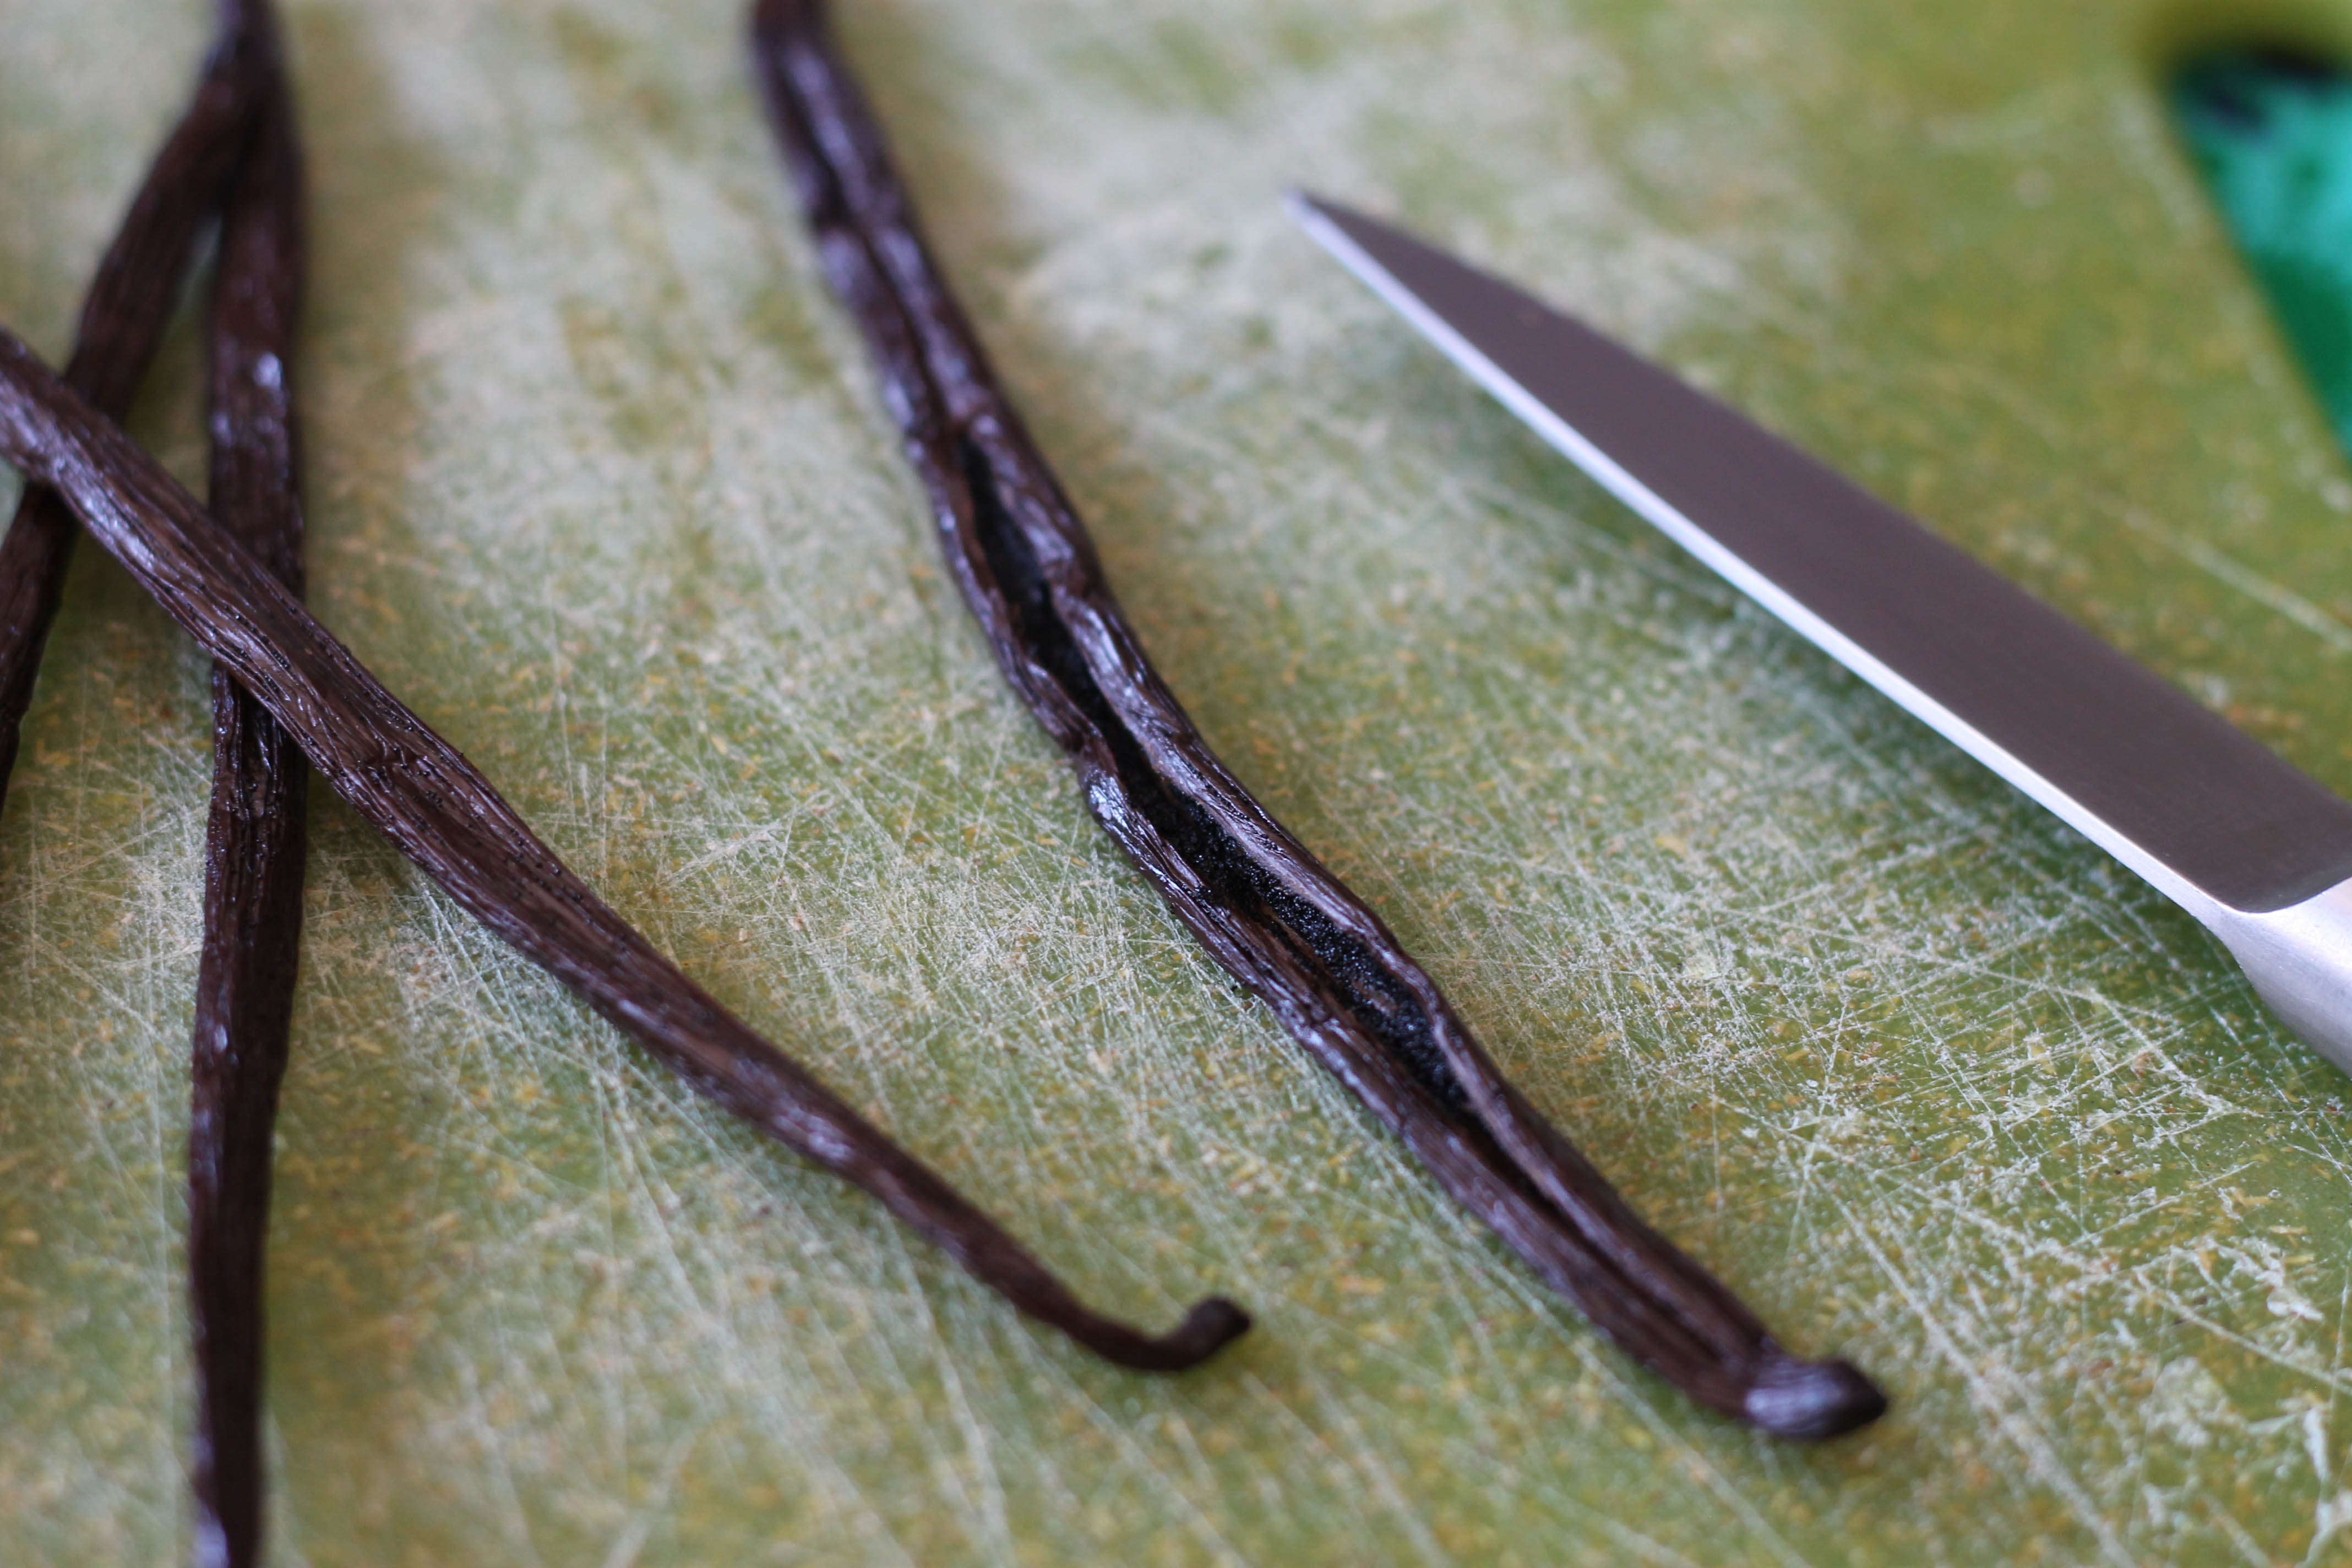
1. Prepare Your Vanilla Beans
Using a small sharp knife, slice one side of each vanilla bean open to expose the inside.
2. Submerge beans in alcohol
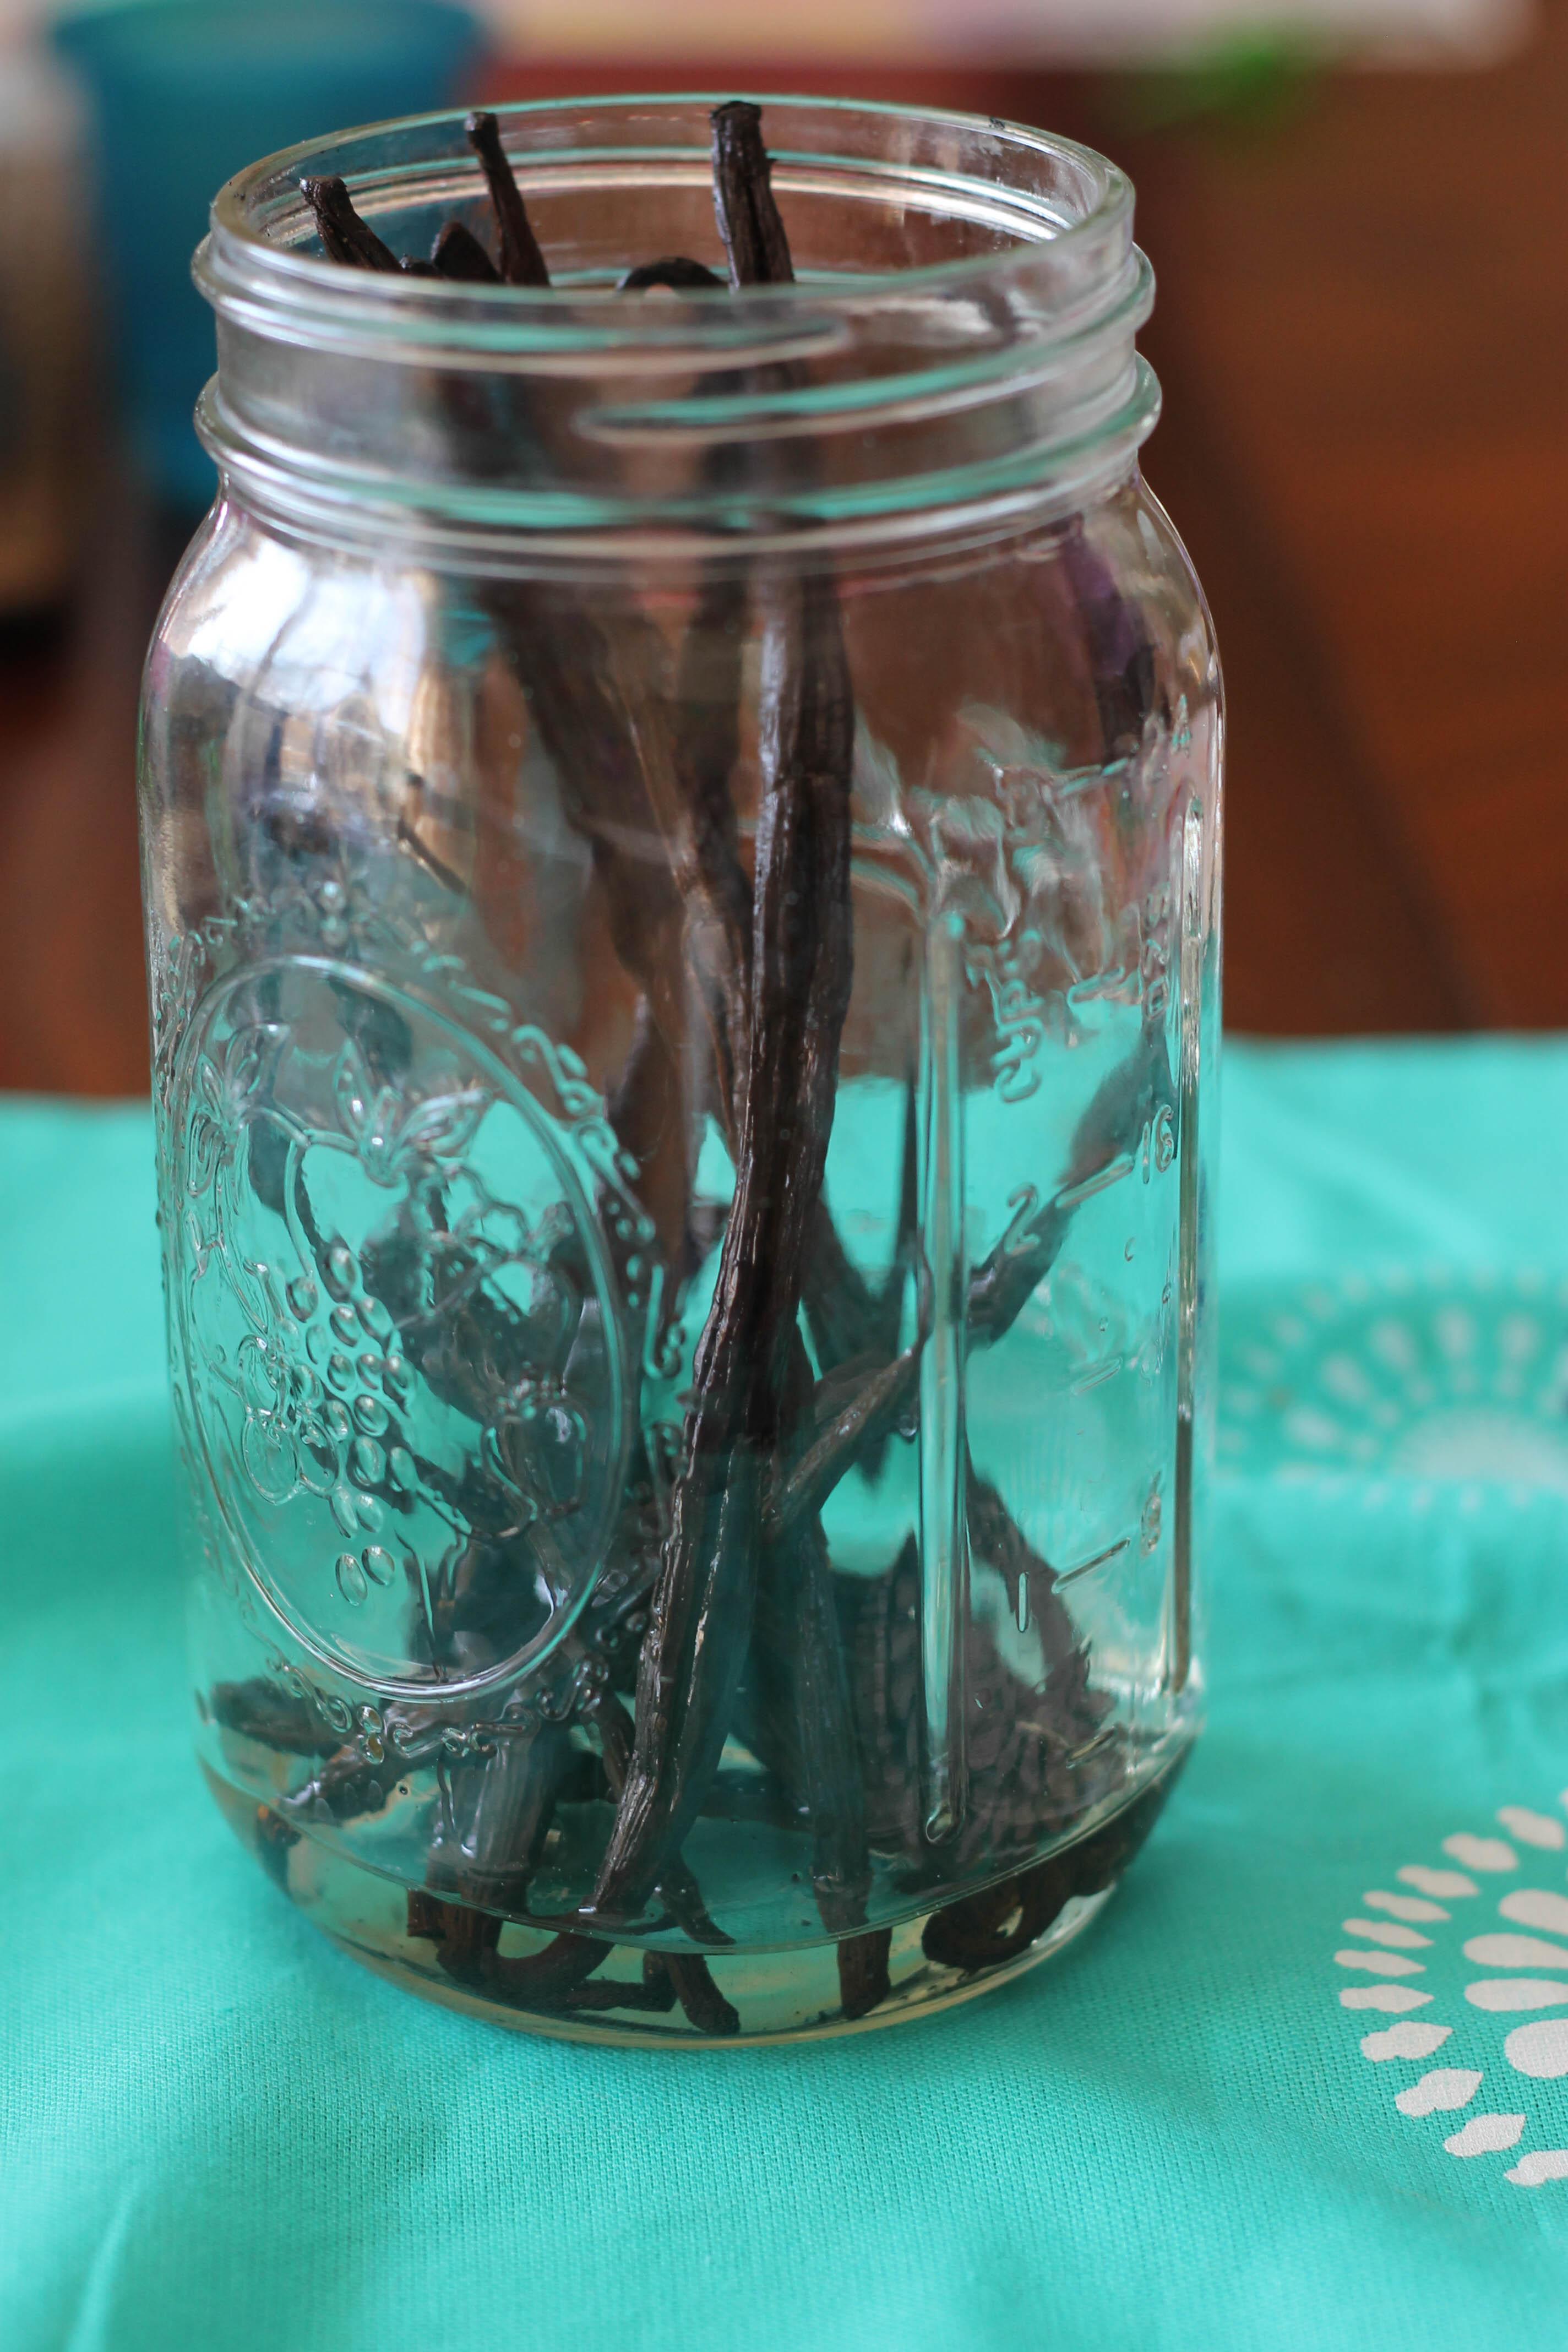
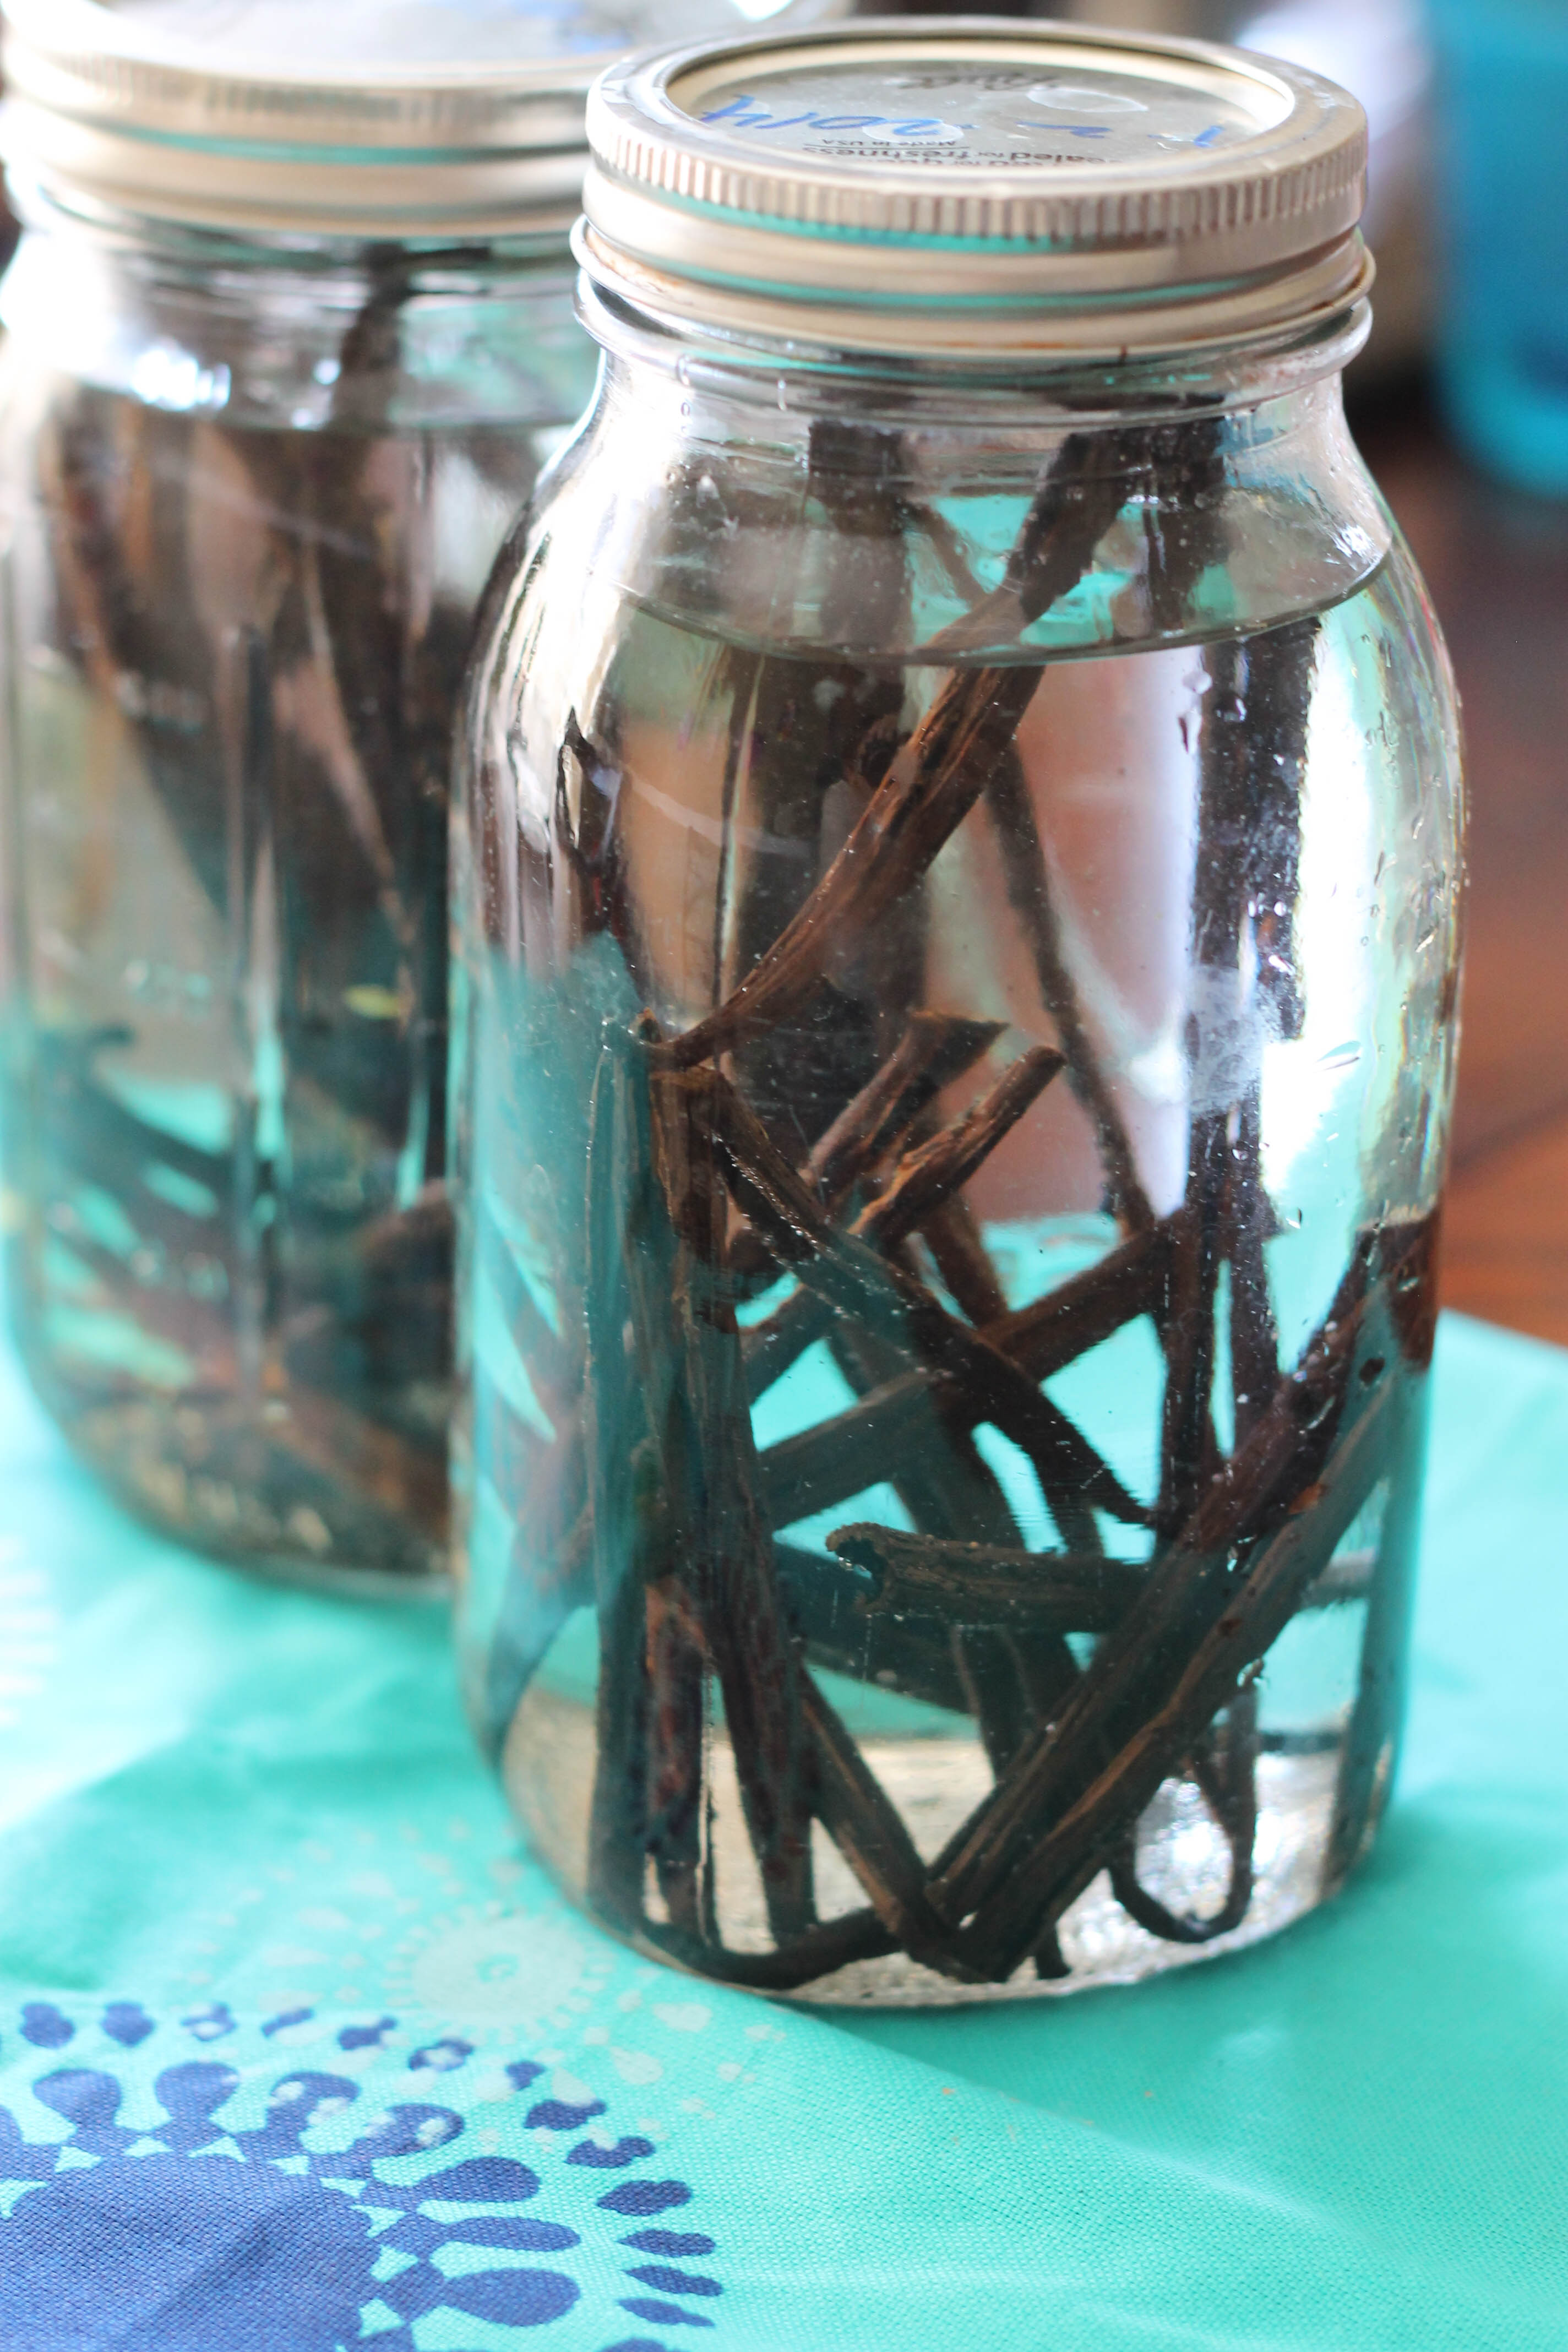
Place your sliced beans into a glass storage jar.
In order to fit them into my large mason jars, you may have to cut or bend the beans in order to make them fit.
Now, fill the jars with alcohol. My booze of choice was a cheap, unflavored vodka.
3. Wait. The Longer the Better!
Now for the hardest part of making your own vanilla, waiting!
You need to give the alcohol time to extract the vanilla flavor from the beans. (Get it, vanilla extract?)
Every week or so, give the jars a good shake. Some say wait about 6 weeks. Some say 6 months. The longer the vanilla sits, the more complex the flavor will be so I gave mine a good 5-6 months.
4. Store Your Finished Vanilla
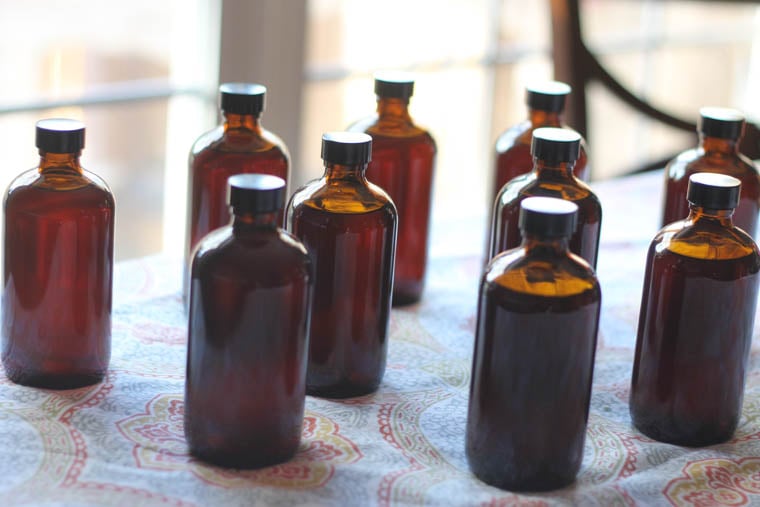
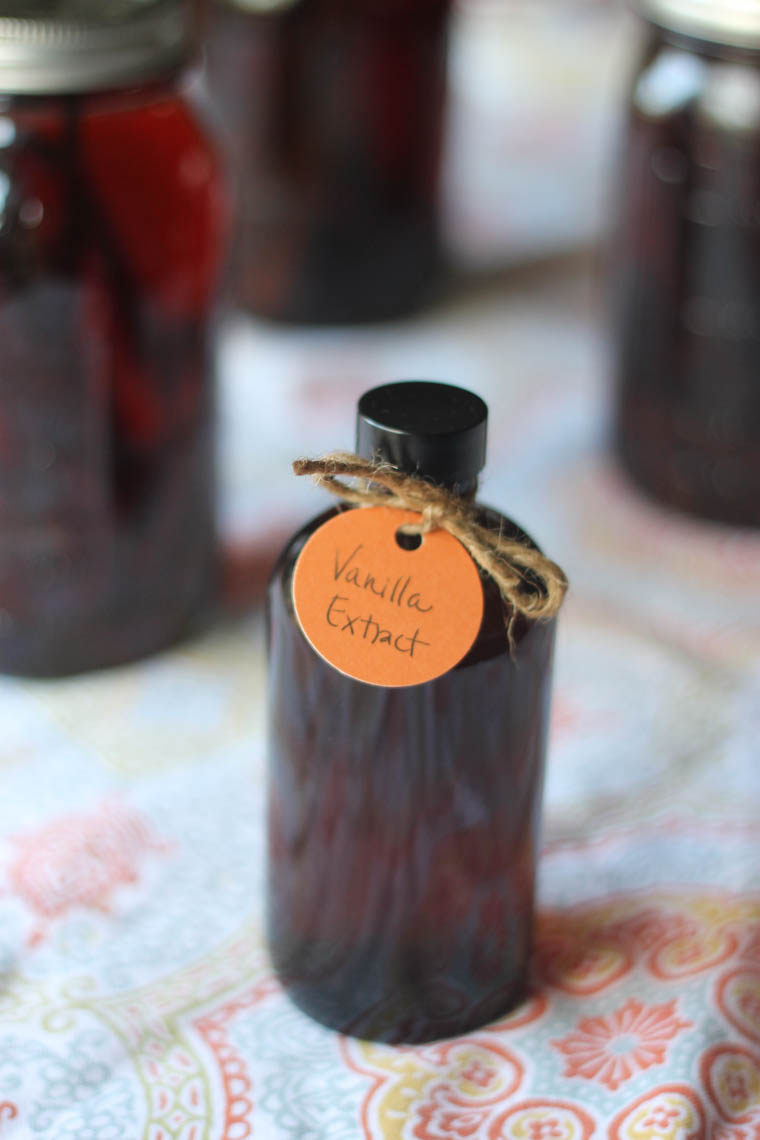
I have used both amber bottles (pictured below) but now use these 8-ounce bottles to store my finished vanilla.
I added a little tag to my bottles and plan to give them away as little goodies in the future.
Recipes to Use Your Homemade Vanilla
There are so many ways to use homemade vanilla. The ingredient is called for in the majority of baking recipes. Here are just a few we wanted to highlight for you!
FAQs
It takes about 8 weeks for the vanilla extract to develop a good flavor, but for the best results, let it steep for 6 months.
Store it in a cool, dark place in a glass bottle. It doesn’t need to be refrigerated.
Yes, making your own vanilla extract can save money. While store-bought high-quality vanilla extract costs around $16-$32 for 8 ounces, homemade vanilla extract costs approximately $11-$22 for the same amount. This results in savings of $5-$10 per 8-ounce bottle, with additional benefits like higher quality, customization, and further cost reduction if you reuse the beans.
While it is fine for dogs to consume it in baked goods (like humans do), dogs should not consume vanilla extract in its original form. Vanilla extract contains alcohol, which can be toxic to dogs. Even small amounts of alcohol can cause symptoms such as vomiting, diarrhea, difficulty breathing, tremors, and in severe cases, coma or death.
How to Video
Homemade Vanilla Extract
Ingredients
- 10 Vanilla Beans
- 16 ounces Vodka
Instructions
- Prepare your vanilla beans (for every 8 ounces of vanilla you want to make, you will need 5-6 vanilla beans).
- Slice one side of each bean open to expose the inside.
- Submerge beans in alcohol.
- Now, fill your jars with alcohol. My booze of choice was a cheap, unflavored vodka. You don’t need expensive vodka to make this work.
- Wait. Every week or so, give the jars a good shake. Some say wait about 6 weeks. Some say 6 months. The longer the vanilla sits, the more complex the flavor will be so I gave mine a good 5-6 months.
- Store your vanilla extract for long-term use.
Notes/Tips
- I like to use these 8-ounce bottles for storage.
- You don’t need expensive vodka to make this work. Just as long as it’s 80-proof.
Nutrition
Sounds delicious!!
It really is!
This is intriguing! Being homemade, is there any need to refrigerate at all at any point? Thank you!
Nope, the alcohol prevent spoilage. Just store in a cool, dark place. It will last forever. 😉
Do you have a new source for vanilla beans. The above link is unavailable.
I just linked to a new source. Thanks for letting us know.
The price of beans has gone way up. 50 cost over $200! Doesn’t seem worth the cost to make anymore.