Whole Wheat Pita Bread
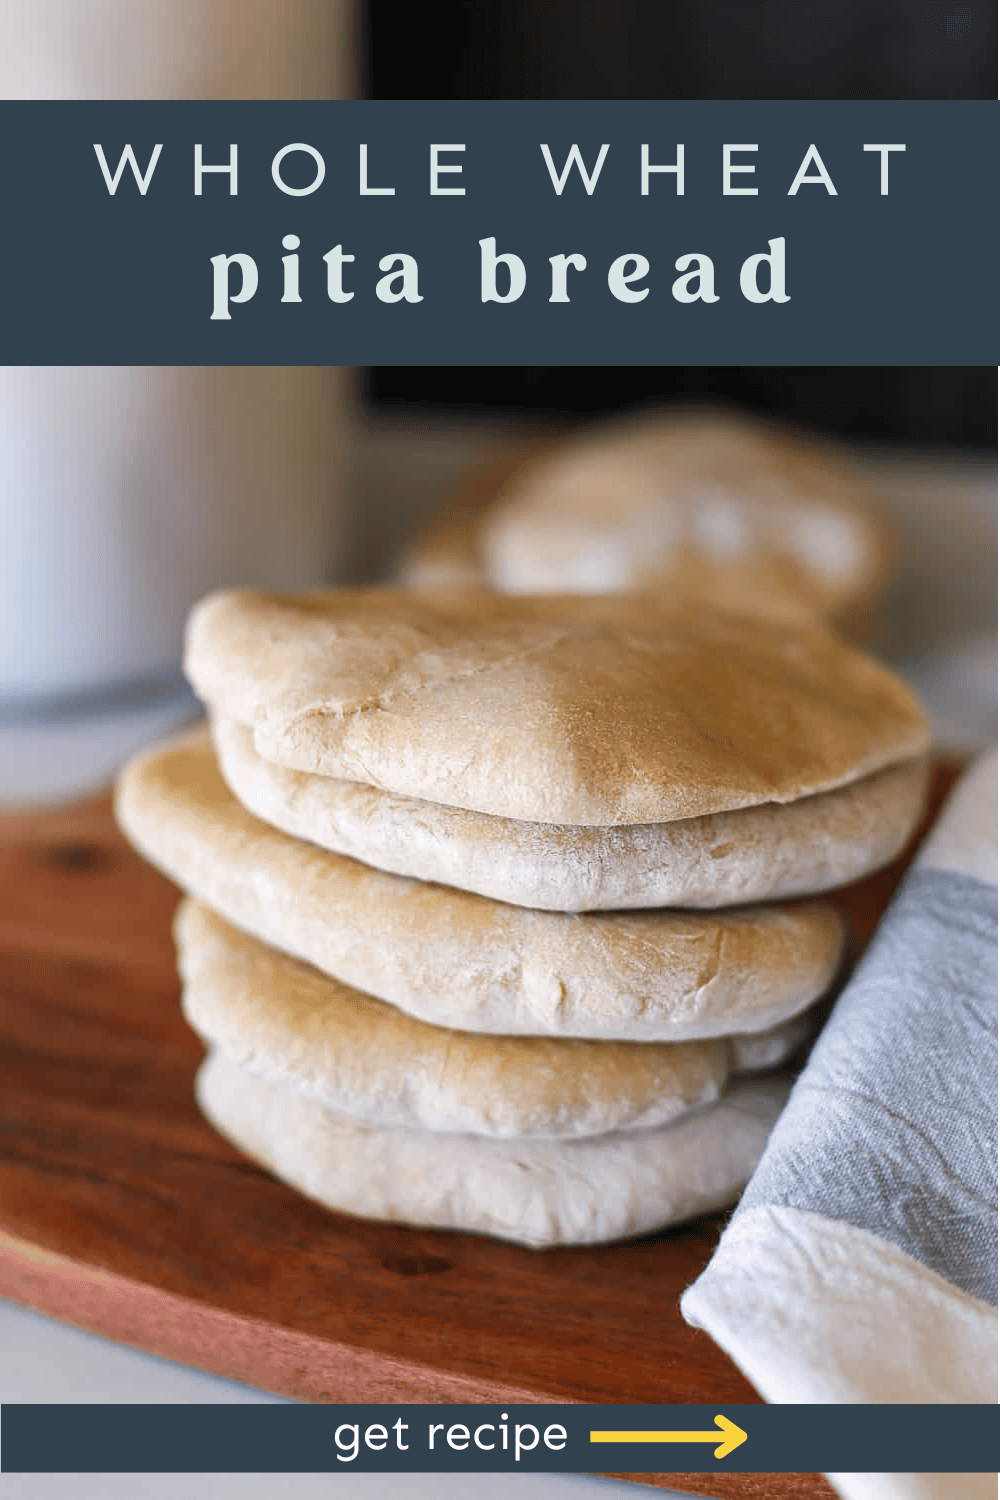
It’s easier than you think to make your own Whole Wheat Pita Bread, especially when you let the bread machine do the work for you. This recipe has the perfect balance of softness, yet structure. Thanks to the whole wheat, it’s extra nutritious too!
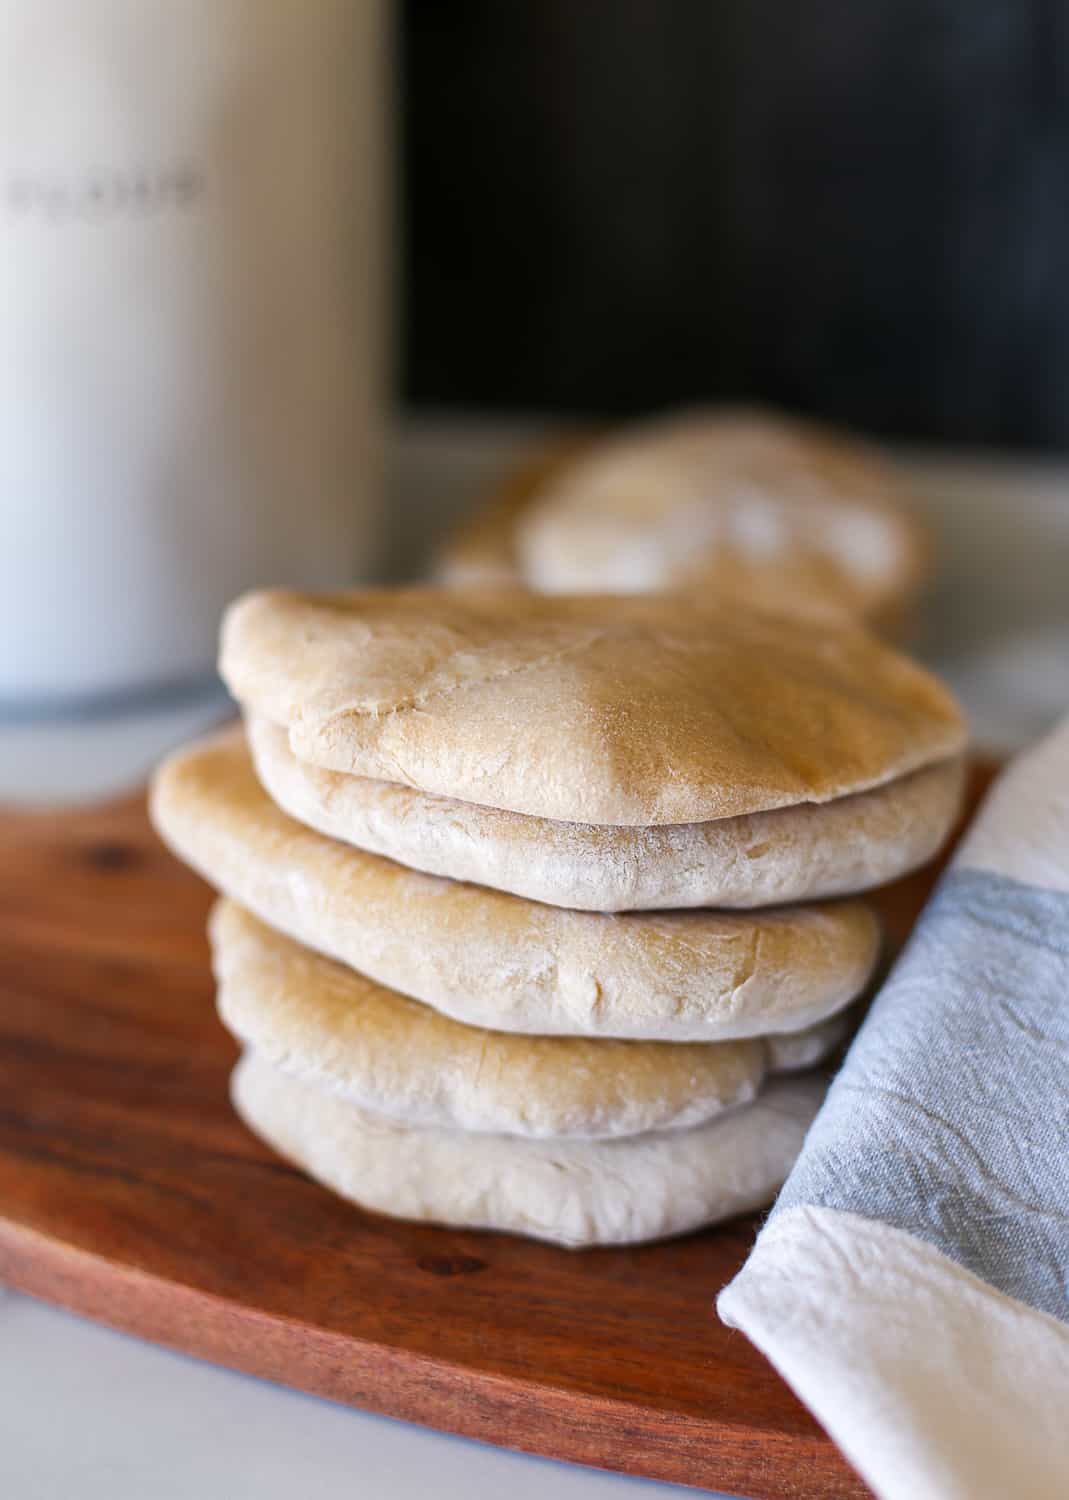
Why Make Your Own Whole Wheat Pita Bread?
Let’s state the obvious: you could easily buy pita bread at the store. I do it all the time. It’s fine. It’s good. But it’s not great.
Homemade Whole Wheat Pita Bread is not only a fun and easy recipe to make, but the result it yields is SO much better than store bought. Similar to when you make Whole Wheat Pizza Dough or Calzone Dough from scratch, you won’t be eating the additives and preservatives that come in the pita bread from the store.
Lastly, it’s fun! After a bread machine does its work on the dough, kids love to help roll it out. The pitas only need to bake for 5 minutes too!
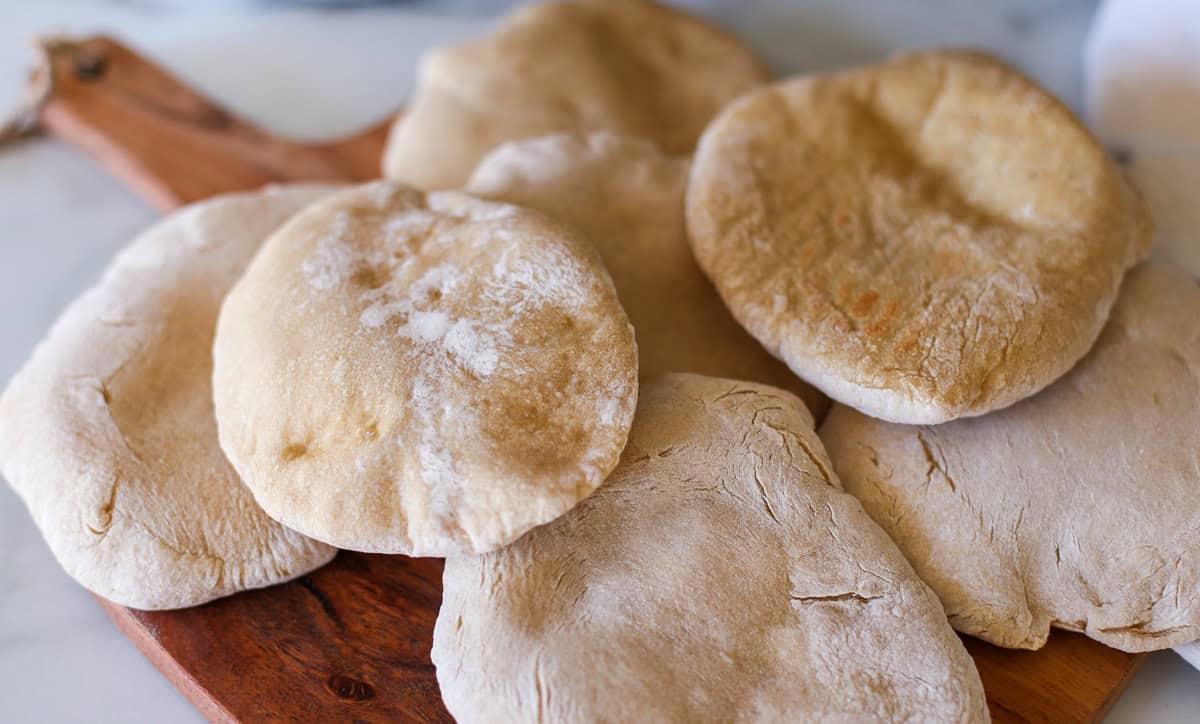
How to Make Whole Wheat Pita Bread
Step 1: Make the Dough
As mentioned above, I let my bread machine do the hard work of making the dough for me. I love dumping in my ingredients, walking away, and coming back to fluffy dough ready to play with. That being said, if you don’t have a bread machine, here is another Pita Bread recipe you could use.
Compared to other bread machine recipes I regularly make (like Cinnamon Rolls or Panini Bread), this dough comes out a bit more sticky. Be sure to add a lot of flour to your surface before dumping it out. I also sprinkled additional flour on the top of the dough mound so I could work with it more easily.
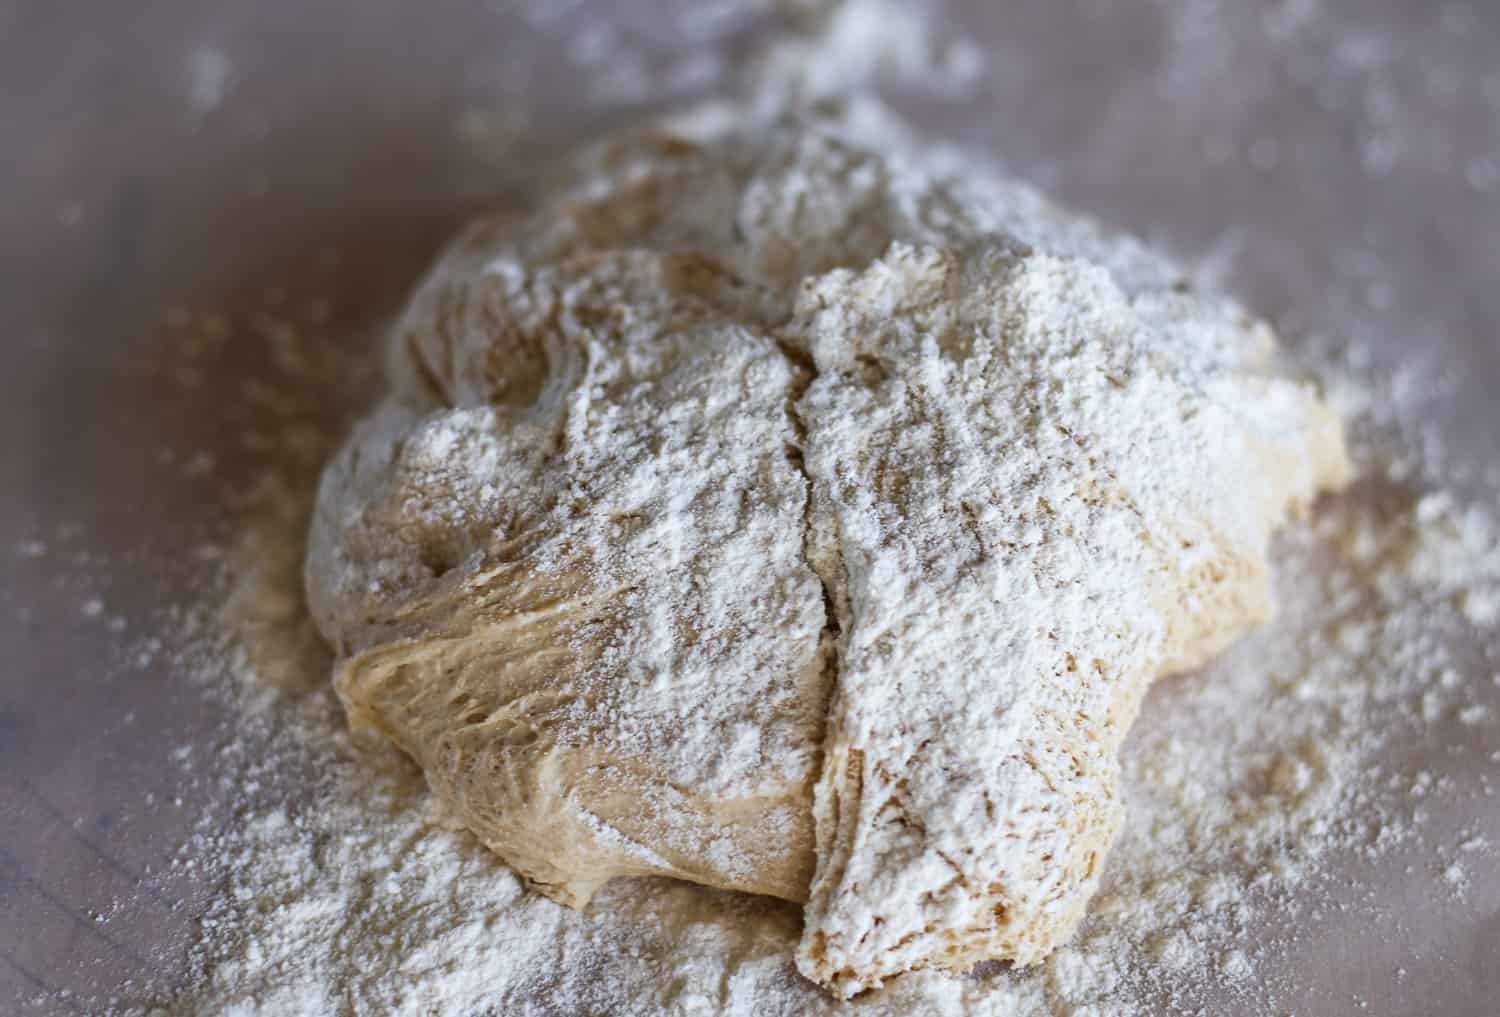
Once it’s floured up, roll the dough into a loaf form. This makes it easier to split apart evenly.
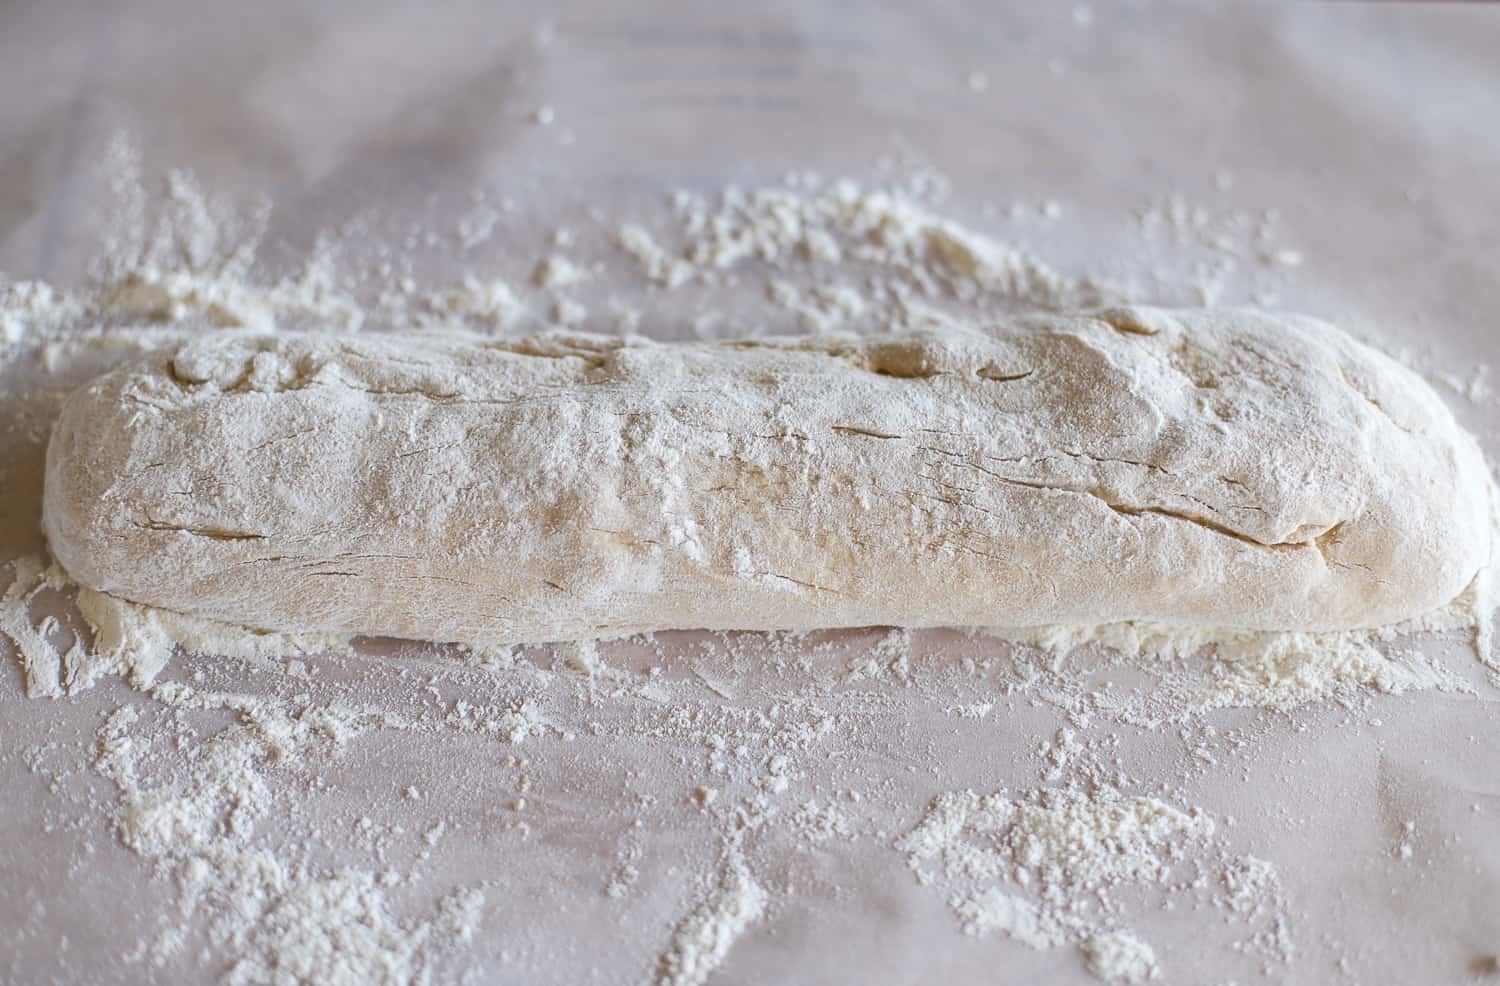
Using a knife or a steel scraper (my tool of choice), slice the dough into 8 equal pieces.
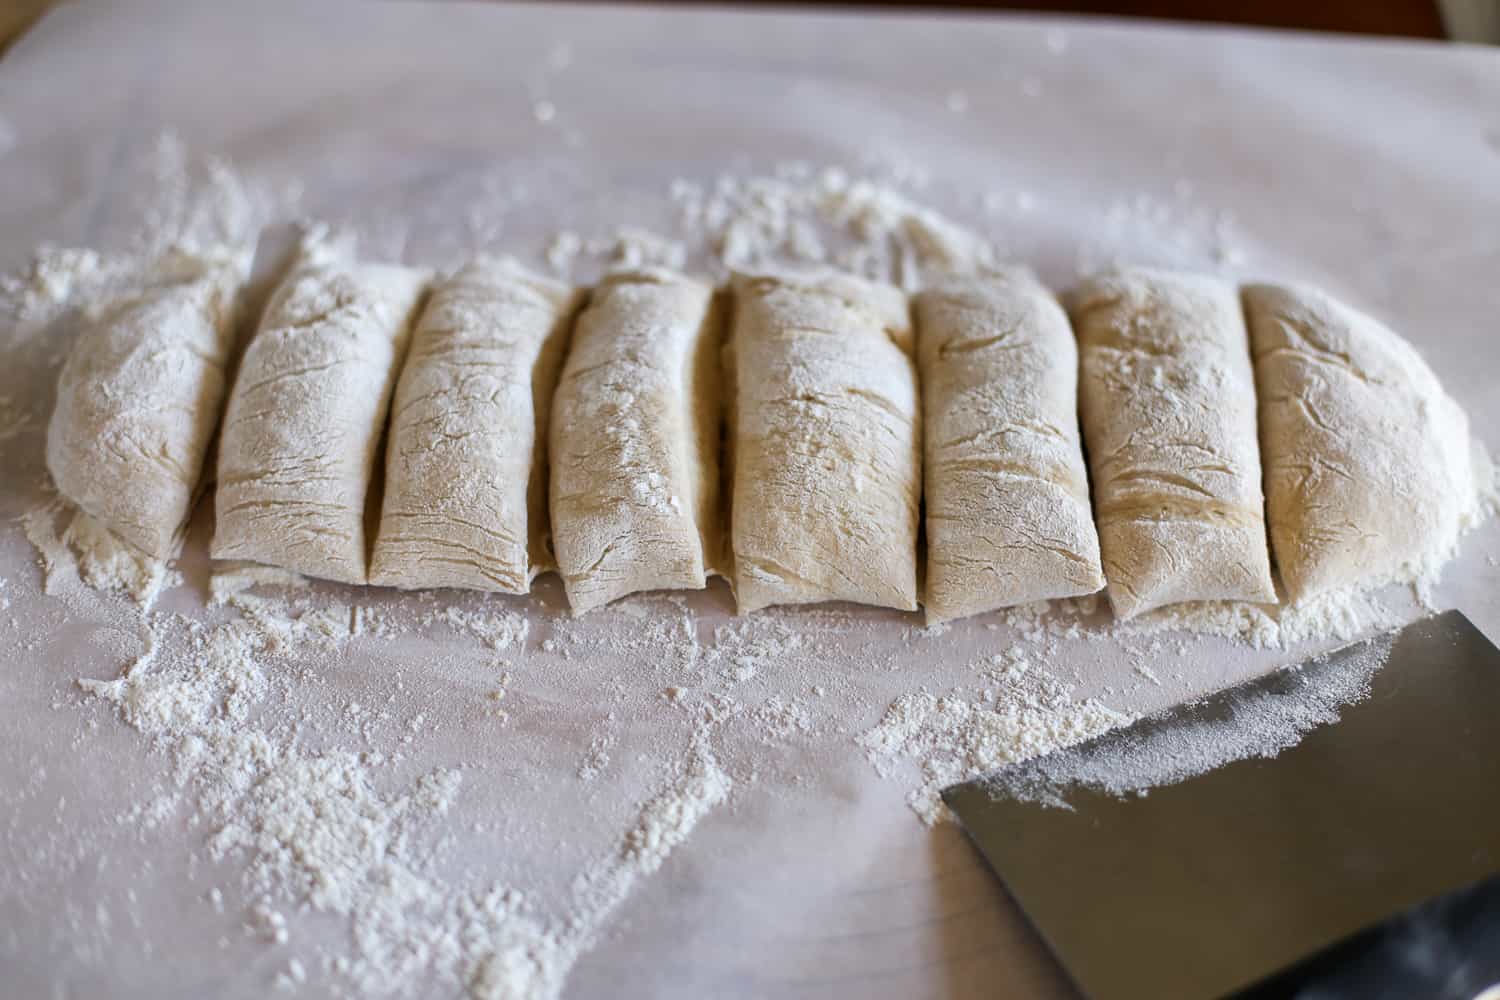
Step 2: Roll Out the Dough
Using the palm of your hand or a roller, roll out the mounds of dough into small circles–about 1/2 inch thick is just about right. You will likely need to use more flour so it doesn’t stick.
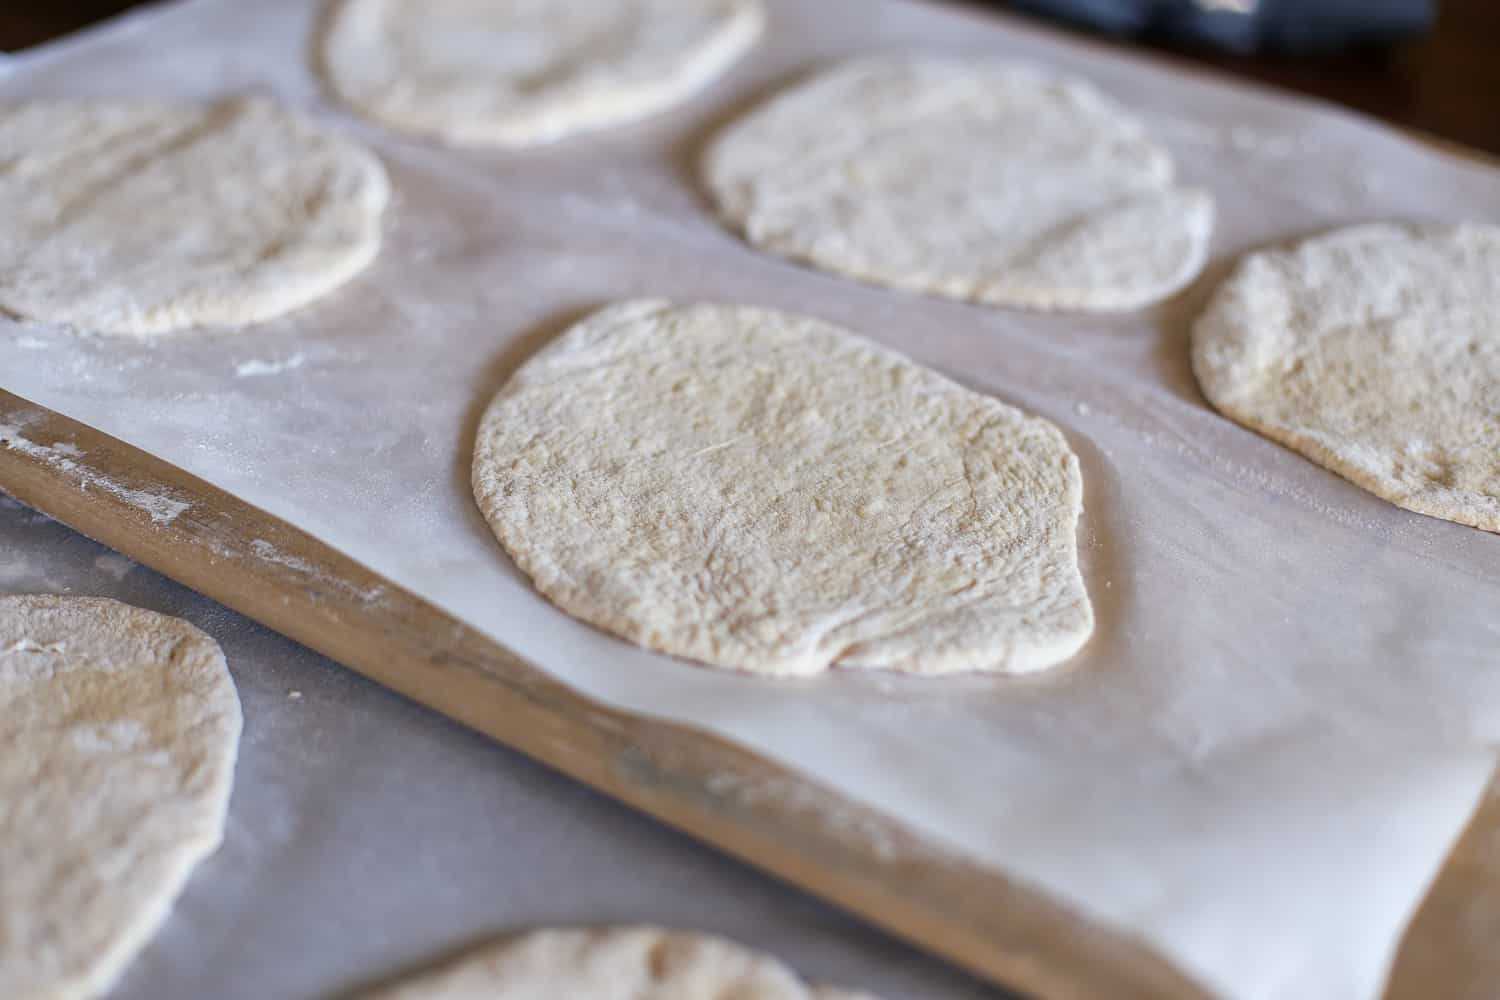
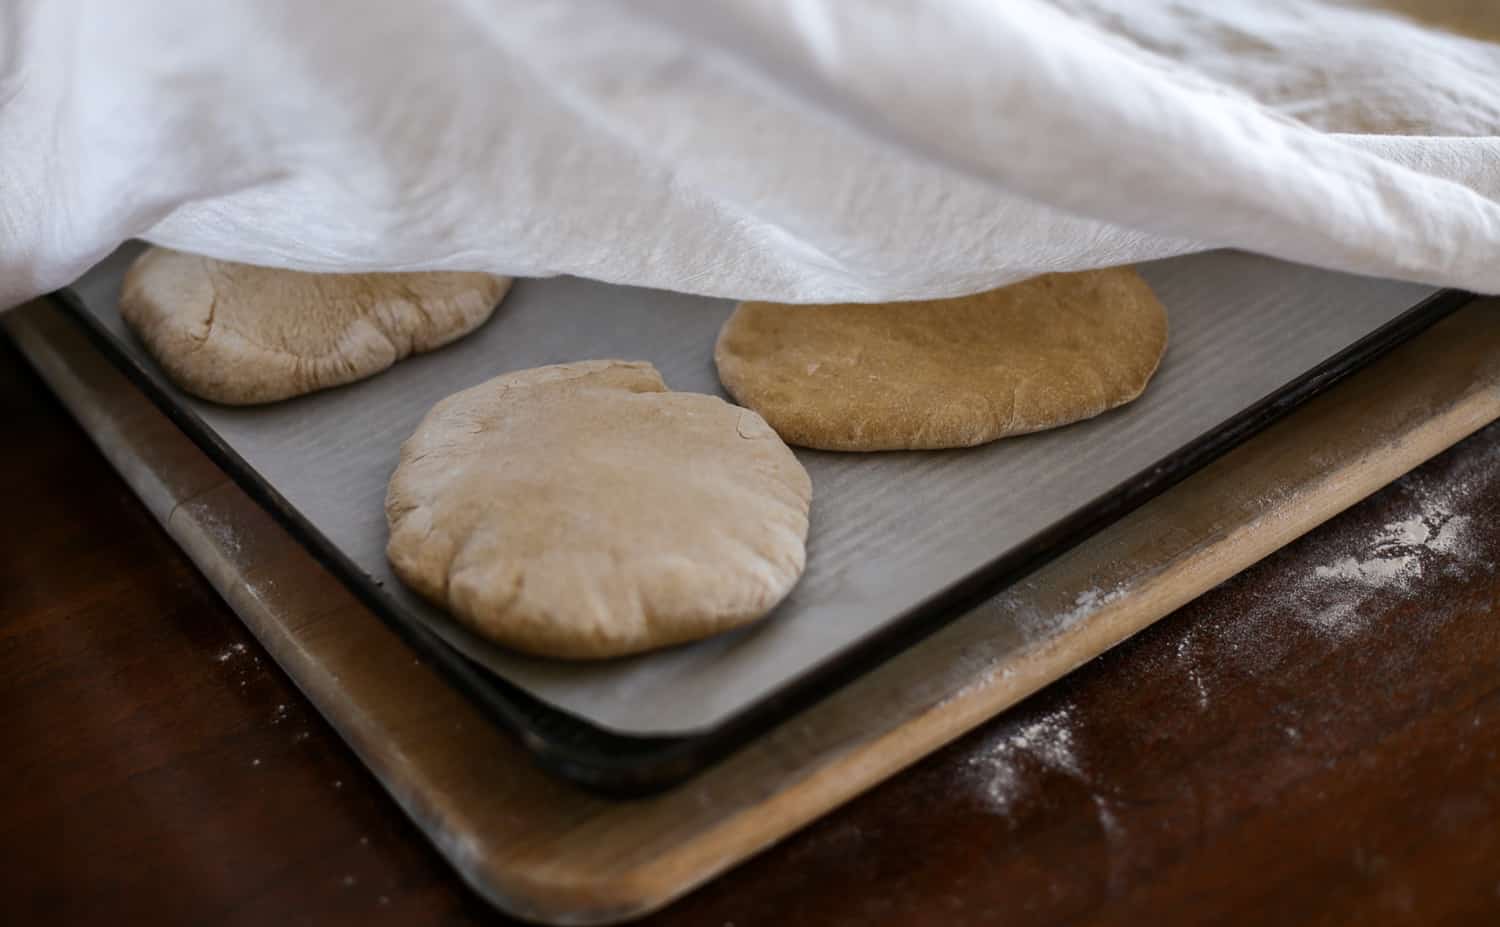
Once they are rolled out, cover the dough with a lightweight dish rag and let it rise for about 30 minutes. I’ve found that they need a little extra time in colder weather. The warmer it is, the faster they will rise!
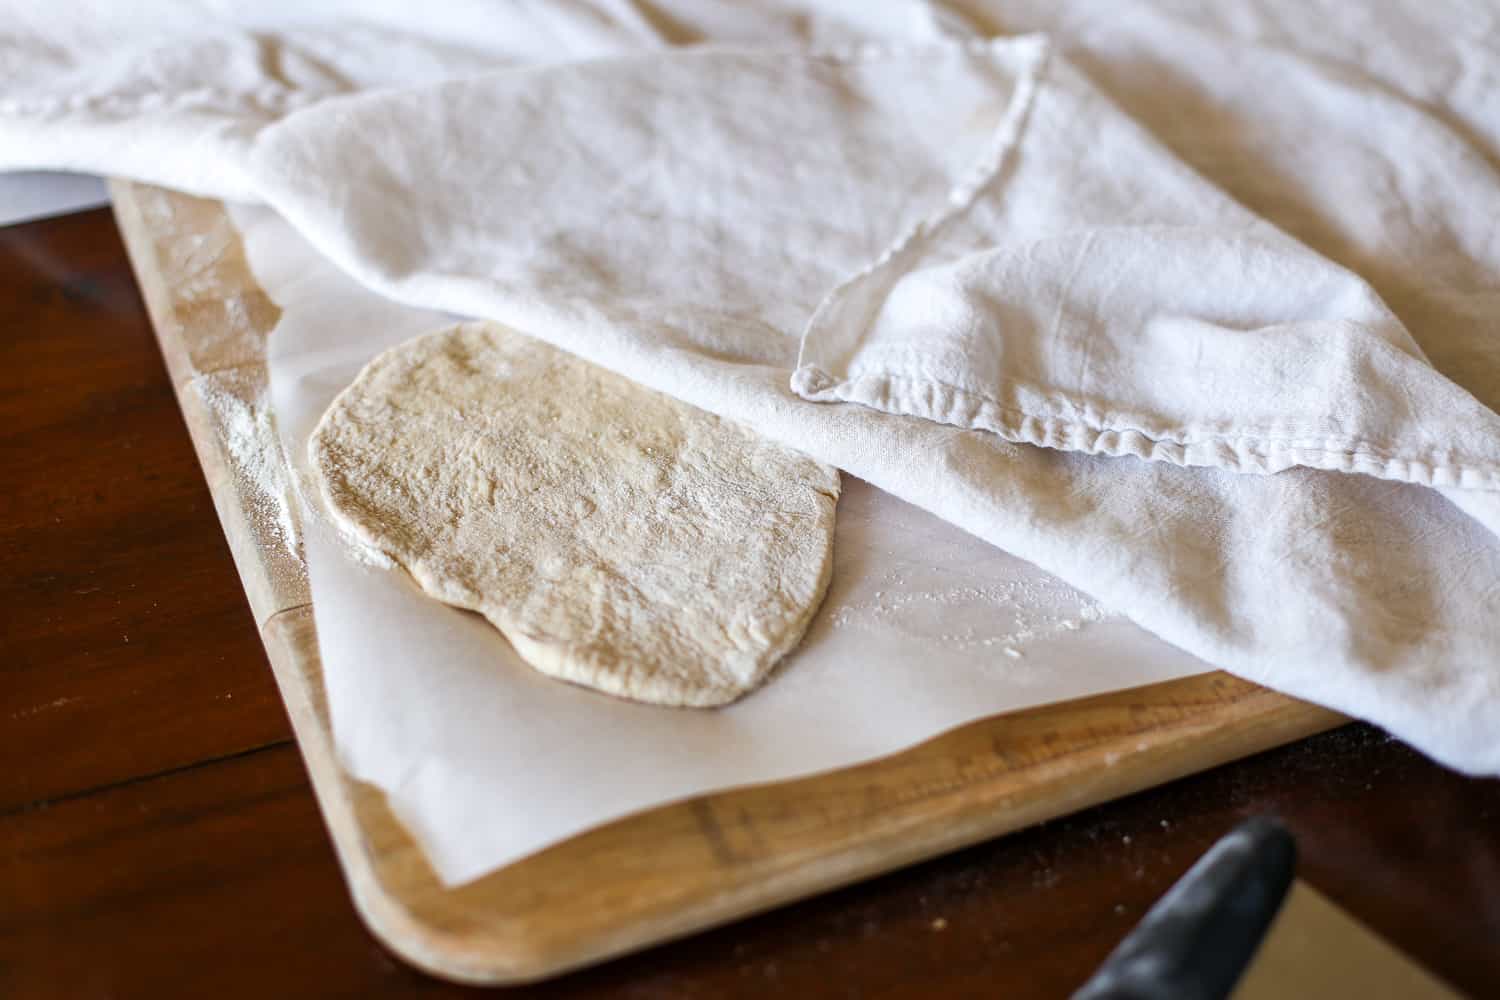
Step 3: Bake the Pitas
While the dough is rising, preheat your oven to 500°F degrees. Yes, 500!
In the picture below, you will see that I put parchment paper on top of the baking sheet. However, I would not recommend doing this. It’s just a touch too hot and I noticed some of my parchment paper was getting pretty toasty brown in the oven! If your pitas are well-floured, they won’t have a problem sticking to the pan.
You could also spray the pan with cooking spray if you want.
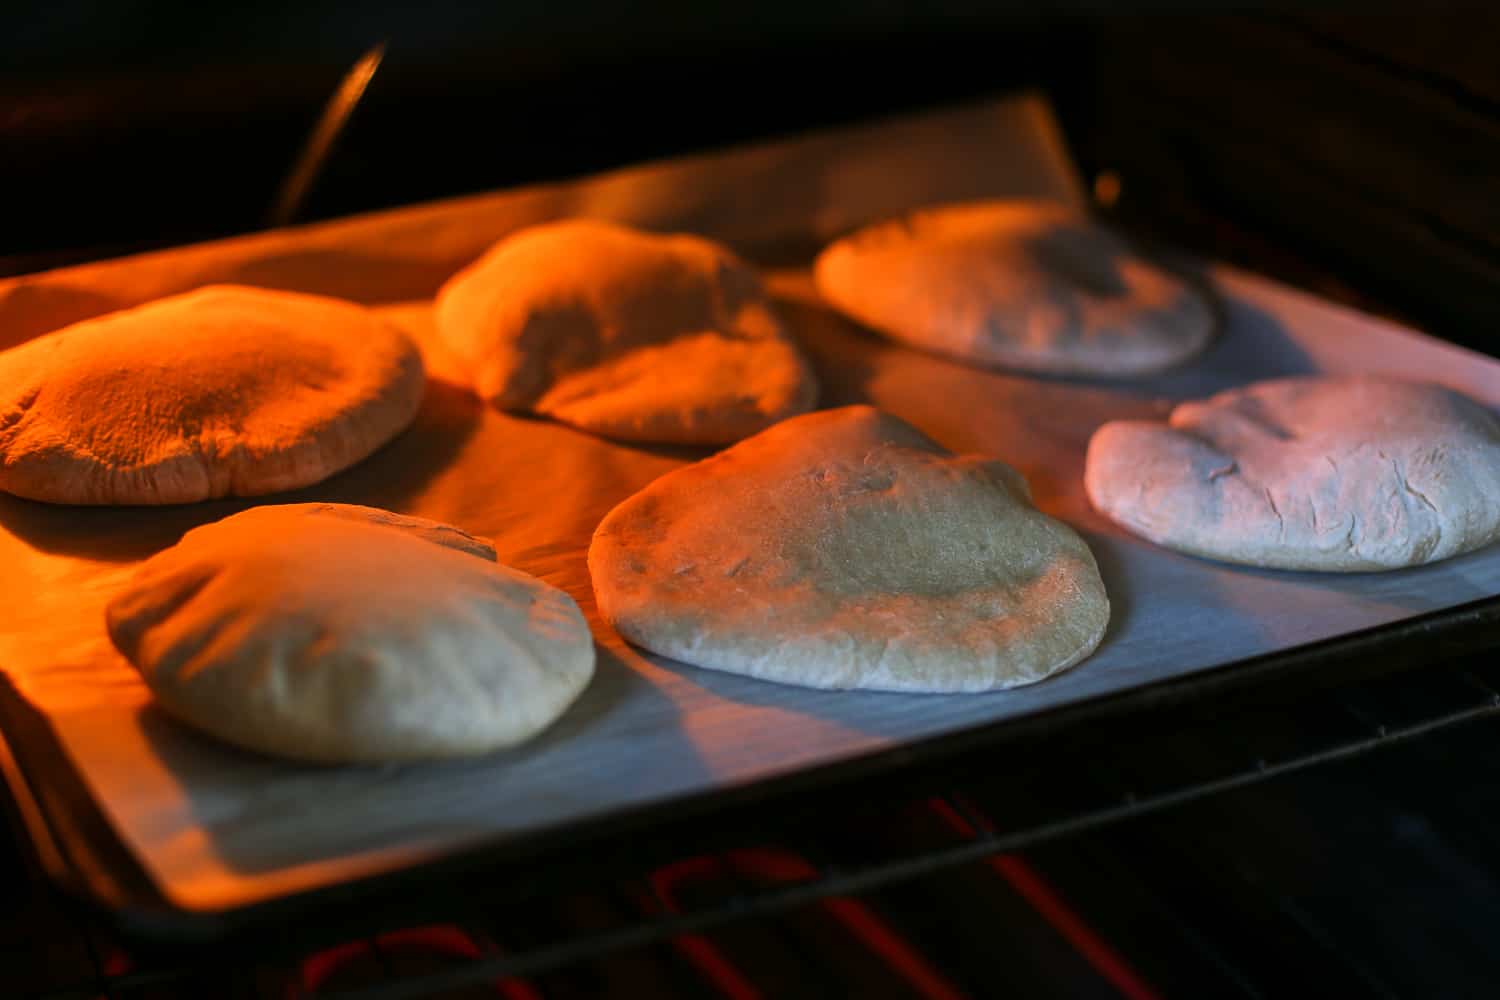
As soon as they come out of the oven, cover them back up with the same towel for about 5 minutes. This helps keep some of the moisture in and keep those pitas nice and soft.
Can you Freeze Pita Bread?
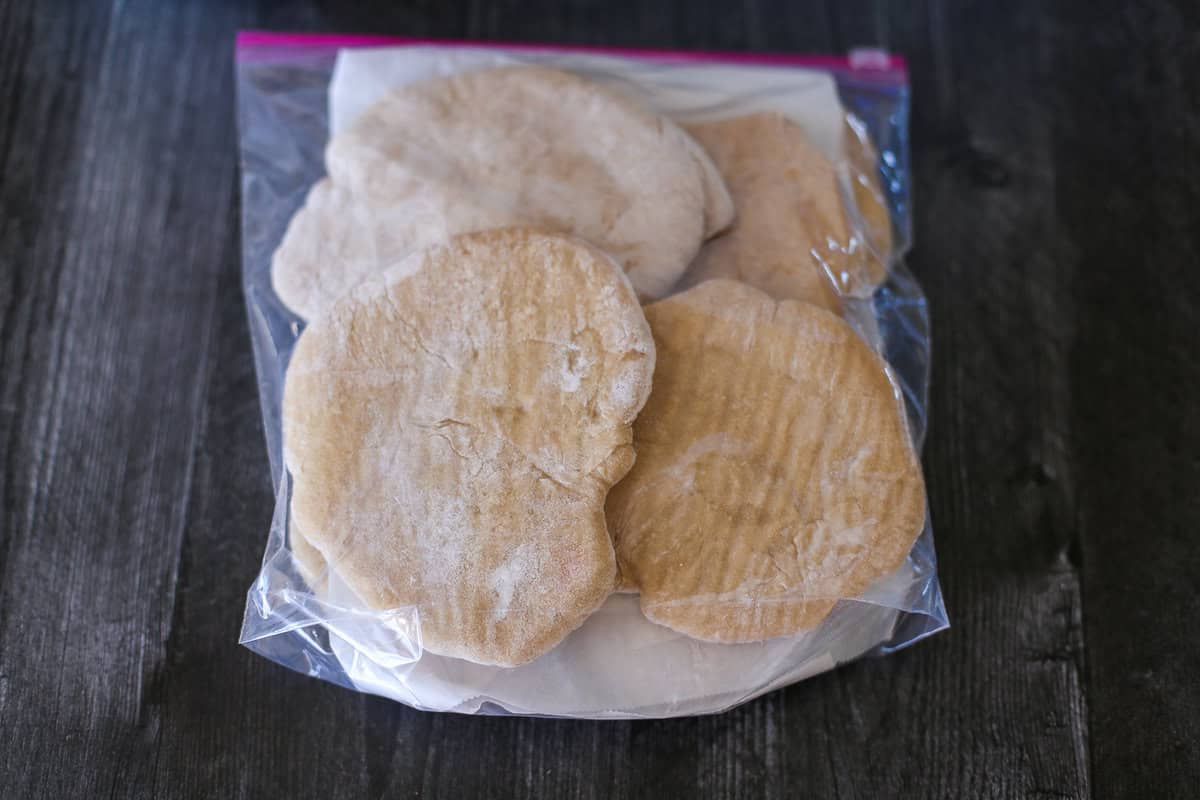
We are all about maximizing your time in the kitchen. Using your freezer is a great way to do that. You will want to let the pitas completely cool. Then place the pitas in an airtight bag. Use parchment paper to separate the layers.
They won’t take long to thaw. Simply set them on the counter for 20-30 minutes and they should be good to go!
Ways to Serve Whole Wheat Pita Bread
Here are some delicious ways to use your freshly baked Whole Wheat Pita Bread:
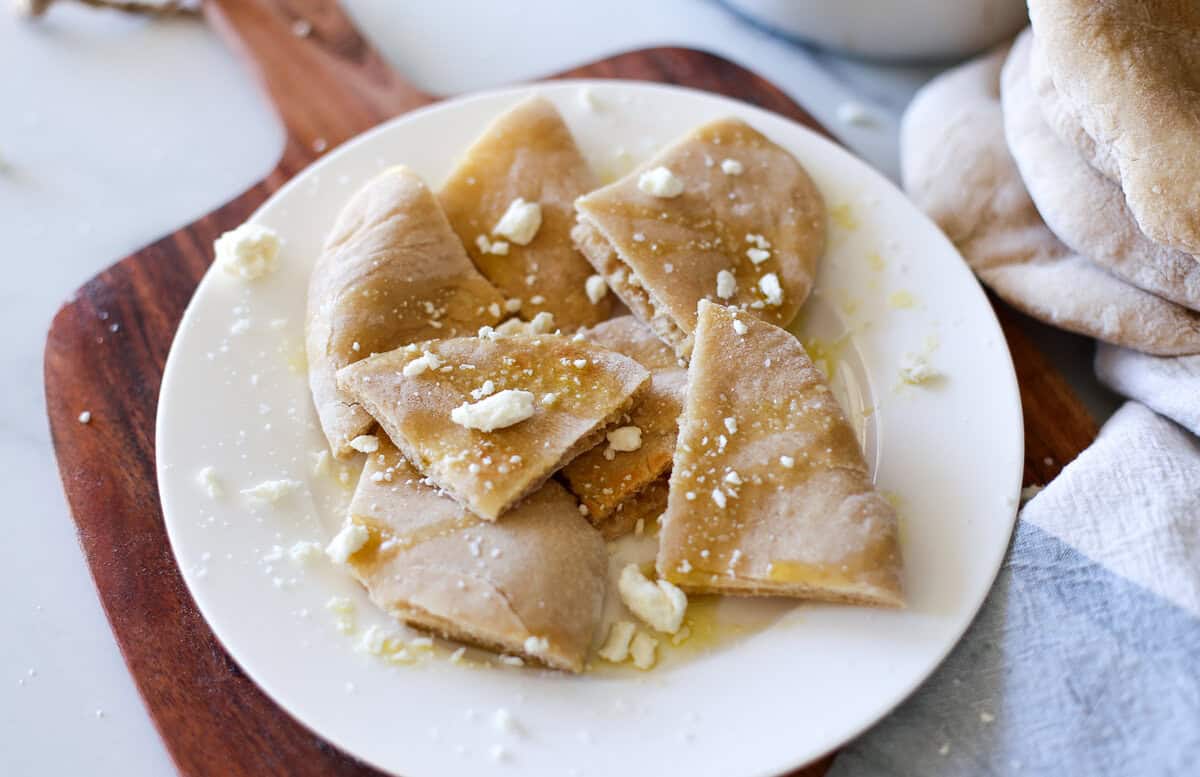
- Serve with olive oil, kosher salt, and feta cheese. This is one of my favorite healthy snacks!
- Use them with our Greek Pitas with Pulled Pork recipe.
- Serve with our Simple Blender Hummus and fresh veggie sticks.
- Serve with our Greek Dip (delicious!!).
- They’d be a good side for scooping Protein Bowls.
- Dip the Pita Bread into some of our Easy Tzatziki Sauce
Bread Machine FAQ
Many machines allow you to specify how big of a loaf you are wanting to make. (1 lb., 1.5 lb., 2 lb., etc.) Since you are only using the dough cycle, specifying this won’t change how it is made in the machine so any size should work.
There could be a few reasons for this.
1.) Your yeast is expired. Check the date!
2.) The environment isn’t warm enough. I sometimes turn on my oven for 2-3 minutes to make it warm. Turn it off, place the dough in the oven, and let it rise in there.
More Homemade Bread Recipes
Whole Wheat Pita Bread
Ingredients
- 1 1/4 cups water (warm)
- 1 tablespoon olive oil
- 1/2 teaspoon salt
- 1 1/2 teaspoons sugar
- 1 1/2 cups all-purpose flour
- 1 1/2 cups white whole wheat flour
- 1 1/2 teaspoons quick rise yeast
Instructions
- Add all of the ingredients into the bread machine. Be sure to add them in the order they are listed.
- Select the dough setting on your bread machine. Should be about 90 minutes.
- Once dough cycle has been completed, transfer the dough to a floured surface.
- Divide the dough up into 8 pieces. Using the palm of your hand or a roller, flatten out each piece into a circular shape to about 1/2-inch thick. Use flour if dough gets too sticky.
- Cover the rolled-out dough and let it rise for another 30 minutes.
- Preheat the oven to 500°F. Set the top rack about 6 inches from the top.
- Place the dough on a baking sheet and bake for 4-5 minutes, until the center of the pita bread has puffed up.
- Remove from the oven and cover again with a light dishtowel. This helps keep the bread soft.
- Store at room temperature, in an airtight container for 2-3 days or freeze for 2-3 months.
Freezer Instructions
Notes/Tips
1.) Your yeast is expired. Check the date!
2.) The environment isn’t warm enough. I sometimes turn on my oven for 2-3 minutes to make it warm. Turn it off, place the dough in the oven, and let it rise in there.
Nutrition
Thanks for showing me new ways to use my bread machine! These came out delicious.
Just tried this and mine didn’t flatten out and soften after putting them under a damp towel. They taste and look like crunchy puff breads. Do you know why they didn’t soften and flatten out?
Gosh, I don’t know! I haven’t made this in a long time and don’t quite remember the process in detail. So they just stayed in the puffed out shape?!