Panini Bread
This post may contain affiliate or sponsored links. Please read our disclosure policy.
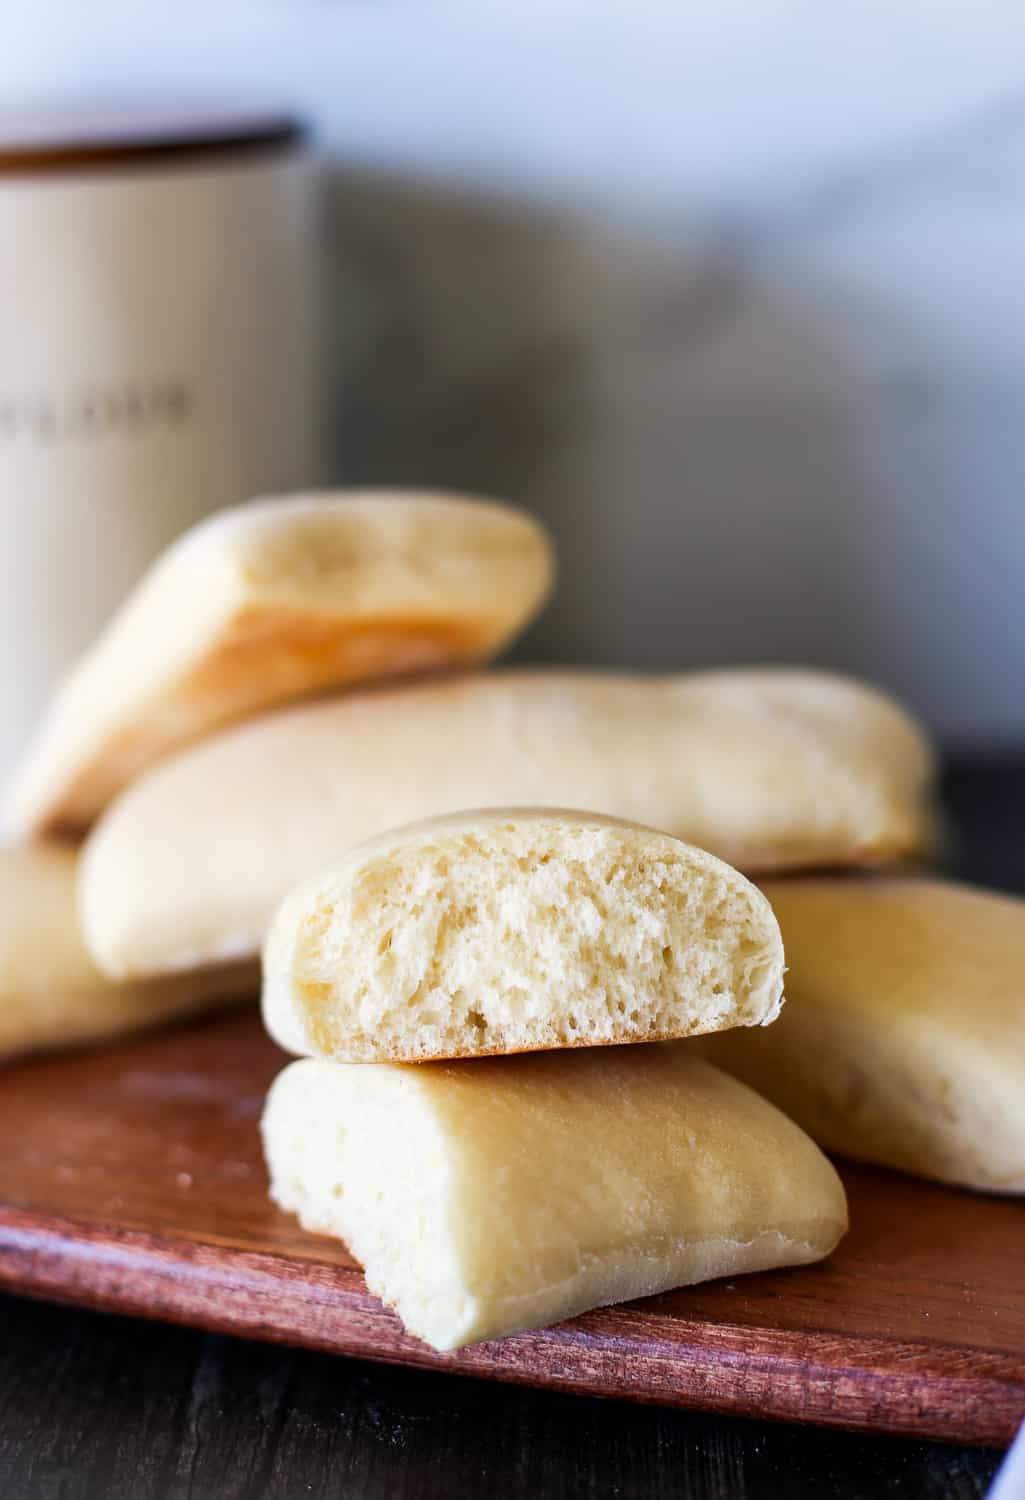
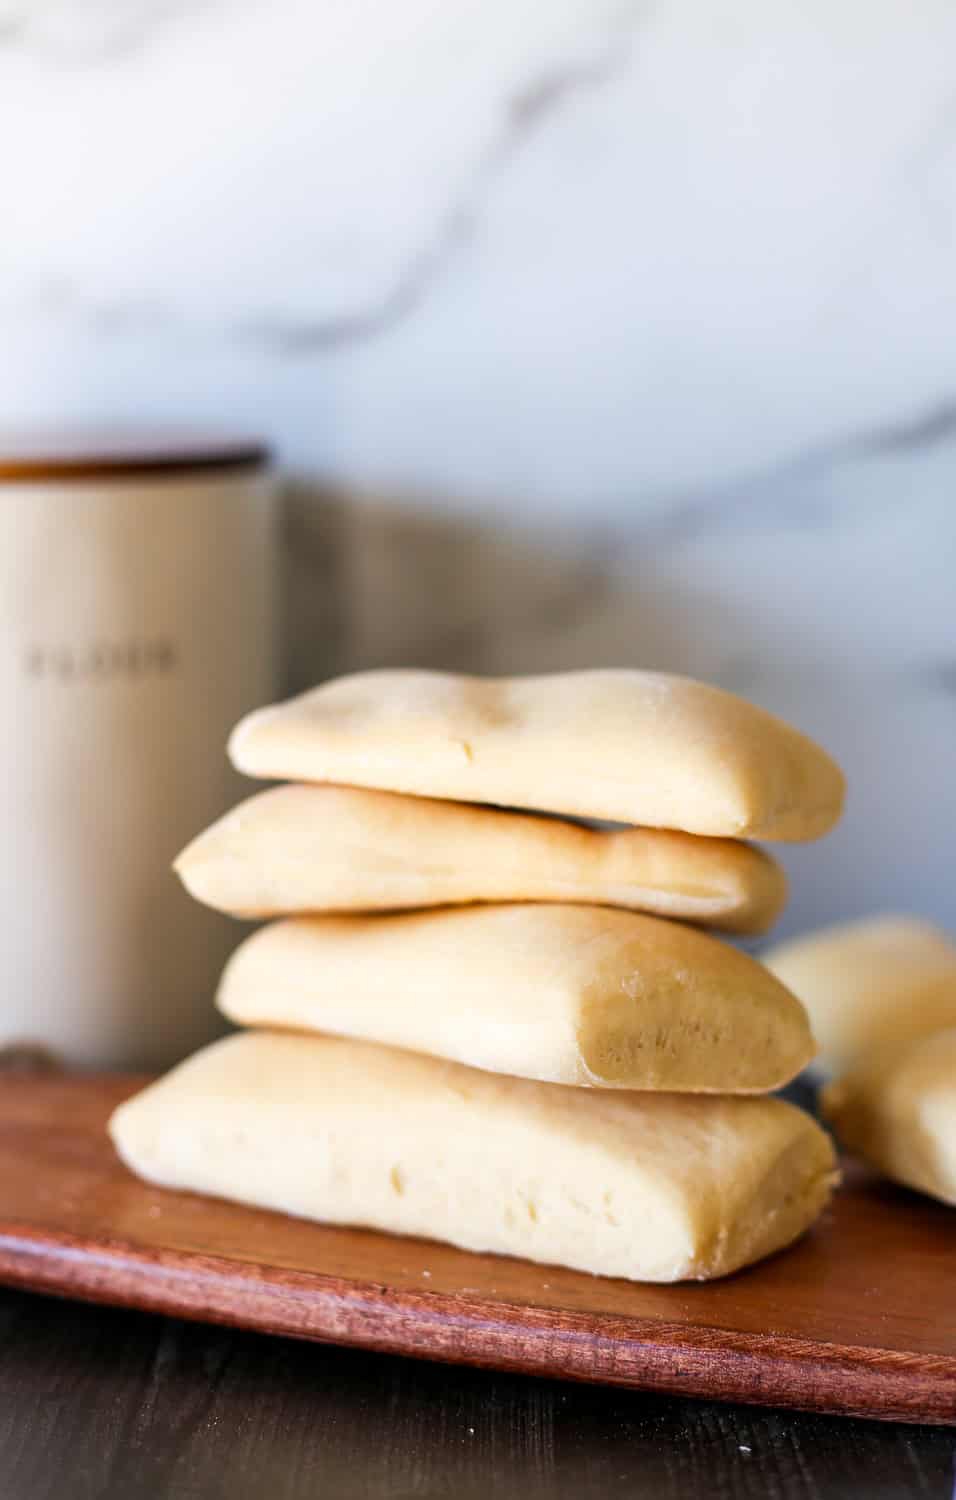
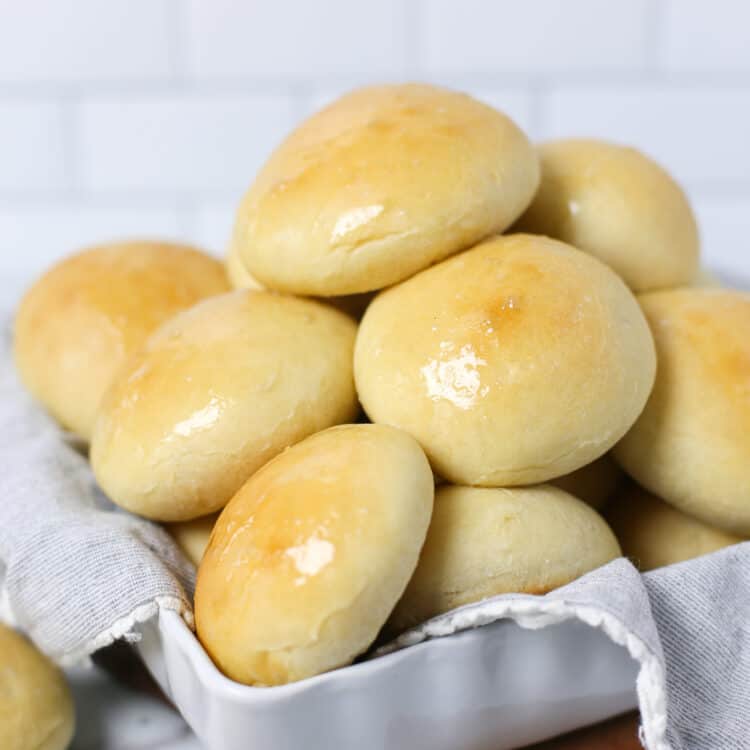
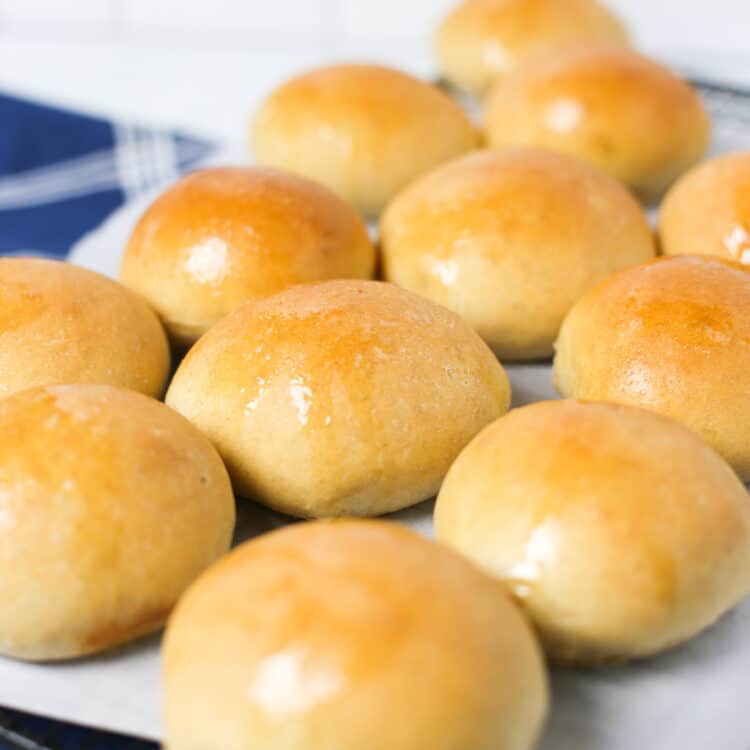
Making Panini Bread at home is much easier than you think, especially if you let a bread machine do most of the work for you. This recipe is absolutely delicious. It’s soft, fluffy inside will be a perfect home for any panini sandwich you want to make. It’s got a hint of sweetness and is so good that it could serve as a dinner roll.
About This Recipe
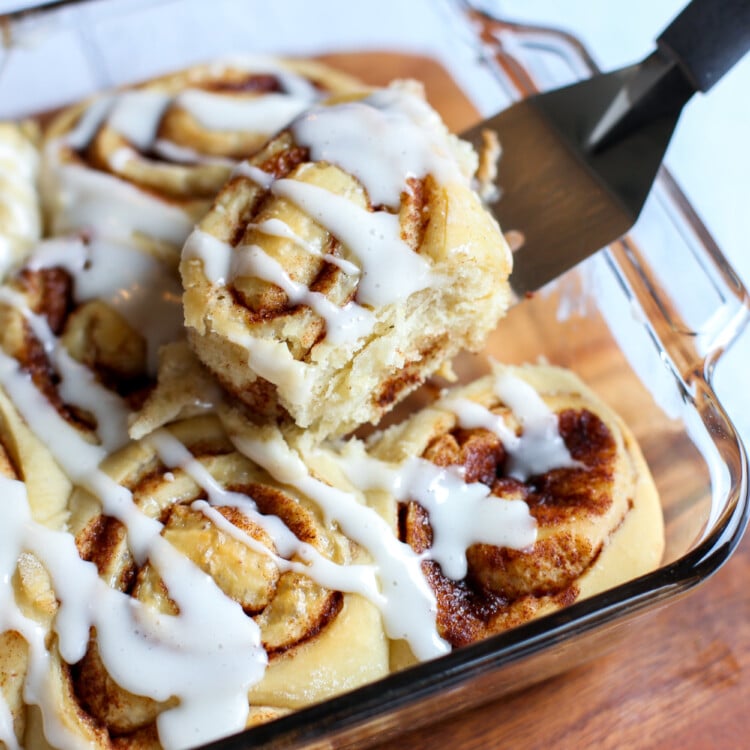
I use my bread machine to make so much more than just bread. In fact, one of our most popular recipes is for our Bread Machine Cinnamon Rolls! We also recently updated our Whole Wheat Pita Bread and Ham and Cheese Crescent Rolls. Both are made in the bread machine!
So when I got the itch to make some homemade panini bread, I knew my bread machine could do the trick.
They were really easy to make and turned out absolutely delicious! These flat rolls had a hint of sweetness and a lighter texture than normal bread.
What is a Panini Anyway?
A panini or panino (meaning “bread roll”) is a sandwich made with Italian bread usually served warmed by grilling or toasting.
This recipe is specifically for making panini bread at home, but we recommend using it for some of our most popular recipes like Turkey Pesto Paninis or our Cuban Paninis.
What Type of Bread Machine Do You Use?
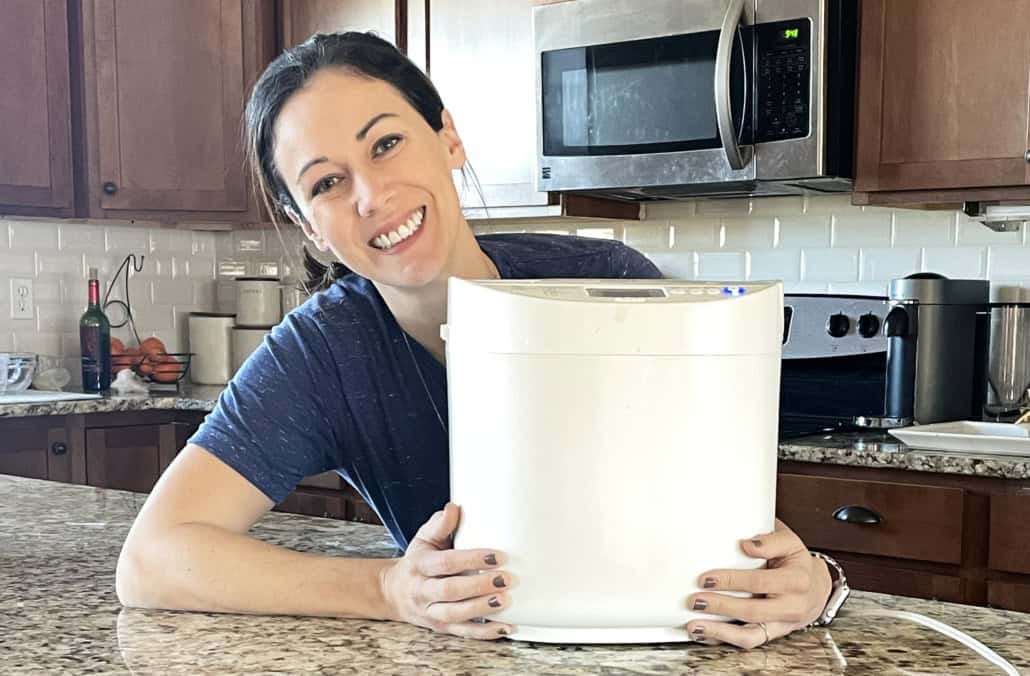
The bread machine I use and recommend is the Oster Express Breadmaker / 2 pound capacity.
It’s worth noting that this model does not have a yeast dispenser. Because of this, I have found that Quick Rise Yeast works best when using this bread machine. I primarily use it for making dough for recipes but it’s worked great for other types of bread recipes as well.
I’ve had this exact one for 4 years now and use it regularly. It’s been great!
How to Make Panini Bread
Step 1: Make the Dough
As mentioned above, I let my bread machine do the hard work of making the dough for me. I love dumping in my ingredients, walking away, and coming back to fluffy dough ready to play with.
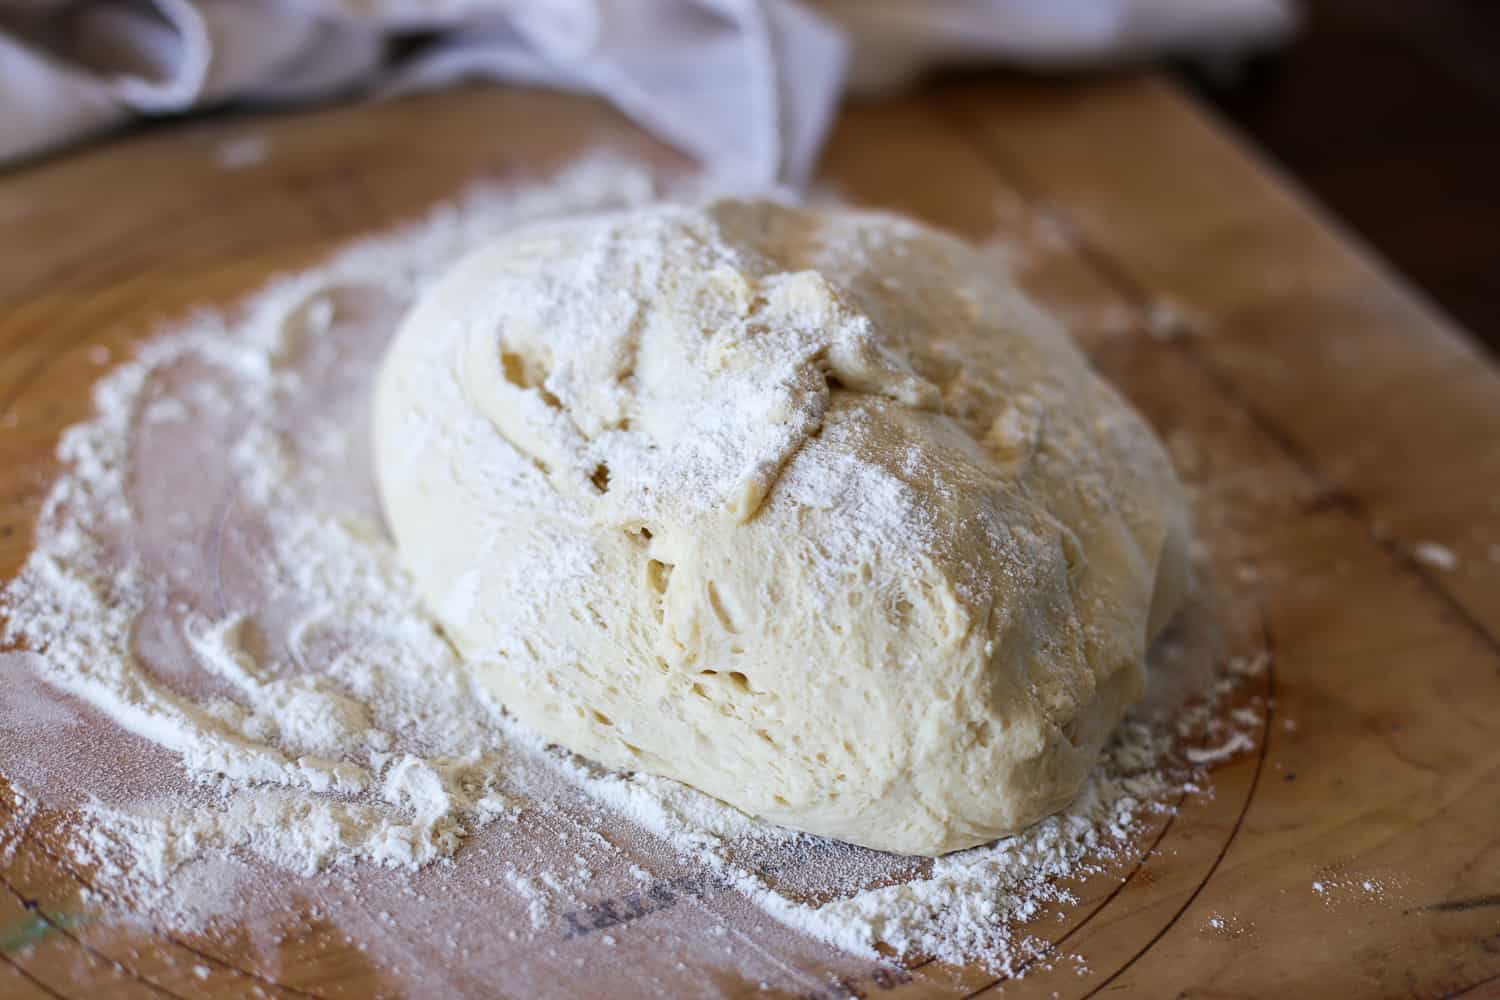
If the dough comes out a bit sticky, be sure to add a lot of flour to your surface before dumping it out. I also sprinkled additional flour on the top of the dough mound so I could work with it more easily.
Step 2: Roll Out and Cut the Dough
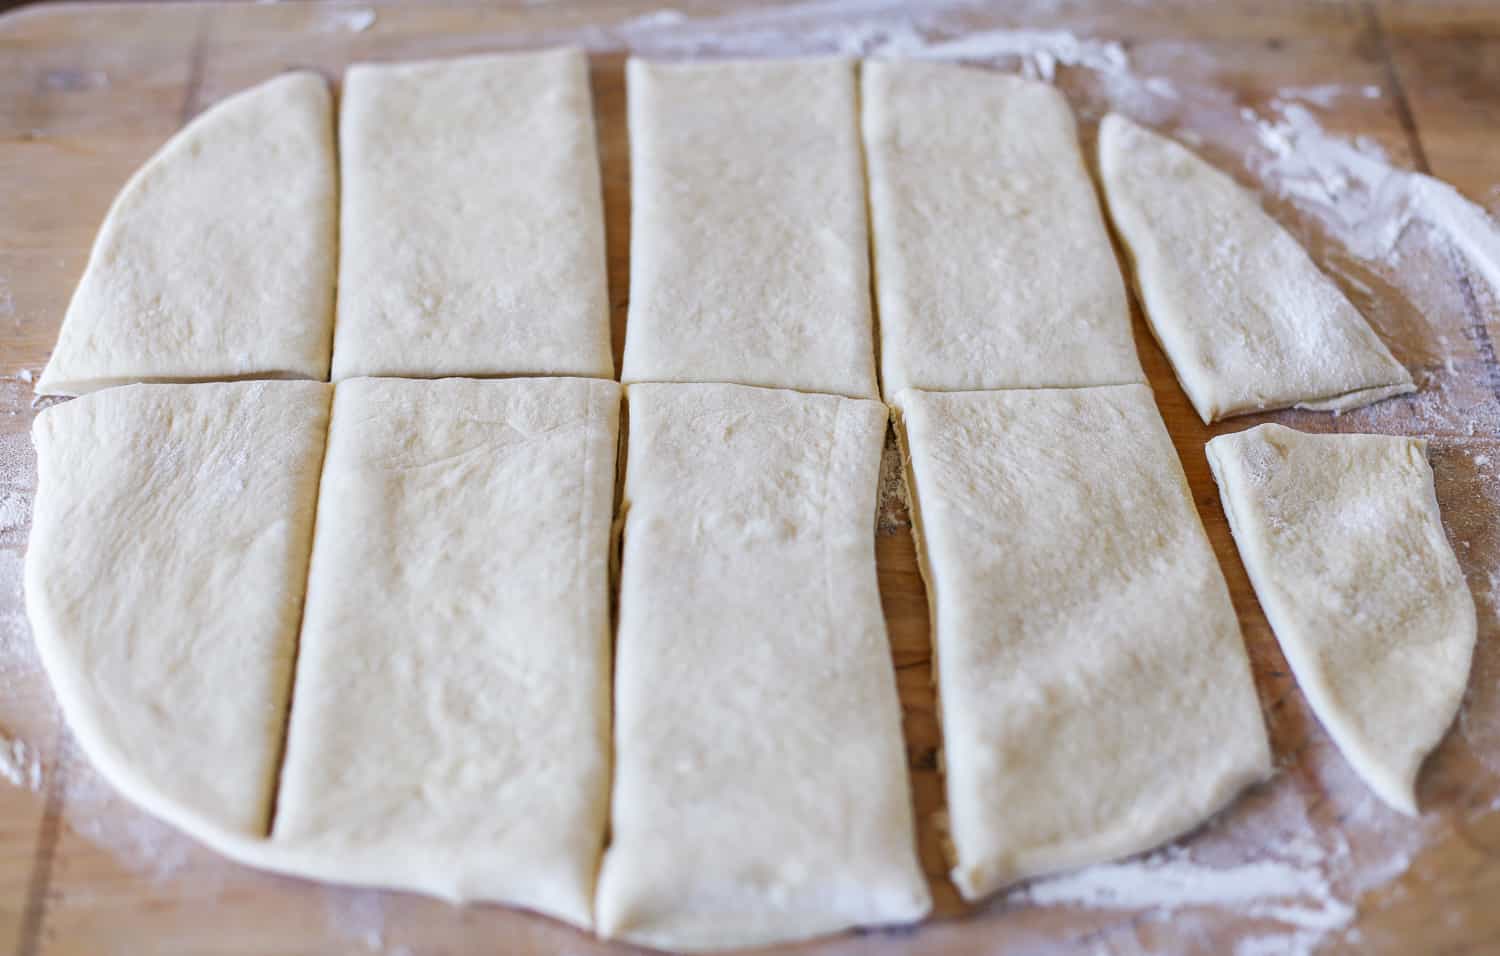
Using a rolling pin, gently roll out the panini dough into the shape of a rectangle or as close as you can get it.
Use your hands to shape it more, if you need to.
If you want your panini bread to come out square-shaped, you would cut the dough into squares. I wanted rectangles so I could make a big ‘ol sandwich that I could slice in half.
Step 3: Let It Rise
Once you’ve formed the pieces into the shape you want, cover the dough with a lightweight dish rag and let it rise for about 45 minutes. I’ve found that they need a little extra time in colder weather. The warmer it is, the faster they will rise!
Preheat your oven during this step.
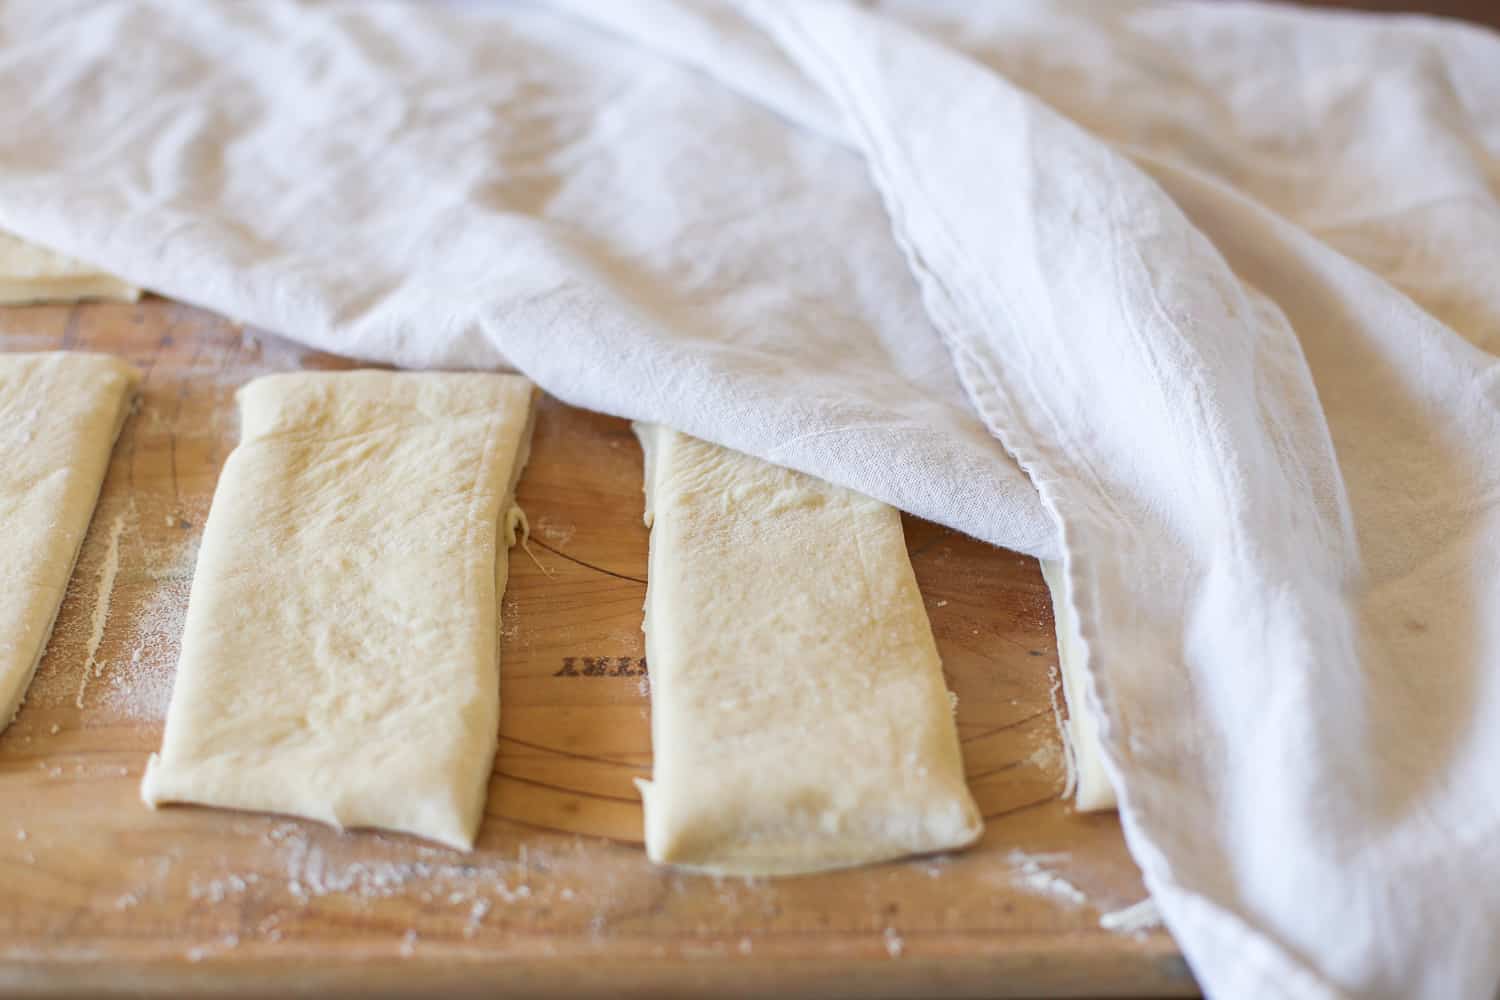
Step 4: Bake Your Panini Bread
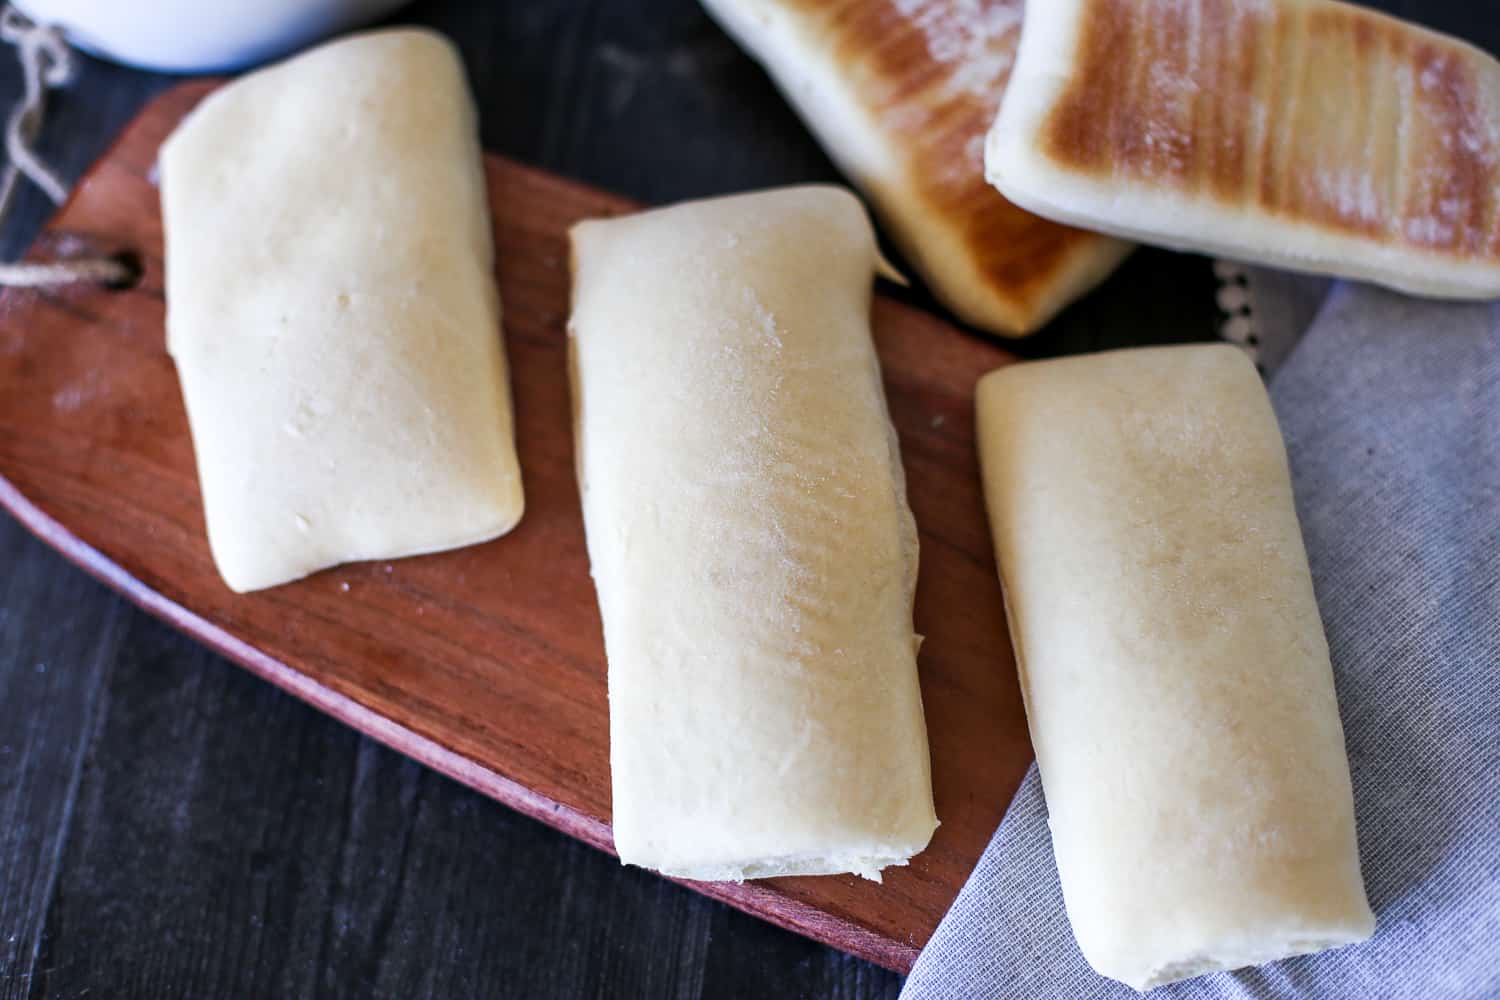
Place the dough onto a parchment-lined baking sheet. Brush the dough with a little melted butter and then bake for 12-14 minutes.
Congratulations! You’ve just made your own Panini Bread!
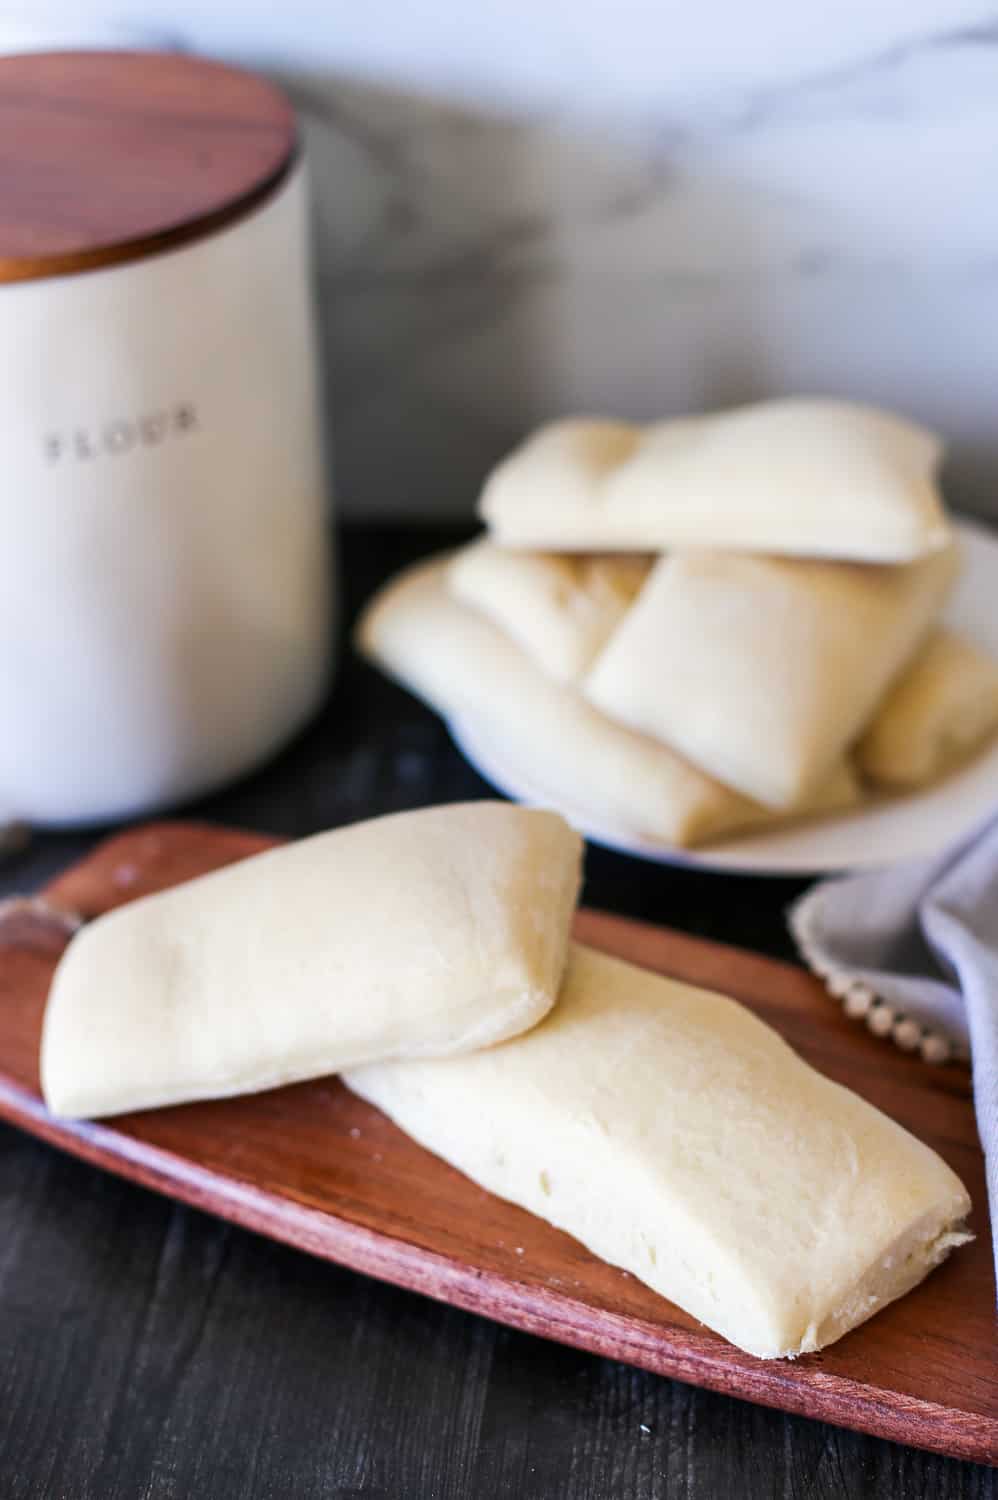
Can I Freeze Panini Bread?
You bet! Paninis work well to freeze and thaw.
Simply place in an airtight container, minimizing as much air exposure as possible. Let thaw on the counter for about 30 minutes before using!
Bread Machine FAQ
Many machines allow you to specify how big of a loaf you are wanting to make. (1 lb., 1.5 lb., 2 lb., etc.) Since you are only using the dough cycle, specifying this won’t change how it is made in the machine so any size should work.Add image
There could be a few reasons for this.
1.) Your yeast is expired. Check the date!
2.) The environment isn’t warm enough. I sometimes turn on my oven for 2-3 minutes to make it warm. Turn it off, place the dough in the oven, and let it rise in there.
More Bread Machine Recipes
Did you make this? Snap a photo and tag us on Instagram at @thrivinghome so we can see your creations and cheer you on!
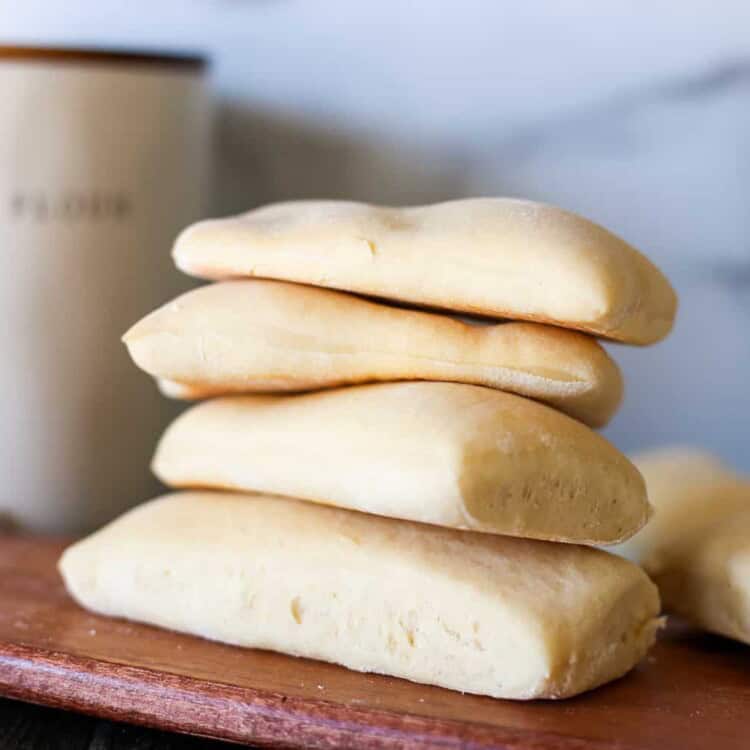
Panini Bread
Panini Sandwich Bread that is homemade press-worthy perfection!
Ingredients
- 1 1/4 cups milk, slightly warmed
- 1 beaten egg
- 4 tablespoons butter, divided
- 1/4 cup white sugar
- 1/2 teaspoon salt
- 3 3/4 cups all-purpose flour
- 1 1/4 teaspoons quick rise yeast
Before You Begin! If you make this, please leave a review and rating letting us know how you liked this recipe! This helps our business thrive & continue providing free recipes.
Instructions
- Place the ingredients in the bread machine in this exact order and don’t stir: milk, beaten egg, 2 tablespoons butter, sugar, salt, flour, and quick rise yeast.
- Select dough setting. (Mine takes 90 minutes.)
- When cycle is complete, turn the dough out onto a floured surface and roll it out into the shape of a rectangle. Use lots of flour to prevent sticking. Cut the dough into 8-10 rectangle-shaped pieces.
- Place on a parchment lined baking sheet. Cover and let rise until doubled, about 45 minutes.
- Preheat the oven to 350°F. Melt 2 tablespoons butter in the microwave and brush the paninis with it.
- Bake for 12-14 minutes.
Notes/Tips
- There is no need to activate the yeast prior to adding it to the machine.
- If you have more questions, be sure to read the article above.

Can I use my mixer with my doe handle
Hi Alana! While we have not tested this specific recipe without a bread machine, we have tested our Bread Machine Cinnamon Rolls with a stand mixer and it worked great! The bread machine really is just doing the mixing for you so you’ll just need to make sure that the ingredients are thoroughly mixed. With our cinnamon roll dough, that took 7-8 minutes with a dough hook. We’d love to hear about your experience if you do make it with your mixer!
Just tried making my own panini with freshly baked bread, and wow – it’s a game-changer! 😍 The crispy, golden crust and soft, fluffy interior make every bite pure perfection. Whether you’re keeping it classic or adding your favorite fillings, this bread makes every sandwich feel extra special! 🥪✨
Glad you enjoyed this recipe! Thanks for the review.
Very good
Glad you liked it Ernest!
I would love to try these but i dont have a bread machine can you give us directions on how to manually?
Hi Meera. We’ve made some of our bread machine recipes without using the machine, but unfortunately we haven’t made this one manually yet.
These paninis were very easy to make and toasted .much better than shop bought(I found the bought ones quite hardwhen toasted). Lovely and crisp on the outside and soft inside. The only down side was the sweetness, maybe use less sugar next time.
Hi Margaret. Thanks for the feedback. I find that almost anything homemade is better than store-bought! 🙂
I never leave comments. EVER! These were too amazing to not!! I have to work on evening out the size and thickness but overall they got the job done and were absolutely delicious!
Wow! Thanks Kay! So glad you enjoyed them and you took the time to leave a review and tell us. 🙂
I rarely leave reviews but just have to say this recipe is a keeper! Not only is it easy but the panini were beautifully soft and delicious. My teenaged son has asked whether I could make them every week. Thank you.
Ooh, a teenager that wants it regularly? Wow! High praise… thanks for sharing Kal.
Hi im in love with this recipe but can you please tell me how to do this without a bread machine?
Hi Meera. Sorry, I have only made this with the bread machine. I can’t confidently give instructions for how to make it with out the appliance.
Good experience
fantastic!
So glad you like it Liam! Thanks for leaving a review.