Meatloaf Muffins
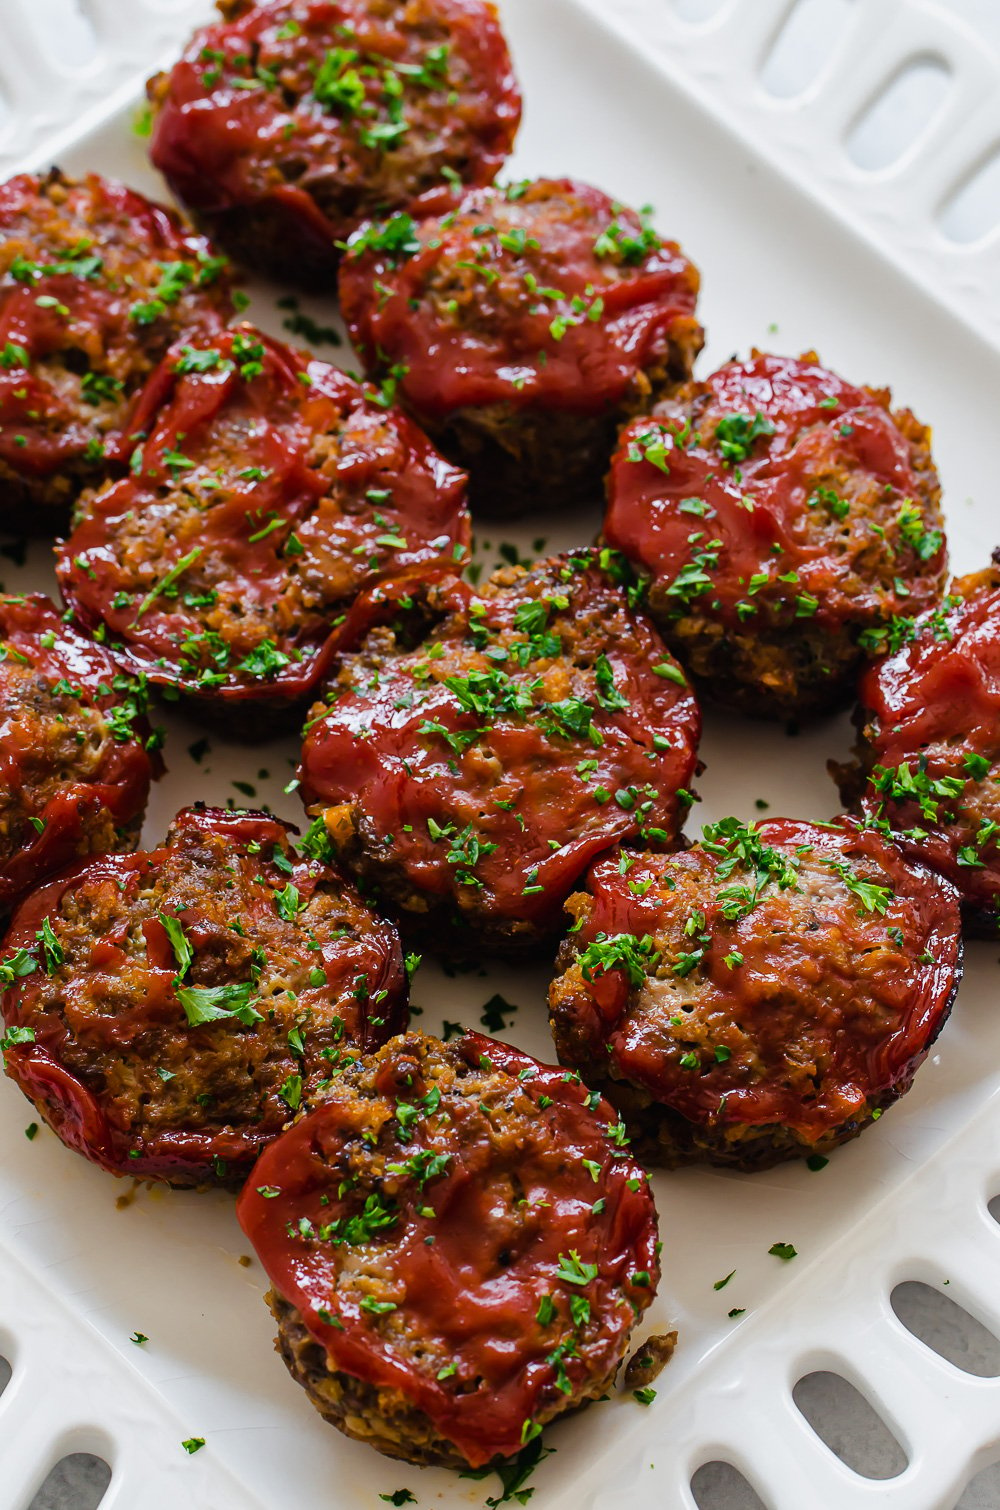
Here’s a twist on your average meatloaf recipe: Meatloaf Muffins! Prep ahead for healthy lunches, whip up for a quick dinner, and even make a double batch so you can freeze one for later. All ages love this meal!
About This Recipe
These Mini Meatloaf Muffins are a freezer meal that has made its way into the regular rotation of family meals in our house for years. Everyone loves them!
Besides being kid-friendly, easy to throw together, and freezer-friendly, I love that this meatloaf version can be an easy way to hide veggies in it thanks to added fresh herbs and minced carrots and onion. The kids will never know. 🙂
Serve them up with some Air Fryer Baked Potatoes or Healthy Mashed Potatoes for a delicious, filling meal.
Ingredients You’ll Need
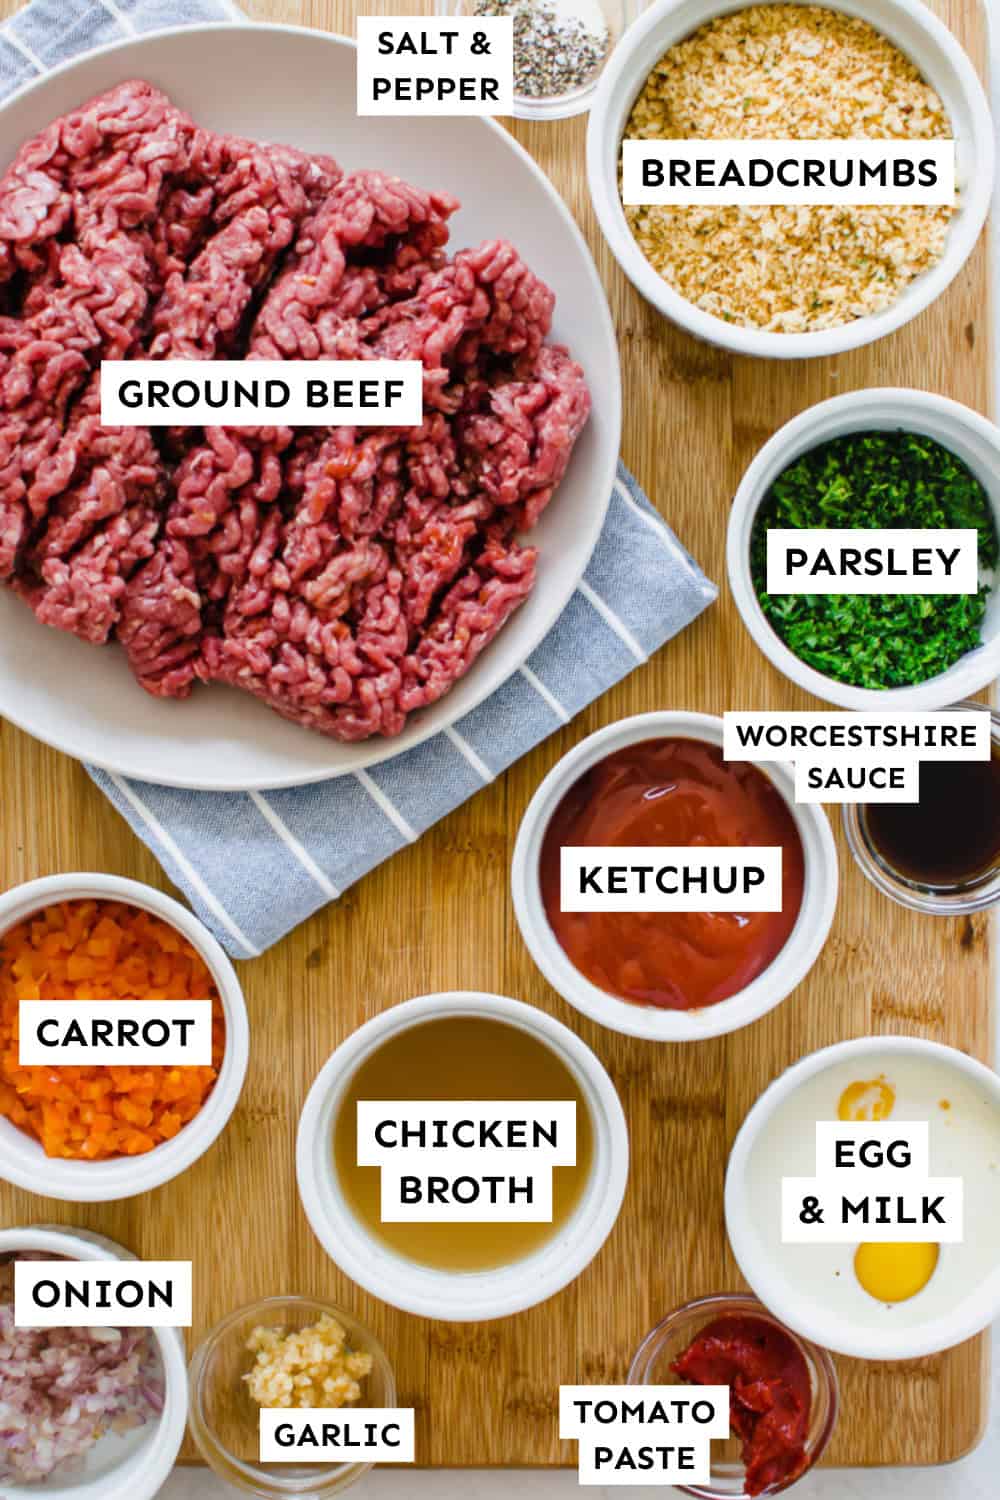
This meatloaf mixture combines healthy, flavorful, real food ingredients. Here’s what you’ll need:
Ingredient Notes:
- Ground beef – We always get our beef from ButcherBox. You might like our Mini Turkey and Veggie Meatloaves instead.
- Whole wheat bread crumbs – I like to make Homemade Bread Crumbs because it’s easy and you control the ingredients. These soak up the moisture and lightens the meatloaf. The whole wheat version adds a little nutrition, too.
- Onion, carrot, garlic, and fresh parsley – Finely chopped, for flavor and sneaky nutrition. This is one of my top ways to sneak veggies into a kid favorite.
- Chicken stock – Adds moisture without using milk, making this dairy-free.
- Egg – The binder that keeps everything together. Whisk with either a little milk or water (to make this dairy-free).
- Tomato paste – Brings in some umami taste!
- Worcestershire sauce – More umami to create depth of flavor.
- Organic or all-natural ketchup – Simple topping for the muffins that gets caramelized in the oven.
What Kind of Muffin Pan Should I Use?
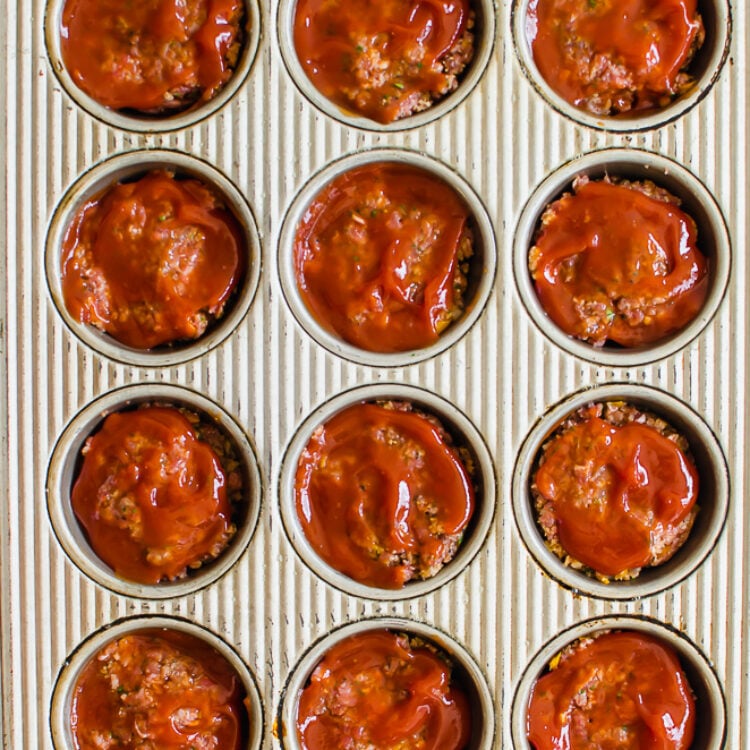
You can use whatever kind you have on hand, whether metal or silicone. The metal pan will produce a little more of a crunchy texture around the sides and bottom, but either pan works great. Silicone may cook a little longer. Just be sure to spray the muffin tins with cooking spray to help them release easily.
If you need a muffin pan, we recommend either this non-stick metal muffin pan OR this silicone pan (with metal frame) that’s even dishwasher safe.
How to Make Meatloaf Muffins
This is an overview of how to make these, but please find the full, printable recipe at the bottom.
Prep
- Preheat oven to 450° F.
- Generously spray a 12-cup muffin tin with cooking spray.
- Saute the onion and carrot until vegetables are softened, about 3-4 minutes. Add the garlic for another 30-60 seconds. Remove from the heat.
- Stir in the salt, pepper, chicken stock, Worcestershire sauce, and tomato paste and allow the mixture to cool.
Combine & Scoop
- In a large bowl, use your hands to combine the cooled veggie mixture, ground beef, parsley, egg, and bread crumbs. Do not over mix.
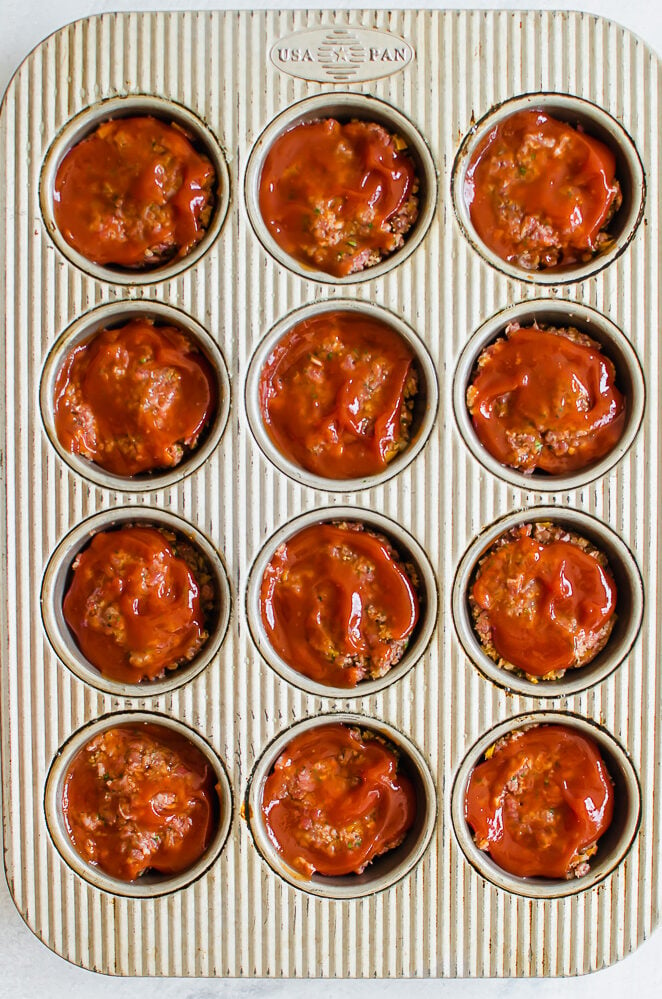
- Use a spoon or ice cream scoop to fill each muffin tin hole to the top. Gently press to fit into muffin tin mold.
- Top each mini meat loaf with a spoonful of ketchup and spread it around with the back of the spoon.
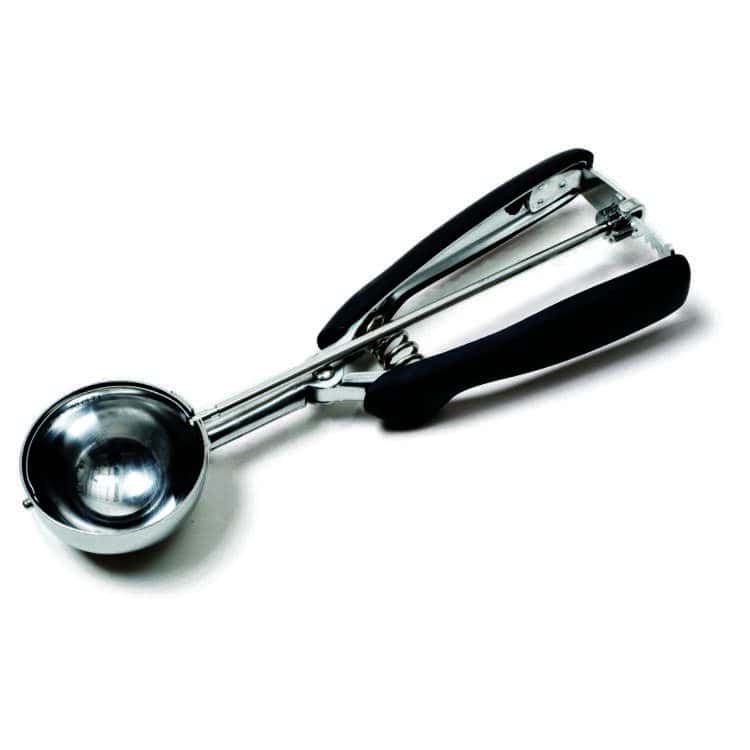
Tip: Use a Cookie Dough Scoop
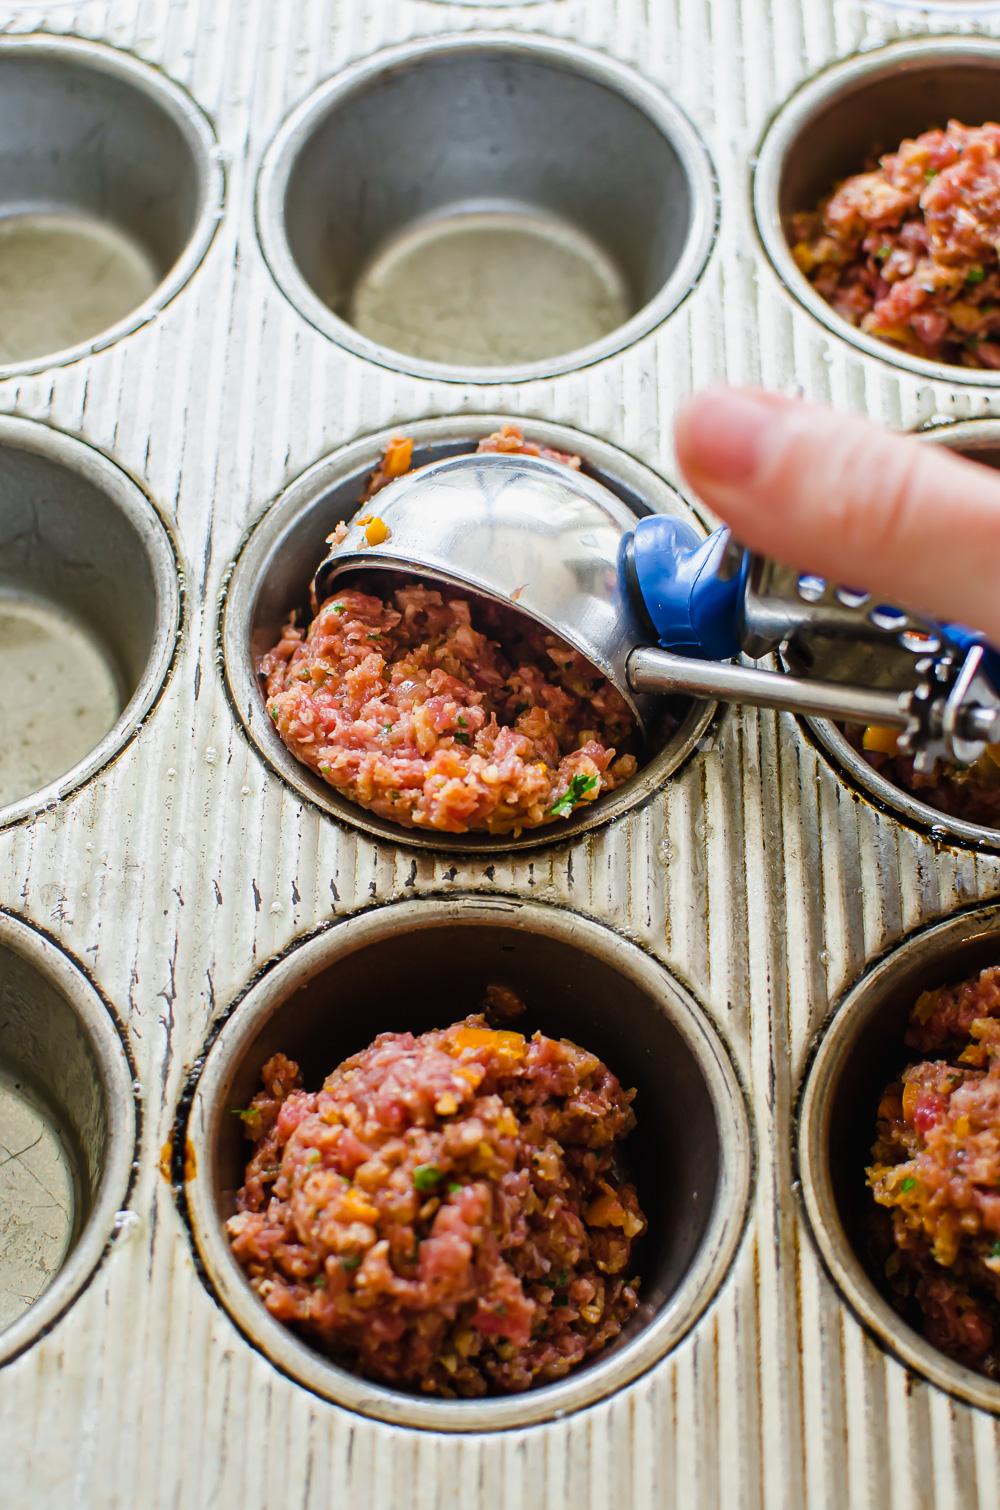
We recommend using a large cookie dough scoop to help transfer the meatloaf mixture into the tins in even amounts. The scoop helps release the mixture easily.
I use my cookie dough scoop for all kinds of things, including transferring muffin batter to muffin tins, scooping ice cream for the kids, and of course making cookies.
Bake
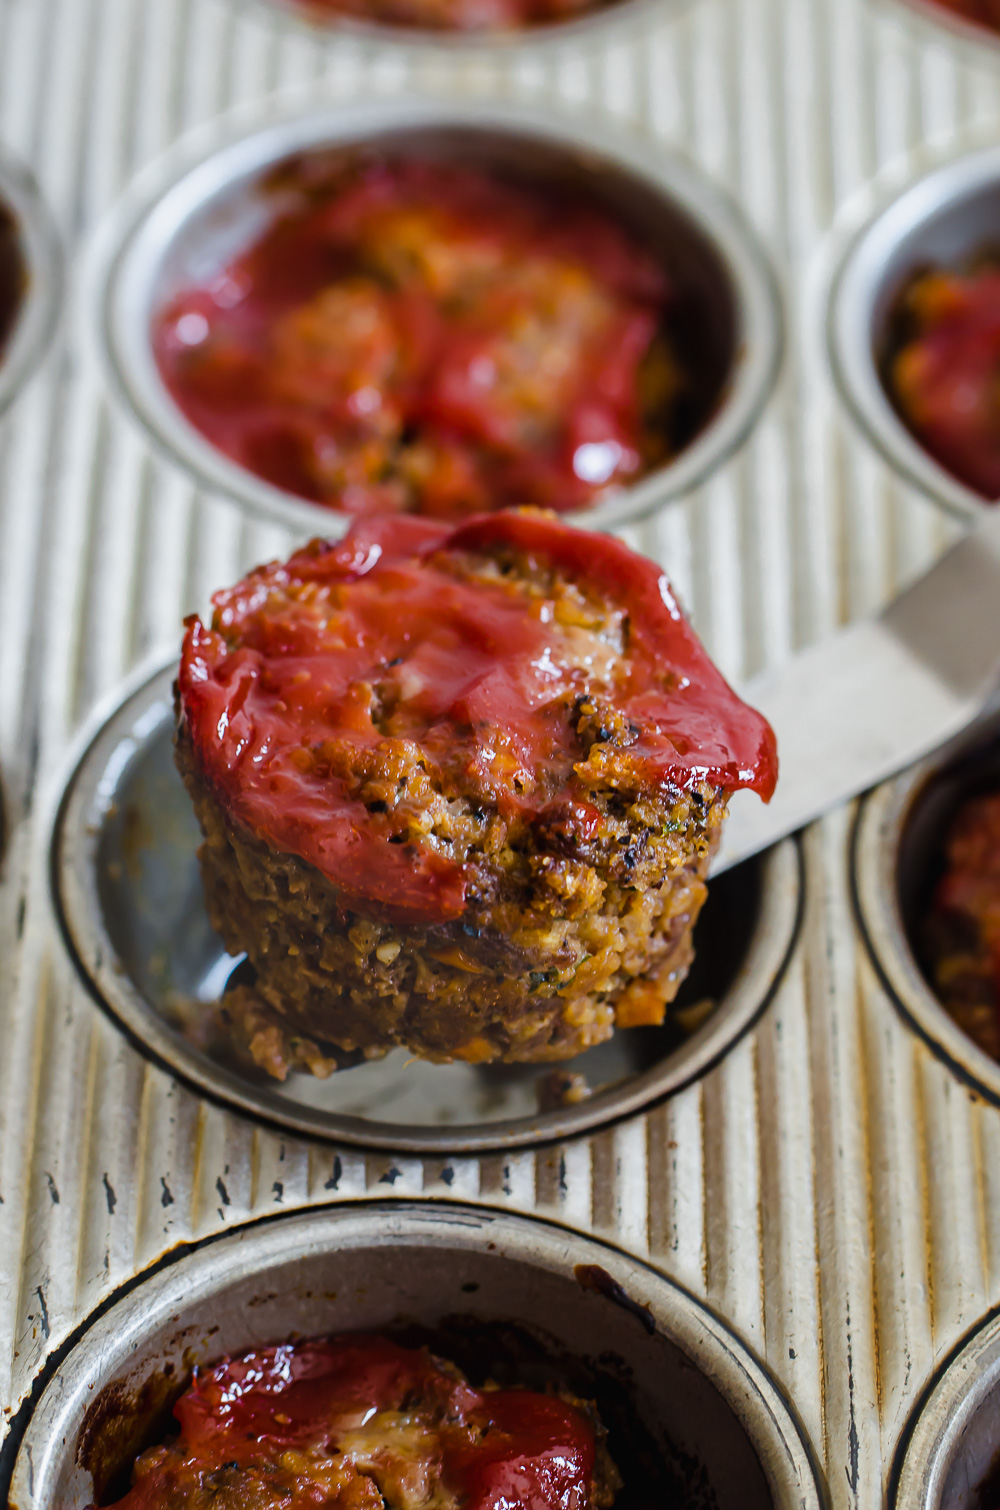
- Bake about 20-25 minutes. Cut open a muffin to test that the middle is cooked through (no more pink or registers 165°F internally).
- Sprinkle with a little chopped parsley at the end, as garnish.
What to Serve With Meatloaf Muffins
Wondering what to serve with these yummy mini meatloaves? Here are a few of our favorite side dishes:
How to Freeze and Reheat Meatloaf Muffins
As with all our freezer recipes, you can make a double batch and freeze one for later. This is such a wise use of your time!
To Freeze For Later:
Method #1 (Uncooked): Follow instructions through Step 5 but DO NOT bake. Wrap the muffin tin with plastic wrap and a layer of foil and freeze.
Method #2 (Fully Cooked): Fully cook and cool the muffins. Place in a flat gallon-sized freezer bag in a single layer. Squeeze out excess air, seal and freeze flat.
To Prepare From Frozen:
Method #1 (Uncooked): Thaw. Set muffin tin out on the counter for about 20 minutes before baking. Bake according to directions, but increase baking time if muffins are still partially frozen or really cold. They register 160° F internally when done or have no more pink inside.
Method #2 (Fully Cooked): Wrap one in a moist paper towel. Warm in the microwave using the defrost setting or by microwaving in 30 seconds increments, until warmed through.
FAQs
You can freeze meatloaf muffins after they’ve been baked, but they will also last 3-4 days in an air-tight container in the refrigerator.
Yes! You can prepare it and freeze it before cooking. You can also make it and keep it in the refrigerator for about 24 hours before baking.
You could switch it up with your favorite BBQ Sauce, or mix up a few ingredients like with this Meatloaf Glaze.
You can leave the muffin ‘naked’, but we think it’s much tastier with it!
How to Video
Mini Meatloaf Muffins
Ingredients
- 1 tablespoon olive oil (sub: avocado oil)
- 1/2 medium onion (finely diced or grated)
- 1 medium carrot (finely diced or grated)
- 2 cloves garlic (minced)
- 3/4 teaspoon salt
- 1/4 teaspoon freshly ground black pepper
- 1/4 cup chicken broth (sub: beef broth)
- 1 tablespoon Worcestershire sauce (Gluten-Free: Look for a version labeled gluten-free.)
- 1 tablespoon tomato paste
- 1 1/4 pounds ground beef (preferably lean; sub: ground turkey)
- 2 tablespoons fresh parsley (minced; sub: 2 teaspoons dried parsley)
- 1 large egg (beaten with a splash of water)
- 1 cup whole wheat bread crumbs (Gluten-Free Sub: almond meal or gluten-free breadcrumbs)
- 1/2 cup ketchup (for topping; preferably organic)
Instructions
- Preheat oven to 450° F. Generously spray a 12-cup muffin tin with cooking spray.
- Heat oil in a medium sauce pan over medium-high heat. Saute the onion and carrot until vegetables are softened, about 3-4 minutes. Add the garlic for another 30-60 seconds. Remove from the heat. Stir in the salt, pepper, chicken stock, Worcestershire sauce, and tomato paste and allow the mixture to cool.
- In a large bowl, use your hands to combine the cooled veggie mixture, ground beef, parsley, egg, and bread crumbs. Do not over mix.
- Use a spoon or ice cream scoop to fill each muffin tin hole to the top. Gently press to fit into muffin tin mold.
- Top each mini meat loaf with a spoonful of ketchup and spread it around with the back of the spoon.
- Bake about 20-25 minutes. Cut open a muffin to test that the middle is cooked through (no more pink or registers 165°F internally). Sprinkle with a little chopped parsley at the end, as garnish.
Freezer Instructions
Notes/Tips
- We recommend using a large cookie dough scoop to help transfer the meatloaf mixture into the tins in even amounts. The scoop helps release the mixture easily.
- You can use whatever kind you have on hand, whether metal or silicone. The metal pan will produce a little more of a crunchy texture around the sides and bottom, but either pan works great. Silicone may cook a little longer. Just be sure to spray the muffin tins with cooking spray to help them release easily.
- If you need a muffin pan, we recommend either this non-stick metal muffin pan OR this silicone pan (with metal frame) that’s even dishwasher safe.
Nutrition

Top 10 Ground Beef Recipes
Looking for more freezable ground beef recipes? We’ve rounded our “best of the best” for you here…




This recipe is SO delicious! I came across this a year ago and have made it at least 10 times since. It’s such an easy recipe to follow – I add and remove ingredients based on what I have on hand and it always comes out well. Each time I double it and make one large meatloaf for the adults and muffin tin sized for the toddlers with extra to freeze. I like to add mushrooms too. Thank you for sharing this!
Hi Sarah! Thanks for taking the time to let others know how you make it. I’ll have to try adding mushrooms sometime soon. That sounds delicious!