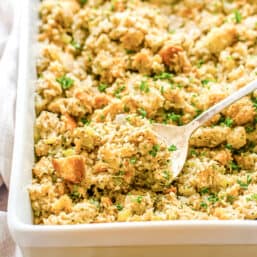
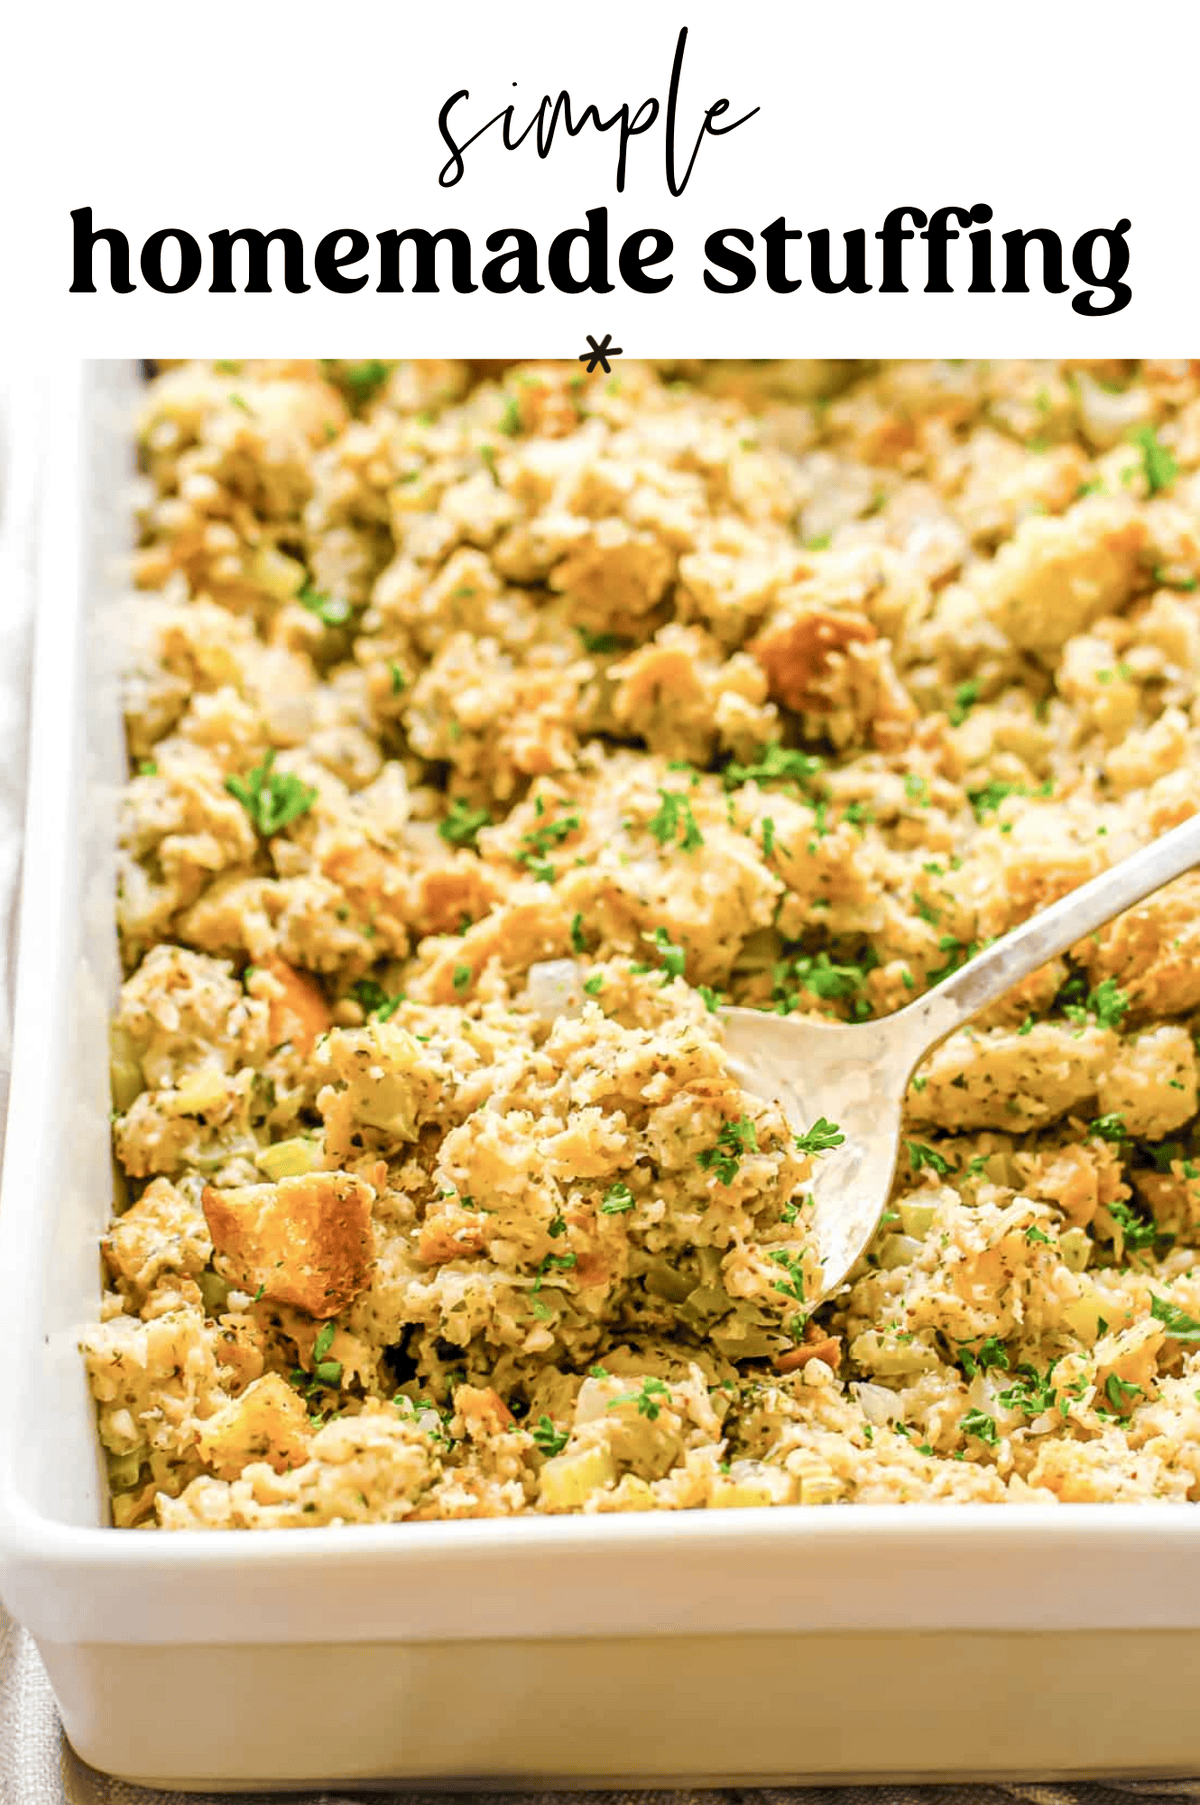
Homemade Stuffing
This simple homemade stuffing recipe couldn’t be simpler yet has wonderful depth of flavor. It includes mostly pantry items and only takes about 30 minutes! You’ll never go back to store-bought after this.

Why You’ll Love This Recipe
- It’s made with real ingredients – Store bought stuffing has loads of additives.
- It is easy to make – Done in 30 minutes!
- You can make it in advance – Perfect when prepping a holiday meal.
- It’s delicious – Fresh ingredients are always best.
Ingredients
The good news is that you can make your own stuffing pretty quickly at home, and YOU control what goes in it. My recipe includes the following fresh, healthy, and delicious ingredients. I bet you recognize all of them!
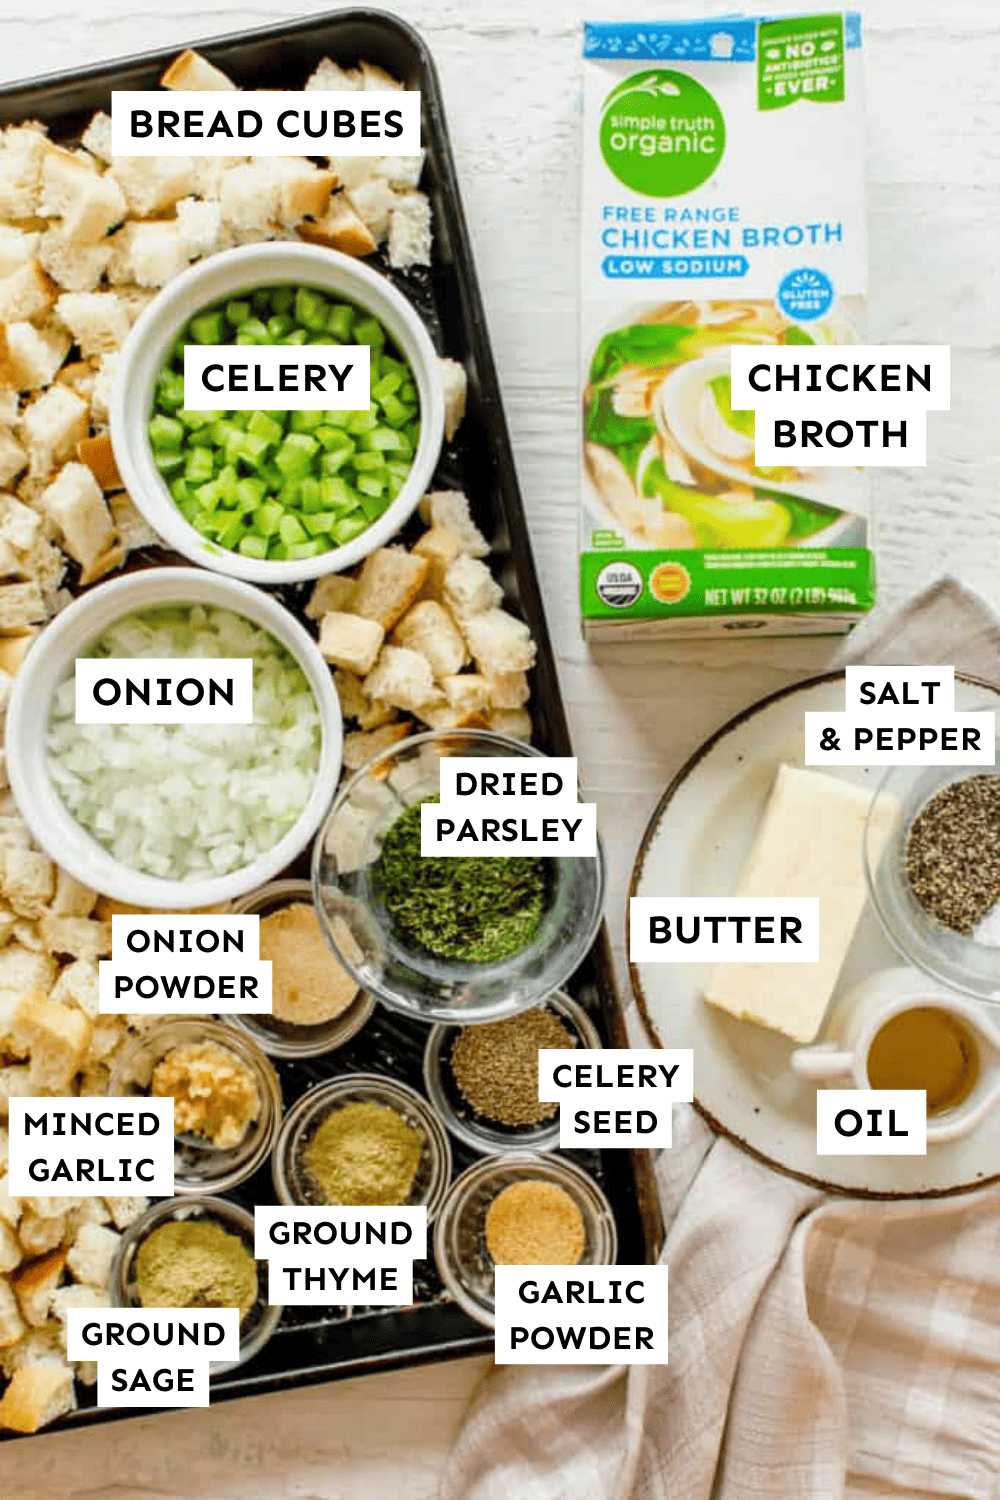
Ingredient Notes
- Whole grain or sourdough bread – I recommend getting a good loaf from a bakery that uses fresh ingredients.
- Butter – I like Kerrygold brand.
- Chicken broth – I like Pacific Foods Organic Broth.
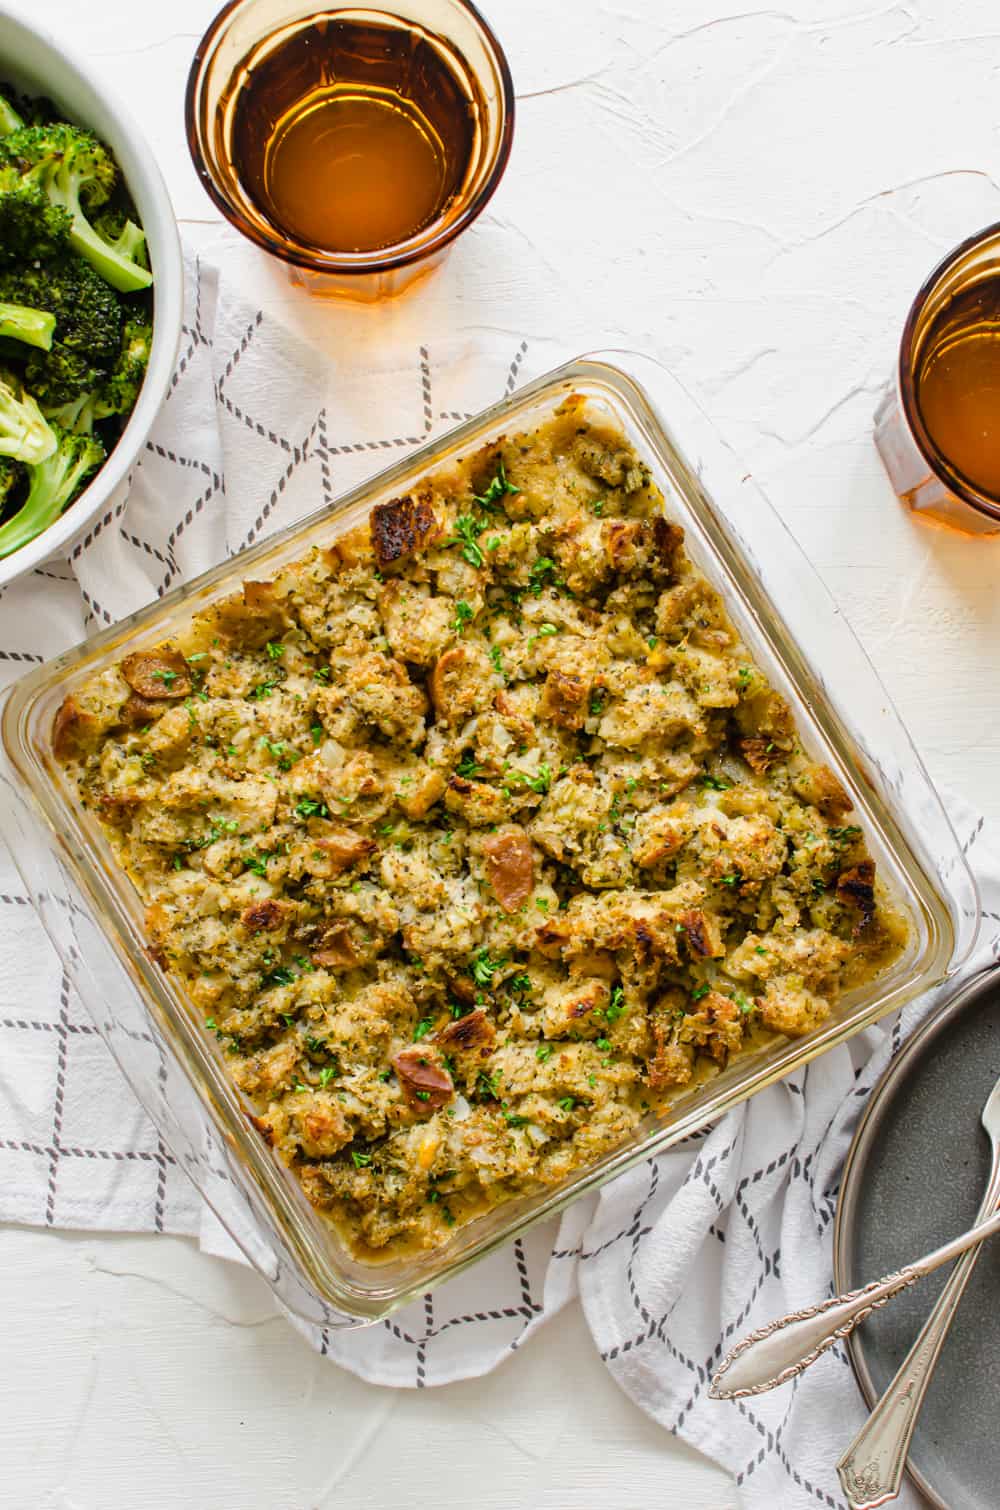
The result of using these real food ingredients is moist and perfectly seasoned stuffing! Serve it at a holiday meal with our Apple Cranberry Sauce, Roasted Turkey Breast, and Dinner Rolls. Play some Thanksgiving Bingo while you’re at it!
How to Make Homemade Stuffing
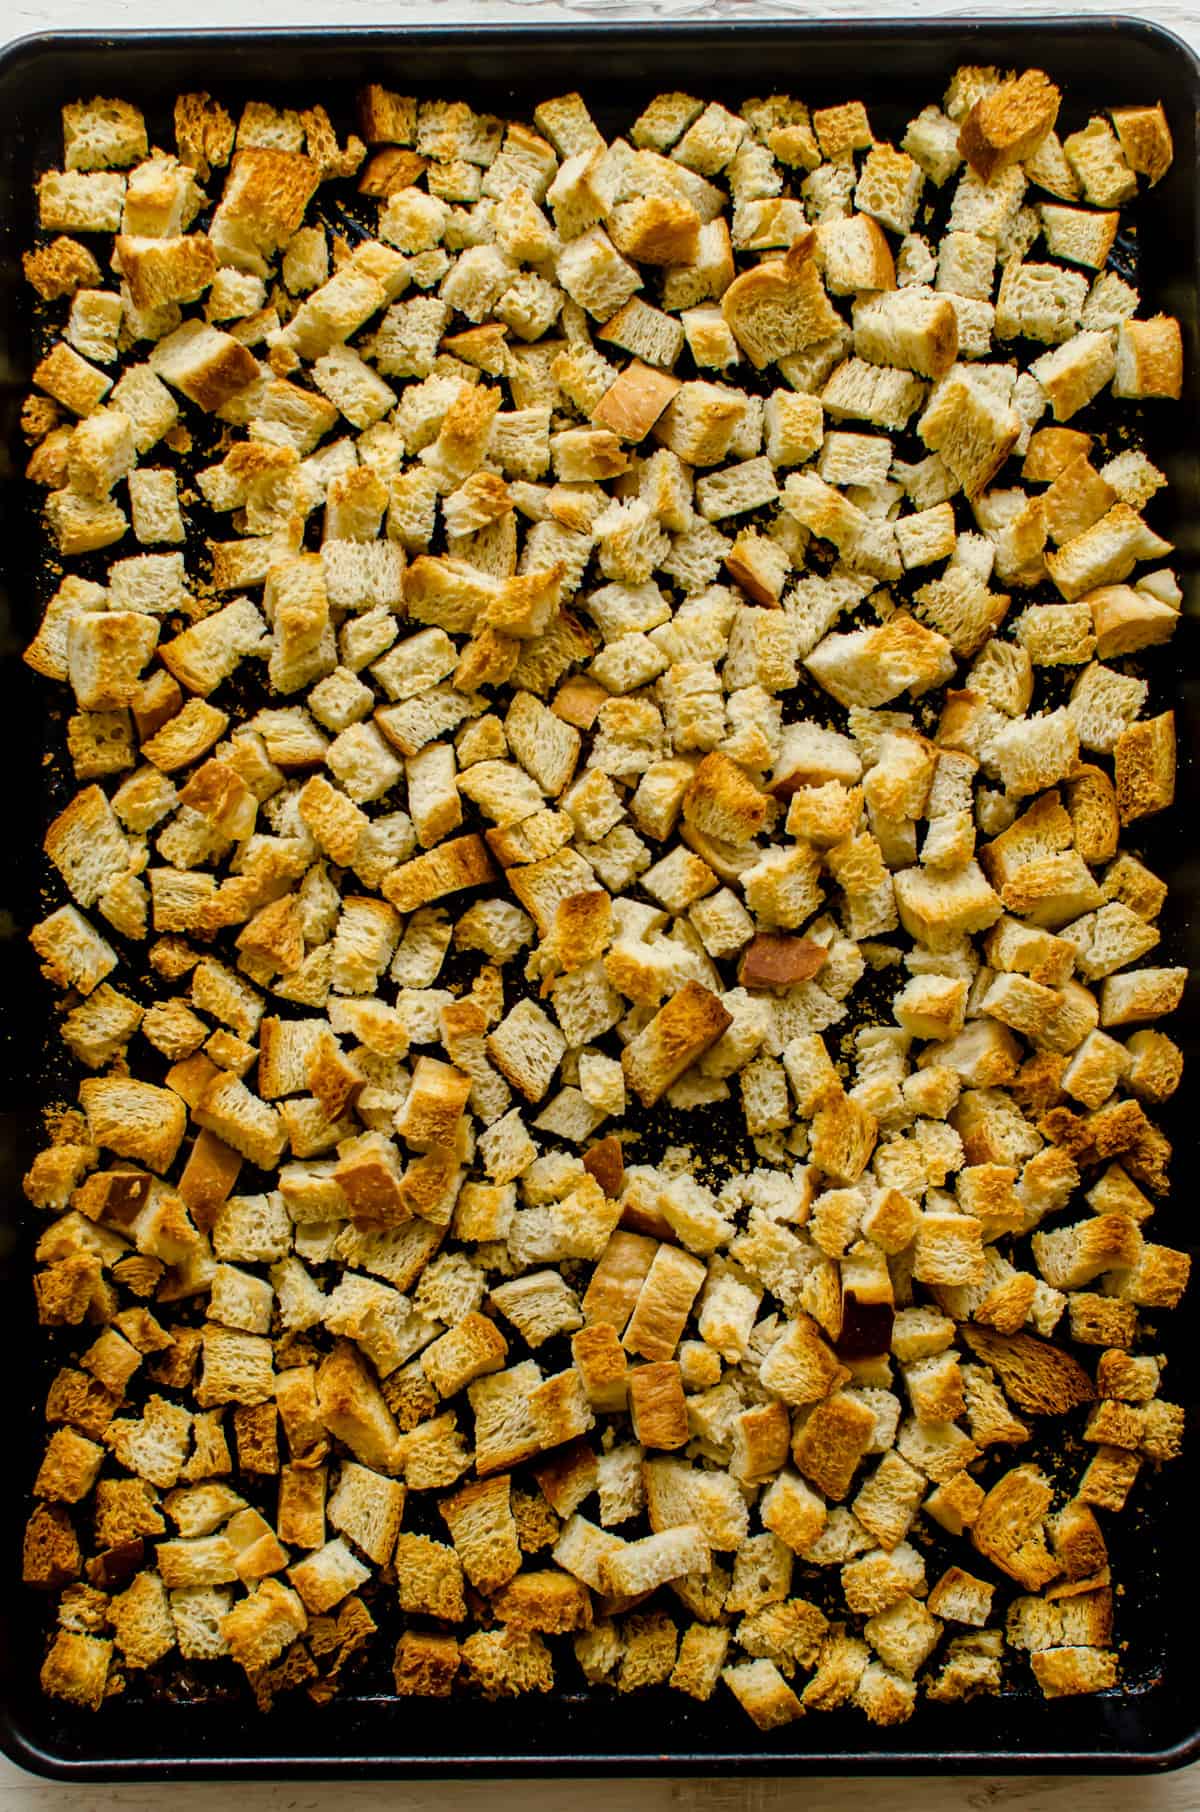
Toast Bread Cubes
Preheat the oven to 400°F. Spread the bread pieces on a rimmed baking sheet and bake for 8-10 minutes. Stir the bread and spread it back out again. Baking another 8-10 minutes, or until the bread is completely toasted. Set aside when done.
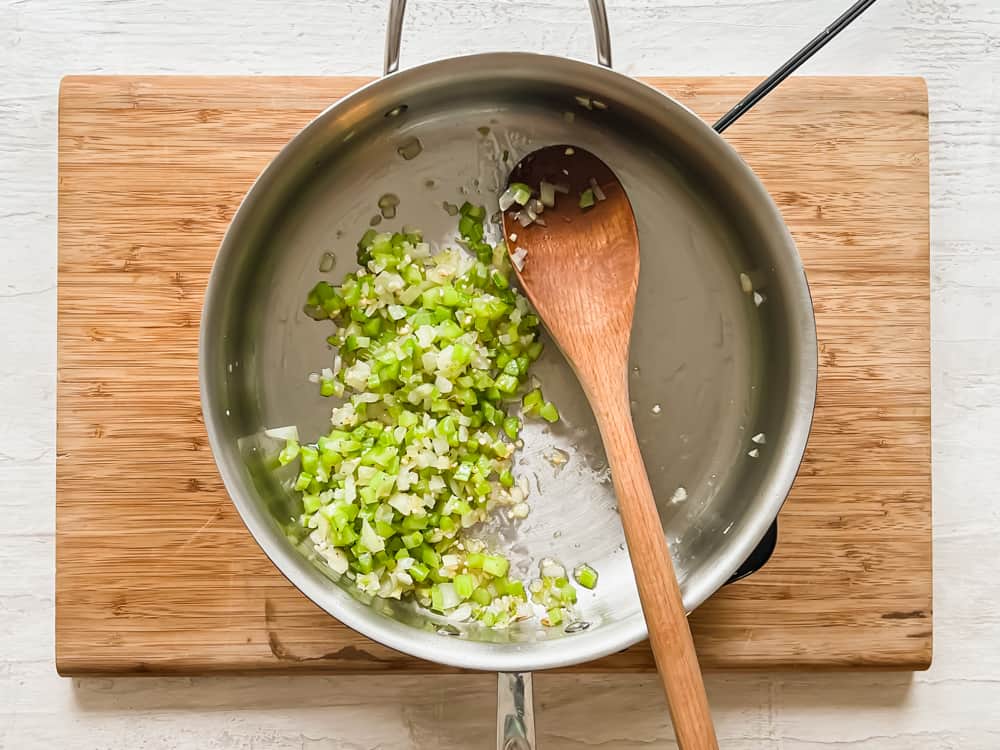
Saute Veggies
While the bread is toasting, heat the oil in a large (5-quart) pot over medium-high heat until shimmery. Add the onions and celery and saute until just softened, about 4-5 minutes. Season lightly with salt and pepper while they cook. Add the garlic at the end and stir for 30-60 seconds.
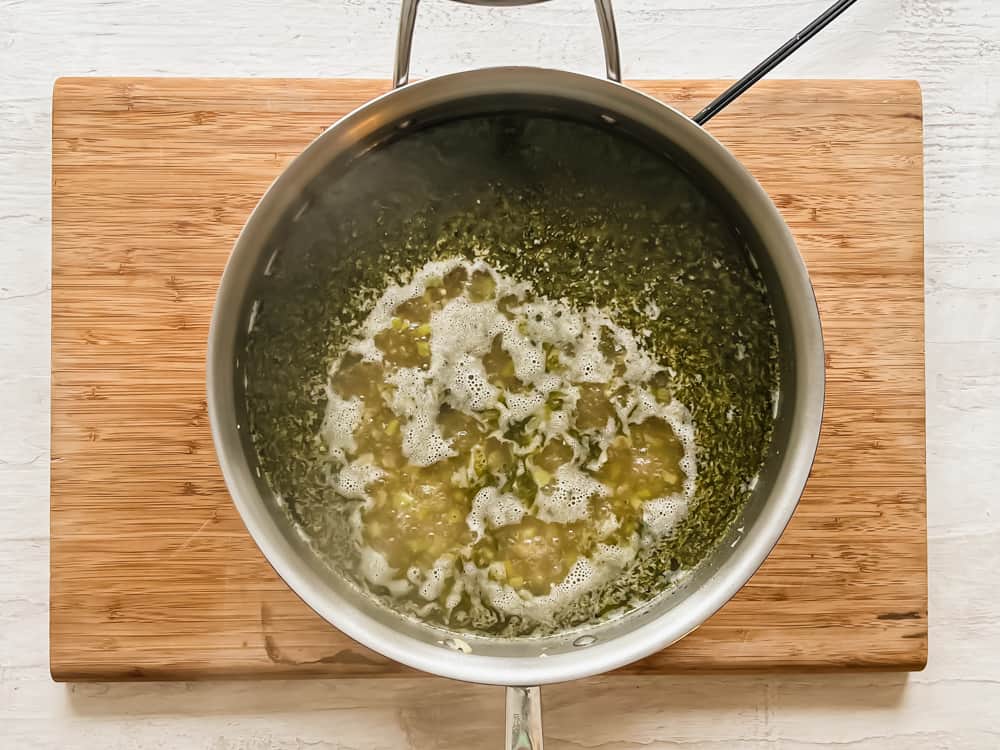
Make Sauce
Turn the heat down to medium. Add the butter to the pot and let it melt (don’t let it brown).
Stir in the onion flakes or powder, garlic powder, celery seed, crushed parsley, sage, thyme, 1 teaspoon salt, 1/2 teaspoon pepper, and chicken broth.
Turn the heat up and bring to a boil, then remove from the heat.

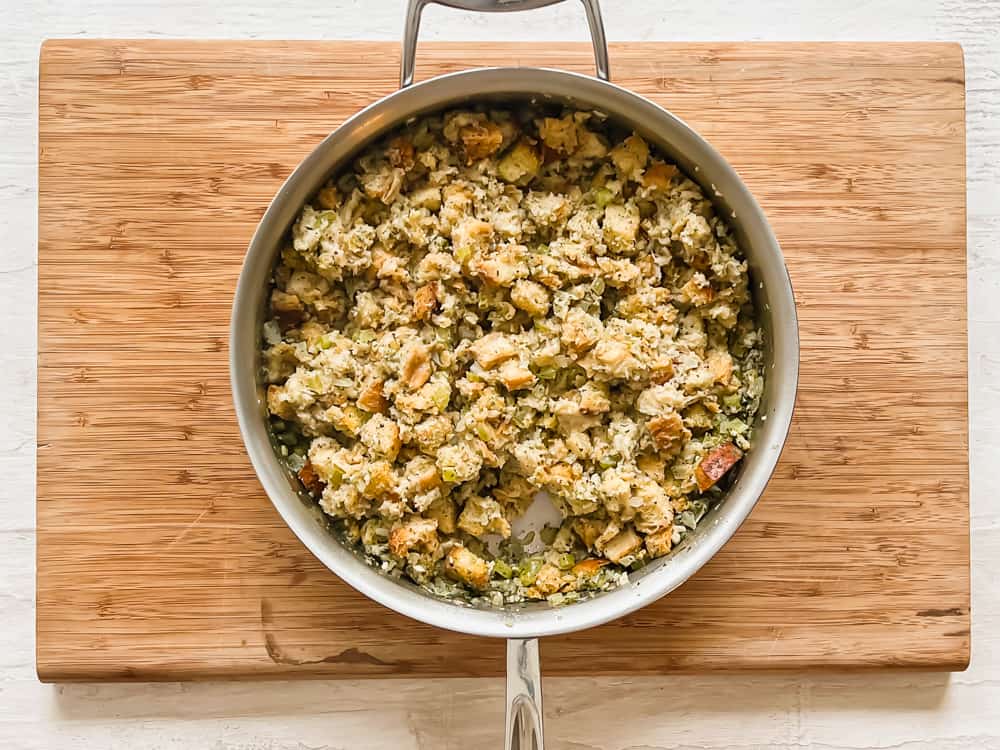
Combine Everything
Gently stir in the toasted bread pieces, until coated. Cover with a lid and let sit for 5-7 minutes, until most of the liquid is absorbed.
Use a fork to gently fluff the stuffing before serving.
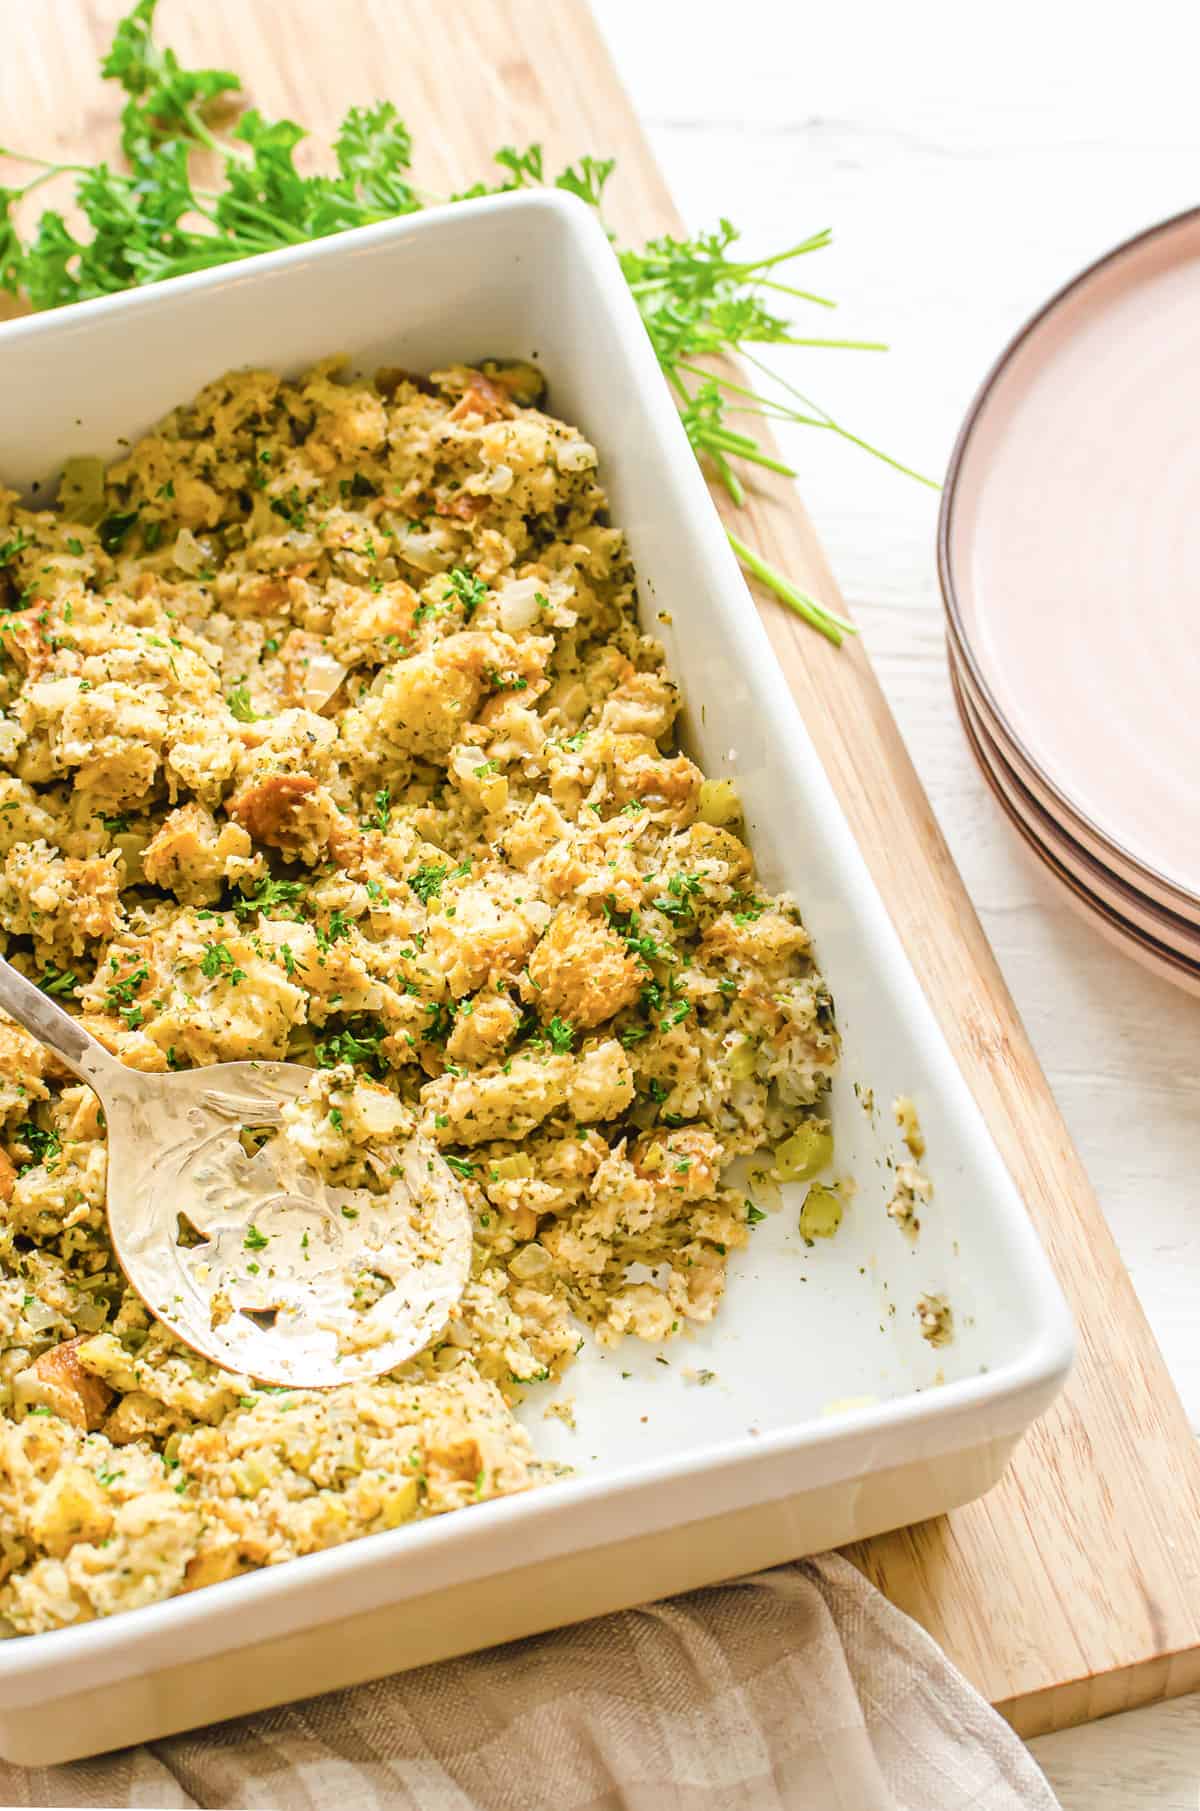
Serve
Transfer to a 9×13 inch casserole dish. You can either serve warm “as is”, or pop it in the oven and bake at 350°F until a little crispy on top (about 15-20 minutes).
Make It Ahead
You can make stuffing up to 1 month beforehand.
Make the stuffing according to the recipe and let it cool. Wrap the casserole dish tightly in a few layers of plastic wrap and foil, squeezing out excess air.
Either store in the refrigerator for up to 3 days or freeze for up to 1 month.
When ready to serve, bake in a casserole dish at 350°F oven for 20 minutes until warmed through and starting to crisp up on top. (Cover with foil if it starts to get too brown but isn’t heated through yet.)
How to Use Up Extra Stuffing
Last year I had SO much leftover stuffing. But, that was a good problem to have because I created two new recipes from it!
My family devoured this Turkey Stuffing Casserole and this Chicken and Stuffing Casserole. You can even freeze both casseroles for later.
FAQs
Yes, you can and it’s easy! Here’s how:
Gluten-Free Version: Use toasted gluten-free bread instead of whole grain bread.
Dairy-Free Version: Use lactose-free ghee or a plant-based butter instead of regular butter.
Absolutely! You can make it up to 1 month beforehand.
1. Make the stuffing according to the recipe and let it cool.
2. Wrap the casserole dish tightly in a few layers of plastic wrap and foil, squeezing out excess air.
3. Either store in the refrigerator for up to 3 days or freeze for up to 1 month.
4. When ready to serve, bake in a casserole dish at 350°F oven for 20 minutes until warmed through and starting to crisp up on top. (Cover with foil if it starts to get too brown but isn’t heated through yet.)
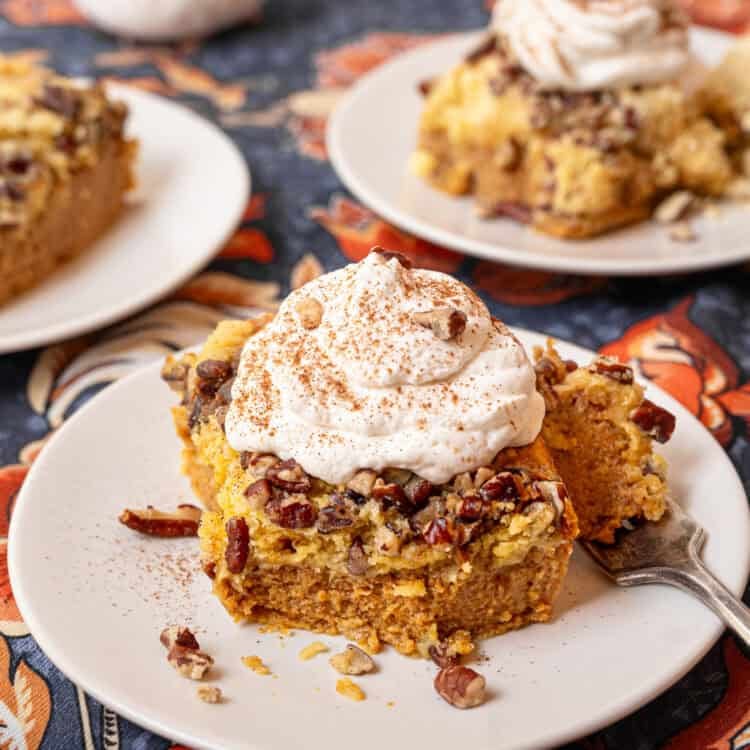
More Holiday Dishes You’ll Love


How to Video
Simple Homemade Stuffing
Ingredients
- 8 cups whole grain bread (cubed into 1/4-inch pieces; Gluten-Free: Use gluten-free bread.)
- 1 tablespoon avocado oil (sub: olive oil)
- 1 onion (finely diced)
- 1 cup celery (finely diced)
- 2 cloves garlic (minced)
- salt and pepper
- 1/2 cup butter
- 2 tablespoons dried onion flakes (sub: 2 teaspoons onion powder)
- 1/2 teaspoon garlic powder
- 1 teaspoon celery seed
- 2 tablespoons dried parsley (crushed in hand)
- 1 teaspoon ground sage
- 1 teaspoon ground thyme
- 3 cups chicken broth
Instructions
- Preheat the oven to 400°F.
- Spread the bread pieces on a rimmed baking sheet and bake for 8-10 minutes. Stir the bread and spread it back out again. Baking another 8-10 minutes, or until the bread is completely toasted. Set aside when done.
- While the bread is toasting, heat the oil in a large (5-quart) pot over medium-high heat until shimmery. Add the onions and celery and saute until just softened, about 4-5 minutes. Season lightly with salt and pepper while they cook. Add the garlic at the end and stir for 30-60 seconds.
- Turn the heat down to medium. Add the butter to the pot and let it melt (don’t let it brown). Then, stir in the onion flakes or powder, garlic powder, celery seed, crushed parsley, sage, thyme, 1 teaspoon salt, 1/2 teaspoon pepper, and chicken broth. Turn the heat up and bring to a boil, then remove from the heat.
- Gently stir in the toasted bread pieces, until coated. Cover with a lid and let sit for 5-7 minutes, until most of the liquid is absorbed.
- Use a fork to gently fluff the stuffing before serving. Serve “as is”, or transfer to a 9×13 casserole dish and bake at 350°F for 20 minutes, if you want it to be crispy on top.
Freezer Instructions
Notes/Tips
- This recipe makes a lot! You can easily cut it in half for a smaller crowd.
- Gluten-Free Version: I’ve tested this with whole grain gluten-free bread and it works just fine!
- Dairy-Free Version: Use lactose-free ghee or plant-based butter in place of the regular butter.
Nutrition
This stuffing turned out fantastic for Thanksgiving! Lots of compliments from my guests. Great flavors!
So glad you enjoyed it Emily! Thanks for the review.
I made this recipe for Thanksgiving this year and it was delicious. I doubled it to accommodate a larger crowd and everyone loved it! Thanks for a great recipe.
You are so welcome Ronda! Glad you enjoyed it. Thank you for taking the time to leave a review.
this recipe is really good thank you!
Glad you like it! Thank you for leaving a review.
Perfect recipe, thanks!
So glad you enjoyed it Jessica!
I made this stuffing for Thanksgiving just past (Canadian Thanksgiving). Our family love stuffing and my only regret was that I should have doubled/tripled the recipe! Delicious! DELICIOUS!
Hi Val. While I hate running out of something people love, there is also something satisfying about every last bite being gone because it was so good. 🙂 Thank you for taking the time to tell others how great it turned out for you!