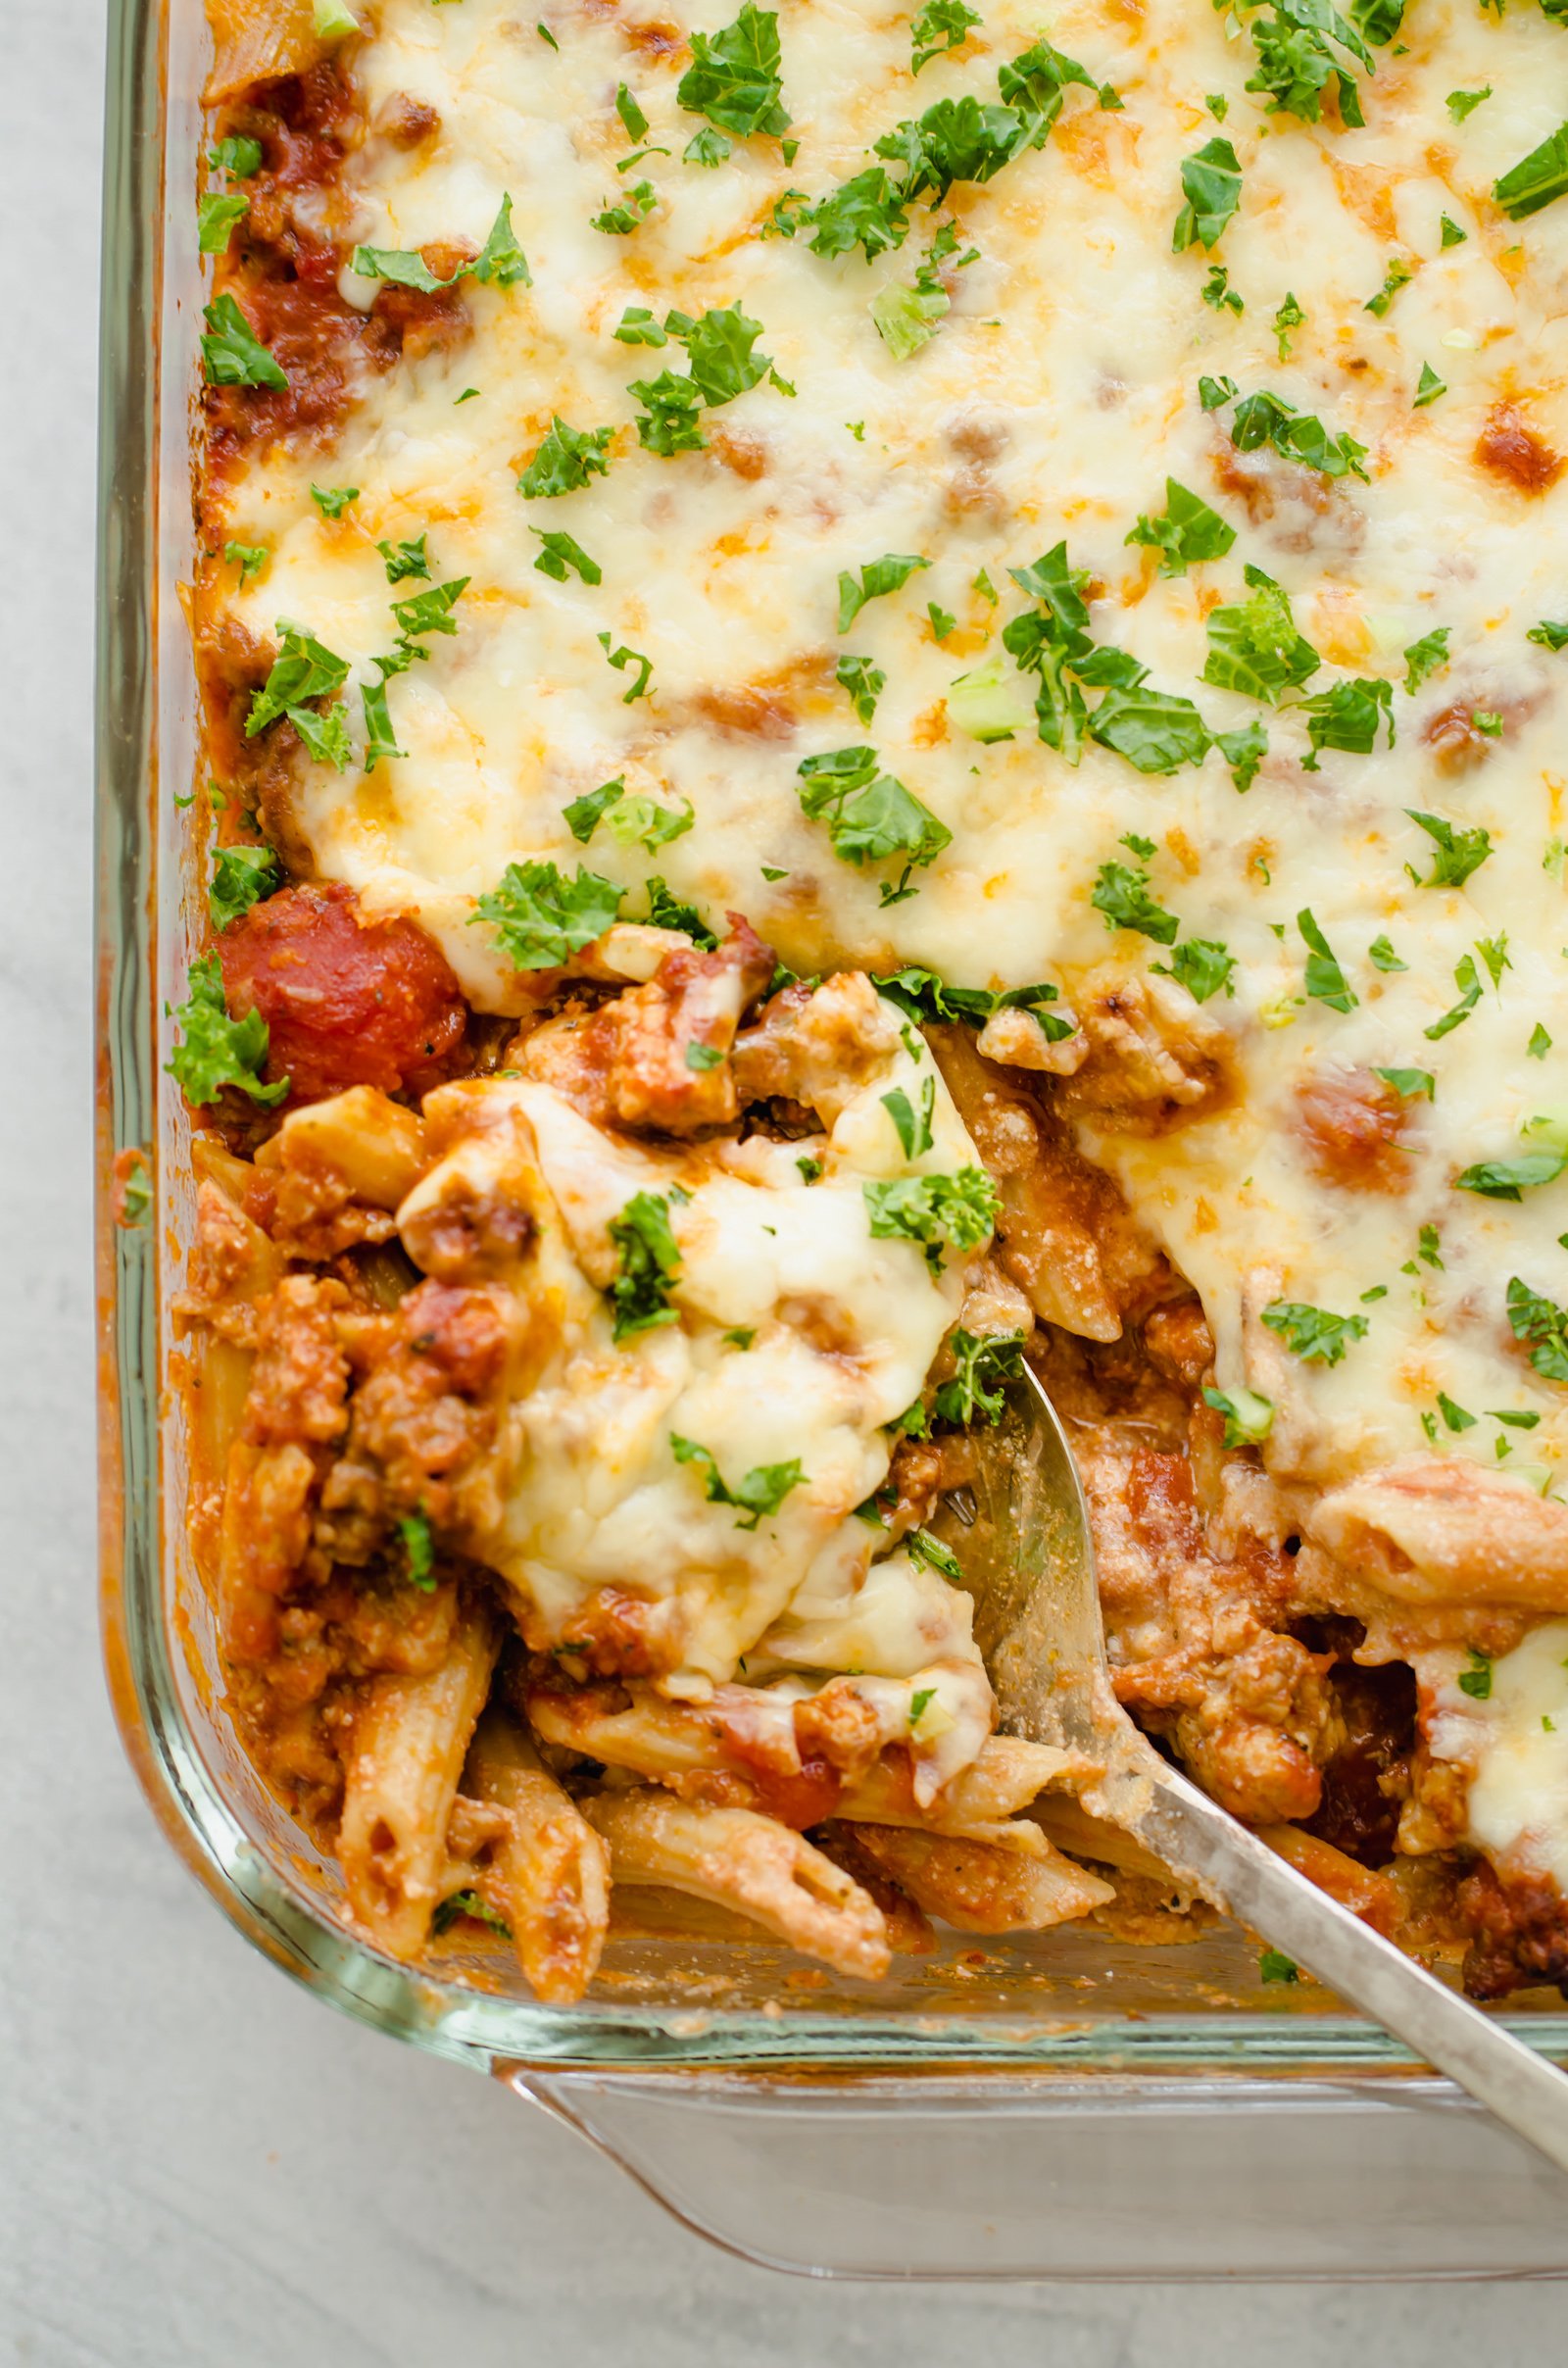
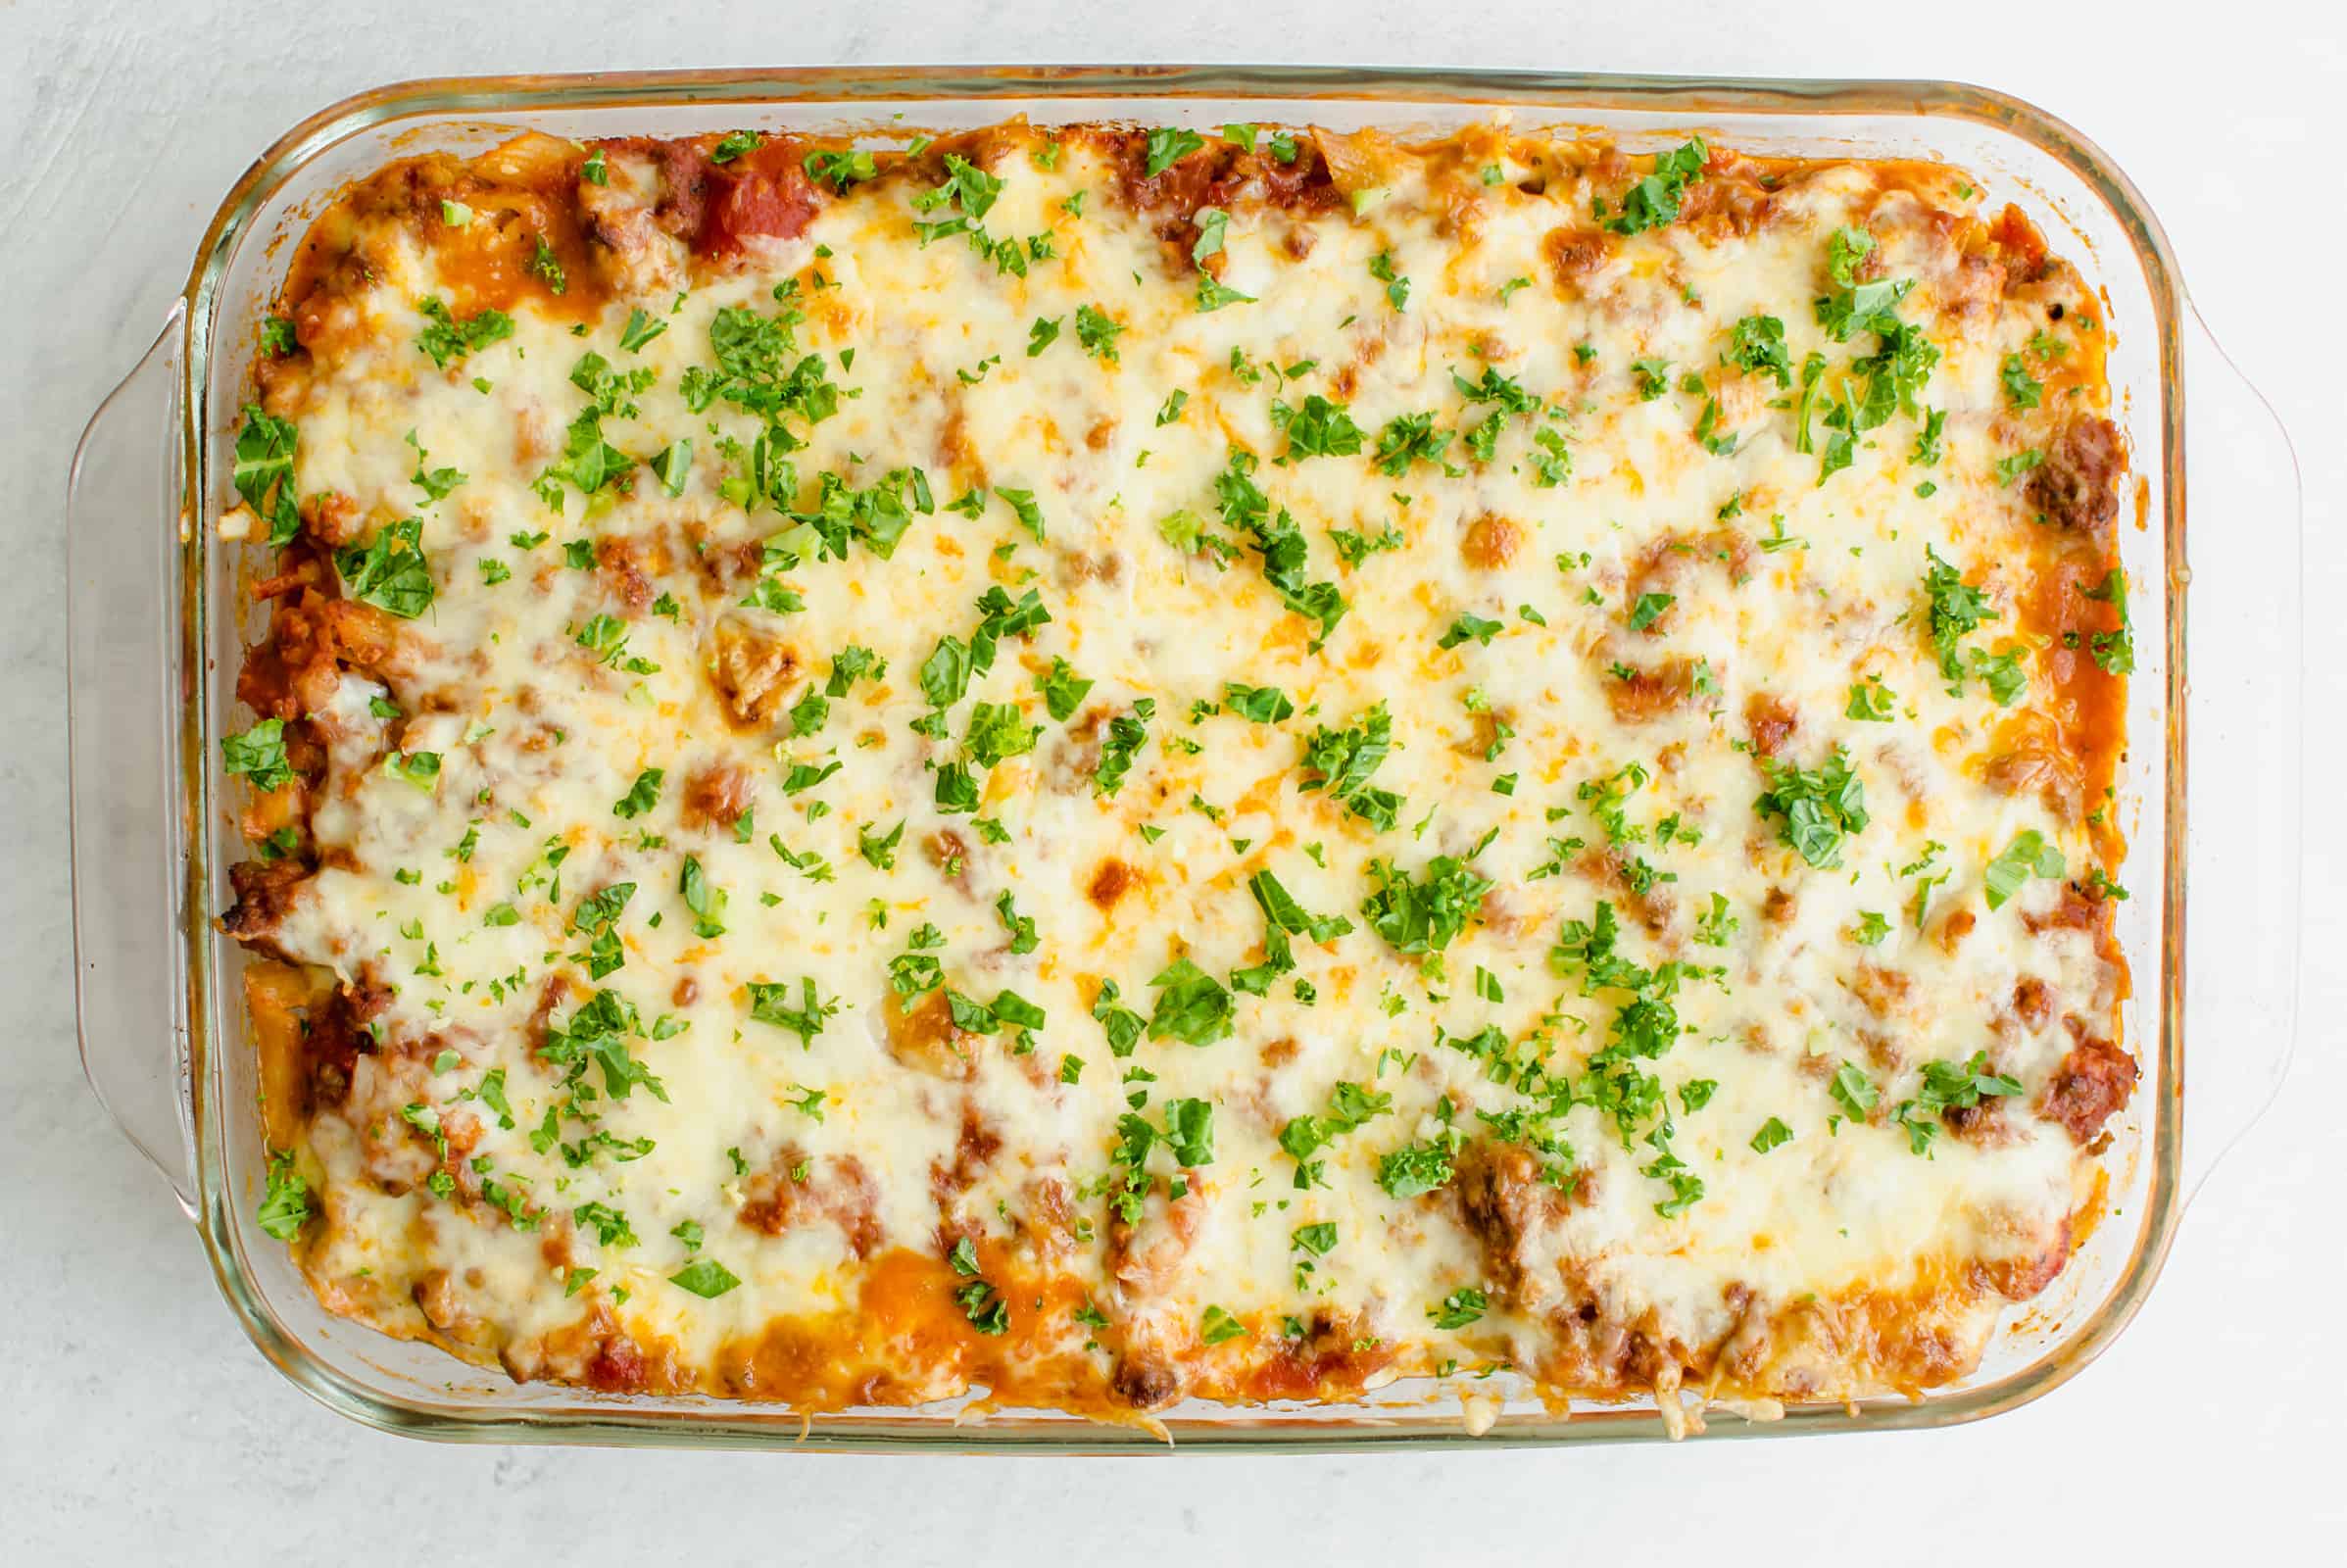
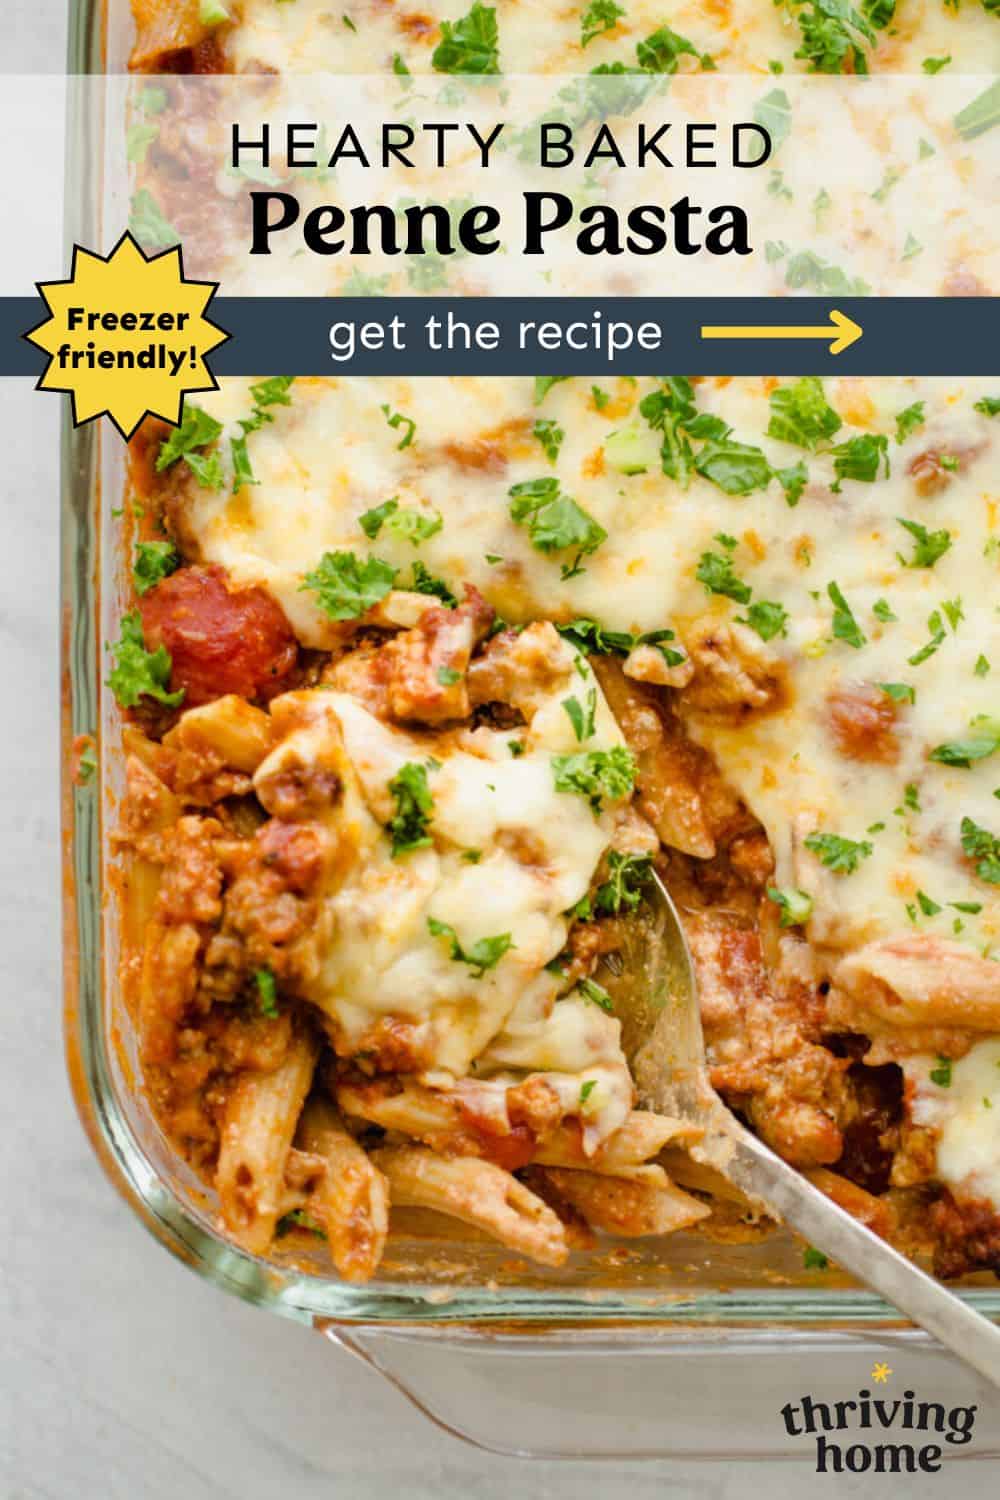
Baked Penne Pasta
Baked Penne Pasta is a delicious and hearty Italian-American pasta dish that features penne pasta mixed with a rich and savory tomato-based sauce, layered with a cheese mixture, and then baked until it’s hot and bubbly.
Reasons You’ll Love This Recipe
Baked pastas like our Spinach Lasagna Rolls, Healthy Mac & Cheese, and Easy Cheesy Baked Pasta are commonly reader favorites. Probably because they usually have these qualities:
- Delicious dinner recipe that all ages enjoy
- Freezer friendly
- It’s a Big Batch Meal – It’ll feed a lot of people!
- Easy to make
“I made a 9×9 for supper and froze a 9×13 for later. It was a hit with my husband. We also had to negotiate who got to eat the leftovers!” – Mags ⭐️⭐️⭐️⭐️⭐️
Ingredients
Here are the main ingredients you’ll need.
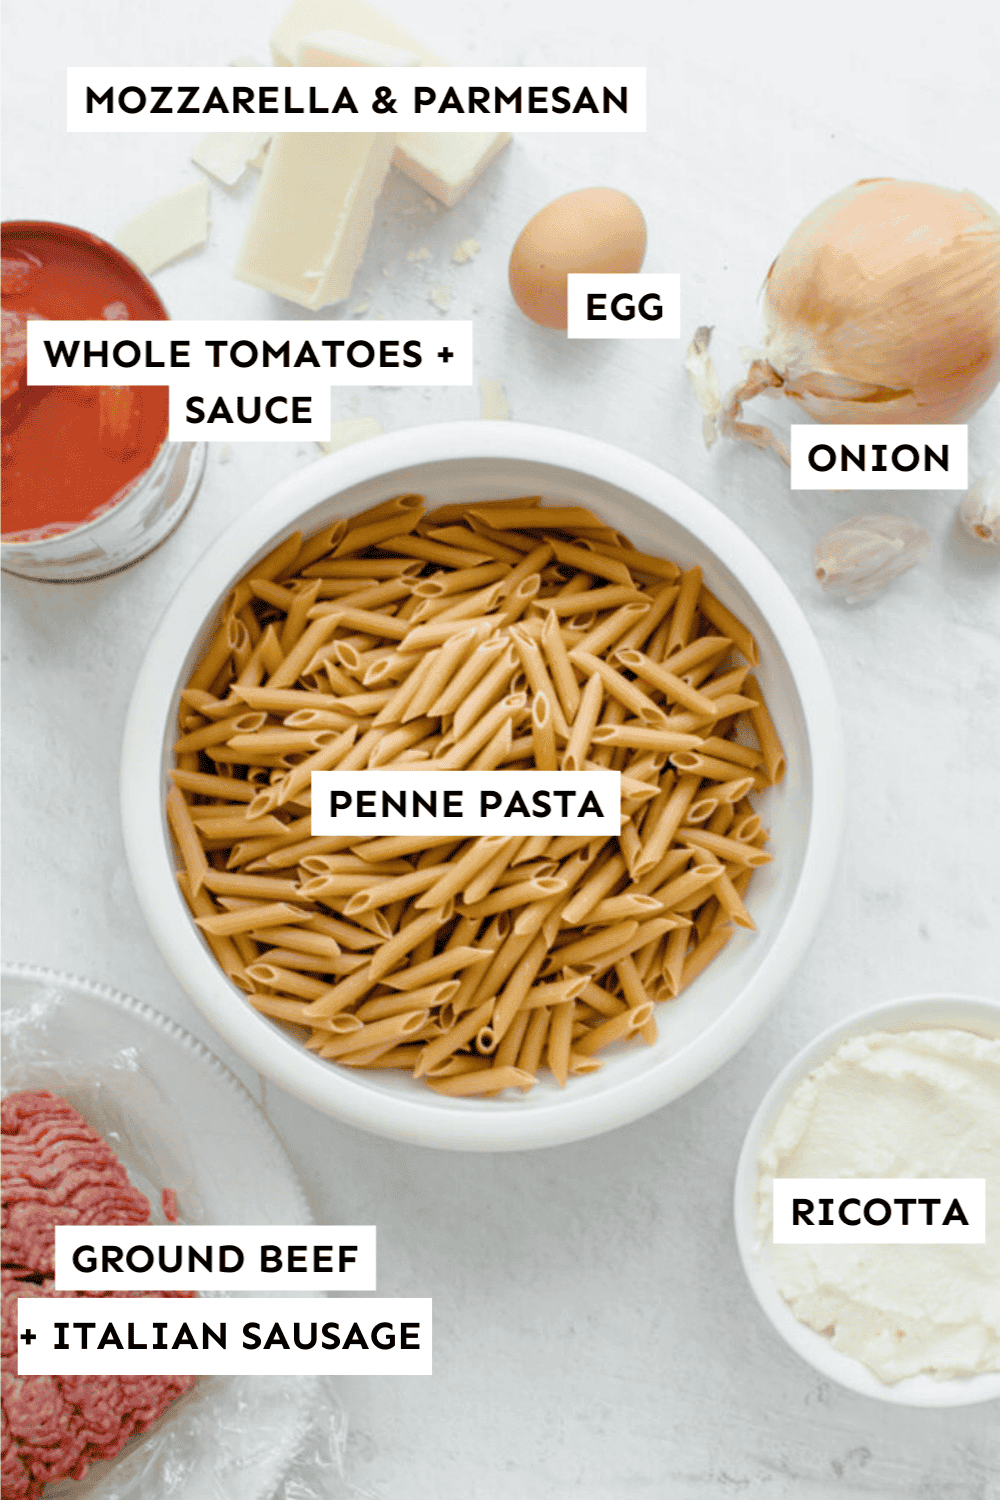
Ingredient Notes:
- Canned tomato sauce – Adds moisture and depth of flavor to the recipe. You can swap it for marinara if you don’t have any.
- Whole Tomatoes – These add some texture and flavor. Use a wooden spoon to break them up as they cook.
- Fresh minced parsley or basil – Not pictured but recommended to add into the cheese mixture and on top before serving.
Variations & Substitutions
- Use diced tomatoes in place of the whole tomatoes.
- Use marinara sauce in place of tomato sauce.
- Add veggies! I love to toss in raw spinach, sautéed mushrooms, cooked zucchini, or sautéed bell peppers.
- You don’t have to use penne pasta. You can substitute with another similar short pasta shape like rotini.
How to Make Baked Penne Pasta
Note: Find our full printable recipe with ingredient amounts and directions at the bottom of this post.
Make the Meat Sauce
After sautéing some diced onion and garlic, you will brown your ground beef and Italian sausage. Season with salt, pepper, red pepper flakes, and Italian seasoning.
After the meat is browned, drain off some fat and add in the whole tomatoes and tomato sauce.
Let it simmer on low for 20-25 minutes, partially covered (to prevent splattering). Break up the whole tomatoes with a spoon or spatula once they soften. Set aside to cool.
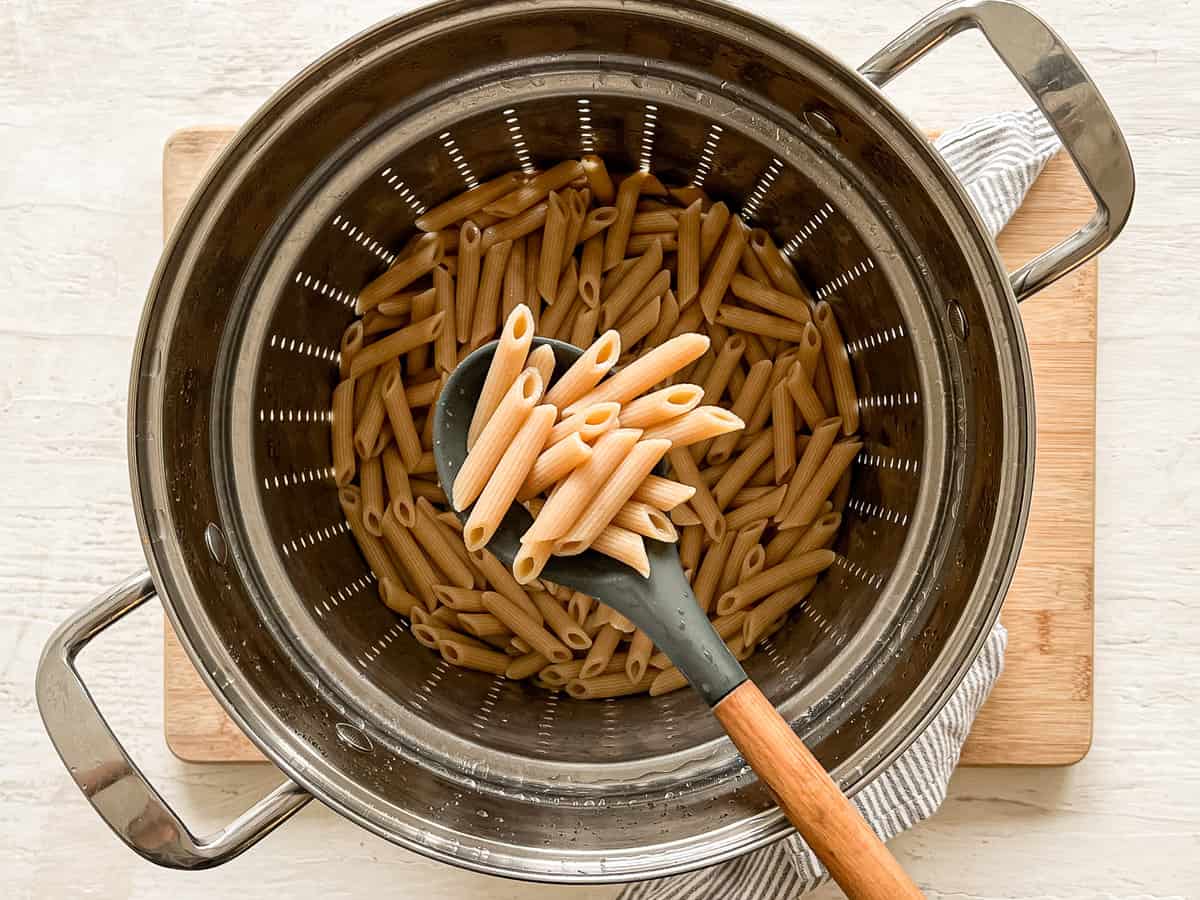
Cook the Pasta
After you get that sauce a-simmerin’, start multitasking.
Start to boil your pasta in salted water. Follow the instructions on your box for cooking it al dente.
Once it’s cooked, drain and set aside to cool. I like to toss mine with a little bit of oil to prevent sticking.
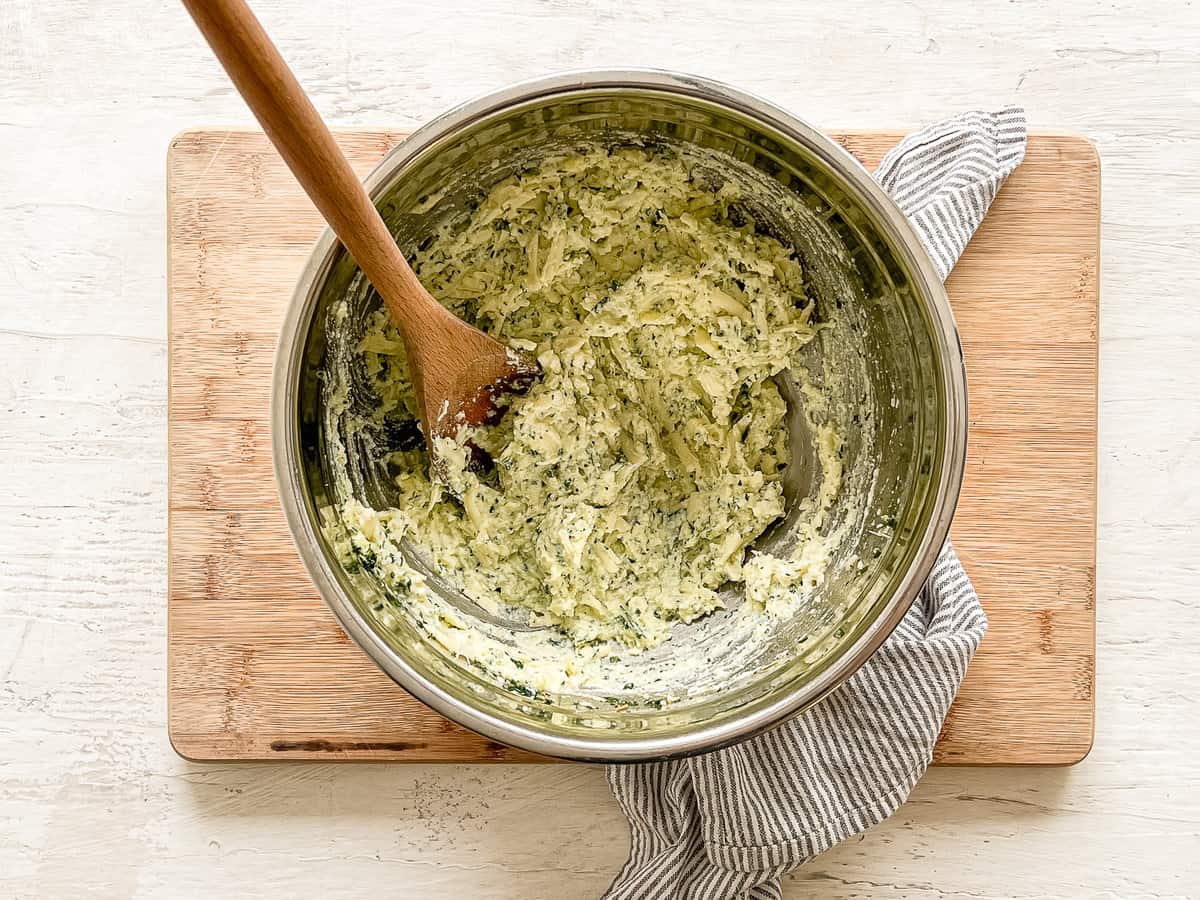
Make the Creamy Filling
While pasta is boiling you can whip together your creamy cheese filling.
In a large mixing bowl, combine ingredients for the filling: ricotta, egg, part of the mozzarella, Parmesan, salt and some fresh minced herbs. Give it a good stir.
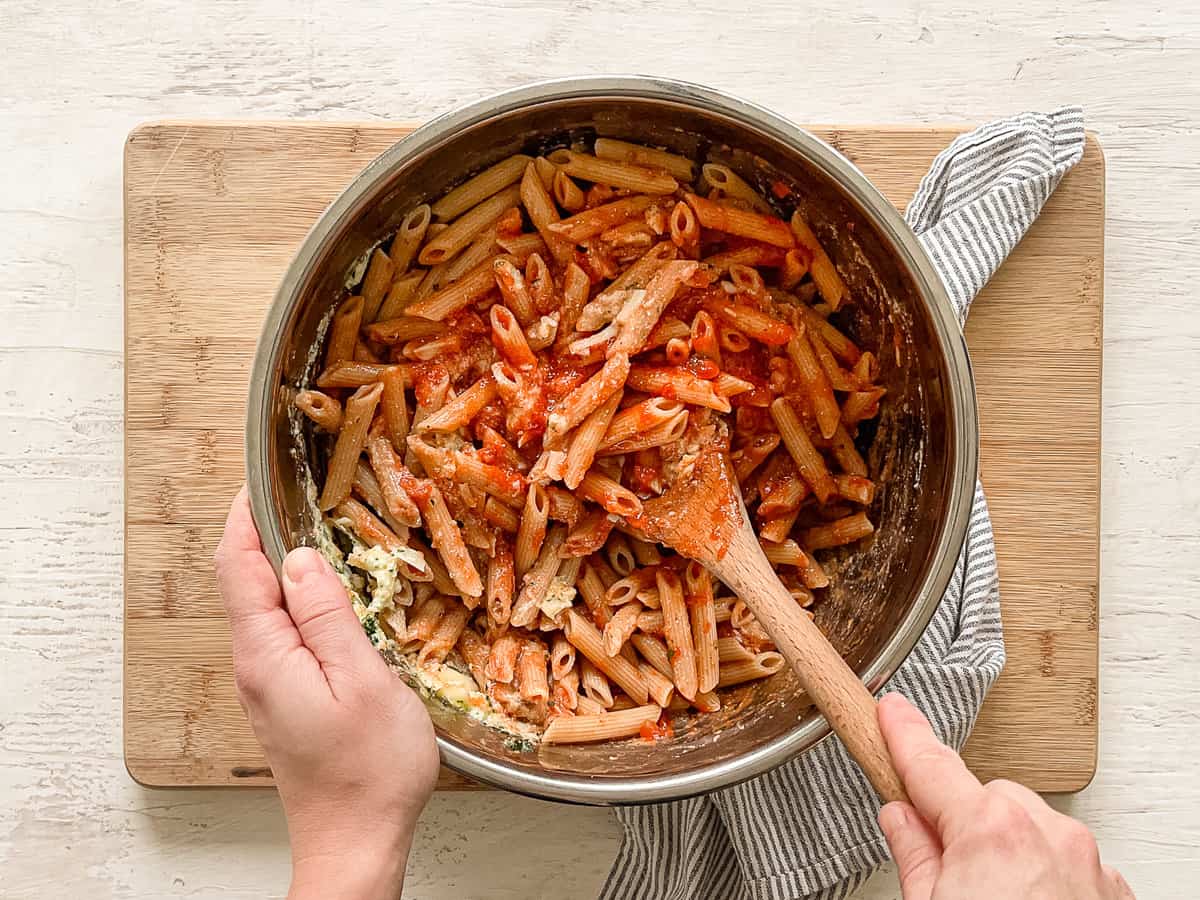
Mix the Pasta with the Creamy Filling
Add the cooked and drained pasta into the large bowl with the cheese mixture.
After the pasta and cheese mixture is combined, add in 2 1/2 cups cooled pasta sauce.
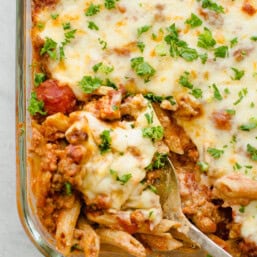
Once you’ve mixed that together, you have a delicious, gooey mess.
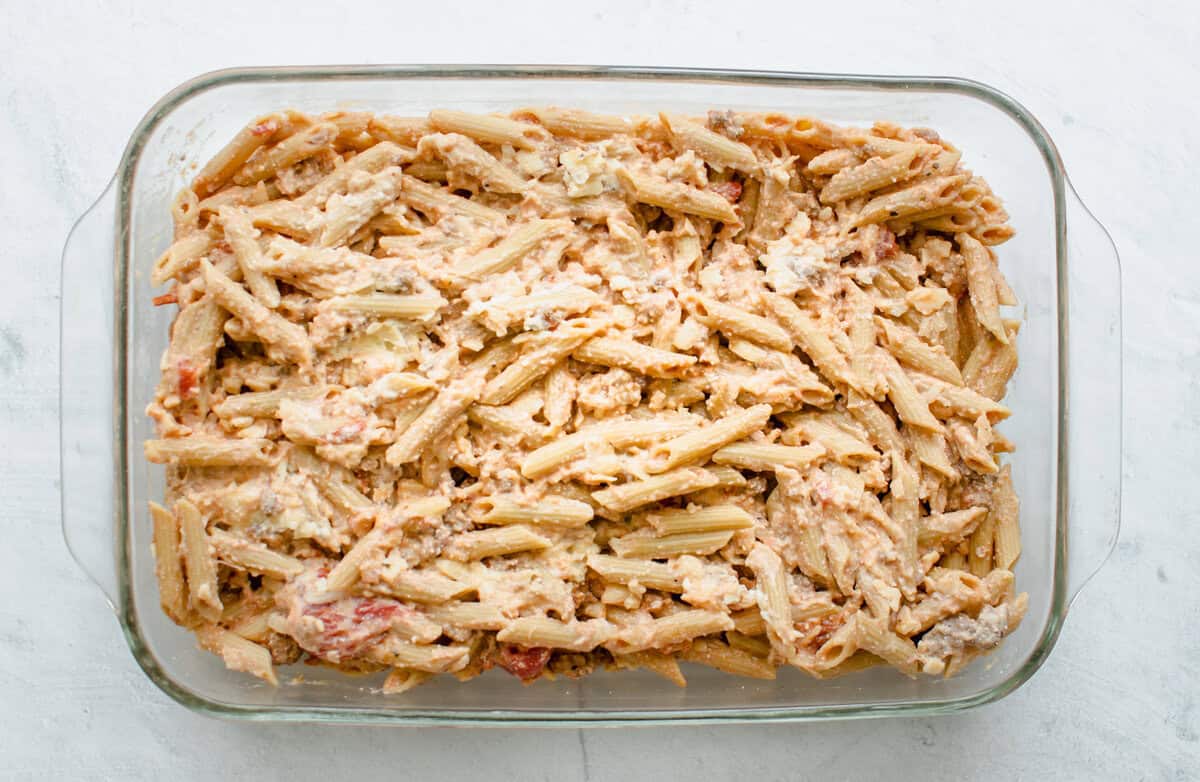
Assemble the Casserole & Bake
Pour the pasta into a baking dish. Now top it off with remaining pasta sauce.

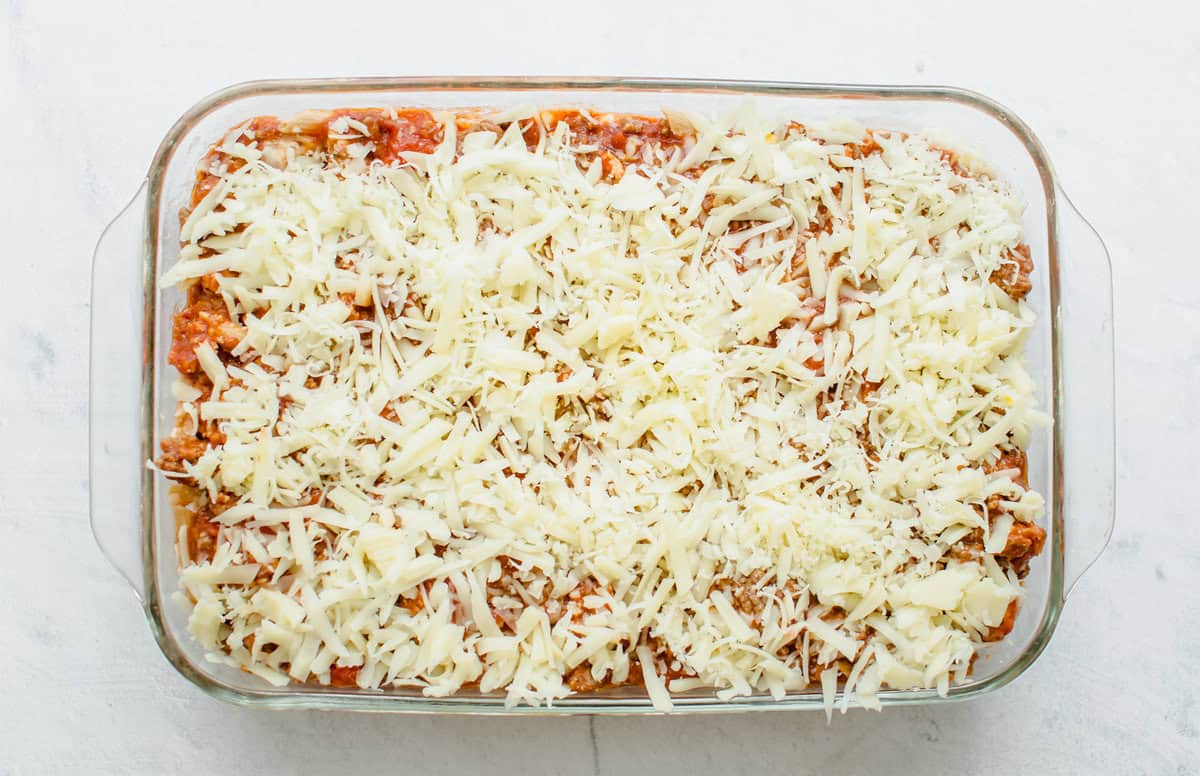
Now finish it off with a layer of mozzarella. You know what comes next… bake it!
How to Freeze Baked Penne Pasta
You’ve come to the right place if you’re looking for make-ahead freezer meals.
Not only have we written two freezer meal cookbooks, but we also have some amazing 1 Hour Freezer Prep Plans that walk you through how to make 6 meals in one hour.
Freeze For Later: Follow the recipe right up until baking it. Cover tightly with plastic wrap, foil or a lid. Freeze.
Prepare From Frozen: When ready to cook, you have two options:
- Thawed: Thaw in the fridge (may take up to 48 hours) or thaw in the microwave on defrost setting. Bake at 375°F according to Step 11 in the recipe.
- Frozen: If cooking directly from frozen state, cover with foil. Place the frozen casserole in the oven. Preheat the oven to 375°F. Once it comes to temperature, bake for about 1 hour and 20-40 minutes, until heated through and bubbly. Remove the foil the last 20 minutes.
FAQs
Yes, this recipe works well to prepare all the way up until baking. You can refrigerate it for a day or two before baking or freeze it.
Yes! You can make this substitution without any problems. Just be sure to keep the amounts the same.
The egg will add some lightness and lift to the cheese mixture, but you should be totally fine without it.
Yes, this recipe will work fine without the ground beef. Follow our Easy Cheesy Baked Pasta recipe instead.
Tomato sauce is sold in cans and is thinner and has fewer ingredients than marinara/spaghetti sauce. However, marinara would be a great substitute.
How to Video
Baked Penne Pasta
Ingredients
- 2 tablespoons olive oil
- 1/2 large onion (diced)
- 2 cloves garlic (minced)
- 1/2 pound lean ground beef
- 1/2 pound ground Italian sausage (mild or hot)
- salt and pepper (to taste)
- 1/2 teaspoon red pepper flakes (plus more for serving)
- 1 teaspoon Italian seasoning (crushed in hand)
- 1 (14.5-ounce) can whole tomatoes (with juice; NOT no salt)
- 1 (14.5-ounce) can tomato sauce (NOT no salt)
- 8 ounces whole wheat penne pasta (sub: regular penne or gluten-free pasta)
- 1 cup whole milk ricotta cheese
- 3 cups shredded mozzarella cheese (divided)
- 1/4 cup Parmesan cheese (grated; plus more for serving)
- 1 large egg (beaten)
- Optional: 1/4 cup minced fresh parsley or basil (plus more for serving)
Instructions
- Saute Aromatics: Heat oil in a large pot or large deep skillet over medium-high heat until it's shimmery. Add diced onions and saute for 3-4 minutes, or until starting to soften. Add garlic and cook for 30 seconds more.
- Brown Meat: Add ground beef and Italian sausage and cook until browned, breaking it up as it cooks, about 5-7 minutes. Season with 1/2 teaspoon salt, 1/4 teaspoon pepper, red pepper flakes, and Italian seasoning while it cooks. If needed, drain off the fat (tip: dump into a colander that's over a bowl) and return to the pot.
- Cook Sauce: Stir in whole tomatoes and tomato sauce to the meat mixture. Partially cover and simmer for about 25 minutes, stirring occasionally and breaking up the tomatoes with the spoon once they soften. When done, set aside to cool.
- Cook Pasta: Meanwhile, cook the pasta in salted water and according to package directions, just until al dente. Drain, toss with a little oil (to prevent sticking), and set aside to cool.
- Make Cheese/Pasta Mixture: In a large mixing bowl, stir together the ricotta cheese, 1 1/2 cups mozzarella, Parmesan, egg, 1/4 teaspoon salt, 1/4 teaspoon pepper and fresh parsley or basil (optional) until combined. Add in the cooled pasta and just 2 1/2 cups of cooled meat sauce (reserve the rest!). Stir to combine.
- Prep Oven & Pan: Preheat oven to 375°F. Grease a 9×13 casserole dish with cooking spray.
- Prep the Casserole: Dump the pasta mixture into the casserole dish. Spread it out evenly. Spoon the remaining sauce over the top evenly. Then, sprinkle with remaining mozzarella cheese evenly.
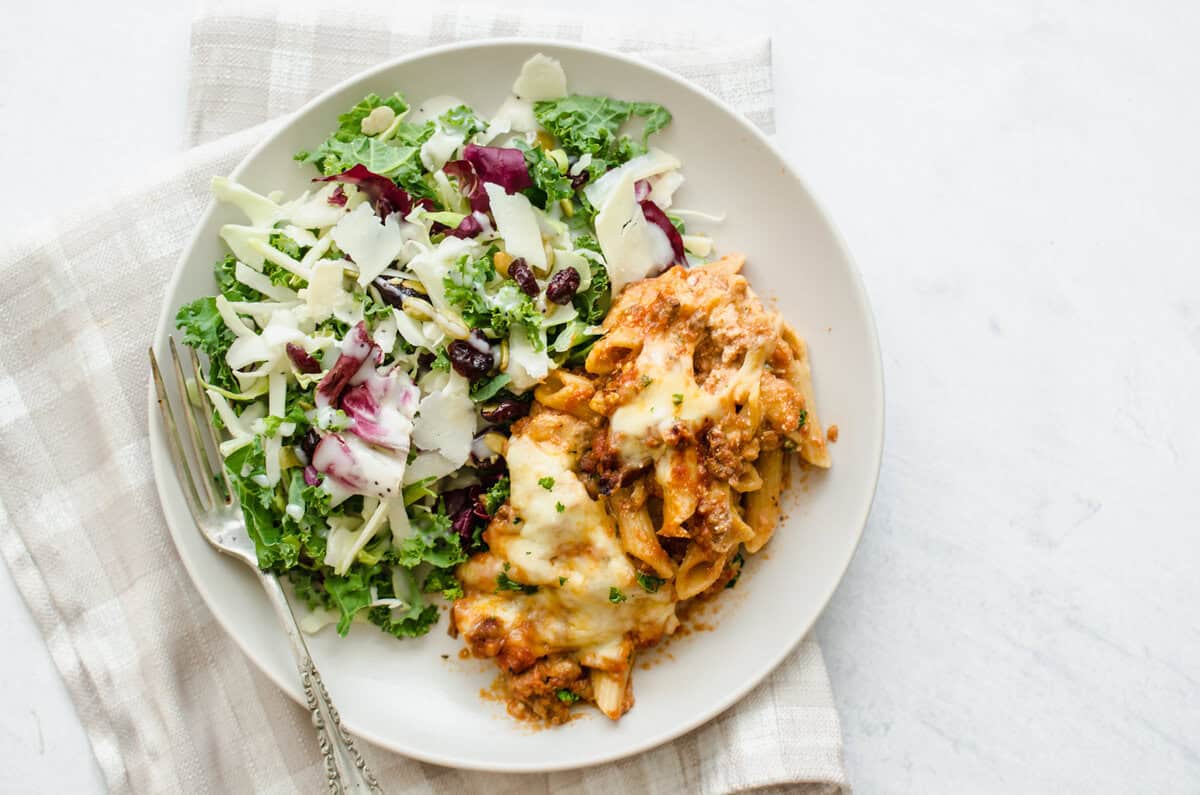
- Bake and Serve: Bake for 20-25 minutes, or until bubbling on the sides and very hot in the middle. If you'd like it to brown a little more on top, turn on the broiler for 1-2 minutes (watch it closely!). Remove from oven and let stand 5-10 minutes before serving. Serve with fresh chopped herbs on top and more Parmesan cheese and warm marinara sauce on the side, if desired.
Freezer Instructions
Notes/Tips
- We updated this recipe on 10/17/24. We tweaked the ingredients just a little to add more flavor (replaced half the ground beef with Italian sausage and added in fresh herbs) and cut the recipe in half so it is more manageable. It bakes all in one 9×13-inch dish now and serves 6 people. (Tip: This is an easy one to double and make a second one for the freezer.)
- Shortcut: Replace the canned whole tomatoes and canned tomato sauce in Step 3 with 1 (24-ounce) jar marinara sauce to save time. No need to simmer it.
- The casserole will suck up the sauce the longer it sits, so you may want to serve it with some extra warm marinara sauce on the side.
- You can use diced tomatoes in place of the whole tomatoes.
- You can use marinara sauce in place of tomato sauce.
- Add veggies! I love to toss in raw chopped spinach or sautéed mushrooms, bell peppers, and/or zucchini.
- You don’t have to use penne pasta. You can substitute with another similar-sized pasta shape, such as rotini.
Nutrition
Can you omit the Ricotta
Hi Lori. The ricotta provides the creaminess in this recipe. You could certainly use cottage cheese as an easy replacement. But if that doesn’t sound good, I’d definitely add in some more shredded cheese in it’s place (although I can’t promise the same results). Hope that helps!
I didn’t have quite enough ricotta and used cream cheese. It was great!
Thanks for letting us know. We get asked this question from time to time and still haven’t tested it. Glad to know that a mix of the cheeses worked for you!
The recipe calls for 2-14.5 oz. cans of tomato sauce? Is this spaghetti sauce? And are we to use BOTH the large jar of canned tomatoes AND the tomato sauce?
Tomato sauce is sold in cans and is thinner and has fewer ingredients than marinara/spaghetti sauce.
Yes, use both the canned tomatoes and the tomato sauce for this recipe.
I needed a “crowd pleaser” dish for a large family gathering. Lasagne just felt too ho-hum so when I came across this recipe I thought it’d be a fun alternative. Everyone loved it!! The recipe easily fed 12 adults/teens, served with a salad and grilled chicken on the side. Kids asked that we make it again!
That’s awesome to hear! Yes, it for sure feeds the masses.
I made this tonight! Followed the recipe to a T. We all loved it.
Awesome! Thanks for sharing!
why do your tutorial videos only show a portion of how to make the dish and then it goes to a completely different recipe after the commercial and it hasn’t even finished the reci[e your were trying to watch?
Sorry for the confusion, Sharee! You have to click “continue to watch” at 30 seconds if you want to watch the full tutorial or else it autoshifts to a new one.
Hi! Is it two 14.5oz jars tomato sauce PLUS one 28oz can of canned tomatoes or one 14.5oz jar of sauce and the can of tomatoes? The description at the top makes it seem like 1 and 1, but the recipe suggests all 3. Thanks!
Hi Amanda. It’s two 14-ounce cans of tomato sauce OR 28 ounces of marinara sauce. Sorry about any confusion! I’ll try to make that more clear. Thanks for the feedback.
Thanks! So 28oz of sauce plus the can of tomatoes. Got it. Excited to try it for my husband’s birthday tomorrow!
I made this for my kid’s birthday and everyone loved it!
Just one question though, when you say two cans of tomato/marinara sauce, do you mean 14,5 ounce per can, or in total? They don’t seem to sell tomato sauce in cans where I live so I got a bit confused.
Hi Leen. Sorry that was confusing in the directions. I just updated the recipe, but it’s two (14.5 ounce) cans of tomato sauce for a total of about 29 ounces. Really any kind of pasta sauce/marinara sauce will work!
Have y’all ever tried this with gf pasta?
I haven’t yet, but I eat a lot of GF pasta myself. I imagine it would work if you cook the pasta very al dente and then don’t cook the casserole too long. I find the GF pasta can get mushier faster than wheat pasta.
Would doubling this recipe feed 30 people?
I would probably triple it to feed that many adults.
I don’t know what I did wrong but I followed the instructions for freezing the meal, covered and froze for a gathering we had planned this evening and when cooking (from frozen) followed cooking instructions, 375 for an hour and 20 min and it’s still rock hard, cold to the touch! What did I do wrong 😩
Hannah, oh no! I’m so sorry, but it actually takes 1 hour and 20 minutes total from frozen. Here’s what is in the recipe…Frozen: If cooking directly from frozen state, cover with foil. Bake in a 375°F oven for about 1 hour and 20 minutes or so, until heated through and bubbly. Remove the foil the last 20 minutes.
Do not noodles come out mushy if they are cooked, frozen and then thawed ?
Nope, works just fine! Just cook your noodles al dente.
Hello! Thank you for this delicious looking recipe. If I can’t access ricotta do you think cream cheese would work? Or perhaps creme fraiche?
I haven’t tested that but it sounds like a great idea to me!
I made this yesterday for a group of 38 women. It was a real hit!
I did use 1/2 ground beef and 1/2 Italian sausage, and would do that again. Thanks for the great recipe!😄
Wonderful to hear that! What a great idea to use 1/2 and 1/2. Thanks for the feedback, Debbie. 🙂
Do you think the pasta would work correctly in a pyrex glass dish that is 10x14x2.5″? Information on the bottom says it is 5 quart. Since you put your pasta in a 13×9 (3qt) and a 9×9 (2qt) I think it might work. It might be too deep with less cheese topping per serving. How do you think using the 5qt dish would affect cooking time?
Did you have to bake your two size casseroles on one shelf or two and then transfer the casseroles halfway through baking?
I think that size would work great! Cooking time should be about the same. I bake my two dishes on different racks for more even baking (allows more hot air to circulate around each one). I don’t worry about switching them around. This recipe is honestly kind of hard to mess up. Just keep an eye on it and make sure it gets bubbly around edges. If it starts to brown too much on top, cover with foil. I hope this helps!
Lol over the pant-less cooking courtesy of a 2 year old, I can totally relate to the attempts to stay clothed with a toddler hanging off you! This recipe looks delish, comfort food at its best, will rate once I’ve made it!
Thanks, Grace. You get it!! Ha!
Can’t wait to try this! But I have some questions, because I live overseas and these canned products are not readily available – can I use fresh tomatoes instead of whole canned ones? If so, about how much fresh? And about how many cups for the marinara sauce and ricotta cheese? (I make these myself, so I’m not sure how much the cans are translated into cups). Thanks!!
Could you make this vegetarian, without the meat? I have a picky eater who won’t eat pasta with meat in it.
Yes, absolutely!