Crispy Baked Drumsticks
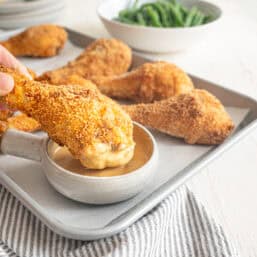
These breaded Crispy Baked Drumsticks have the texture and taste of fried chicken without all the fat and mess of frying. They’re also healthier. Serve with our simple and delicious Honey Mustard Dipping Sauce to take these over the top.
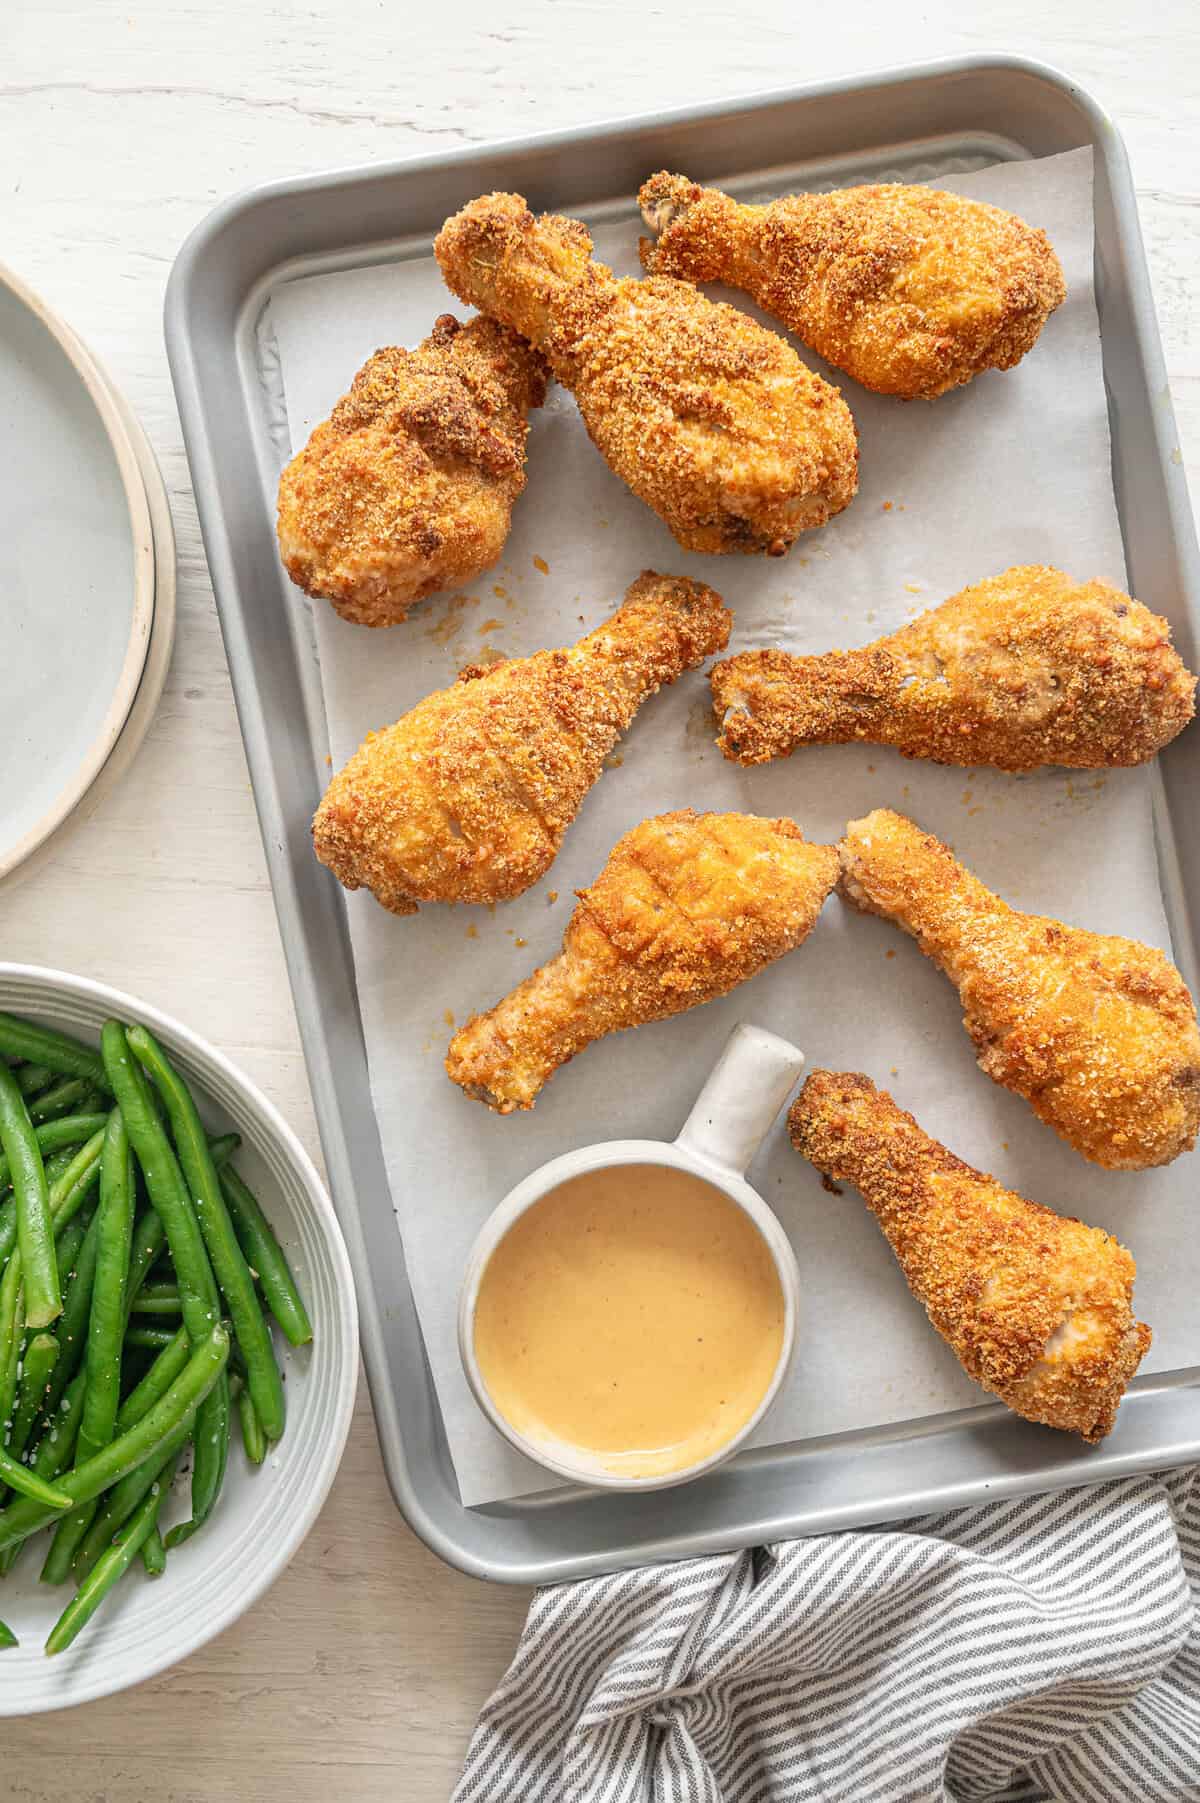
Why Make This Recipe
- A healthier version of fried chicken legs without all the mess and grease.
- Budget-friendly dinner – Chicken drumsticks are super economical. Plus you can make Homemade Chicken Stock with the leftover bones.
- Freezer-friendly – While you’re going to the trouble, just double the batch and freeze one for later. Your future self will thank you.
Ingredients
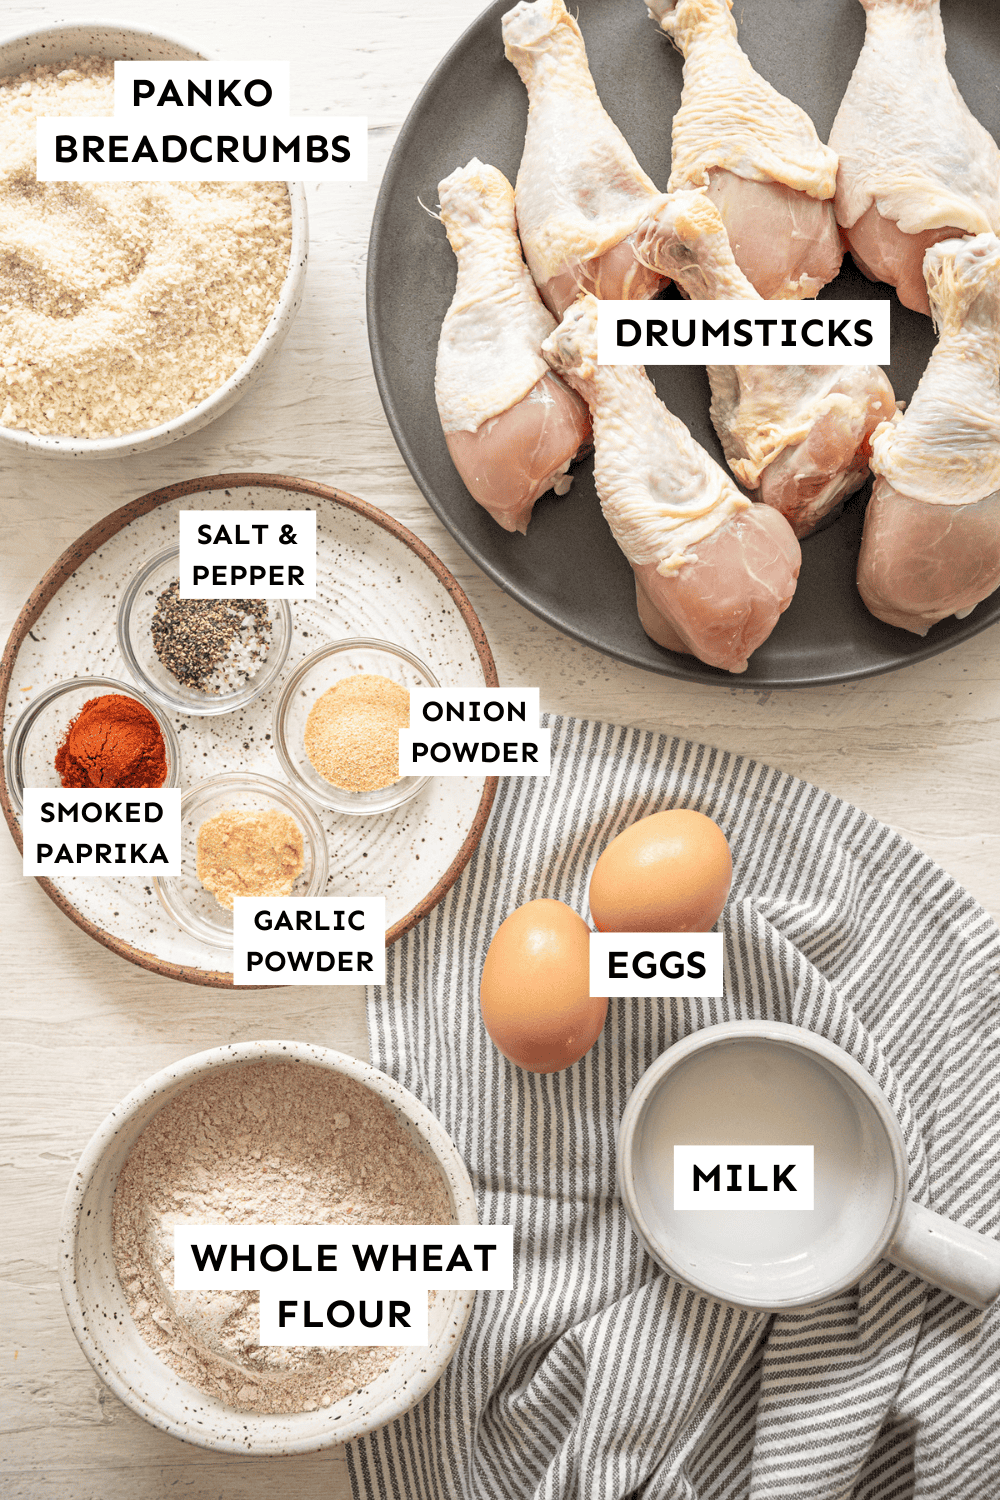
Ingredient Notes
- Whole wheat flour – I use whole wheat because it’s higher in protein and fiber and less processed, but you can certainly use all purpose flour or 1:1 gluten-free baking flour.
- Large eggs – If you need to omit eggs, you can smear vegan mayo on instead.
- Whole wheat panko bread crumbs – These add that crispy crunch you’re looking for, but you can easily make your own homemade bread crumbs (and make them gluten free if needed).
- Smoked paprika – This is a key ingredient, adding smokiness in the background.
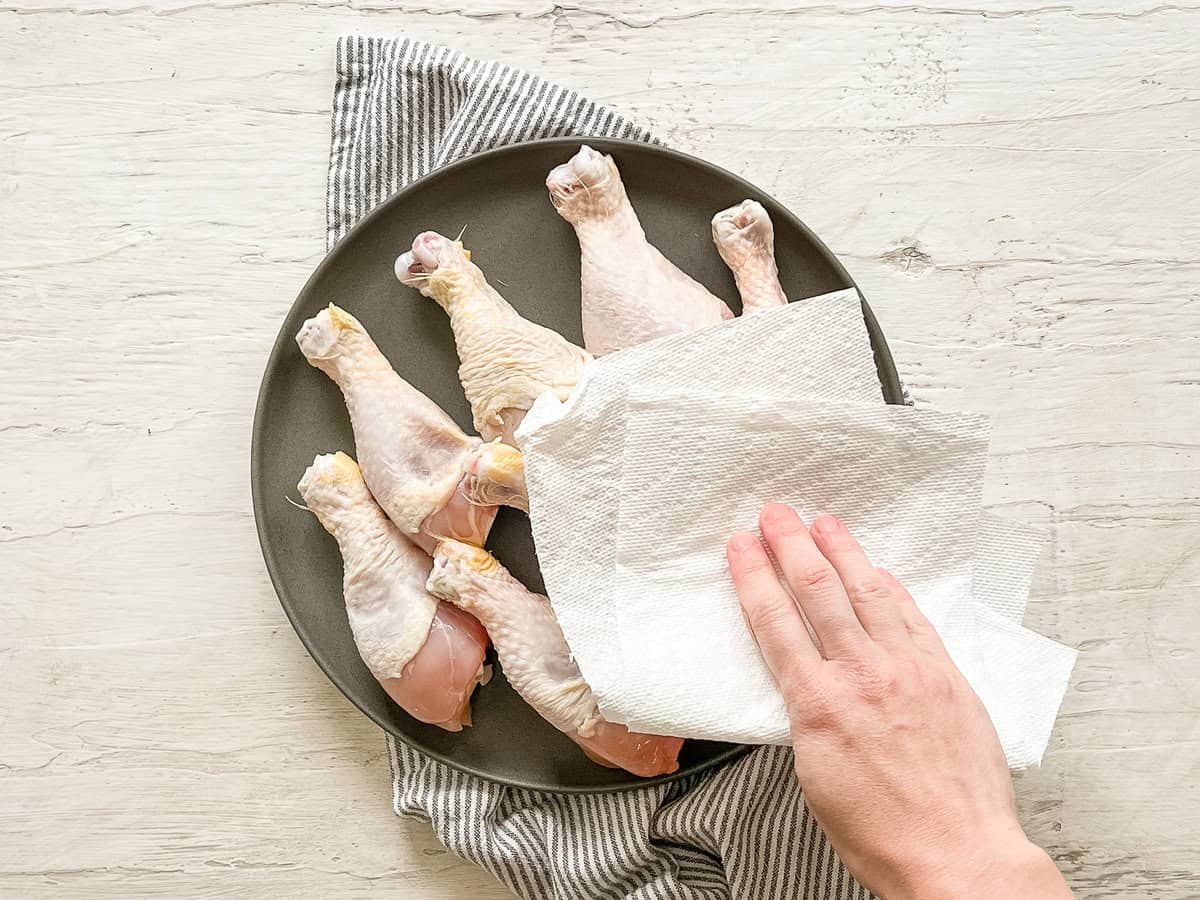
- Chicken drumsticks – You can keep the skin on (I know many people love it), but I like to remove the skin personally. To do this, I grab it with a paper towel and pull down hard until it releases.
- Honey Mustard Dipping Sauce – I put that this is optional in the recipe below, but this condiment is super easy and fast to make and kicks this meal up a big notch.
How to Make Crispy Baked Drumsticks
Prep
Preheat oven to 400°F. Cover a rimmed sheet pan with foil. Place a wire baking rack on top and generously coat with cooking spray. (The rack will help the hot air to circulate all around the drumsticks, helping them get crunchy all over.)
Set Up Dredging Stations
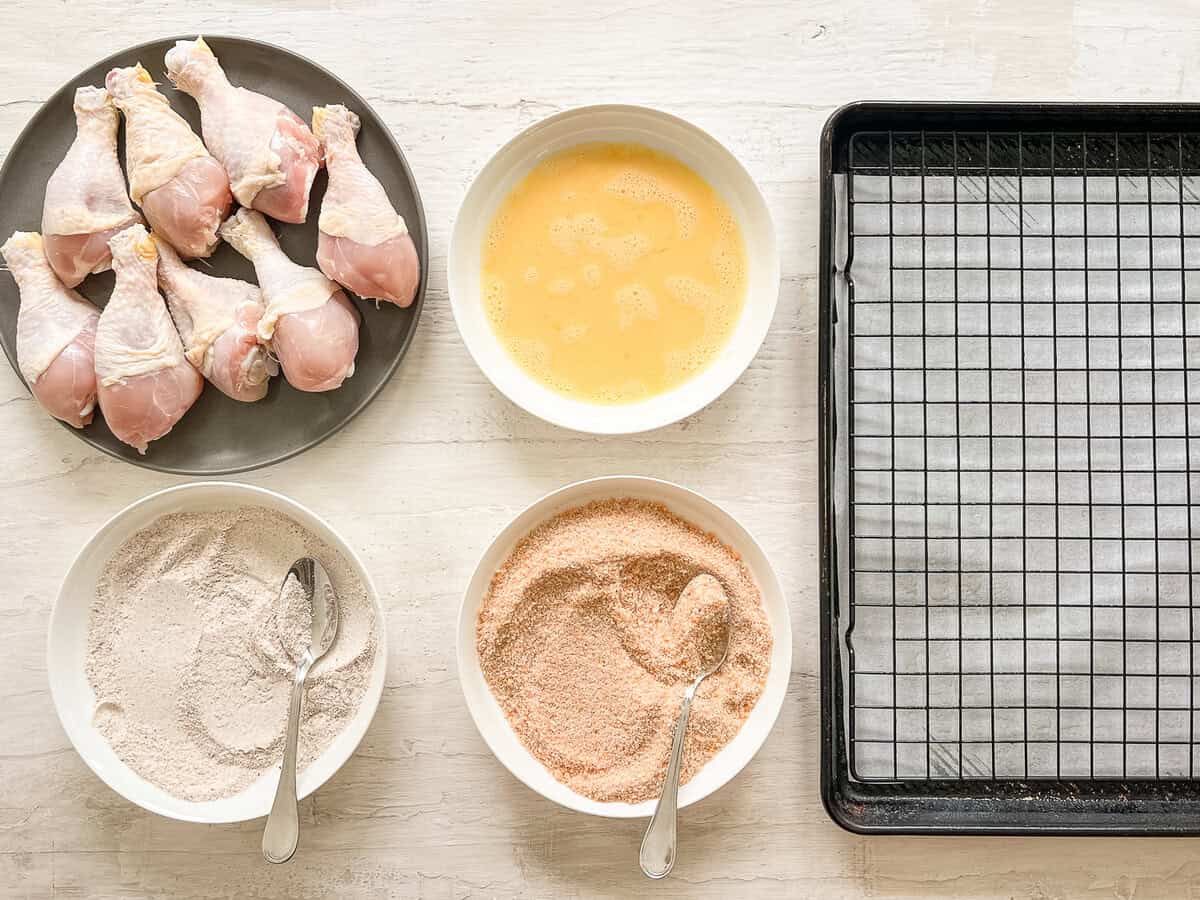
Stir together the flour, 1/2 teaspoon salt, and 1/4 teaspoon pepper in a shallow dish. Beat the egg and milk together in another shallow dish. Mix breadcrumbs, paprika, onion powder, 1 teaspoon salt, garlic, and 1/4 teaspoon pepper in the last shallow dish.
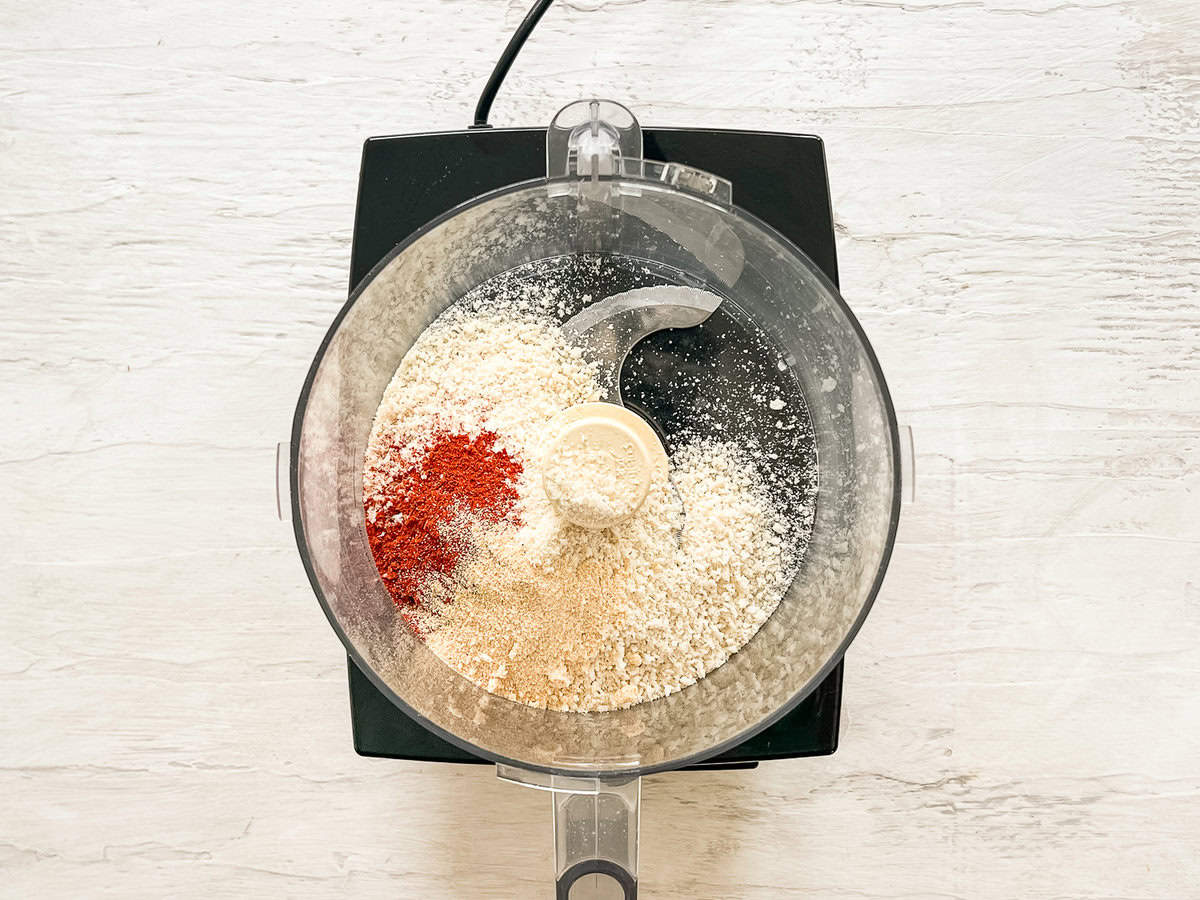
Tip: Pulse the breadcrumb mixture in a blender until it’s a finer texture. It sticks better and cooks more evenly, so I highly suggest it if you can.
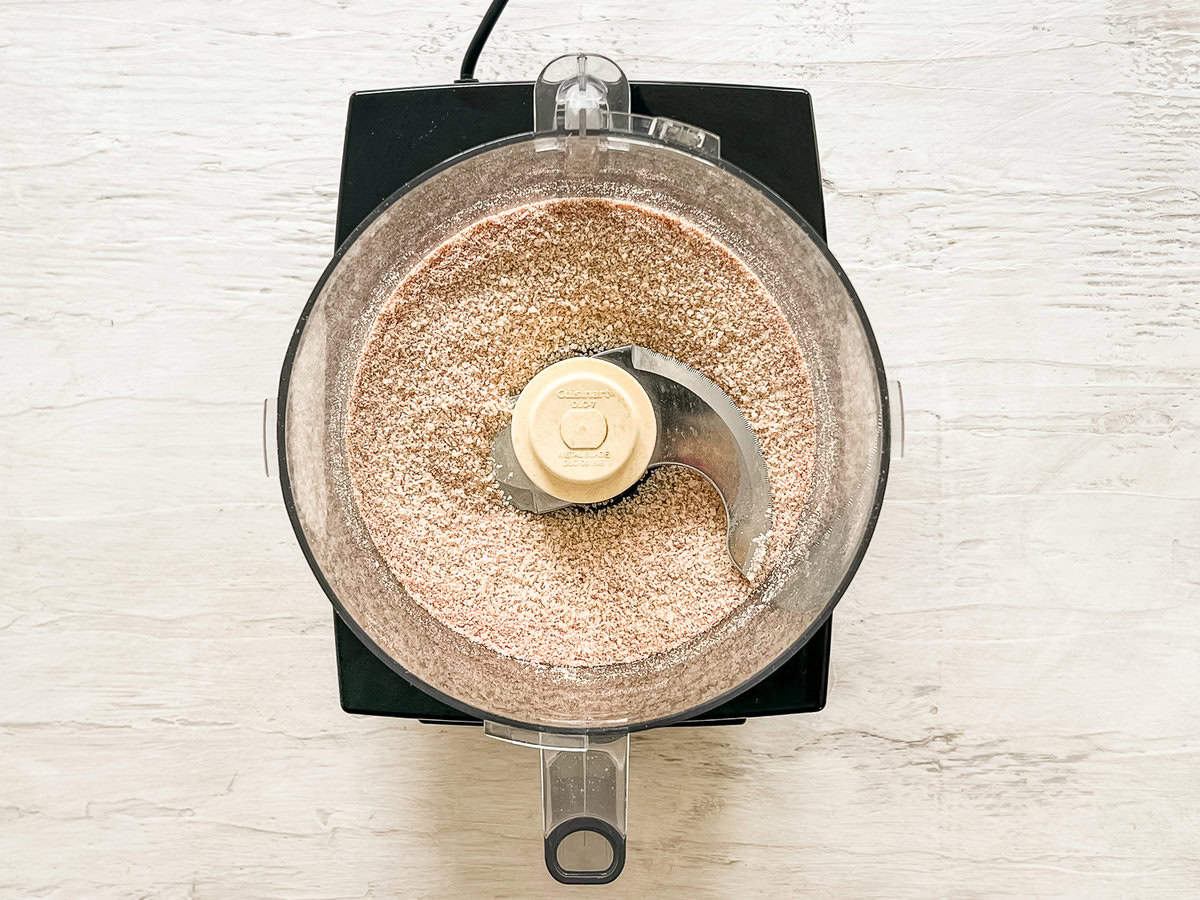
Bread the Drumsticks
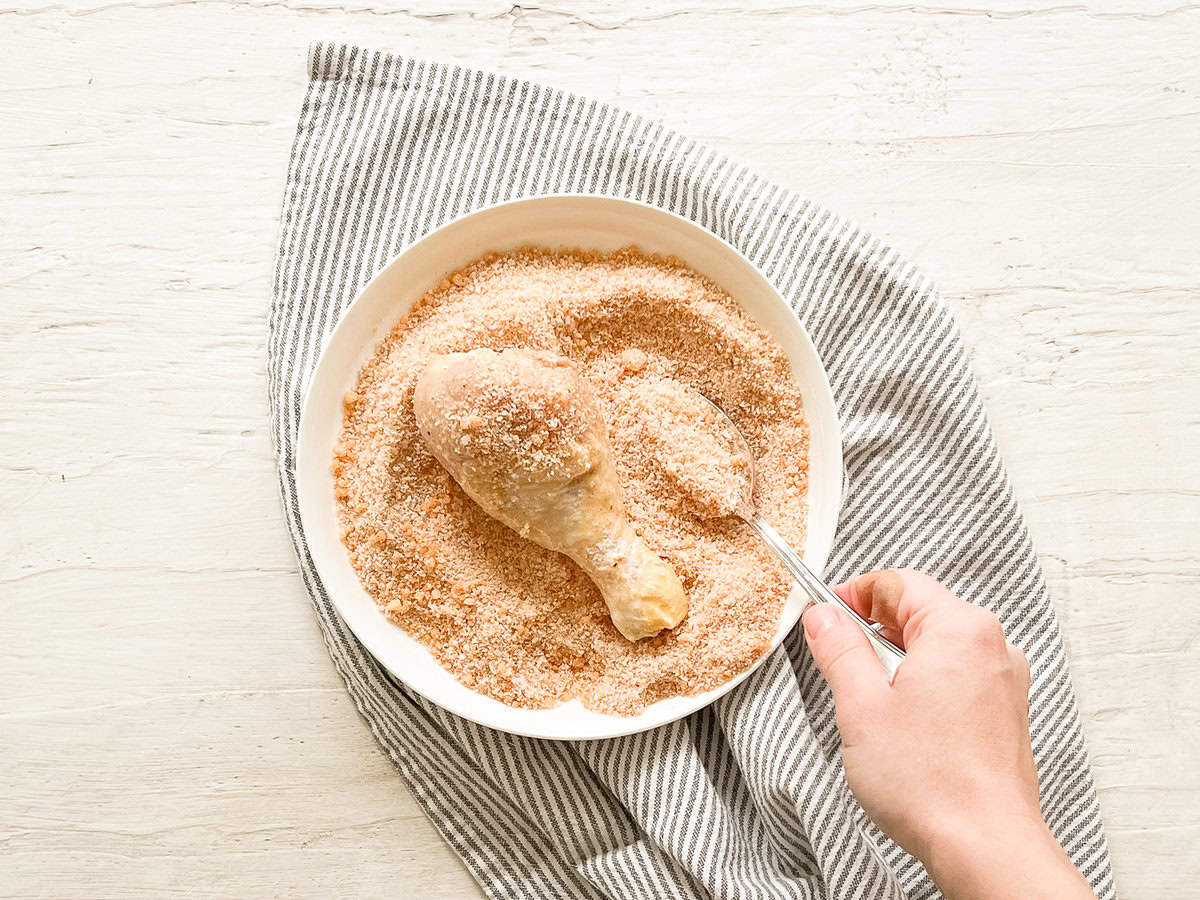
Pat the drumsticks dry (and remove the skin if you’d like). Dredge in the flour on all sides, and then in the egg mixture, letting the excess drip off.
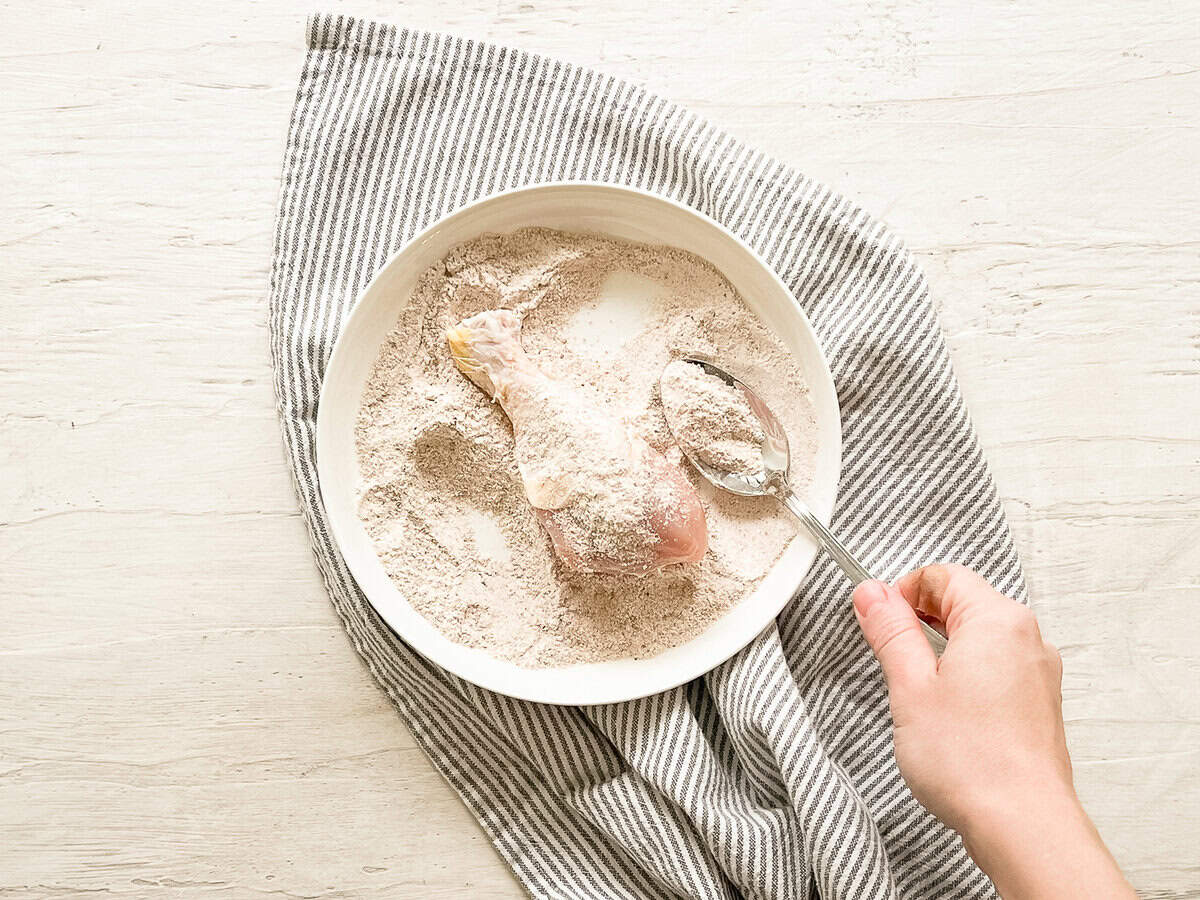
Then press into the breading mixture until evenly coated on all sides. Place the chicken on the prepared rack. Discard any remaining dredging mixtures.
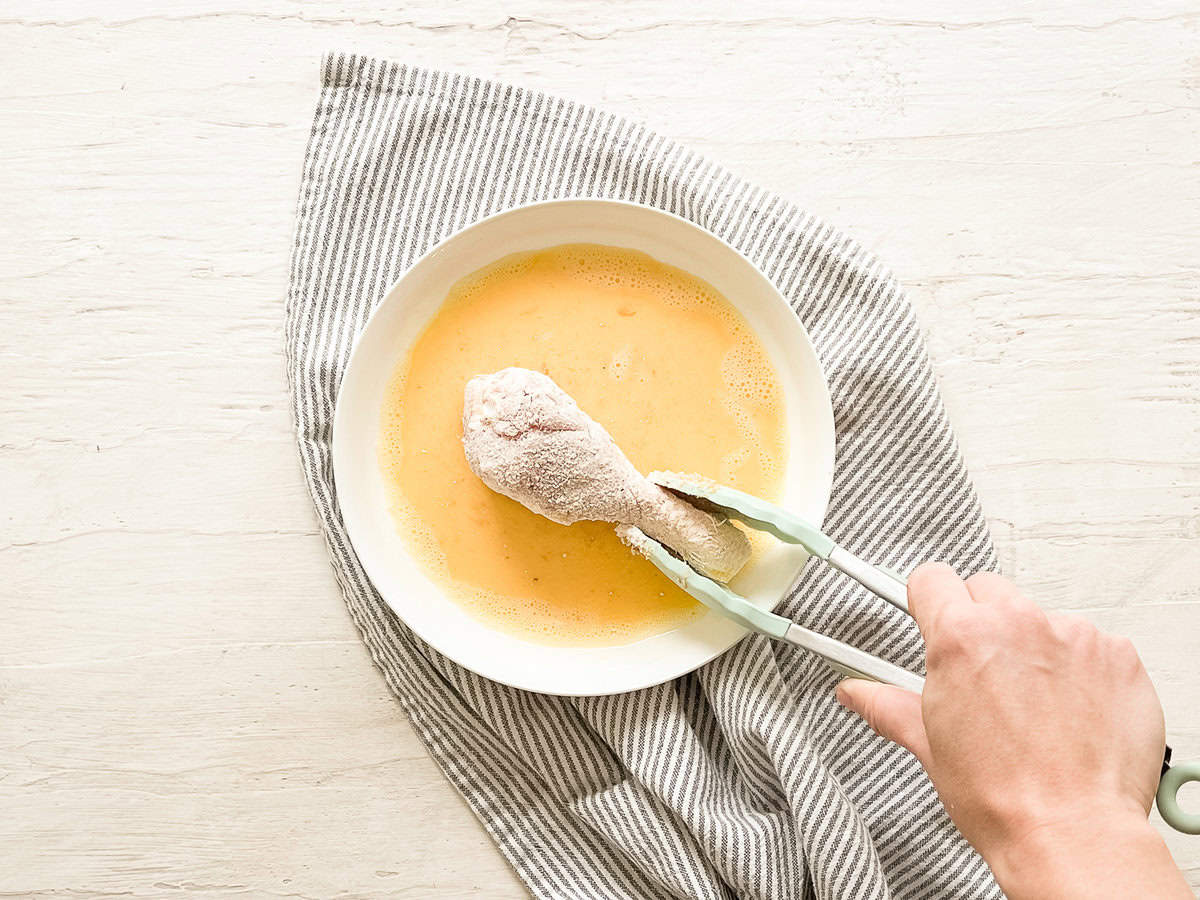
Coat Drumsticks in Oil
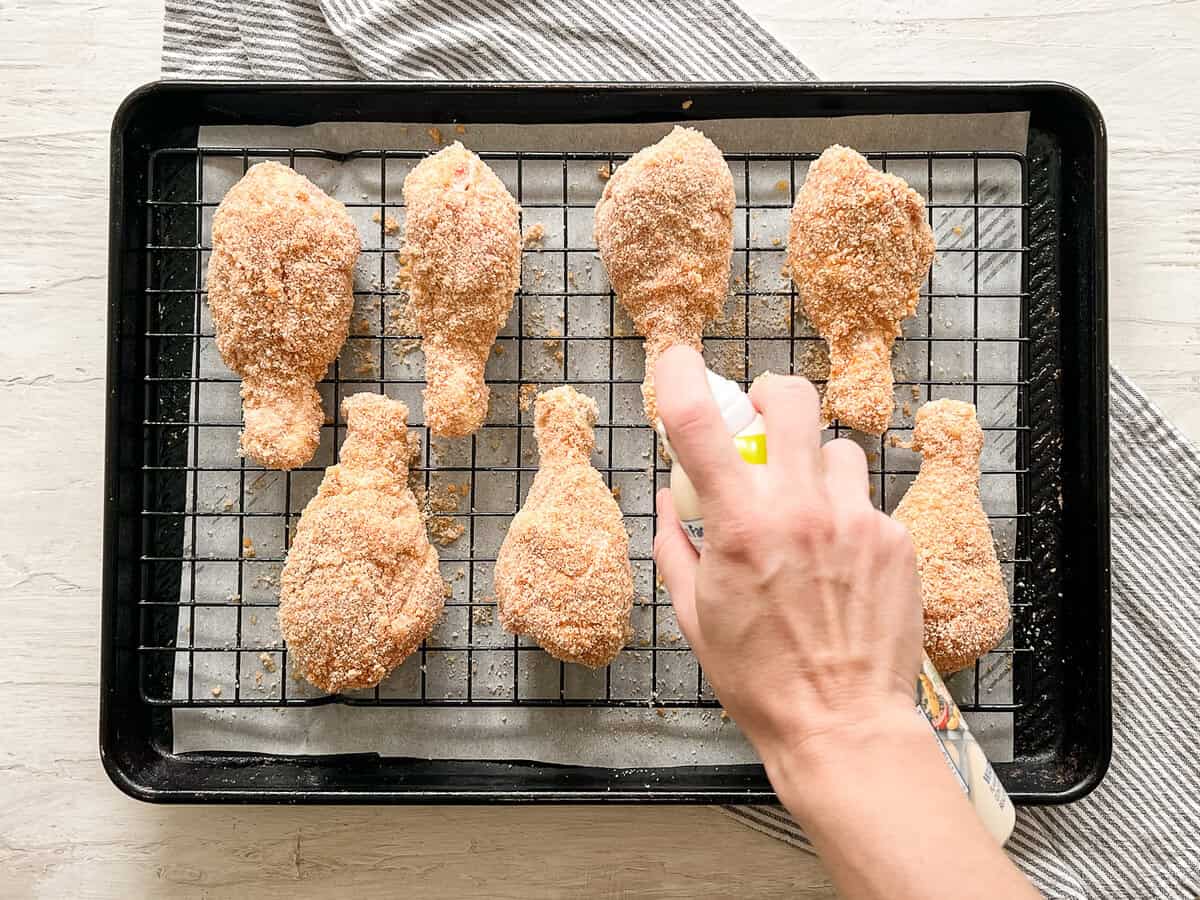
Spray the drumsticks with cooking spray on both sides, making sure to coat the breadcrumbs. This helps them get crispy and golden brown. (Tip: Place in the fridge for 30 minutes or longer to help the breading stick, if you have time.)
Roast
Place sheet pan on the top oven rack and roast for about 45 minutes, turning each drumstick over halfway through. They are done when golden brown and an instant-read thermometer (inserted into the thickest part of a drumstick without touching bone) registers 165°F.
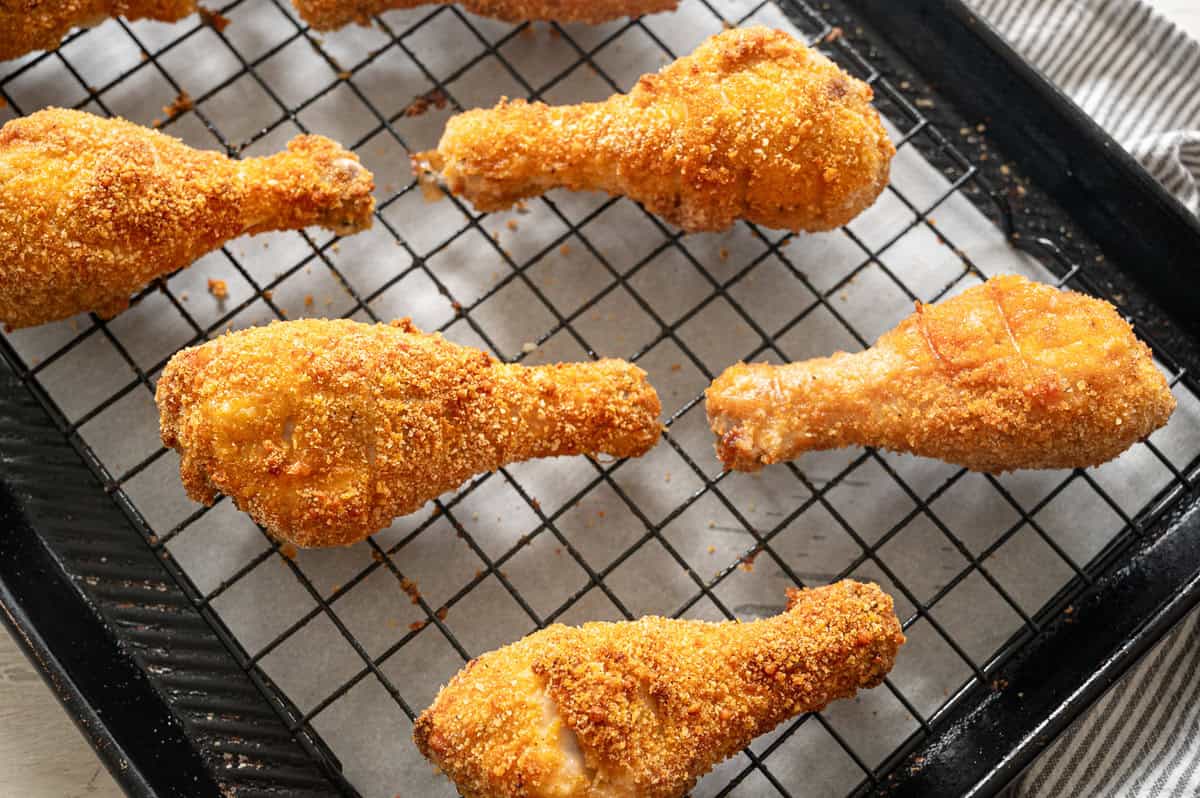
Optional: If you’d like them even crispier, turn on the broiler at the end for a few minutes. Watch closely so they don’t burn.
Optional Dipping Sauce
While the chicken bakes, mix together the (optional) Honey Mustard Dipping Sauce in a small bowl and set in the fridge until ready to serve.
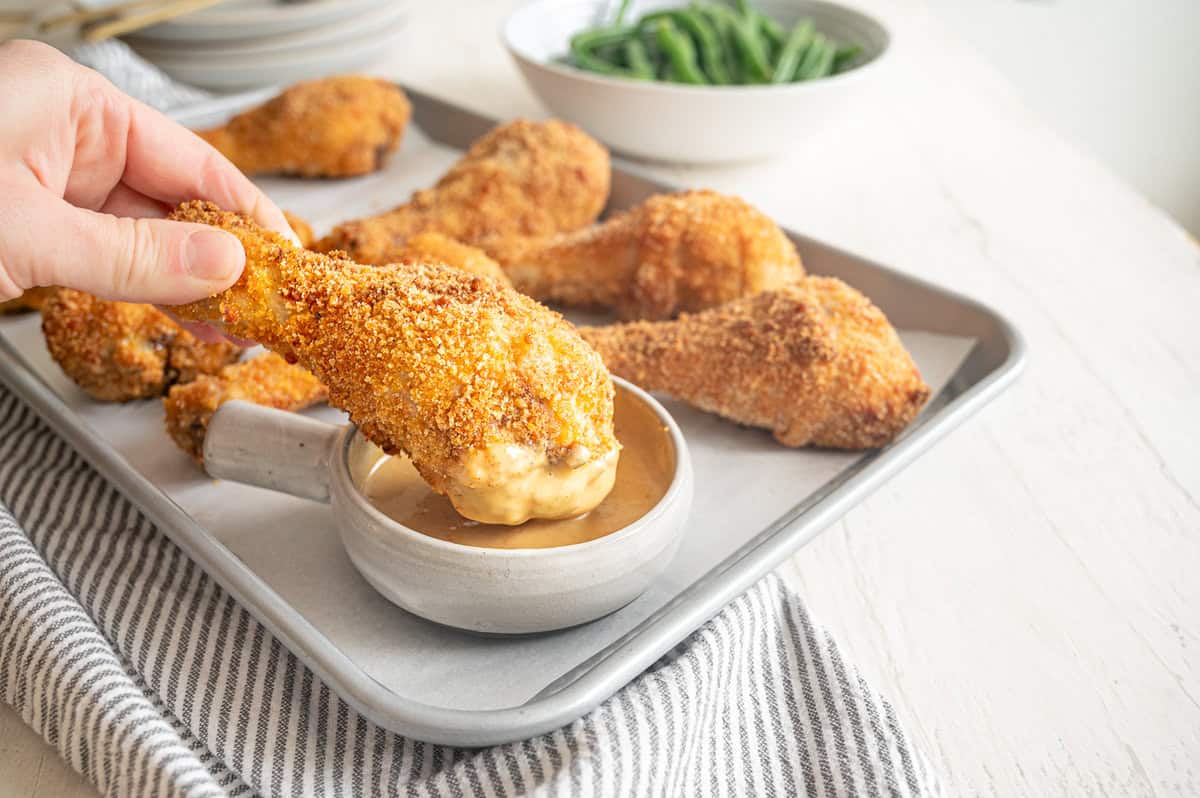
Serve: Serve the warm drumsticks with the dipping sauce on the side.
How to Freeze Chicken Drumsticks
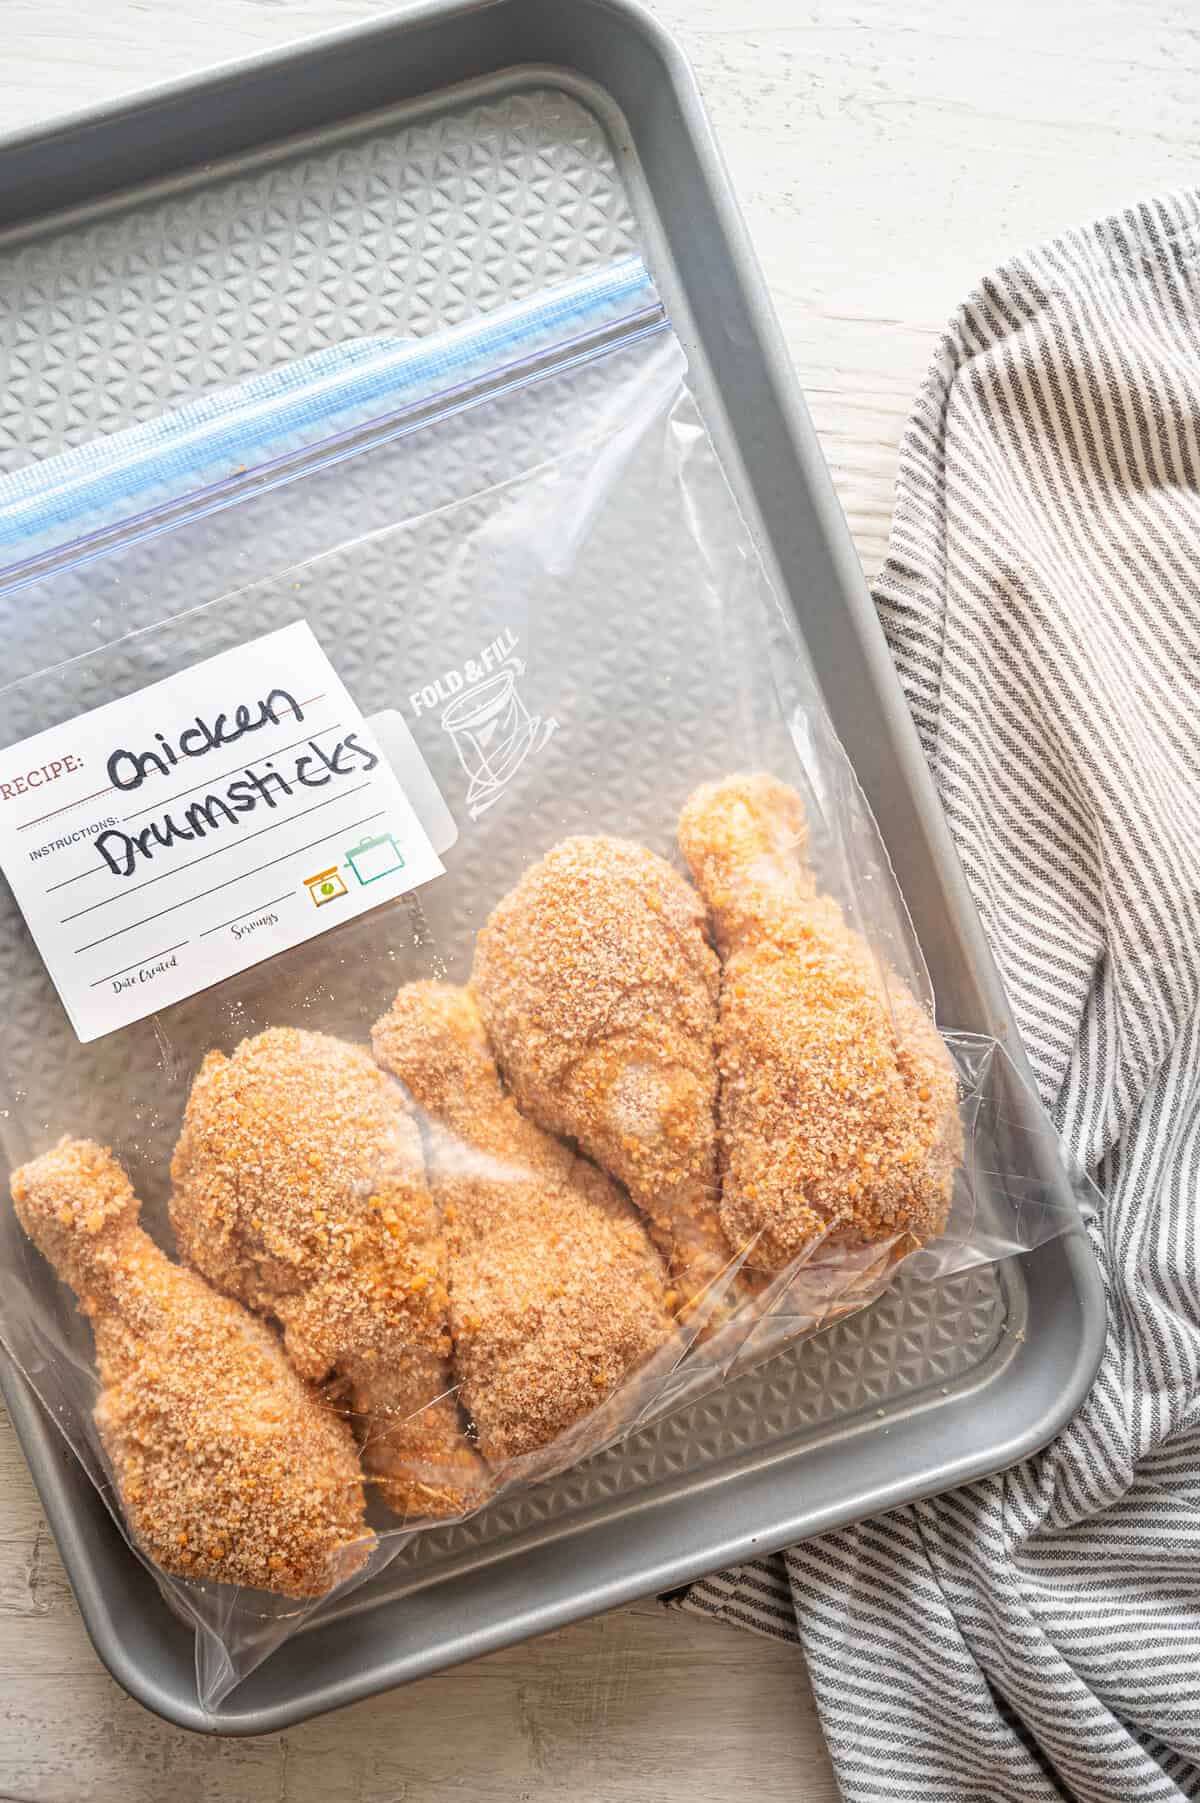
Believe it or not, these make a great freezer meal! Just be sure to freeze the drumsticks BEFORE baking.
Freeze For Later: Follow Steps 2-3. After breading the drumsticks, carefully lay them in a single layer in a gallon-sized freezer bag or shallow container with lid. Use parchment paper to separate layers, if needed. Seal and freeze. (Note: The Honey Mustard Sauce needs to be made fresh. We do not recommend freezing it.)
Prepare From Frozen: Note: You’ll need the Honey Mustard Dipping Sauce ingredients on hand. Thaw over night in the fridge.
FAQs
You’ll bake them at 400°F for about 45 minutes. Give them a turn halfway through. You’re looking for them to be golden brown on all sides and register at least 165°F internally.
If you want them to get even crispier, place them under the broiler for a minute or two. Watch them closely so they don’t burn!
Absolutely! Just use 1:1 gluten-free baking flour in place of the whole wheat flour. And use gluten-free bread crumbs in place of the Panko.
What to Serve with Crispy Baked Drumsticks
Crispy Baked Drumsticks
Ingredients
- 1/2 cup whole wheat flour (sub: all-purpose flour)
- salt and pepper
- 2 large eggs
- splash milk (sub: water)
- 1 1/3 cup whole wheat panko bread crumbs (regular will work fine)
- 1 teaspoon smoked paprika (sub: regular paprika)
- 1 teaspoon onion powder
- 1 teaspoon garlic powder
- 8 chicken drumsticks (about 2 1/2 lbs)
- cooking spray
- Optional for serving: Honey Mustard Dipping Sauce
Instructions
- Prep: Preheat oven to 400°F. Cover a rimmed sheet pan with foil. Place a wire baking rack on top and generously coat with cooking spray.
- Set Up Dredging Stations: Stir together the flour, 1/2 teaspoon salt, and 1/4 teaspoon pepper in a shallow dish. Beat the egg and milk together in another shallow dish. Mix breadcrumbs, paprika, onion powder, 1 teaspoon salt, garlic, and 1/4 teaspoon pepper in the last shallow dish. (Tip: Pulse the breadcrumb mixture in a blender until it's a finer texture. It's sticks better and cooks more evenly, so I highly suggest it if you can.)
- Bread the Drumsticks: Pat the drumsticks dry (and remove the skin if you'd like). Dredge in the flour on all sides, and then in the egg mixture, letting the excess drip off. Then press into the breading mixture until evenly coated on all sides. Place the chicken on the prepared rack. Discard any remaining dredging mixtures.
- Coat Drumsticks in Oil: Spray the drumsticks with cooking spray on both sides, making sure to coat the breadcrumbs. This helps them get crispy and golden brown. (Tip: Place in the fridge for 30 minutes or longer to help the breading stick, if you have time.)
- Roast: Place sheet pan on the top oven rack and roast for about 45 minutes, turning each drumstick over halfway through. They are done when golden brown and an instant-read thermometer (inserted into the thickest part of a drumstick without touching bone) registers 165°F. Optional: If you'd like them even crispier, turn on the broiler at the end for a few minutes. Watch closely so they don't burn.
- Optional Dipping Sauce: While the chicken bakes, mix together the (optional) Honey Mustard Dipping Sauce in a small bowl and set in the fridge until ready to serve.
- Serve: Serve the warm drumsticks warm with the dipping sauce on the side.
Freezer Instructions
Notes/Tips
- For more heat in the breading, add a few dashes of hot sauce to the egg mixture.
- To help the breading stick to the chicken better, set the pan of breaded drumsticks in the fridge for 30 minutes or more before baking.
- Tip to Remove Skin: To remove the skin, grab it with a paper towel and pull it off over the bottom of the drumstick. I personally like this best!
- Gluten-Free Version: Use 1:1 gluten-free baking flour in place of the whole wheat flour. And use gluten-free bread crumbs in place of the Panko.
Nutrition
Photos and video by Whitney Reist of Sweet Cayenne.

Yumm!! This chicken was crispy and flavorful! My kids devoured it too!
Yay! Anything my kids will devour is a huge win in my book. Thanks for leaving a review Stephanie!
We love this recipe! Juicy, crunchy goodness. My kids regularly ask for this for dinner!
Yes! Thanks so much for sharing Heather.
Turned out fantastic! Although for me 40 minutes was the perfect amount of time for them. Turned out super juicy and tender, this will be one of my main go to’s.
Good to know. Thanks for the review and feedback!
Super tasty and juicy drumsticks! My fam loves these
Super yummy! We don’t like dark meat, so I followed same instructions, but made tenders using boneless/skinless chicken breasts. Turned out great! We ate with your oven-roasted broccoli.
Great idea!
thank you
I love this idea… chicken legs and thighs are ALWAYS on sale and I’m always looking for recipes that help with the weekly budget! We’re entertaining for a football party this weekend so I’m going to make these… winning… both reasonably priced and full, of yummy flavors! ? ? ?
Love this recipe. I have used it many times. As an FYI: I always take the chicken skin off because I can’t stand it. This makes the breading fall off when frying or baking. I learned a trick recently and use it when making this recipe. Add 1/2 tsp of gelatin to your dry breading mixture and it binds the breading to the meat. Works great!!!
Wow, thanks for the tip. I’m going to go back and try this one again soon!
I wonder if these would also be good with chicken breast? Going to give it a try…
Oh yeah, great idea! This would be awesome.
I cooked these on the gas grill tonight to avoid using the oven in this crazy heat. I put them on a pampered chef grill pan with foil under the pan and they were perfect!
I’ve never thought to do that. But since I often set off the fire alarm when baking at high temps, I will definitely try this method! Thanks for the idea, Lauren!
Have you ever frozen the sauce?
No, I haven’t. My guess is that the yogurt won’t defrost well. But the sauce is awesome and worth making.
Great recipe! They were just as crunchy and crispy as fried. The sauce was also very yummy!
do you bake the chicken then freeze???
No, you will freeze this before baking. When ready to cook, thaw and bake according to the directions.
I just prepared this meal and froze it. When i am ready to cook it, do i need to let the drumsticks thaw before cooking them at 475 degrees for 25 to 30 minutes?
Yep, make sure they are thawed. I would put them in the fridge the night before and give them close to 24 hours to completely thaw. Hope you enjoy them!
Also, keep a close eye on them so the outside doesn’t burn. My oven may be a bit different than yours.
Just bought my Smart Chicken drumsticks off the Gerbes manager's special (1/2 off!!!) Going to make these tomorrow night. Thanks,
These look delicious! I can't wait to try em!