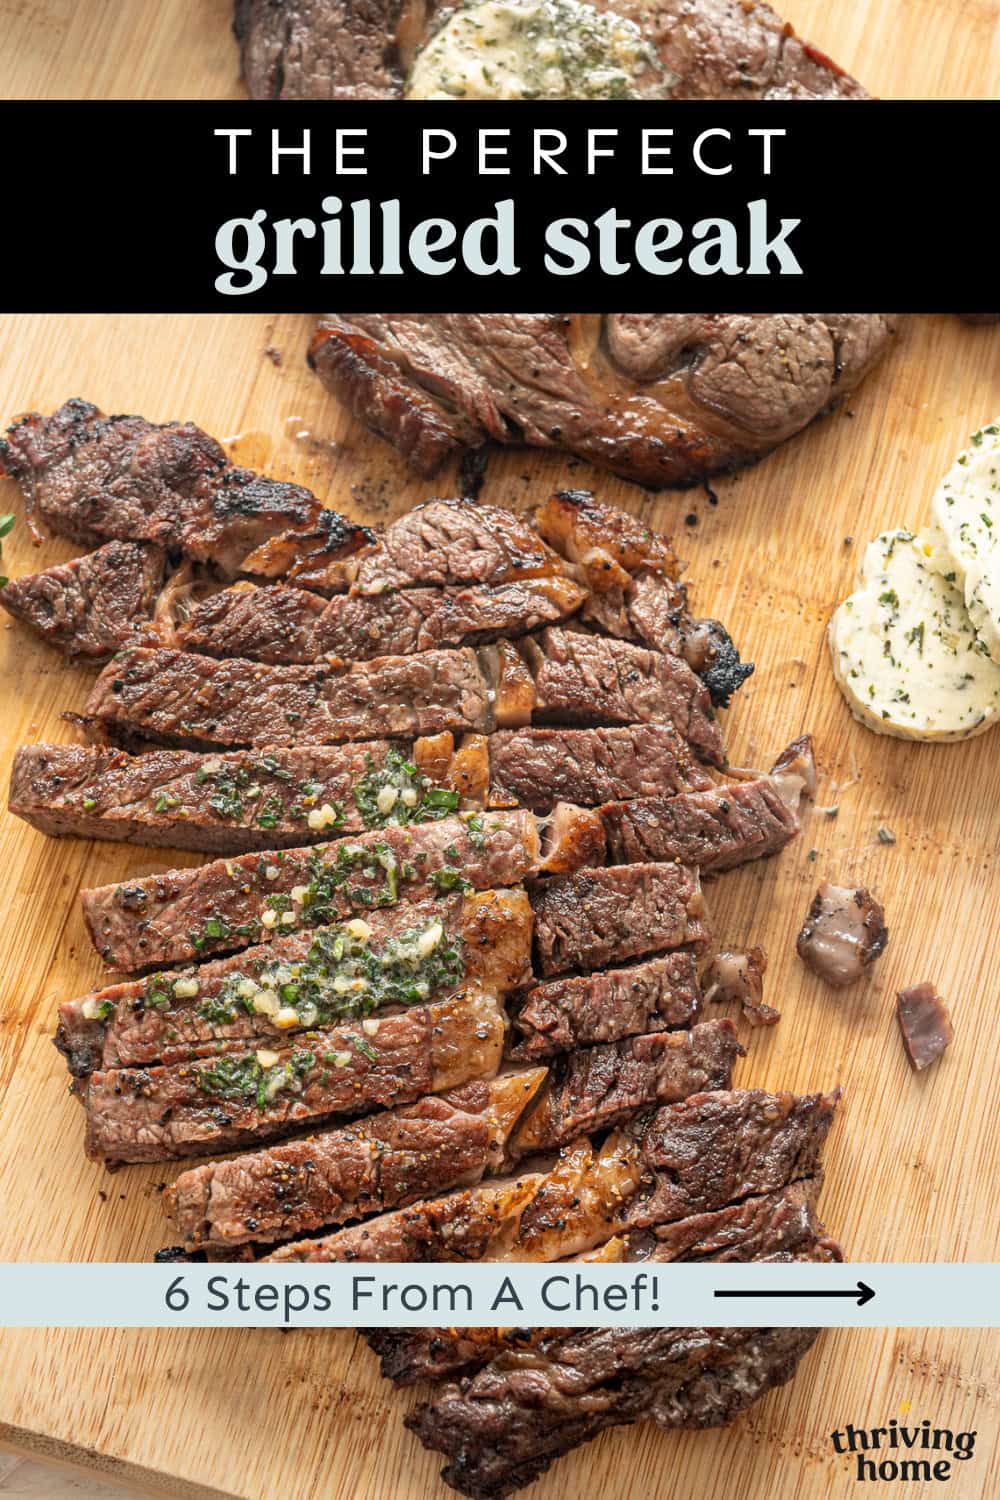
The Perfect Grilled Steak
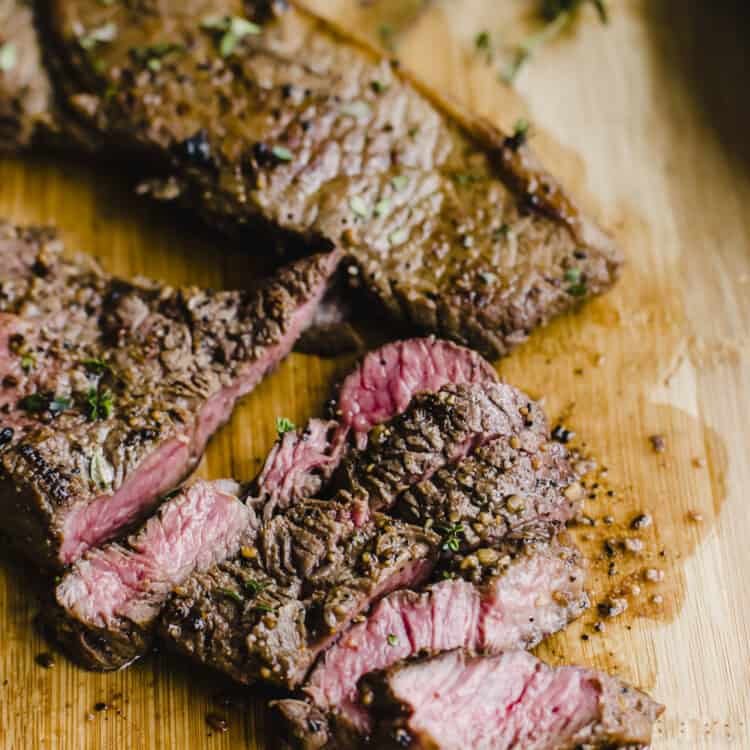
Follow these six steps from a chef on how to make the perfect grilled steak with Garlic Herb Butter. Spoiler alert: You’ll need to remove it from the grill sooner than you think! This recipe yields steak with a delicious, flavorful crust on the outside while keeping the inside juicy and tender.
Or try our Pan-Seared Oven-Finished Steak.
How to Grill Steak: 6 Steps to Perfection
Years ago, I learned how to make PERFECT pan-seared, oven-finished steak thanks to my pal, Chef Bryan Williams. So, I turned to him once again for expert advice about how to grill steak. Spoiler alert: Grilled steak is extremely easy!
Follow this step-by-step guide from a chef to help you grill steak like a pro…
Choose the Perfect Steak for Grilling
If you’re like me, you might need to start with the basics: what are the different cuts of steak? Hy-Vee’s Summer Grilling Guide has a helpful infographic…
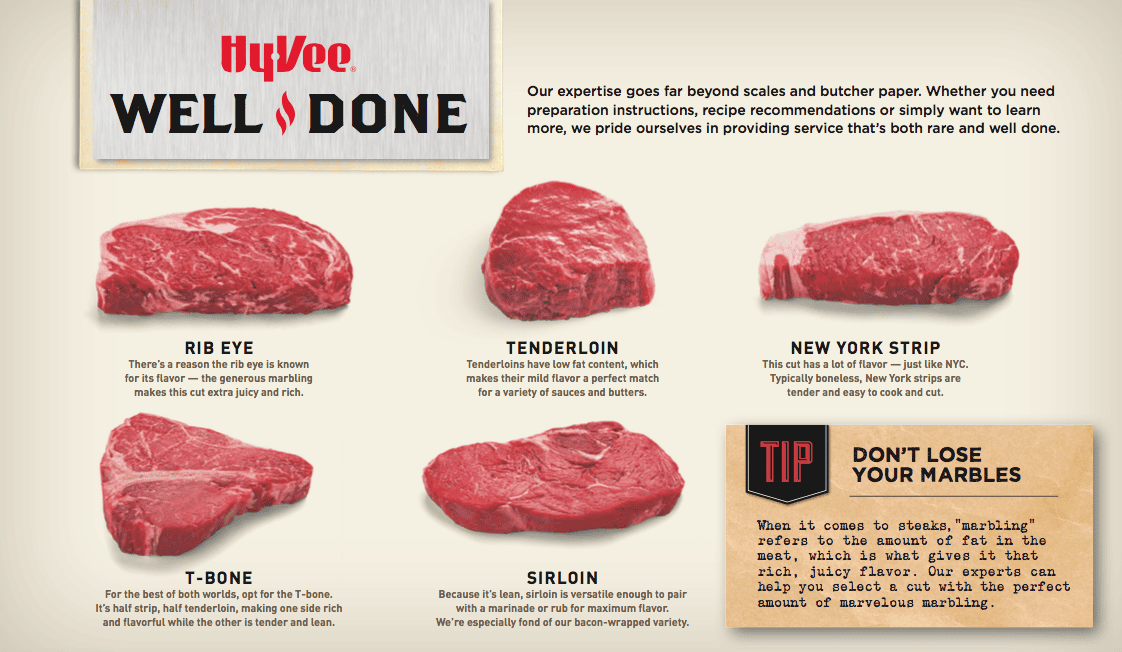
I realize everyone has different tastes. However, my husband’s favorite of all these is probably the New York Strip, or as we like to call it in these parts, the Kansas City Strip. The ribeye and sirloin are also good choices for grilling.
Look for meat with the most marbling (i.e. grains of fat running through the steak). The fat melts as the steak is grilled, naturally tenderizing the meat and building in flavor.
Don’t be afraid to ask the expert at the meat counter for recommendations if you’re unsure of what to get.
Prep Steak for Grilling
Set your steaks out on the counter for about 30 minutes to bring them up to room temperature. This is an important step! Move on to preheating your grill (step 2) while they sit out.
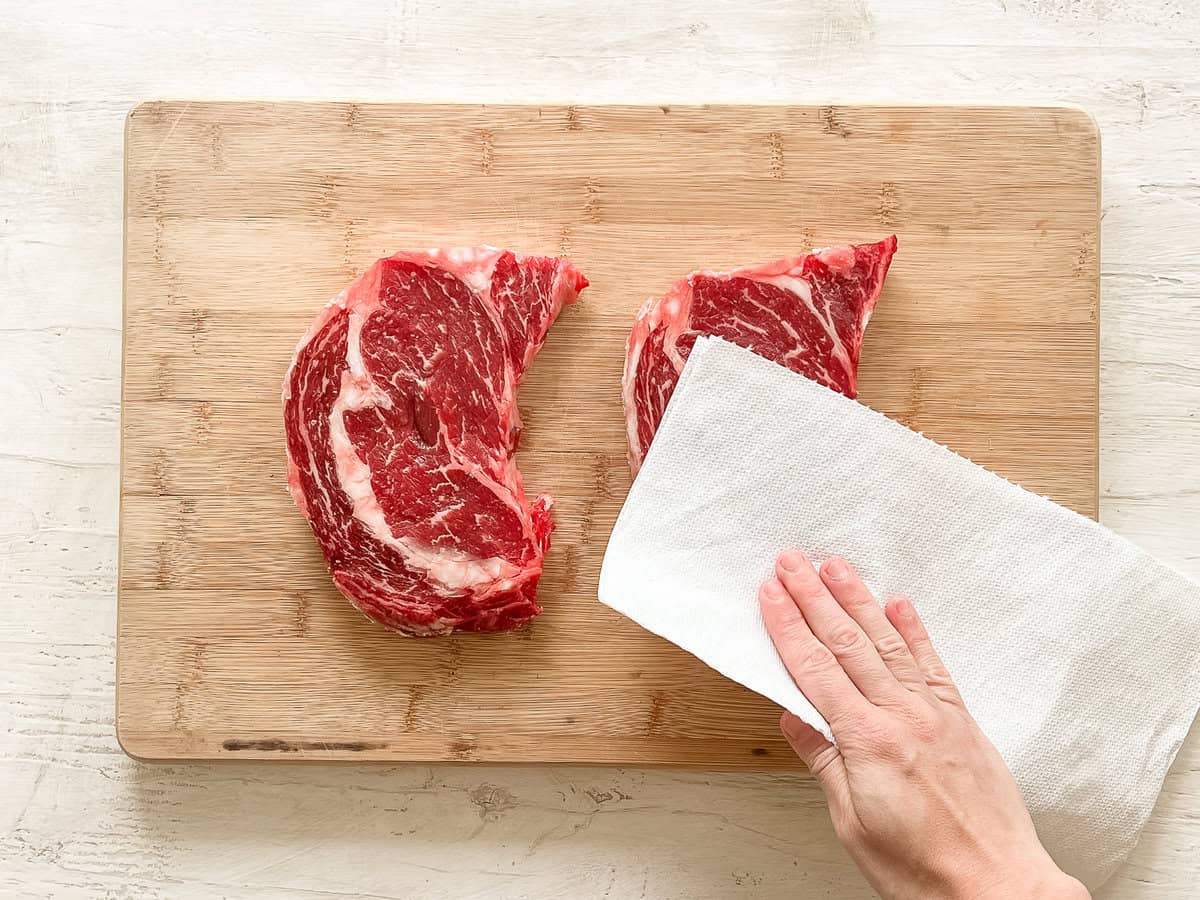
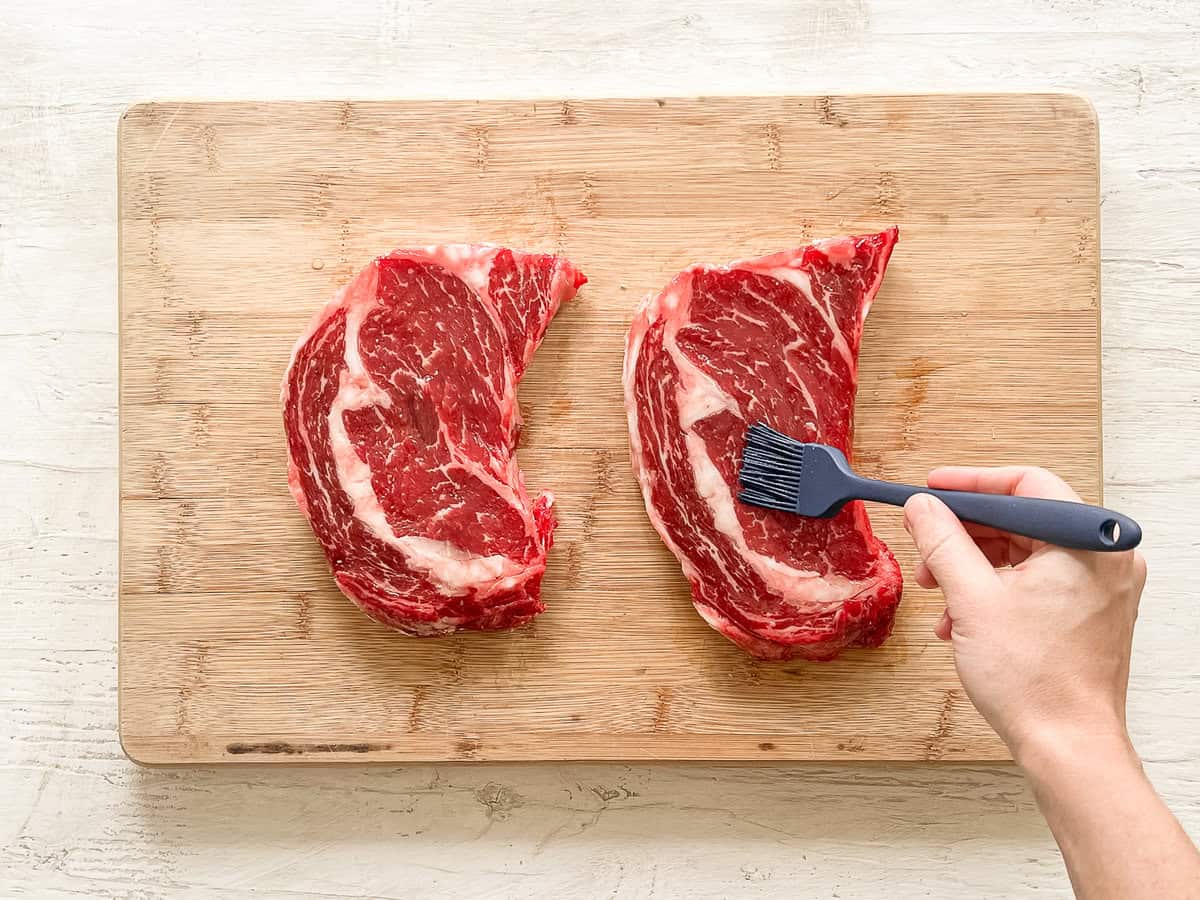
Right before grilling, pat the steaks dry on both sides and rub each steak with a little high-heat oil like avocado oil. Then, season well on both sides.
Chef Bryan says, “I love Montreal Steak Seasoning, but the classic Kosher salt and ground black pepper is great, too.”
Prep the Grill
Get It Hot: Your grill isn’t ready until it’s seriously hot–hot enough to sear the outside of the steak quickly and form a crust. So crank up the heat initially and close the lid. It’s ready when it reaches 500°F.
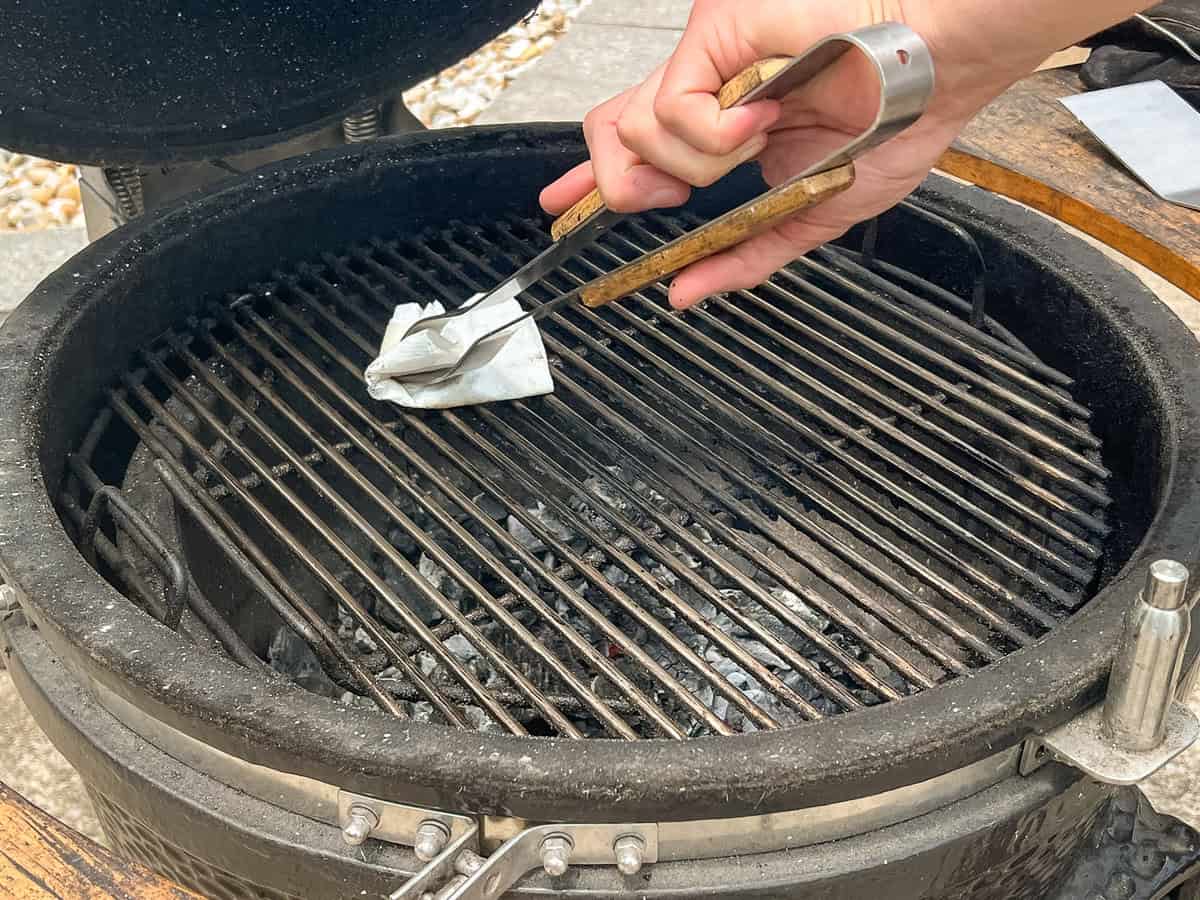
Clean It: Once the grill is hot, be sure to clean the grates well. Chef Bryan says, “I preheat the grill and brush the grate with an appropriate brush for your grill. Ceramic-coated grill grates don’t like metal bristles much. Aluminum foil crumpled up can be used for many grills with tongs to scrub the grates too.”
Grease It: Lastly, oil the grates carefully. To do this, douse a few paper towels in a high-heat oil like avocado oil or grapeseed oil. Grab them with tongs and rub over the grates. Avoid allowing it to drip down.
Sear Both Sides of the Steak
How long you grill your steak on each side depends on the thickness of the steak and to what doneness level you desire.
Below is the general grilling concept, but note the specific cooking times and temps in the next step below:
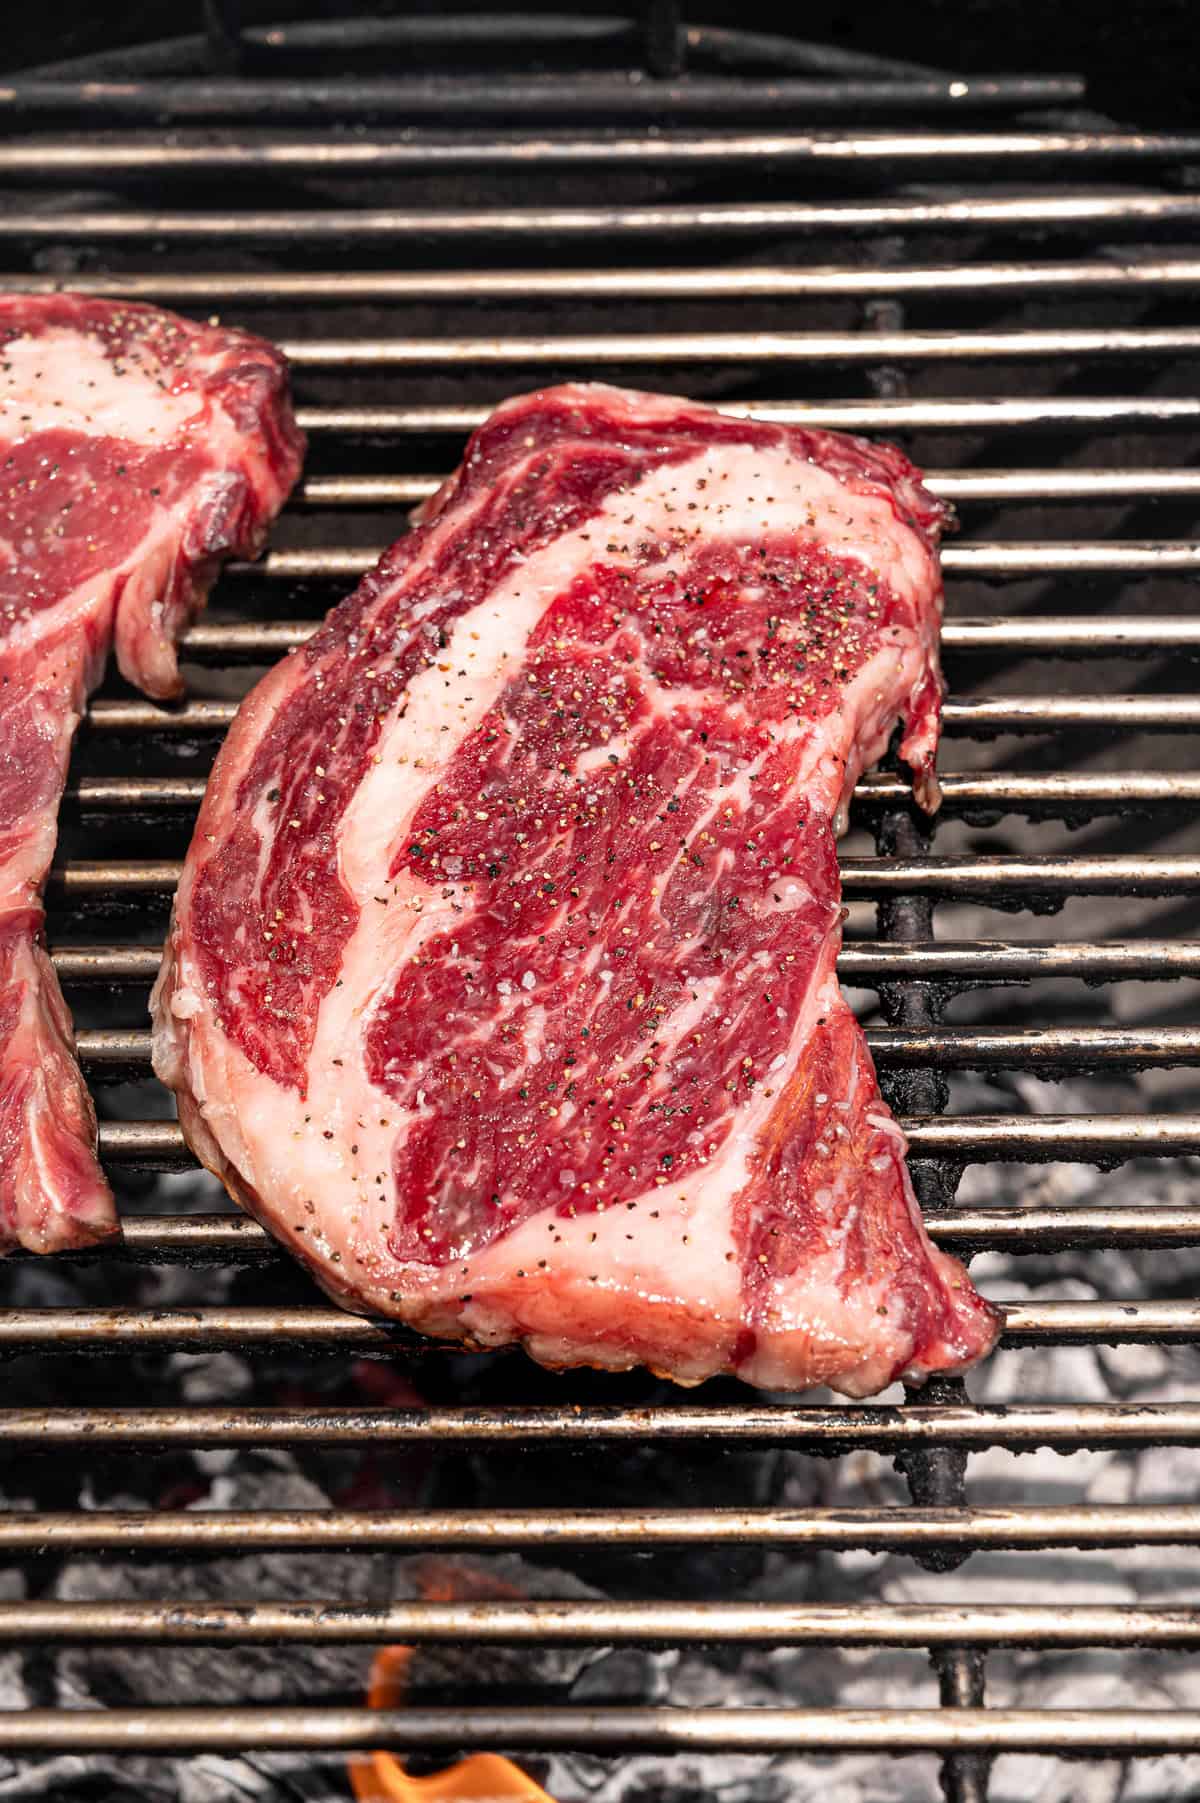
- Place the meat on the hottest part of the grill, keeping the lid off.
- Grill for a few minutes on the first side and then gently turn the steak 45 degrees on the same side. (The steak should lift off the grill easily when it’s ready to rotate like this.) Sear for another few minutes, to get those perfect char marks.
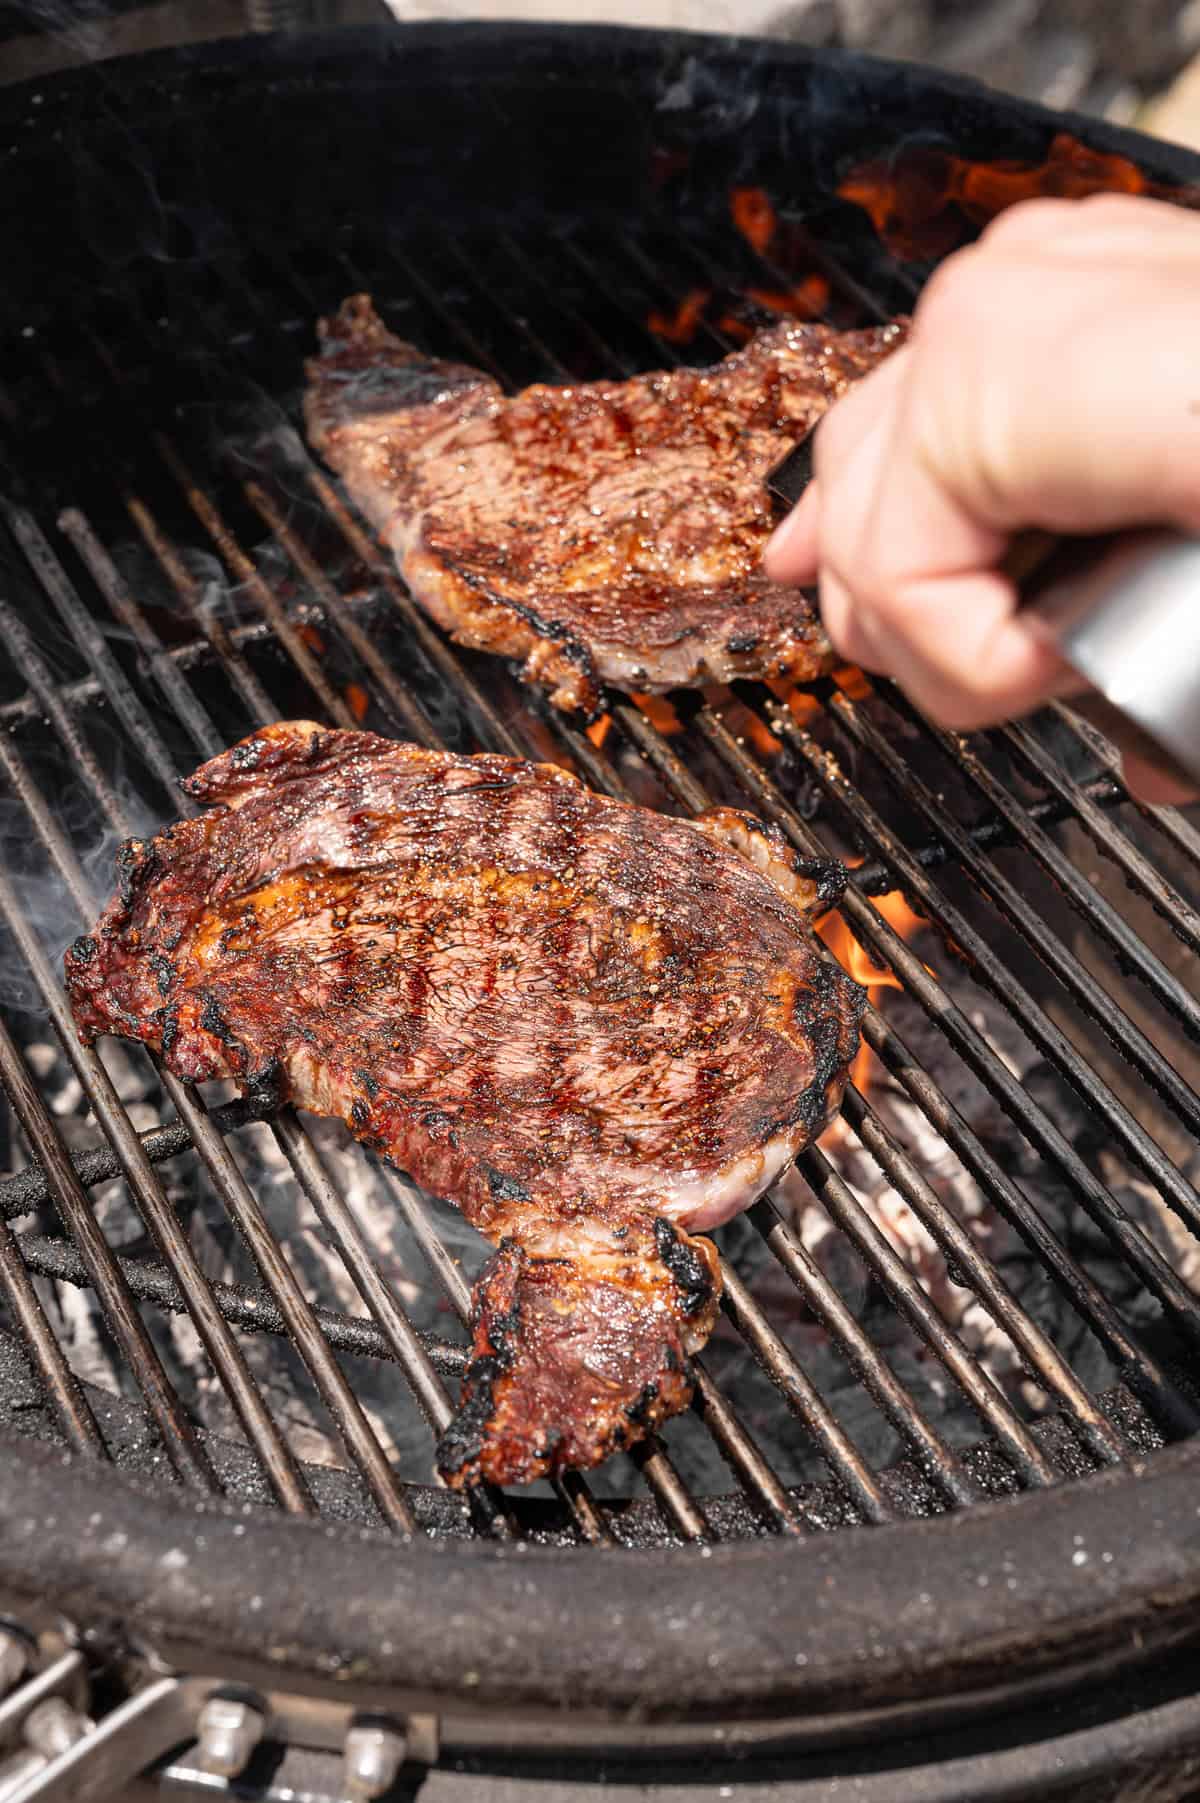
- Once you have good grill marks on that side, flip the steaks over to another hot part of the grill and sear for another 2-3 minutes. Then, turn the steaks 45 degrees one last time for the final few minutes of cook time.
- If the steaks are burning before cooking to your preferred doneness, move them to the cooler area of the grill to finish up.
It’s important to note that the cooking time can vary depending on the thickness of the steak and the heat of your grill.
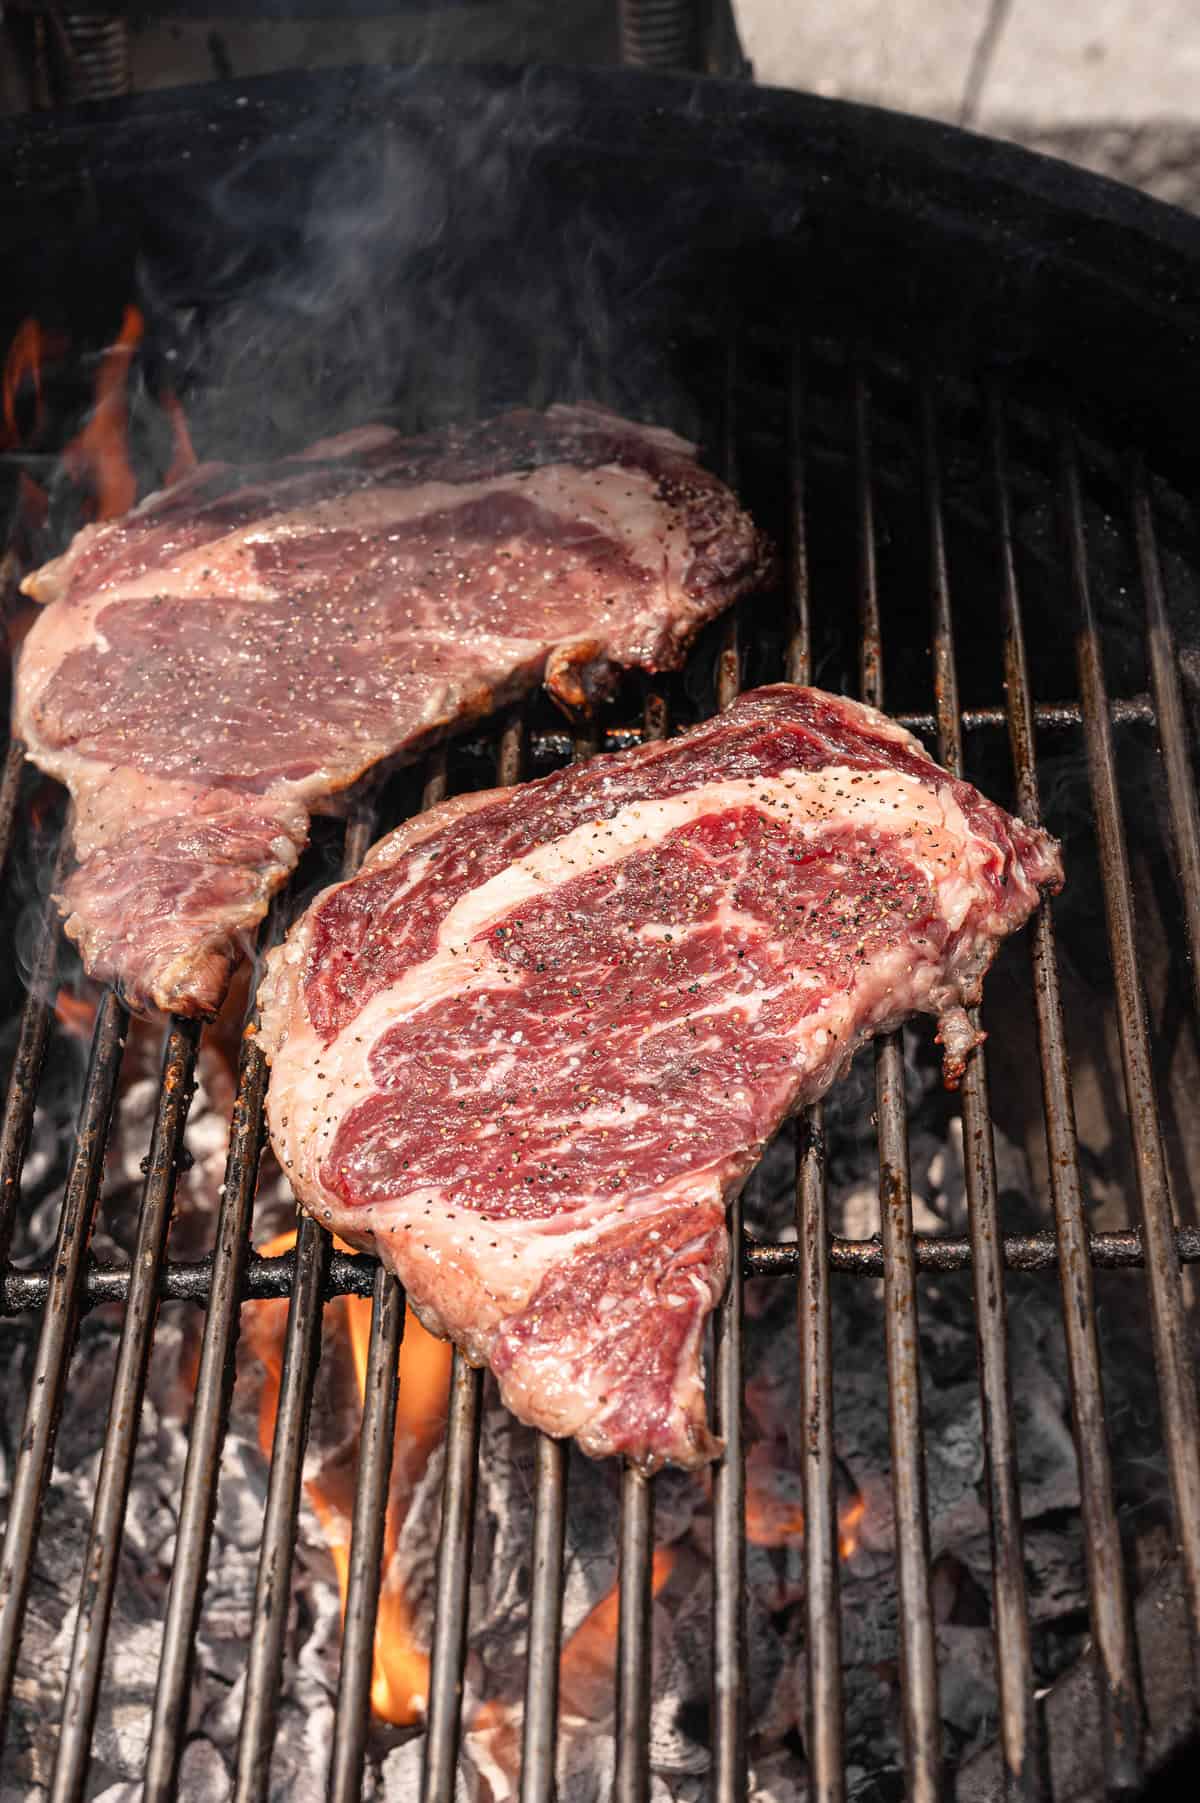
What to Do When Flares Arise
If the grill flares up, move the steaks to the outside edge, returning them to the center when the flame dies down. Gently pick up with tongs, instead of sliding the steaks. The key is not to flip them around.
You can also keep a water spray bottle handy to help tame flare-ups.
Cook to the Perfect Internal Temperature
A meat thermometer and paying close attention to internal temperature are key if you want the perfect steak every time. The USDA recommends these safe cooking temperatures, but most chefs say that this is NOT the best way to cook a steak.
Chef Bryan recommends removing the steaks off the grill when the internal temperature (taken in the thickest part of the steak and before resting) is:
- 115 degrees for rare
- 125 degrees as medium-rare
- 135 degrees for medium
- 145 degrees for med-well
- 155 degrees for well-done
Once the steaks are removed, “carry-over” cooking happens for the next few minutes while they rest. Cover the steaks with some foil and they’ll continue to cook an additional 5-10 degrees.
I have tested this dozens of times and these internal temps are exactly right! You can trust this steak temp chart from Chef Bryan.
If you’re wondering how long a particular steak will take to cook on the grill, this chart from Omaha Steaks is a helpful resource. Please notice that their suggested cooking temperatures are higher than Chef Bryan’s, so it’s important to cook your steaks a little less than the list.
Grilled Steak Temperature Chart
Keep in mind that your steak will continue to “carry over cook” once you remove it from the grill, rising another 5 degrees as it rests. For the perfect doneness, according to Chef Bryan Williams, remove steaks at the temperatures below:
- 115-125°F = Rare
- 125-135°F = Medium Rare
- 135-145°F = Medium
- 145-155°F = Medium Well
- 155-165°F = Well Done
After removing your steak, transfer it to a plate or cutting board and cover with foil. Let it rest for 5-10 minutes before slicing.
This works again and again in all of my tests of grilled steak!
Let It Rest
Important step! After pulling steaks off the grill and covering with foil, let them rest for at least 5-10 minutes before slicing. The purpose of resting the steak is to let the temperature even out and let the juices settle in the steak. If you cut into a steak right off the grill, all the delicious juices will run right out on your plate and not stay in the steak.
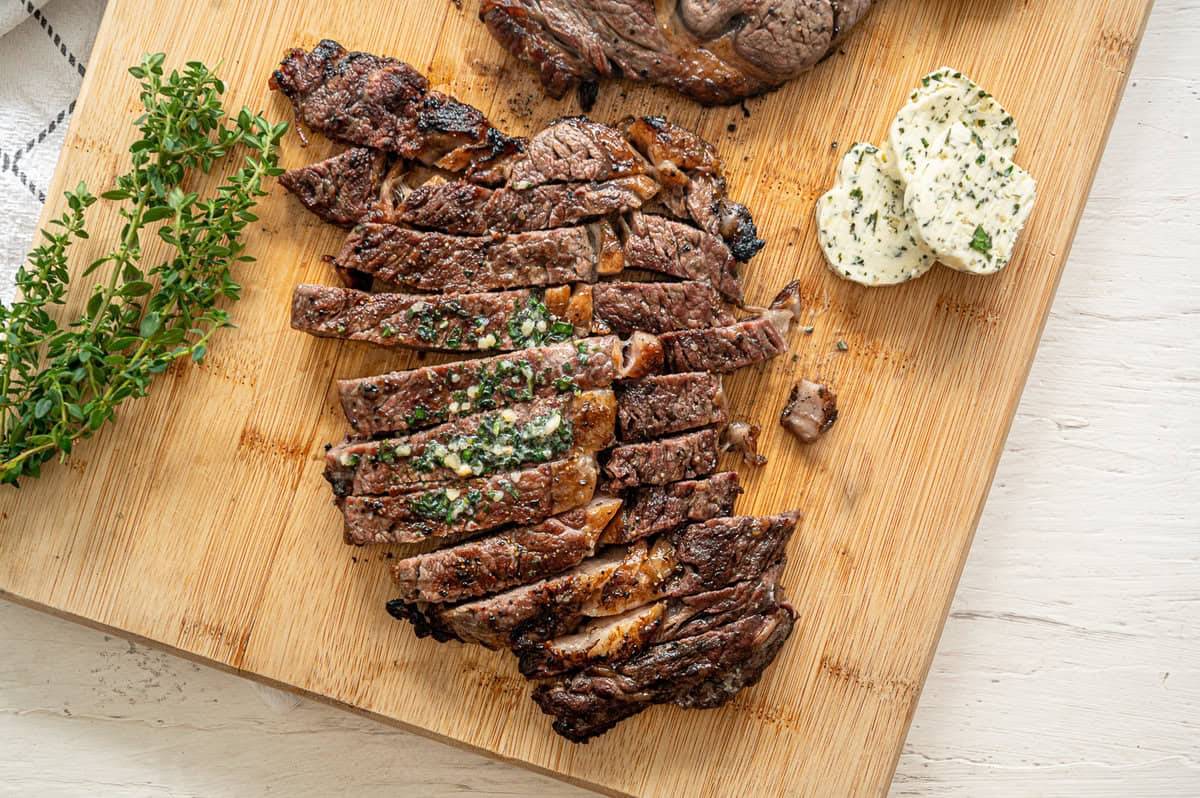
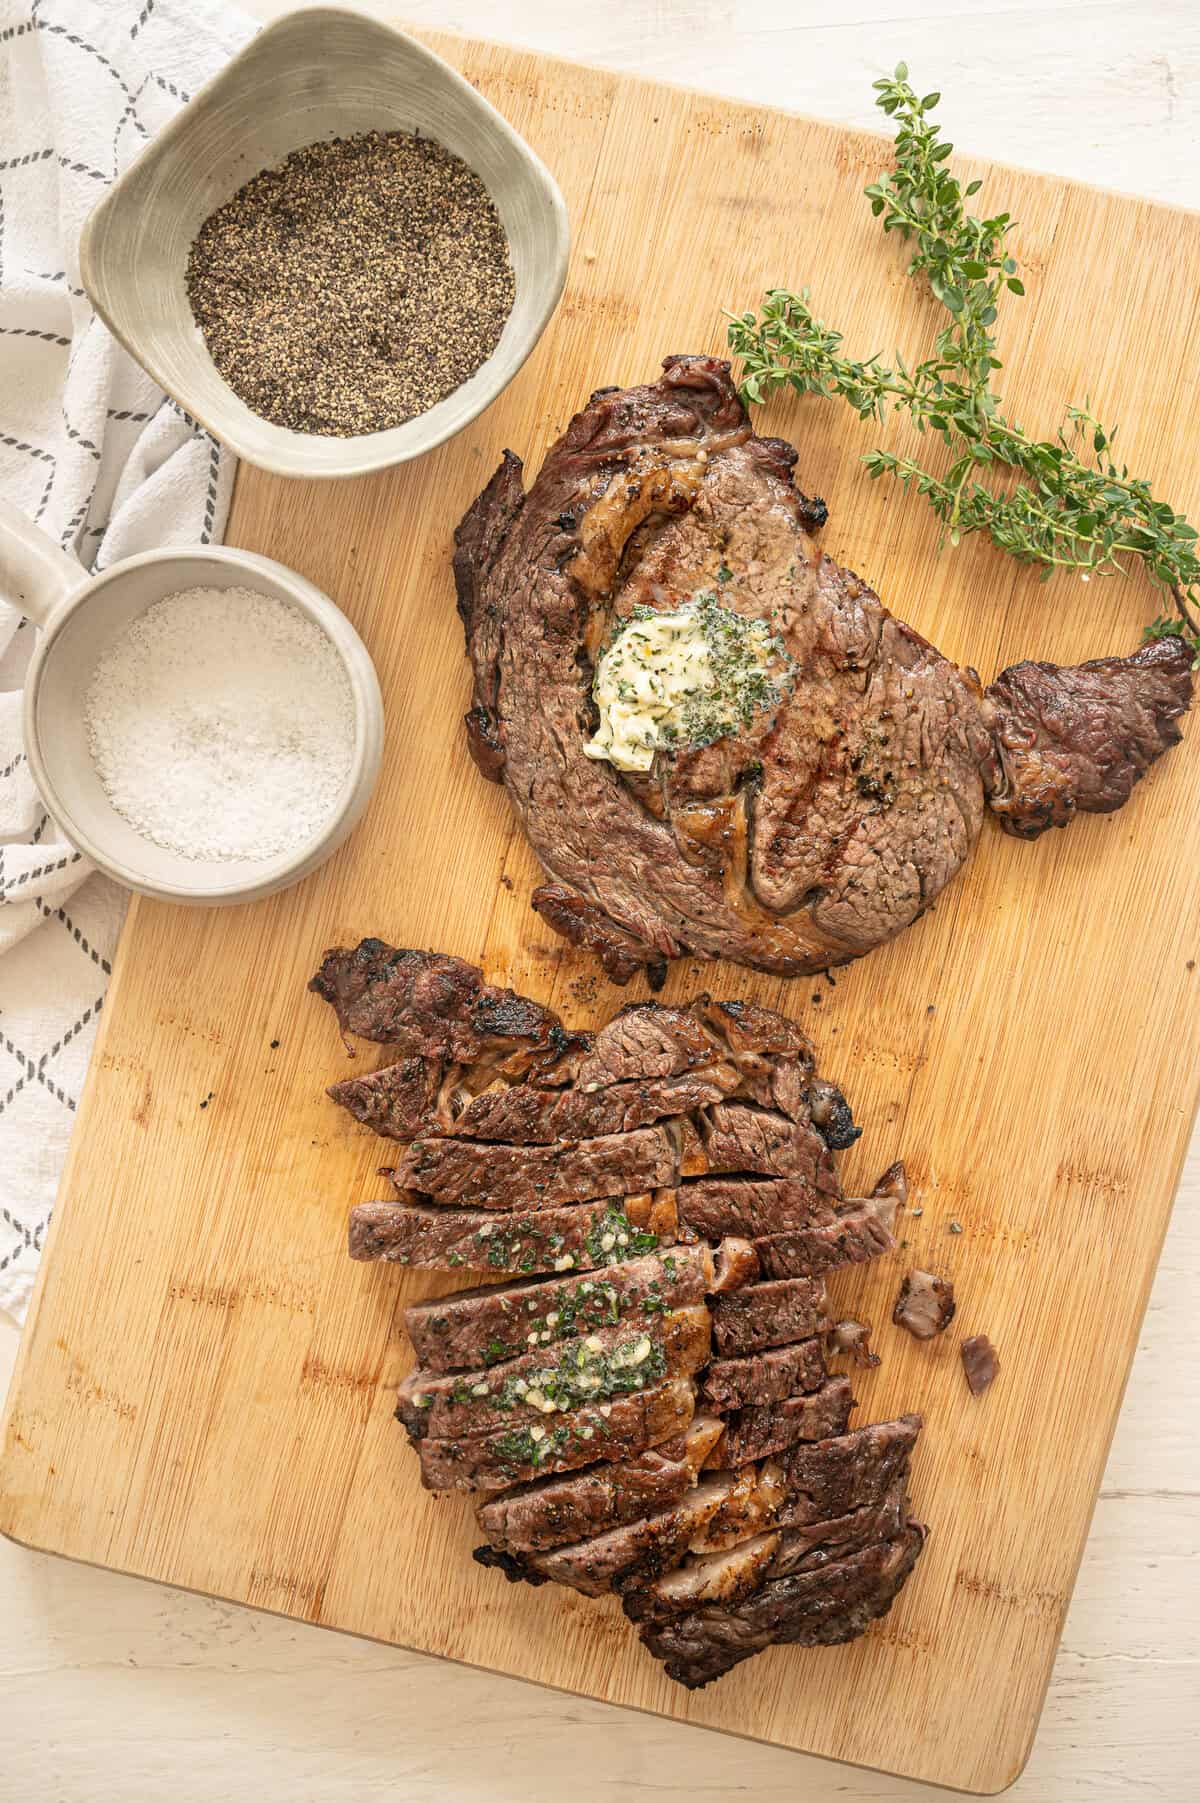
Bonus Tip: Top With Butter
Everything’s better with butter, right?! Chef Bryan says he loves to make different steak butters to top his grilled masterpieces–like roasted garlic/red wine butter or chimichurri butter. Try our quick and easy Garlic Herb Butter.
Serving Ideas
- Try our Caesar Pasta Salad as a fun twist on what you typically get at a restaurant. Don’t skip the Homemade Caesar Dressing – no anchovies or egg!
- Air Fryer Baked Potatoes is an easy way to make steak’s favorite side dish without heating the oven.
- Like your potatoes mashed? Choose from one of these favorites: Instant Pot Mashed Potatoes, Healthy Mashed Potatoes, Gourmet Boursin Mashed Potatoes.
- Since you’re grilling the steak, consider making Grilled Corn on the Cob, Jane’s Grilled Peaches, or Grilled Asparagus as a side dish.
FAQs
Look for a steak with good marbling (ribbons of fat). It helps keep the meat tender and juicy.
Use a digital meat thermometer to check the internal temperature. According to Chef Bryan Williams, these are the best temps to remove them at:
115°F for rare
125°F as medium-rare
135°F for medium
145°F for med-well
155°F for well-done
Preheat the grill grates so they are extremely hot, pat the steak dry before grilling, and avoid overcrowding the grill. In our tests, gas grills do the best job at consistent grill marks. Our team has tried this method on a Green Egg grill and it doesn’t work as well.
Alrighty, it’s time to fire up the grill and get ready to impress your family and friends with your perfect grilled steak!
How to Video
The Perfect Grilled Steak Recipe
Ingredients
- 2 (12-ounce) steaks (recommend: New York strip, ribeye, or sirloin with marbling)
- steak seasoning (sub: Kosher salt and ground black pepper)
- avocado oil (or other high-heat oil like grapeseed oil)
Instructions
- Set Out Steaks: Set your steaks out on the counter for about 30 minutes to bring them up to room temperature.
- Prep Grill: Heat the grill, with lid on, until it reaches about 500°F. Clean the grill grates well, then grease them. To do this, douse a few paper towels with a high-heat oil. Hold the paper towels with tongs and run along the grates, being careful not to let the oil drip.
- Season Steaks: Pat the steaks dry on both sides and rub each steak with a little high-heat oil like avocado oil. Then, season well on both sides with steak seasoning (or salt and pepper).
- Grill Steaks: Place the steaks on the hottest part of the grill, keeping grill lid off. Grill for 2-3 minutes on the first side and then gently turn the steak 45 degrees on the same side. Sear for another 2-3 minutes, to get those perfect char marks. Once you have good grill marks on that side, flip the steaks over to another hot part of the grill and sear for 2-3 minutes. Then, turn the steaks 45 degrees one last time for the final few minutes of cook time. Check the temperature with a digital thermometer and remove at your desired doneness (see Steak Doneness Chart in the cooking notes). If the steaks are cooking too fast on the outside, turn the heat down or move them to the cooler area of the grill to finish up.
- Let Rest: Place steaks on a cutting board or plate and cover with foil. Let rest for 5-10 minutes before slicing. Bonus: Top with butter (try our Garlic Herb Butter).
Notes/Tips
- 115-125°F = Rare
- 125-135°F = Medium Rare
- 135-145°F = Medium
- 145-155°F = Medium Well
- 155-165°F = Well Done
Nutrition
Photos and video by Whitney Reist of Sweet Cayenne.
Turned out perfect. Is there a reason to use the oil? Can I do it without?
Doesn’t the meat have enough oils/fat?
https://www.bbqgrillshops.com
Hi Mike. I’m sure you could grill steak without oil, but in my limited research most chefs oil the steak before grilling. It helps it not stick to the grill and ensures a more even cooking on the outside of the steak.