Panini Bread
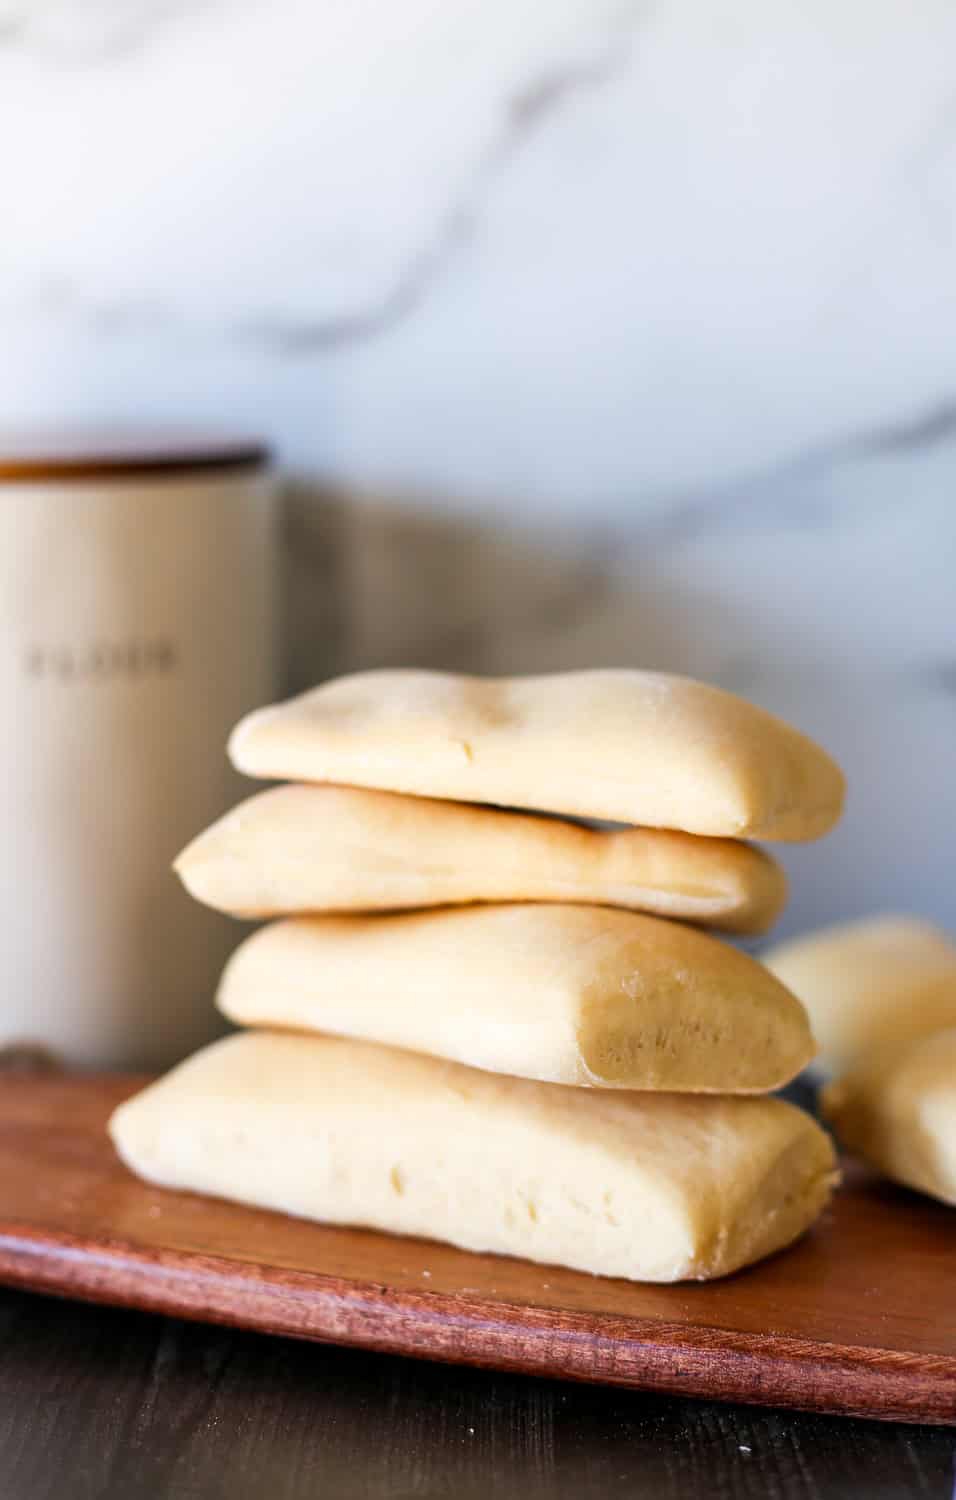
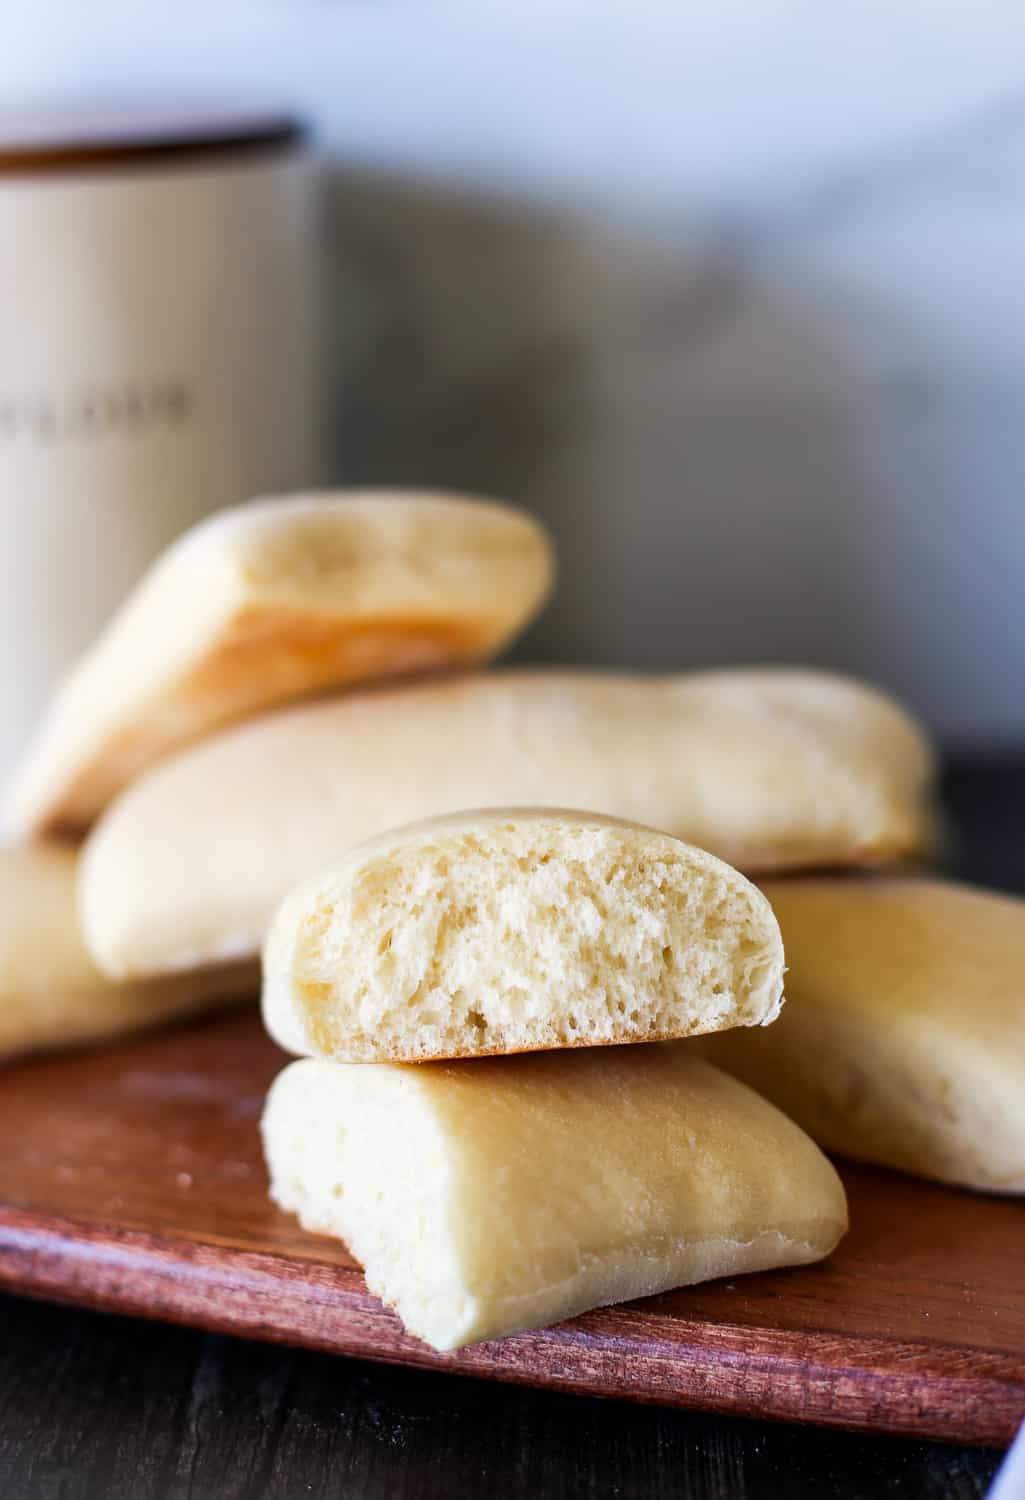
Making Panini Bread at home is much easier than you think, especially if you let a bread machine do most of the work for you. This recipe is absolutely delicious. It’s soft, fluffy inside will be a perfect home for any panini sandwich you want to make. It’s got a hint of sweetness and is so good that it could serve as a dinner roll.
About This Recipe
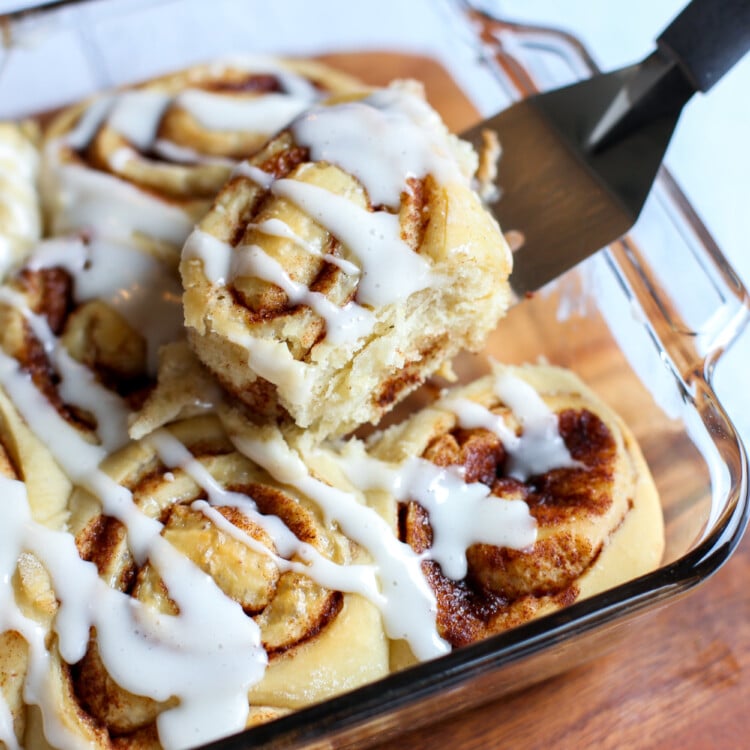
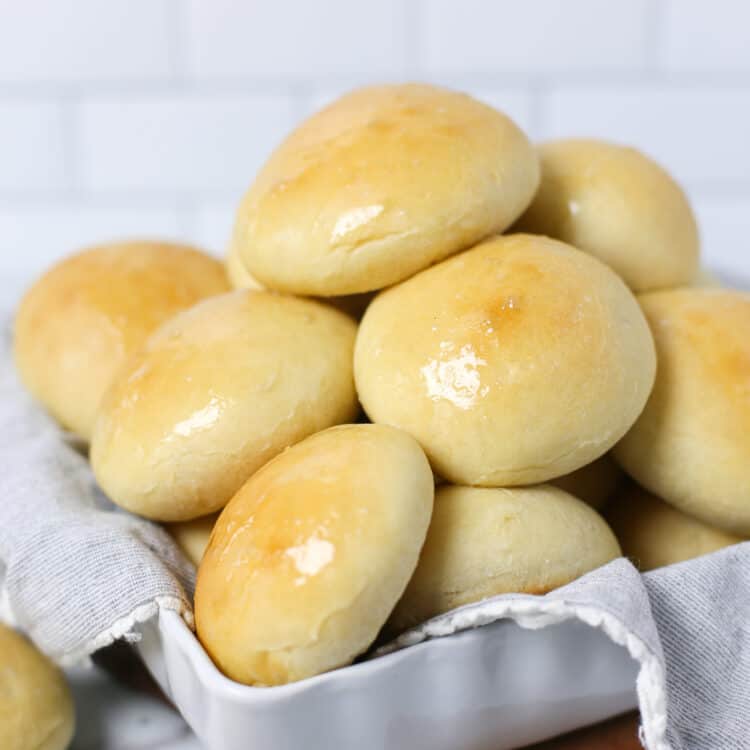
I use my bread machine to make so much more than just bread. In fact, one of our most popular recipes is for our Bread Machine Cinnamon Rolls! We also recently updated our Whole Wheat Pita Bread and Ham and Cheese Crescent Rolls. Both are made in the bread machine!
So when I got the itch to make some homemade panini bread, I knew my bread machine could do the trick.
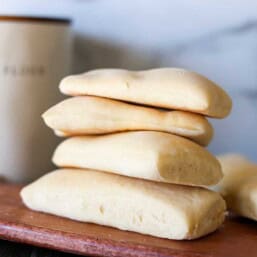
They were really easy to make and turned out absolutely delicious! These flat rolls had a hint of sweetness and a lighter texture than normal bread.
What is a Panini Anyway?
A panini or panino (meaning “bread roll”) is a sandwich made with Italian bread usually served warmed by grilling or toasting.
This recipe is specifically for making panini bread at home, but we recommend using it for some of our most popular recipes like Turkey Pesto Paninis or our Cuban Paninis.
What Type of Bread Machine Do You Use?
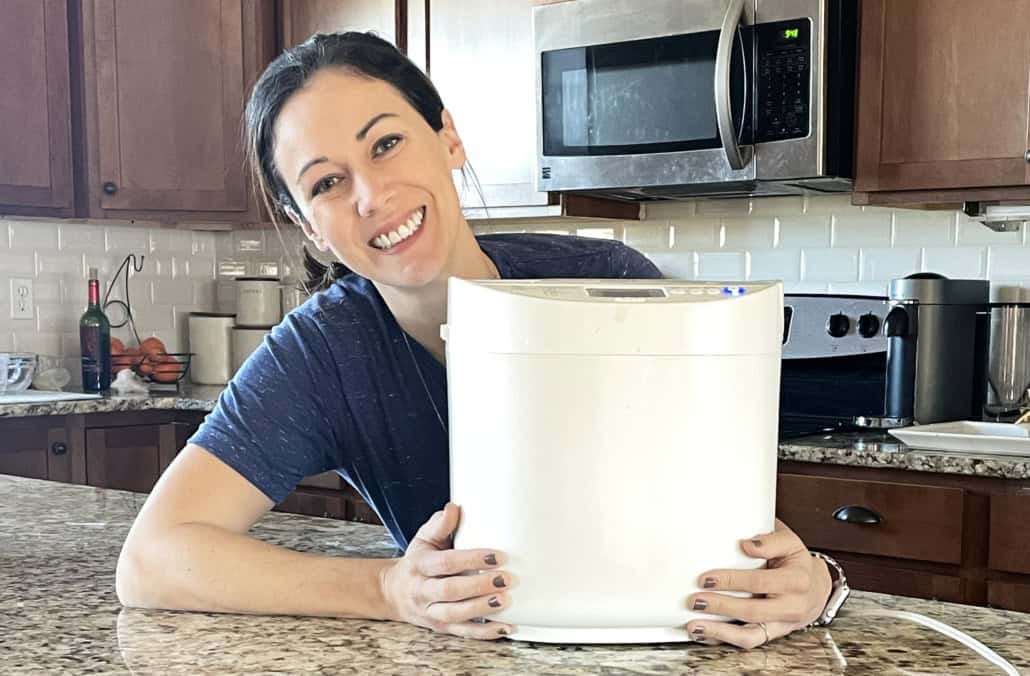
The bread machine I use and recommend is the Oster Express Breadmaker / 2 pound capacity.
It’s worth noting that this model does not have a yeast dispenser. Because of this, I have found that Quick Rise Yeast works best when using this bread machine. I primarily use it for making dough for recipes but it’s worked great for other types of bread recipes as well.
I’ve had this exact one for 4 years now and use it regularly. It’s been great!
How to Make Panini Bread
Step 1: Make the Dough
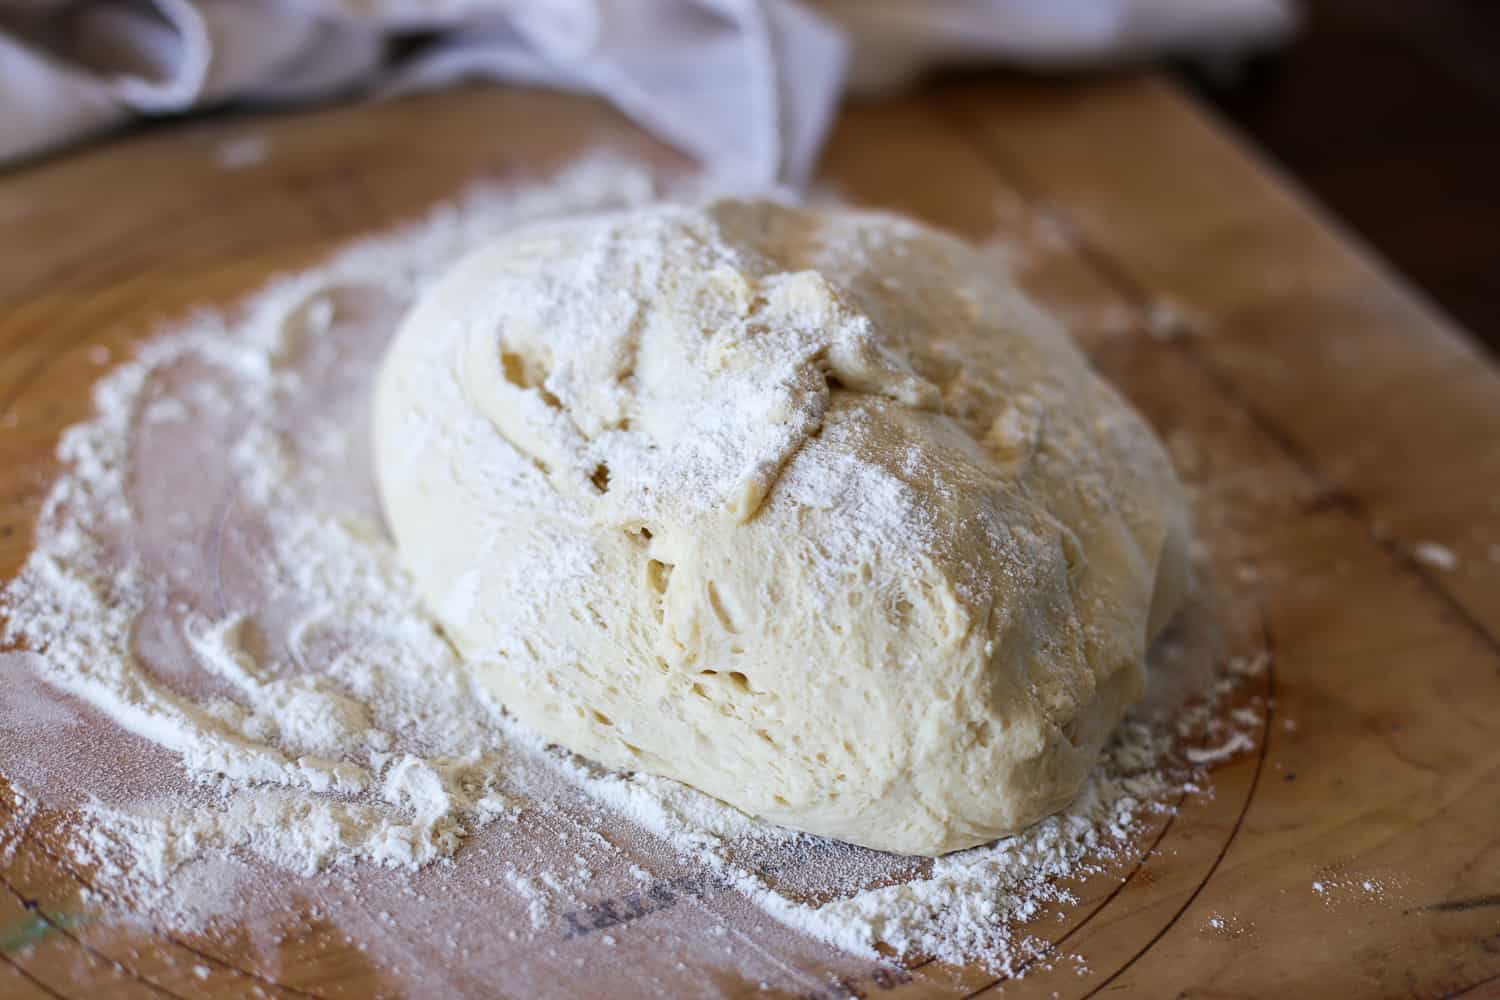
As mentioned above, I let my bread machine do the hard work of making the dough for me. I love dumping in my ingredients, walking away, and coming back to fluffy dough ready to play with.
If the dough comes out a bit sticky, be sure to add a lot of flour to your surface before dumping it out. I also sprinkled additional flour on the top of the dough mound so I could work with it more easily.
Step 2: Roll Out and Cut the Dough
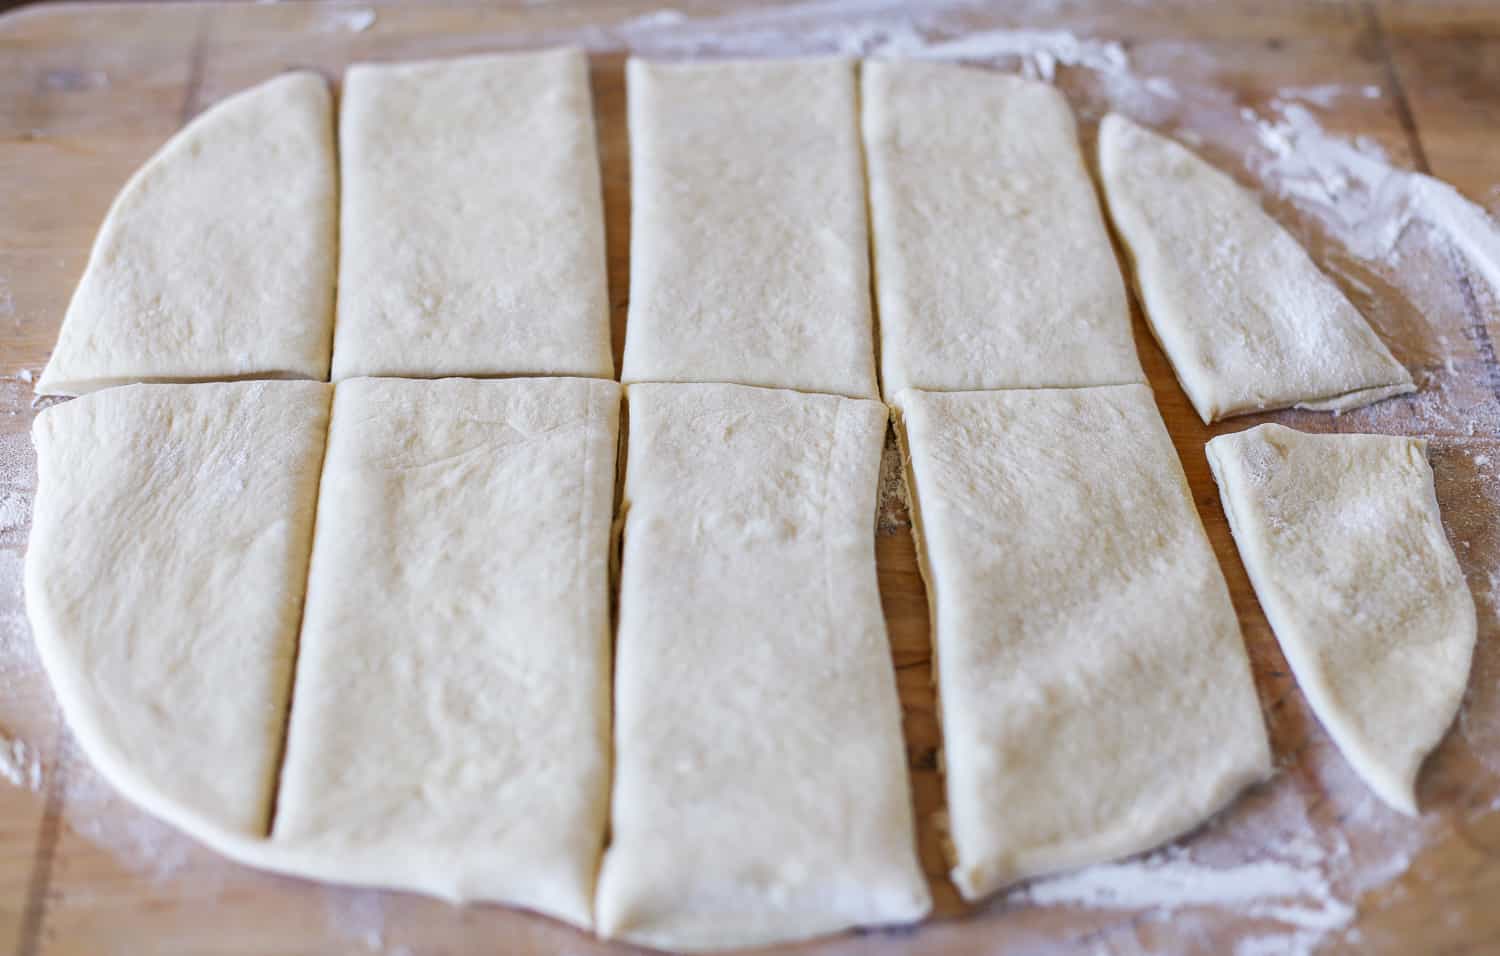
Using a rolling pin, gently roll out the panini dough into the shape of a rectangle or as close as you can get it.
Use your hands to shape it more, if you need to.
If you want your panini bread to come out square-shaped, you would cut the dough into squares. I wanted rectangles so I could make a big ‘ol sandwich that I could slice in half.
Step 3: Let It Rise
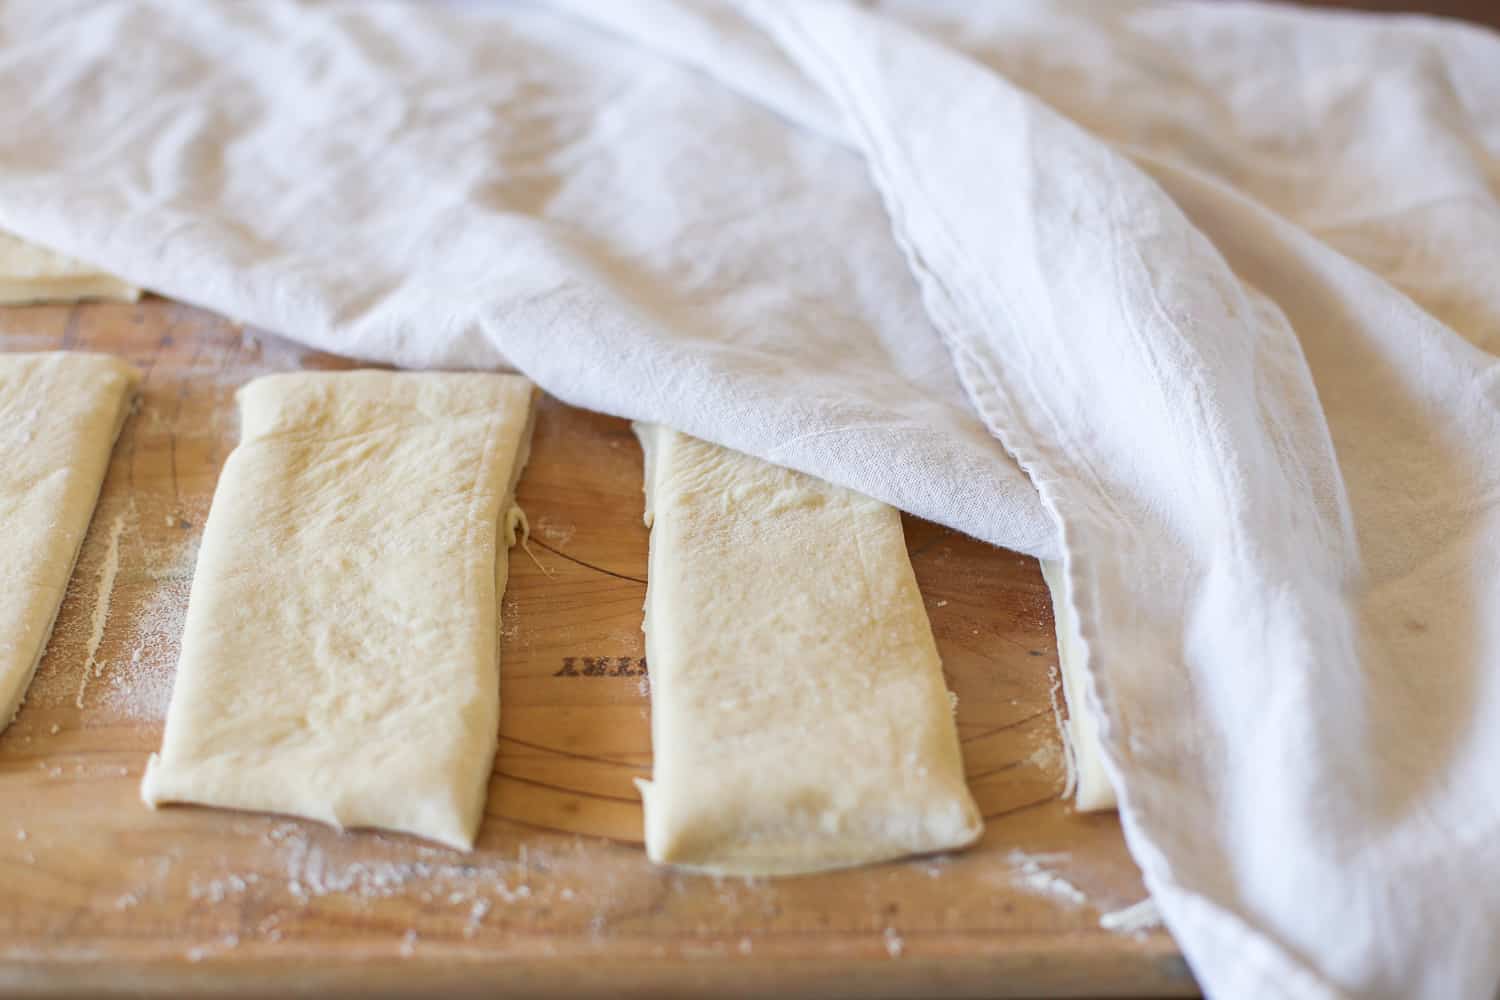
Once you’ve formed the pieces into the shape you want, cover the dough with a lightweight dish rag and let it rise for about 45 minutes. I’ve found that they need a little extra time in colder weather. The warmer it is, the faster they will rise!
Preheat your oven during this step.
Step 4: Bake Your Panini Bread
Place the dough onto a parchment-lined baking sheet. Brush the dough with a little melted butter and then bake for 12-14 minutes.
Congratulations! You’ve just made your own Panini Bread!
Can I Freeze Panini Bread?
You bet! Paninis work well to freeze and thaw.
Simply place in an airtight container, minimizing as much air exposure as possible. Let thaw on the counter for about 30 minutes before using!
Bread Machine FAQ
Many machines allow you to specify how big of a loaf you are wanting to make. (1 lb., 1.5 lb., 2 lb., etc.) Since you are only using the dough cycle, specifying this won’t change how it is made in the machine so any size should work.Add image
There could be a few reasons for this.
1.) Your yeast is expired. Check the date!
2.) The environment isn’t warm enough. I sometimes turn on my oven for 2-3 minutes to make it warm. Turn it off, place the dough in the oven, and let it rise in there.
More Bread Machine Recipes
Panini Bread
Ingredients
- 1 1/4 cups milk (slightly warmed)
- 1 egg (beaten)
- 4 tablespoons butter (divided)
- 1/4 cup white sugar
- 1/2 teaspoon salt
- 3 3/4 cups all-purpose flour
- 1 1/4 teaspoons quick rise yeast
Instructions
- Place the ingredients in the bread machine in this exact order and don’t stir: milk, beaten egg, 2 tablespoons butter, sugar, salt, flour, and quick rise yeast.
- Select dough setting. (Mine takes 90 minutes.)
- When cycle is complete, turn the dough out onto a floured surface and roll it out into the shape of a rectangle. Use lots of flour to prevent sticking. Cut the dough into 8-10 rectangle-shaped pieces.
- Place on a parchment lined baking sheet. Cover and let rise until doubled, about 45 minutes.
- Preheat the oven to 350°F. Melt 2 tablespoons butter in the microwave and brush the paninis with it.
- Bake for 12-14 minutes.
Freezer Instructions
Notes/Tips
- There is no need to activate the yeast prior to adding it to the machine.
- If you have more questions, be sure to read the article above.


Lovely
Thanks Sarie! Glad you tried it and liked it. 🙂
My go to recipe for buns for sandwiches
Love to hear this, thanks for leaving a review Donna!
Nice and Quick
Thanks Gary!
I’m a chef from Barbados. Your food looks fantastic
Thanks so much Warren!
I made these for the first time today & they are amazing! The easiest bread roll I’ve ever made & they taste like something I’d pay a lot of money for at a bakery. They’re light and fluffy, awesome fresh & also toasted. Perfect texture for kids. I’ll definitely make these regularly. Thanks!
Wonderful to hear that! Thanks for taking the time to leave a review!
Just started this recipe, but I’m not sure if I should set it to 1 lb 1 and 1/2 lb or 2 lb on my bread machine. I went with 2 lb because why not. I will report back once I am finished. Thank you
Hi James. We’d love to hear how the bread turned out for you.
Hi. It’s my first time making bread and I don’t have a bread maker. Can I know how to make this bread without a bread machine?
Thanks
I’m so sorry but we haven’t testing this one without a bread machine. But definitely check out the Homemade Wheat Sandwich Bread recipe on our site. It’s my absolute favorite.
Great!
I love this recipe because it’s so easy and fast. I make bread about twice a week and send most of it home with guests who come for dinner. I am finding my panini dough isn’t rising in that 45 minutes. I’ve let it sit longer but that doesn’t seem to help. Even when baked, it doesn’t seem to rise much and is a challenge to cut in half because each half is paper thin. What am I doing wrong? Since I make bread often, I go through flour and yeast, etc., quickly so those ingredients are not stale. These taste great but are messy because the bread is so thin. Help!
Thanks for your feedback, Helene!
Hello Just Found this web site and would like to know if you can freeze after Cooking them
thanks
Chrissy
Yes, absolutely! Wrap tightly because exposure to air will dry out the bread. But should be good for about a month in the freezer if wrapped well.
made it!! Love it! Was not sure with the quarter cup sugar but turn out such a wow! I used soya milk as that’s what I have in hand. Smell great! Not sure if it’s the soya milk or the butter…
This bread has to work really well with some mozzarella and ham, and then toasted in a panini machine. Thanks for sharing the recipe! Even if you have a bread machine, I think you can make it with your hands without problem.
Hi. Just wanted to say I made these tonight, suppose to be for tomorrow lunch and my 12 yr old has fallen in love. I pop everything in my machine according to the machine manual, the only thing I did was swap the butter for canola oil using the same amount.
Virginia, cover and rise would be the second rise after you have formed the ‘rolls’. To work out grams and mills just google it. If you type in what is 3 3/4 cups of bread flour in grams, you will find there are websites that have converters available.
Many thanks for a beautiful light fluffy roll that my kids love and I don’t have to run to the store all the time!
Thanks for letting us know about your success and your swap outs. What a great feeling when all that work ends with your kids loving it and you saving money! Great job momma.
Dear Polly,
Thanks for sharing the recipe. I would like to ask few questions:
1) “Cover and let rise until doubled, about 45 minutes…” is it a first or second rise?
2) May I know how many grams for 3 3/4 cups bread flour?
3) How many “ml” for 1 1/4 cups milk?
Many many thanks.
OMG. these are the best rolls I have ever had. I’ve tried MANY different bread recipes and this is hands down my and my husband’s favorite. The consistency and flavor of the bread is to die for. This will be my roll recipe ALL the time now!
Great news, Stephanie! Thanks for letting us know how it turned out for you.
Do you know if this recipe will work for a big bread maker?
I know it’s a while since you posted this, but I have a question about the butter. Is it cold, softened or melted? Also, I am accustomed to using Instant/Rapid Rise Yeast on a quick bake bread machine cycle. If I’m using active yeast, do you normally activate it for say 10min in the milk? Or just add it in the machine! If so, do you mix it with the liquid, or keep it separate as is done with Instant Yeast?
I can’t wait to try these!
I usually just cut up my butter (cold) and toss it in there. I haven’t had any problems doing that so far! If you are using a bread machine, do NOT activate your yeast ahead of time. Your machine will do all the work for you. It’s hard to give you specific instructions because I don’t know what type of machine you have but most machines are designed to keep the yeast away from the warm water until the appropriate time. That is why it is added last on top of all the dry ingredients. Hope it works out for you!
do you have any creative suggestions for the type of panini to make? do you heat the bread and sandwich in anyway or bake in the oven? Thanks!
I’ve done it two ways so far and both worked fine.
1) I brushed the outside of the bread with a little olive oil and used the George Foreman Grill
2) After brushing the outside of the bread with olive oil, I used a flat grill on the stove, used medium-high heat, and let it cook on each side for about 5 minutes while pressing down on the sandwich with a spatula.
You can get creative with the type of panini you want to make. We made them with leftover turkey, pesto, grilled onions, and swiss cheese. They were REALLY yummy!
what a creative idea! i wanna try 🙂