Pumpkin Chocolate Chip Muffins
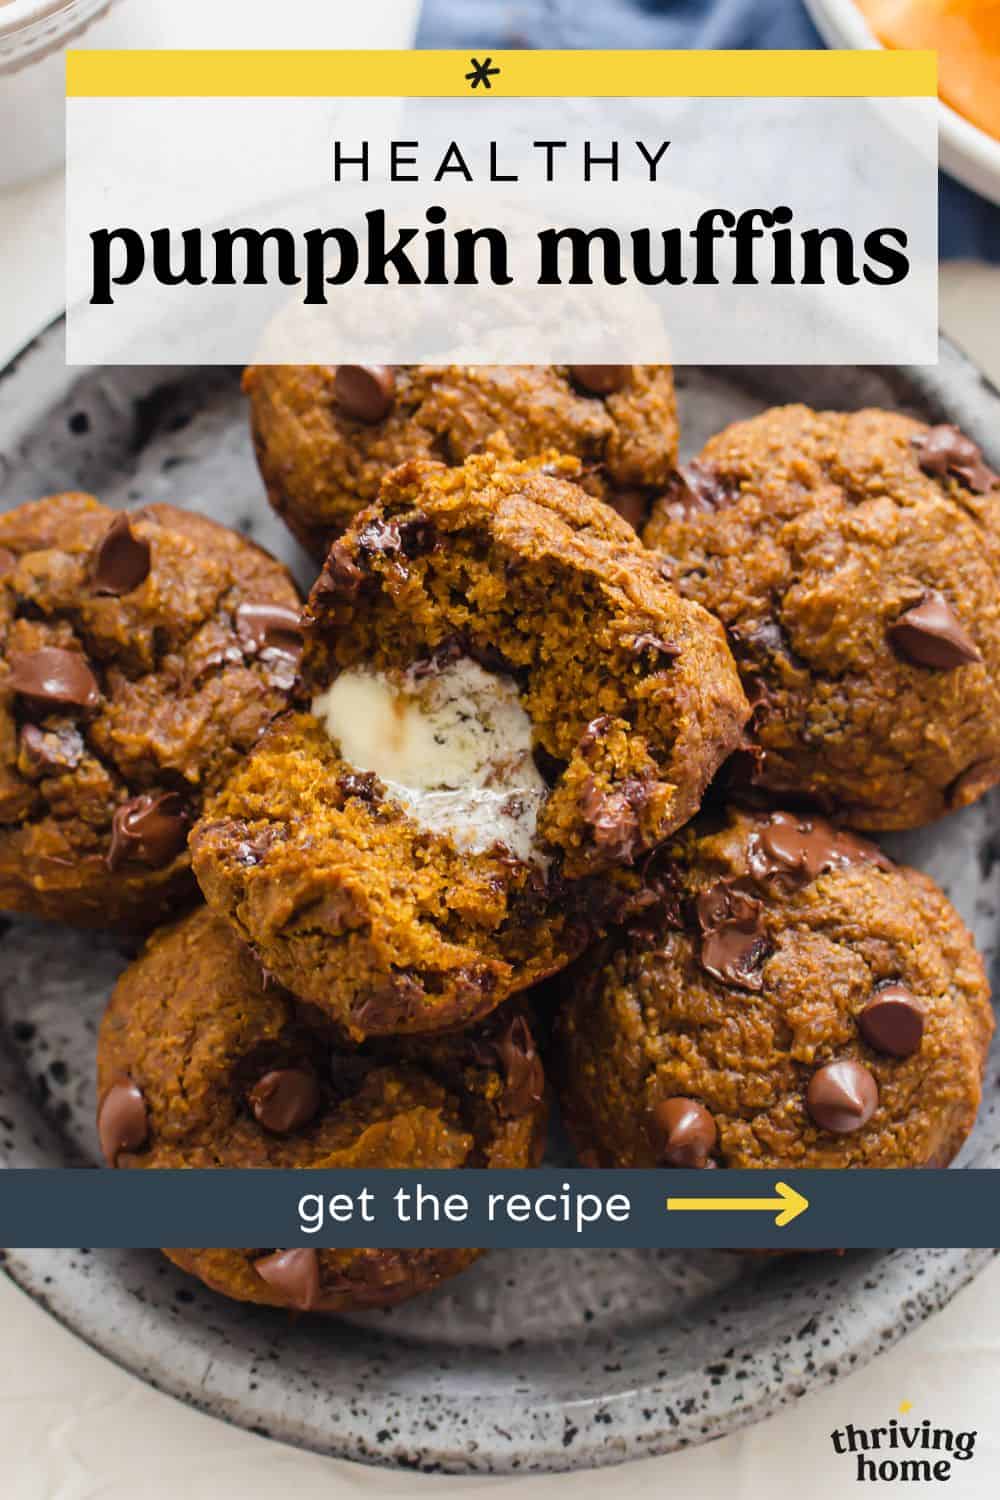
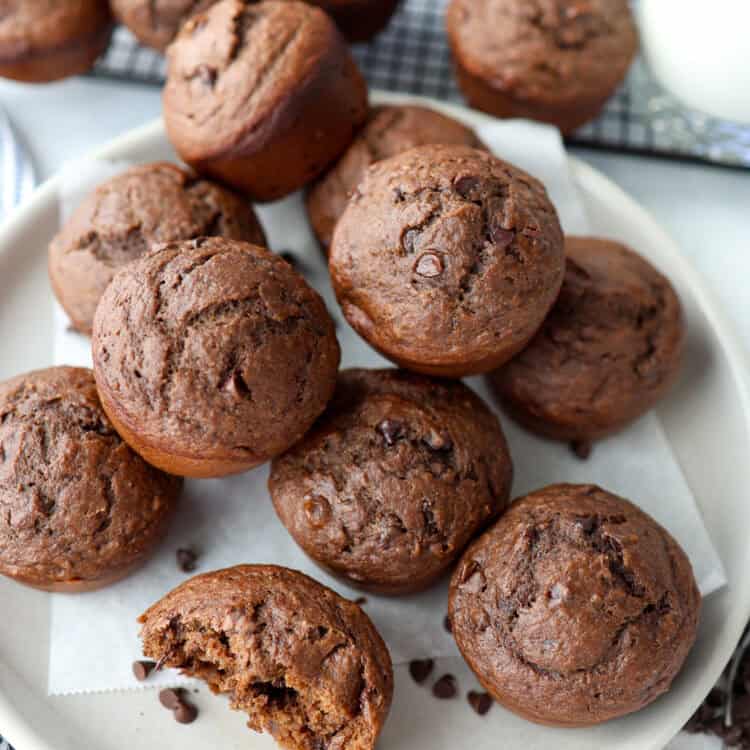
These healthier Pumpkin Chocolate Chip Muffins are moist, sweet, and absolutely delicious for breakfast, snacks, or dessert. Plus, you can make a big batch and freeze them for later using our instructions.
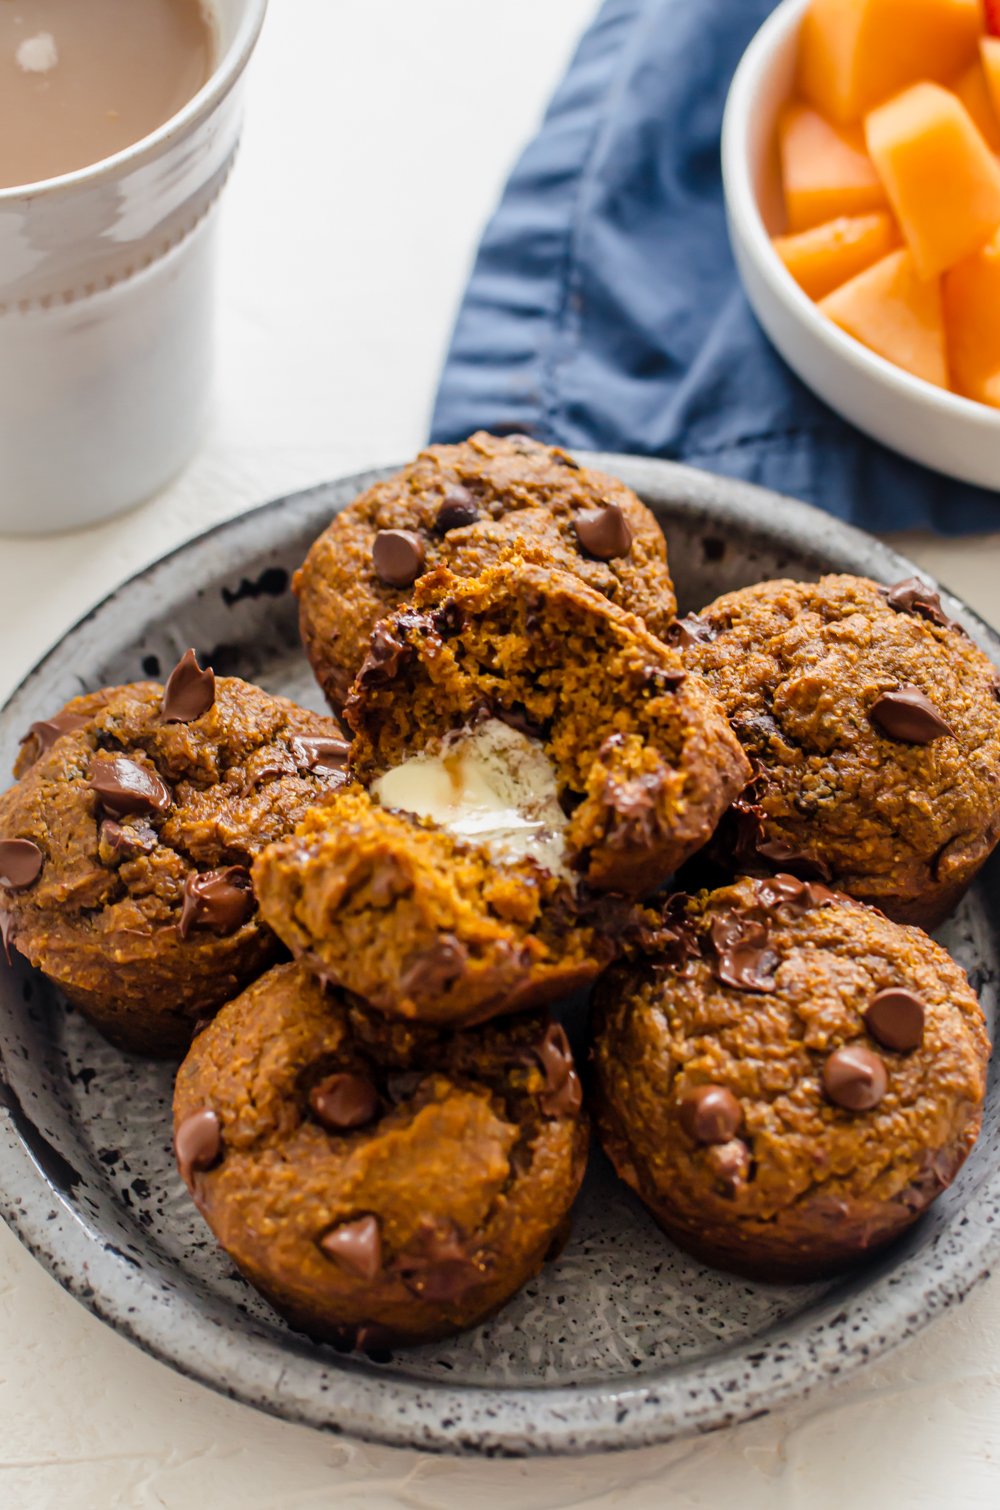
“My notoriously picky five year old just came running into the kitchen asking what he was smelling coming from the oven. This recipe is quick, easy, and delicious!” – Morgan ⭐️⭐️⭐️⭐️⭐️
Fall is obviously the time of year when everyone wants a little pumpkin in their life, but I make these muffins year round. My kids LOVE them, so I double and freeze them for snacks and make-ahead breakfasts regularly.
Ingredients Needed
What makes this recipe more nutritious than most (yet still moist and delicious)? Well, here’s the line-up of ingredients.
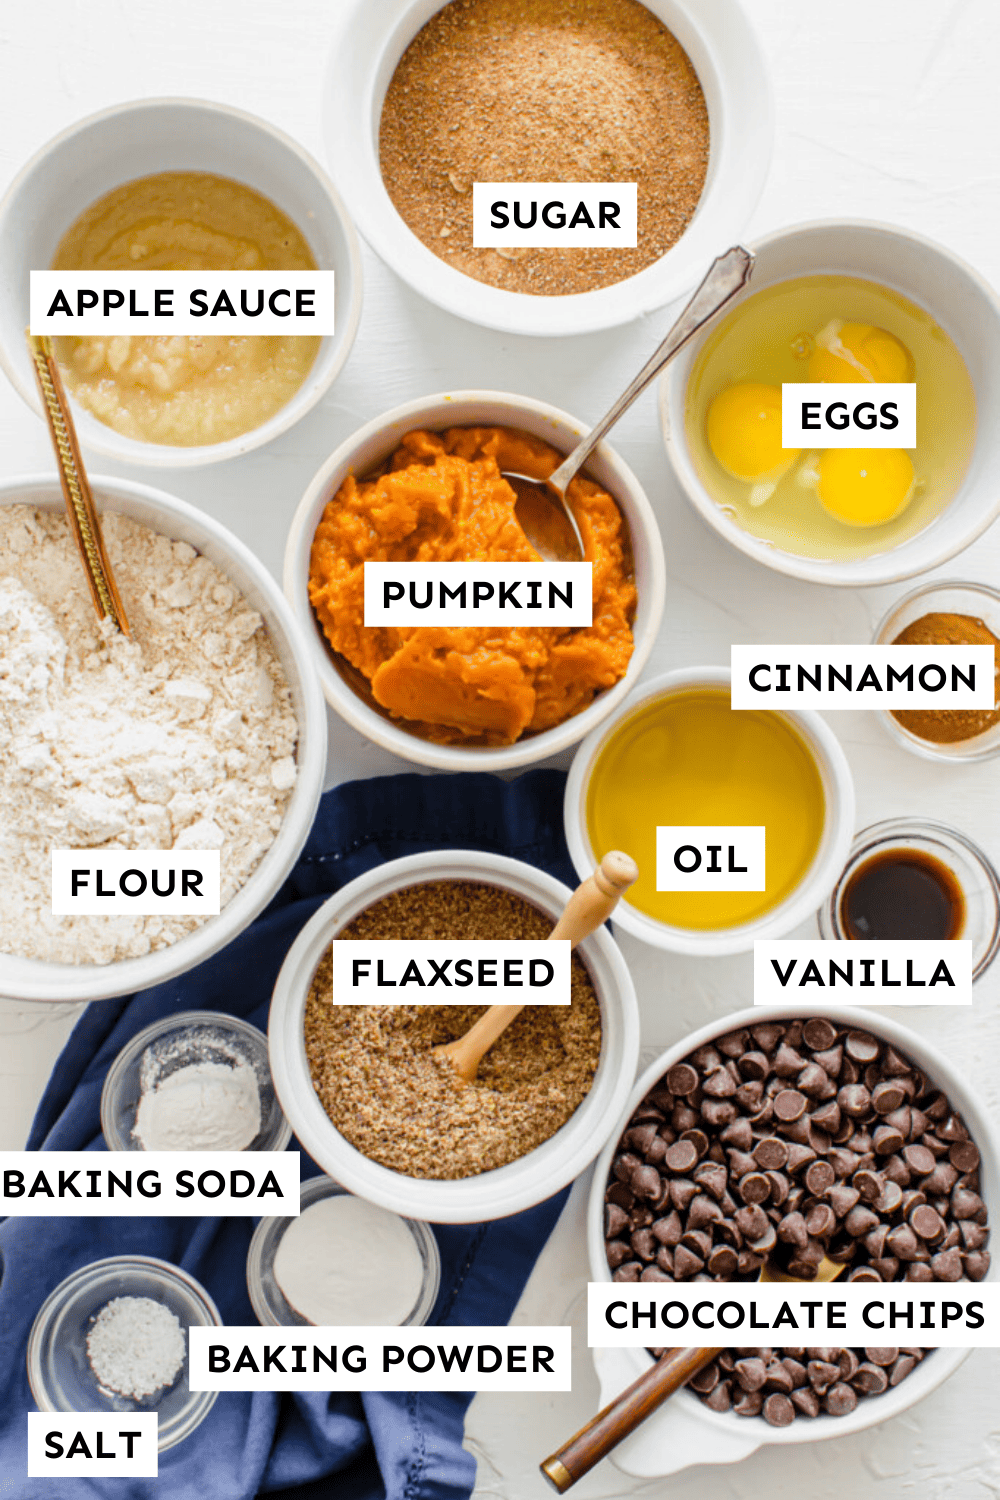
Ingredient Notes:
- White whole wheat flour – Note the name of this is WHITE whole wheat flour, which is a special variety that you can now find in most grocery stores. I love baking with this 100% whole grain flour, because it’s lighter than usual store-bought whole wheat (known as the red wheat variety). It’s a great swap out for all purpose flour. We use this in our delicious Healthy Pumpkin Pancakes, too.
- Ground flaxseed – This ground seed packs in omega 3 fatty acids and fiber that we can all use more of. Be sure to store in the fridge or freezer to give it a longer shelf life. We like to add it to recipes for a little extra nutritional boost, like in Zucchini Carrot Muffins.
- Pumpkin puree – This recipe uses 1 full (15 ounce) can of pumpkin puree (note: NOT pumpkin pie filling), which is loaded with Vitamin A, fiber, Vitamin C, potassium and much more. Look for a BPA-free can. Use any leftovers in Crock Pot Pumpkin Spice Latte or Pumpkin Baked Oatmeal.
Variations & Substitutions
- Sugar – I like to use coconut sugar as a bit healthier alternative. You can also reduce the amount of a sugar by 1/4 cup and still have some pretty darn tasty muffins.
- Unsweetened applesauce – You can substitute in more pureed pumpkin for this, if you like.
- Dairy-Free Version: Omit the chocolate chips or use a dairy-free brand like Enjoy Life Chocolate Chips.
- Gluten-Free Version: Use this Gluten-Free Pumpkin Muffin recipe instead. It’s very similar and uses coconut flour instead of wheat flour.
- Pumpkin Alternative: You could use butternut squash puree instead of pumpkin. Here’s how to make butternut squash puree. Or try using sweet potato puree.
- White Whole Wheat Flour – A substitute for this would be to use half whole wheat and half unbleached all-purpose.
How to Make Pumpkin Chocolate Chip Muffins
This recipe is so easy that your kids can help you or even make these themselves as they get older.
Prepare the Oven and Pan
Preheat the oven to 350°F. Grease 18-20 muffin cups or line them with paper liners. (You can make two batches back to back if you only have one 12-cup muffin tin.)
Mix Dry & Wet Ingredients
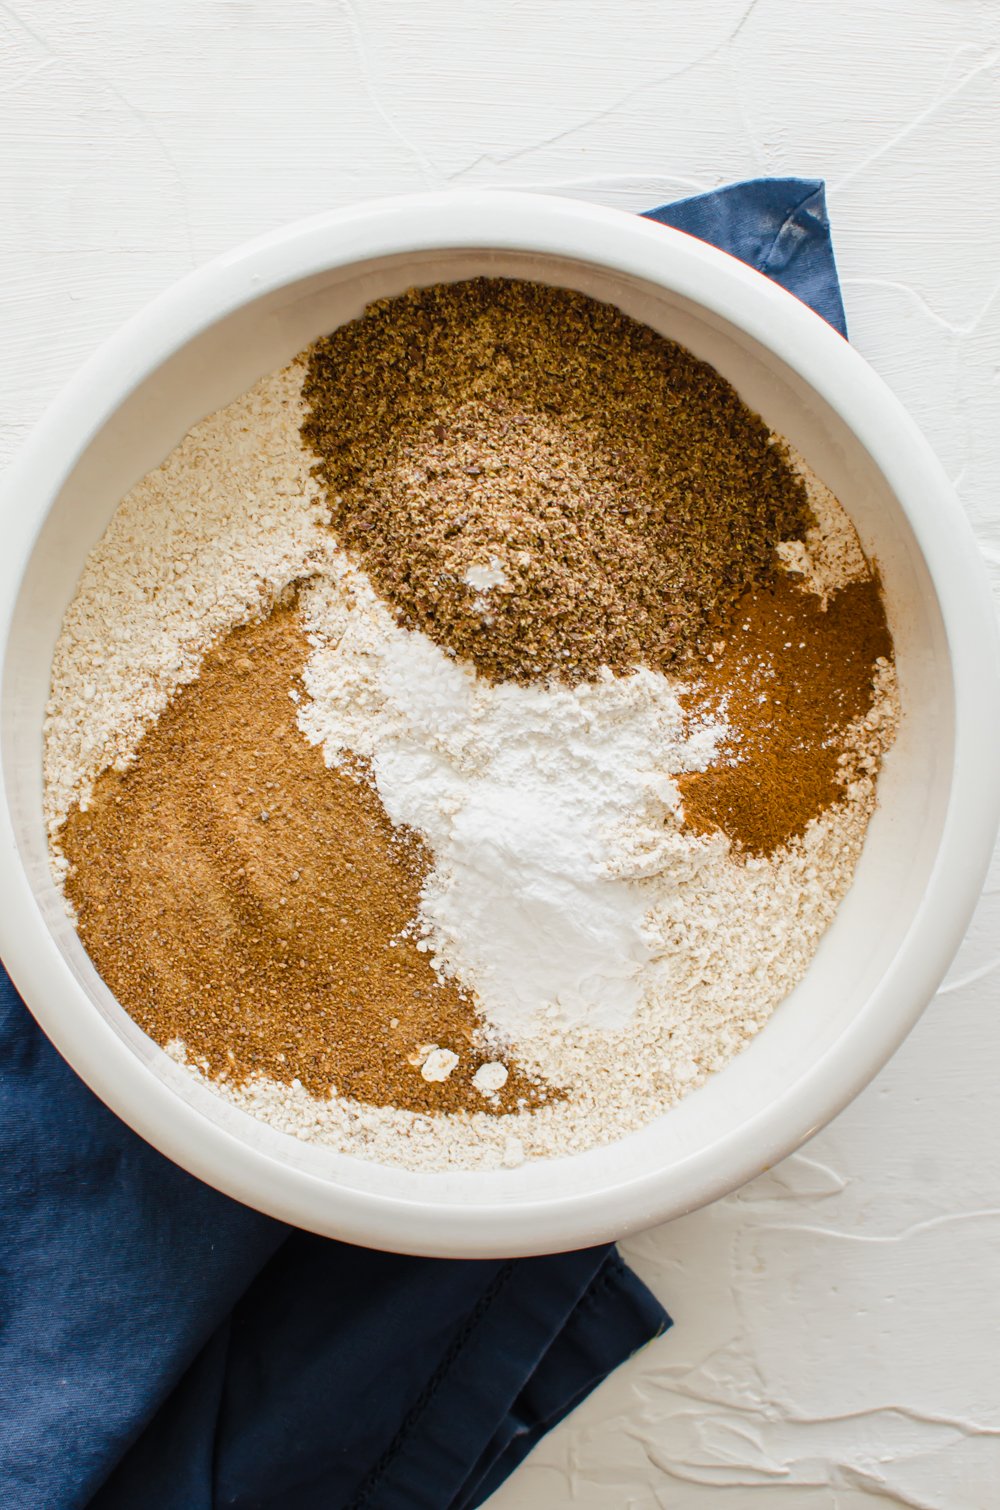
In a large mixing bowl, combine the flour, flax, sugar, baking soda, baking powder, cinnamon, and salt.
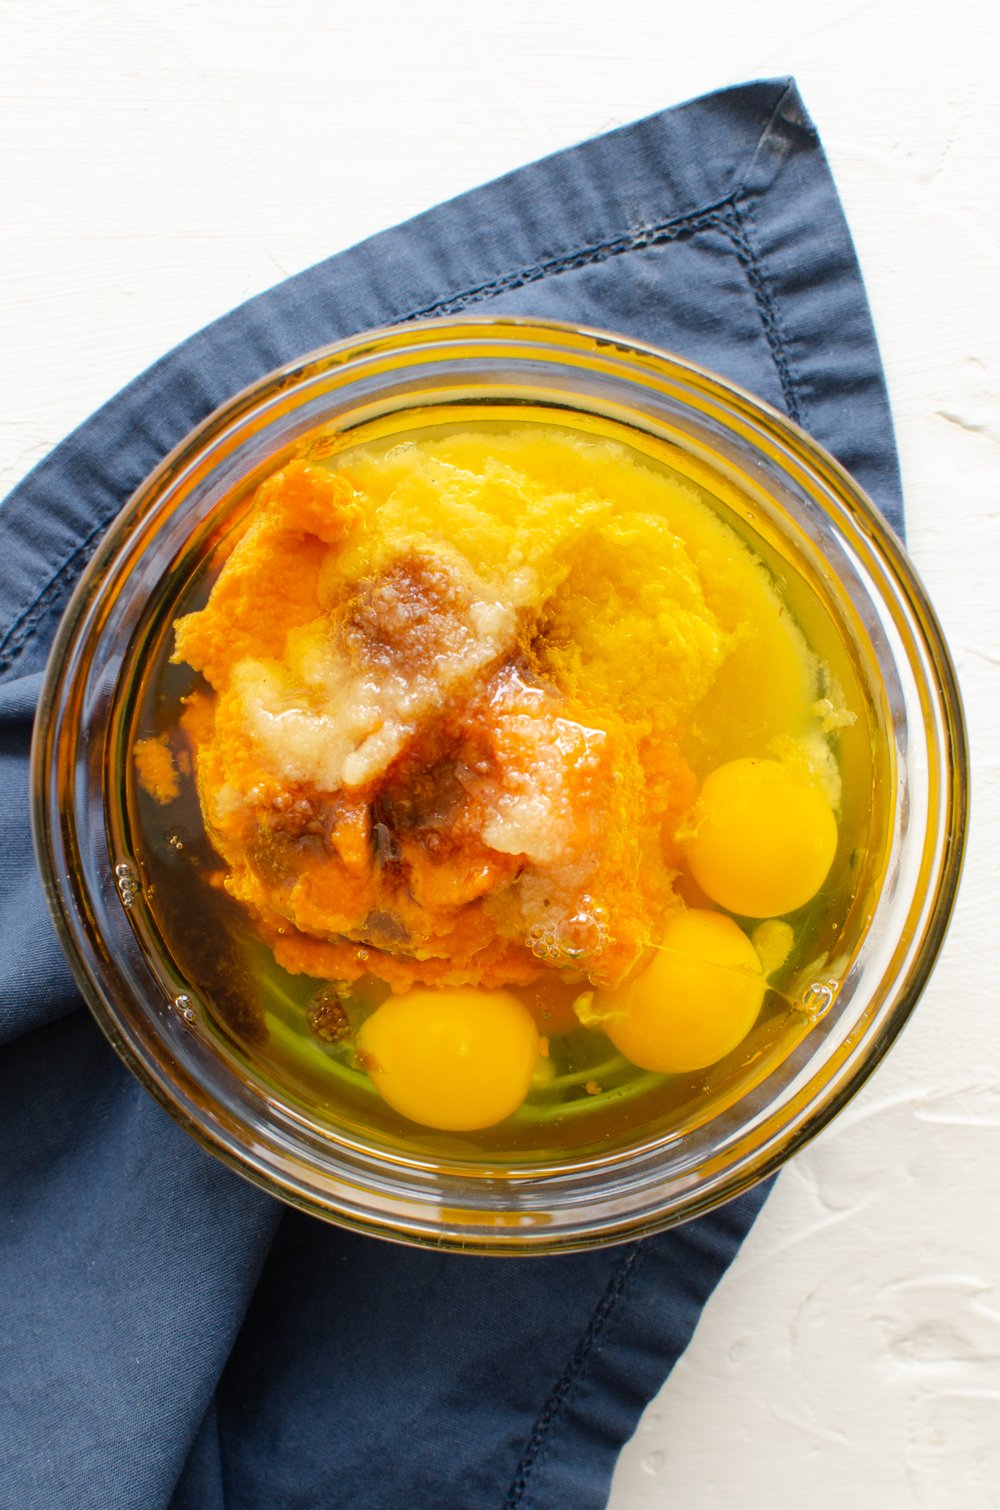
In another mixing bowl, stir together the pumpkin puree, oil, applesauce, eggs, and vanilla extract.
Combine the Dry and Wet Ingredients
Stir the wet mixture into dry ingredients. Like most muffin recipes, it’s important to mix the wet and dry ingredients separately and then combine just until it comes together. If you over mix the batter, the gluten will develop stronger bonds and make the muffins tough.
After the batter starts to come together, gently stir in the chocolate chips.
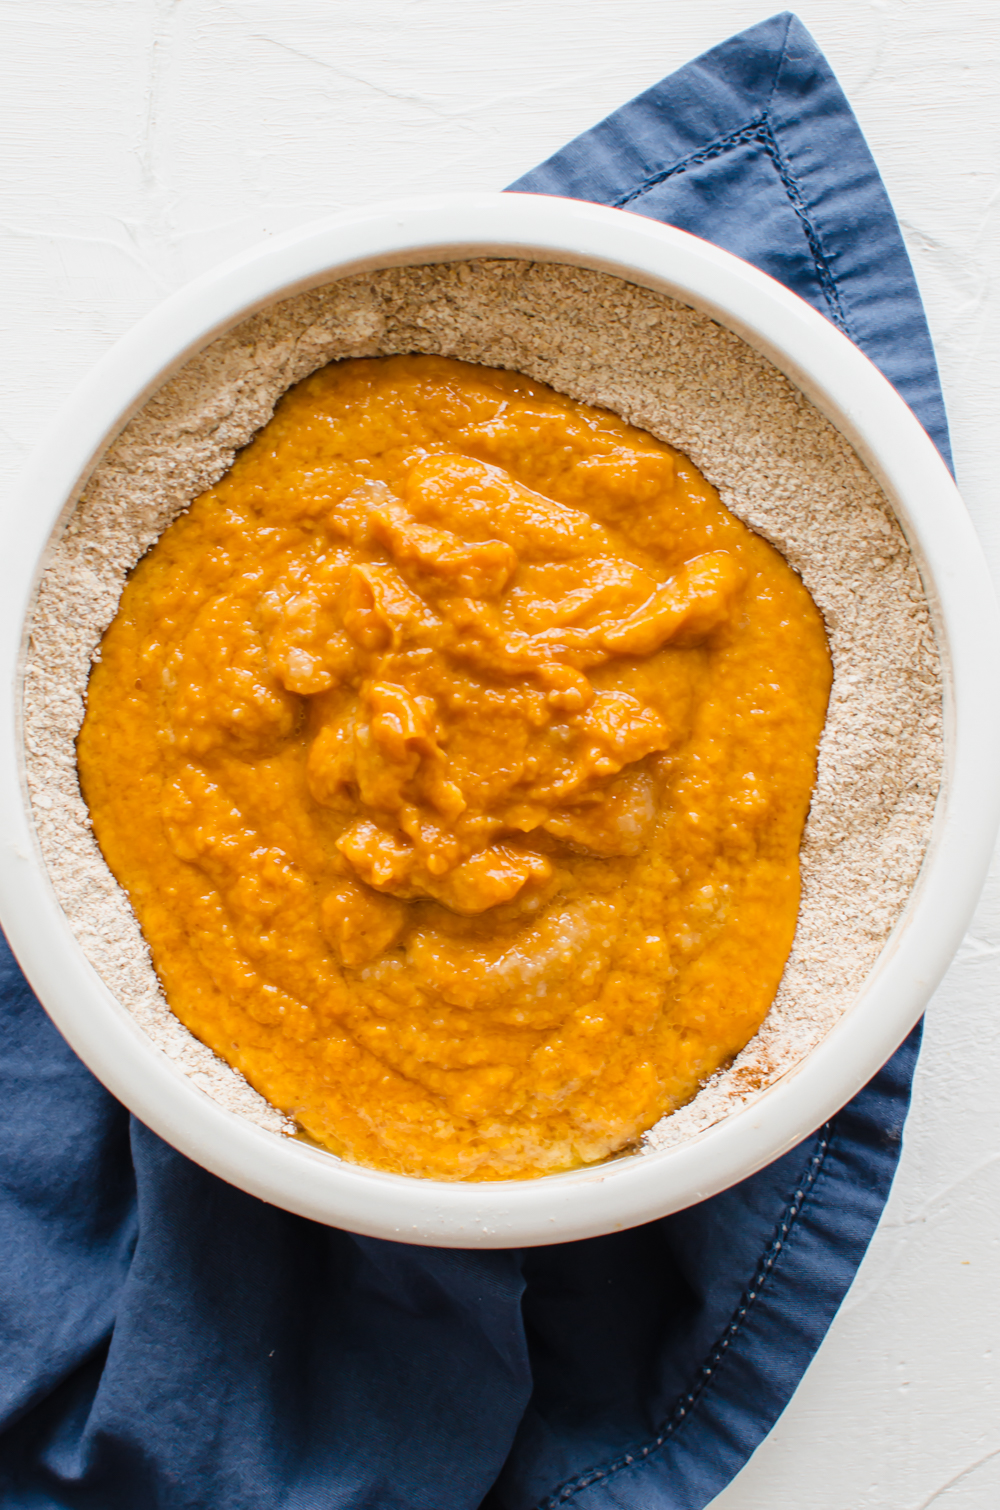
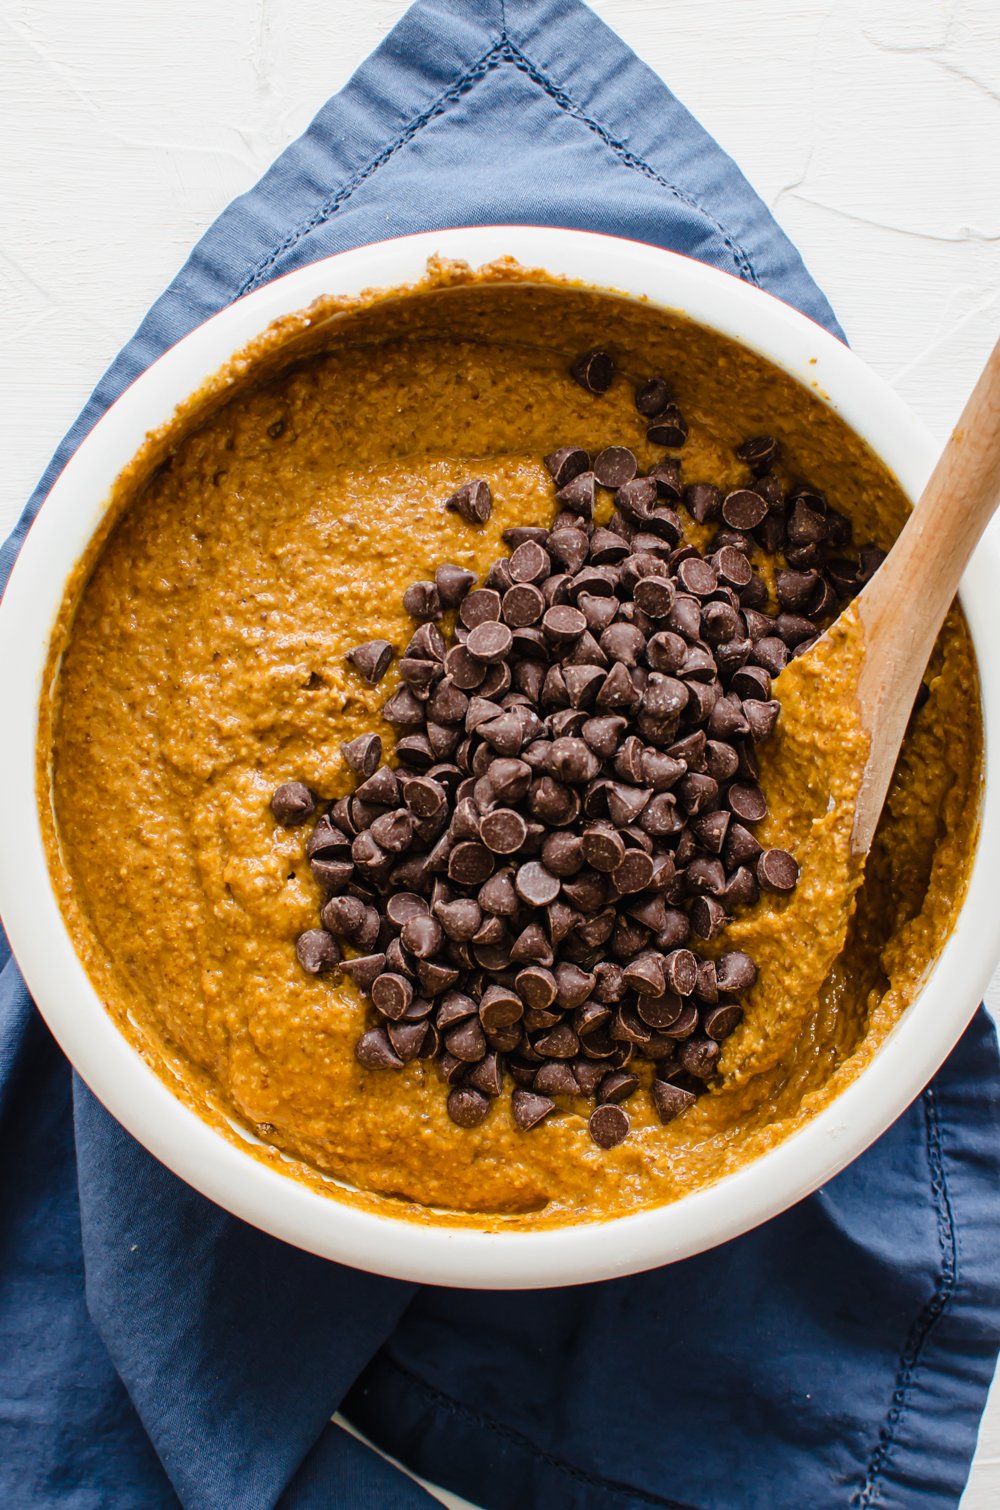
Fill the Muffin Tin
Spoon the batter into the prepared muffin cups until each one is almost full–about 2-3 heaping tablespoons full. I use a small cookie dough scooper, but a spoon works just fine. You may want to wet your fingers to help the batter slip off the spoon.
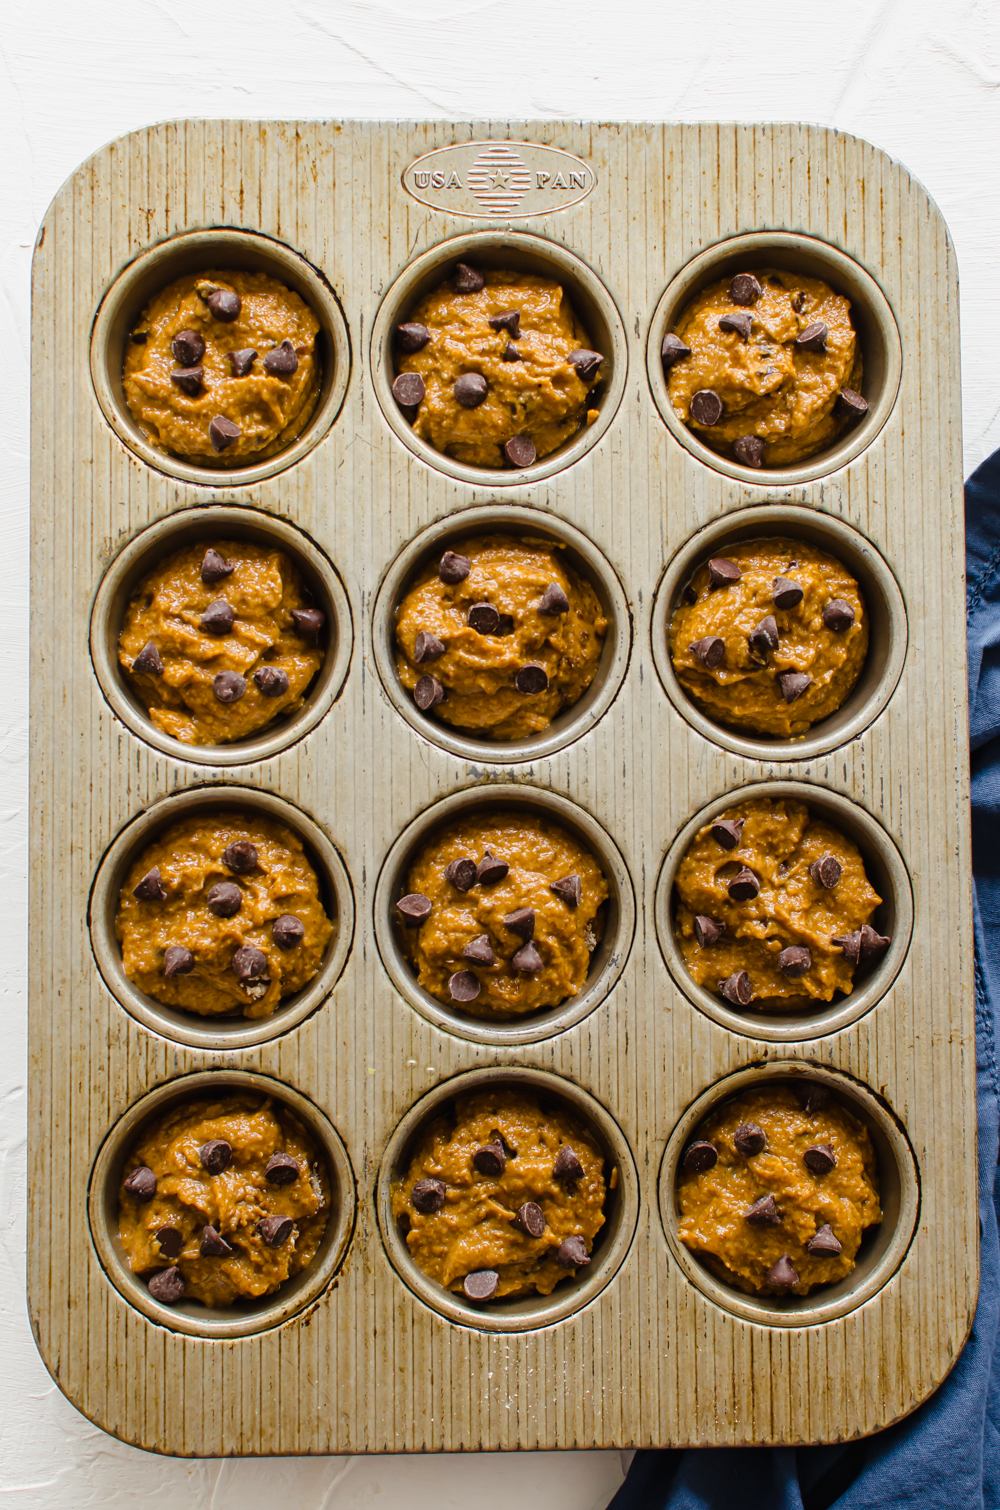
Bake and Cool
Bake in the preheated oven until a toothpick inserted in the center of a muffin comes out clean, about 18-20 minutes. Place the pan on a cooling rack for 10 minutes or so. Then remove the muffins and let them cool even more on the rack.
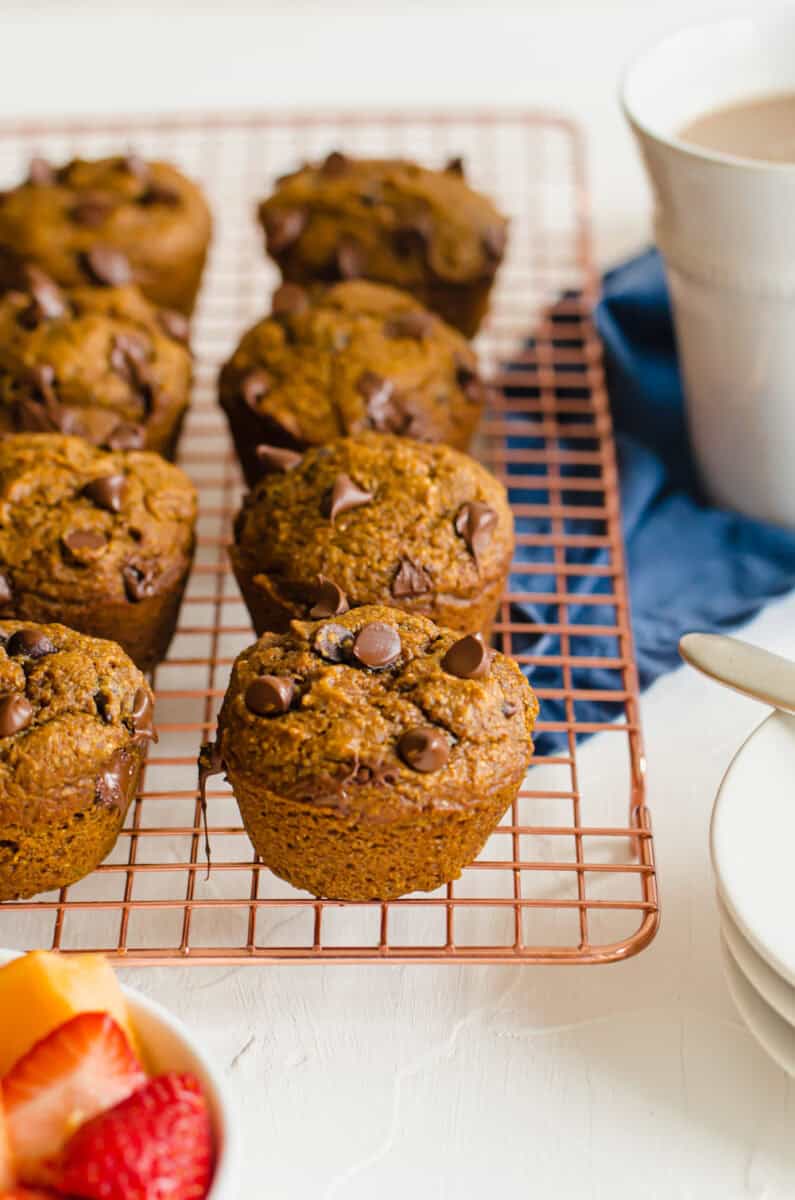
How to Freeze Pumpkin Muffins
You know how much we love prepping foods and meals that can freeze for later. As we always say, the key is freezing meals the RIGHT way so that they comes out tasting fresh.
Here’s how to freeze these muffins the best way:
- Bake as directed.
- Let them cool completely. This is super important!
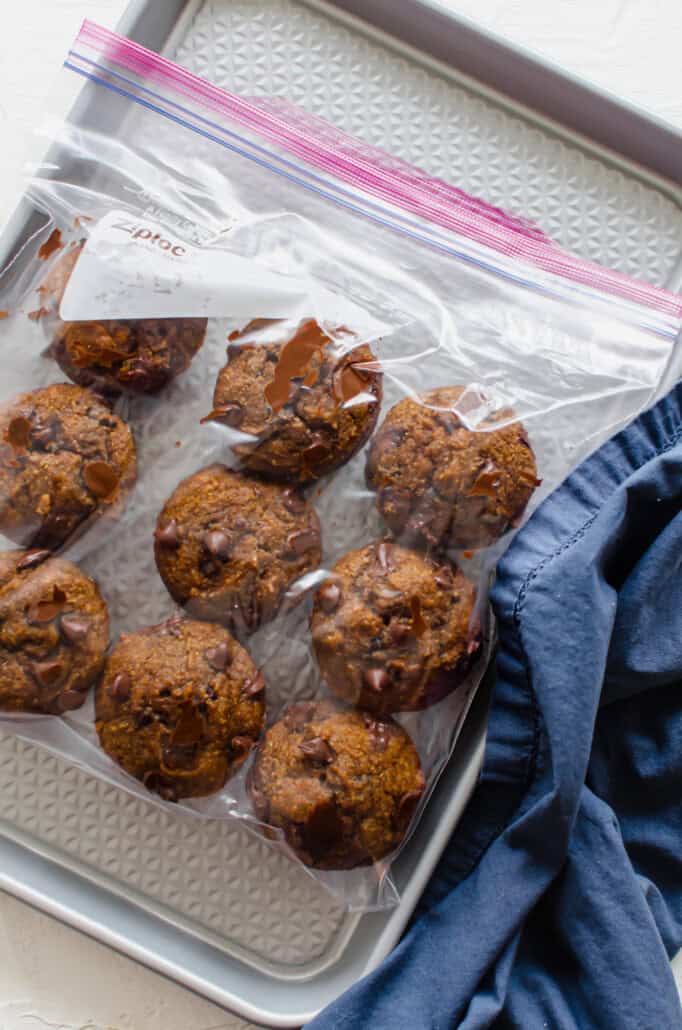
- Place them in a gallon-sized freezer bag and seal tightly–squeezing out as much air as humanely possible. Reducing air exposure to the muffins is crucial to maintaining good texture. Tip: If you really want them to last a long time, wrap each one individually in plastic wrap first. But, I’d just suggest eating them quickly instead of going through that trouble, ha!
- Store in the back of the freezer for up to 3 months.
FAQs
It’s incredibly easy to make these dairy-free. The only ingredient that has dairy in it would be the chocolate chips. Simply leave them out or use dairy-free chocolate chips like Enjoy Life brand.
Yes! Muffins freeze and reheat beautifully. Place the cooked and cooled muffins in a gallon-sized freezer bag and seal tightly–squeezing out as much air as humanely possible.
A substitute for White Whole Wheat Flour would be to use half whole wheat and half unbleached all-purpose flour.
If you want a gluten-free muffin, you can download our older Gluten-Free Pumpkin Muffin recipe. Don’t worry, they still have chocolate chips in them and are super moist and delicious, too!
How to Video

Pumpkin Chocolate Chip Muffins
Ingredients
- 2 1/2 cups white whole wheat flour (sub: 1 1/2 cups whole wheat + 1 cup all purpose flour)
- 1/2 cup ground flaxseed (sub: oats)
- 1 cup sugar (sub: coconut sugar for a healthier alternative)
- 2 teaspoons baking soda
- 1 teaspoon baking powder (I like this aluminum-free kind.)
- 2 teaspoons cinnamon
- 1/2 teaspoon salt
- 1 1/2 cups pumpkin puree (about a 15-ounce can)
- 2/3 cup avocado oil (sub: melted coconut oil)
- 1/2 cup unsweetened applesauce
- 3 large eggs
- 1 teaspoon pure vanilla extract
- 1 cup semi sweet chocolate chips
Instructions
- Preheat oven to 350°F. Grease two 12-cup muffin tins or line them with paper liners.
- In a large mixing bowl, combine the flour, flax, sugar, baking soda, baking powder, cinnamon, and salt.
- In a smaller bowl, whisk together the pumpkin puree, oil, applesauce, eggs, and vanilla extract.
- Stir wet mixture into dry ingredients; mix just until combined (do not over mix).
- Stir in the chocolate chips.
- Spoon the batter into the prepared muffin tins until each one is almost full.
- Bake in the preheated oven until a toothpick inserted in the center of a muffin comes out clean, about 20-22 minutes for two pans (or 18-20 for one). Note: Silicone pans will take a few minutes longer to bake. To check for doneness, insert a tooth pick and if it comes out clean then muffins are done.
- Let cool on a cooling rack for 10 minutes in the tin. Remove muffins and place on the cooling rack a bit longer.
Freezer Instructions
Notes/Tips
Nutrition
Want More Pumpkin Recipes?
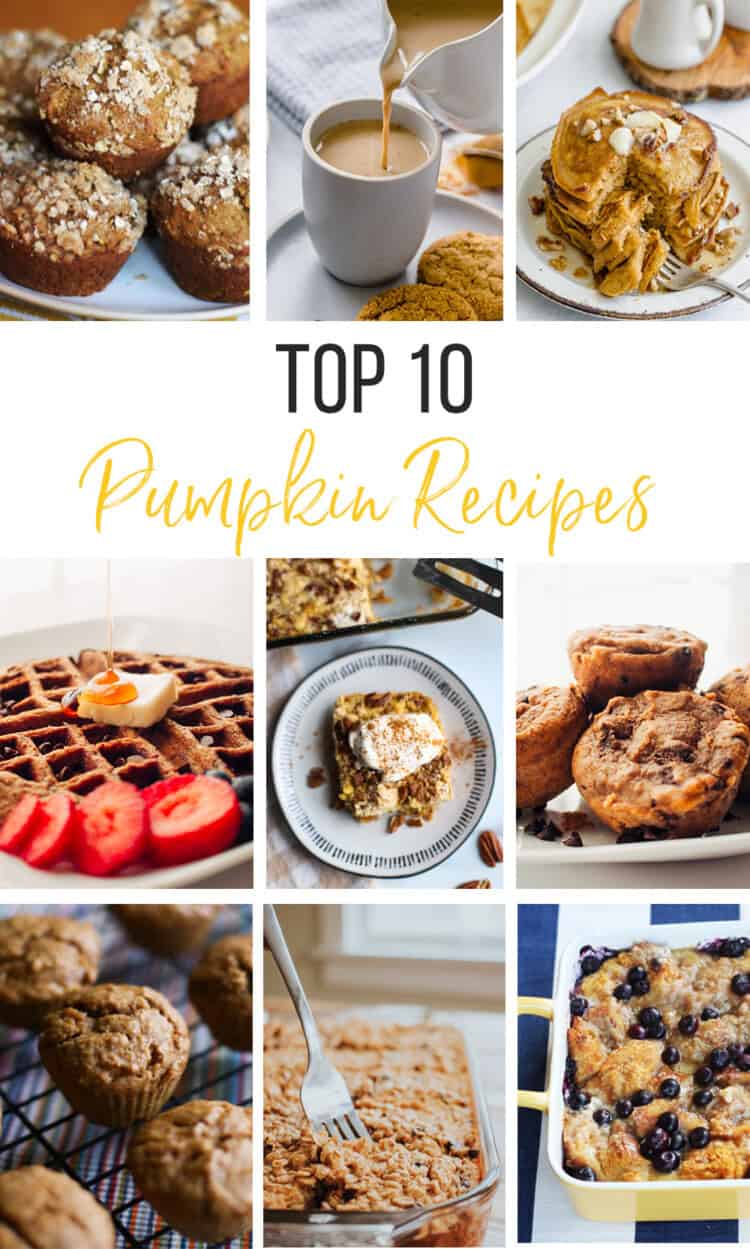
With YEARS worth of content and recipes on Thriving Home, it can be easy to forget about some amazing pumpkin recipes that we have shared over the years. Here are our Top 10 Pumpkin Recipes that you simply must try!
These were fantastic! My 5 year old Loved them! She is so picky so trying to get her to eat anything is a struggle.
I used a little less then 1/2 a cup of regular sugar and they were still delicious!
Great to hear! A picky kiddo is hard. I had a few of those. If you want to try a few more ways to sneak in some veggies, here are some ideas I pulled together for my own family: https://thrivinghomeblog.com/50-ways-to-sneak-vegetables-and-fruits-into-kid-favorites/
Me and my almost 3year old son love them!
Yay! Thanks for leaving a review Christine!
These are so delicious, thank you! I bake them with 3/4 c maple syrup for the sweetener. So good!
Hi Sarah! Thank you for taking the time to let others know what sweetener you used. We’re so glad you enjoyed the muffins!
These were great! I added cocoa powder to mine to give it more chocolate!
You can never go wrong with more chocolate in my opinion! Thanks for leaving a review Caroline.
These are so moist and tasty, even when made gluten-free. My 7-year-old loves them! Thank you for this healthy muffin.
You are so welcome Heather. Glad you mentioned that the stay moist even when made gluten-free. I know others read comments to find out things like this. So, thank YOU for taking the time to leave a review!
I make a lot of muffins for my son and freeze them to make my life easier when packing his breakfast for daycare and for those early weekend mornings and theses were great addition to my rotation of muffin recipes. I wasn’t sure if we would like the pumpkin and chocolate combo but this blog hasn’t steered me wrong yet with recipes and I had all the ingredients so I figured I would try them out and glad I did! As for the recipe itself, I love that there is substitutions listed in the recipe and I will definitely try it next time with coconut sugar as well as the ground flaxseed. Thank you for a great recipe!
Hi Rebecca. So glad you love our muffin recipes. This pumpkin chocolate chip is my personal favorite. 🙂 Thank you for taking the time to leave a review.
Soooo good! Love the texture. Very moist and delicious!
Thanks Cheri! I never thought about the texture before, but this is my picky eater’s favorite muffin… I wonder if it’s because of the texture. I don’t pay much attention to texture myself, but I do love these!
These are so yummy. I use coconut sugar and oats. One of our favorites!
Hi Abby! Thanks for taking the time to leave a review and let others know what substitutions worked for you.