Ground Beef Quesadillas
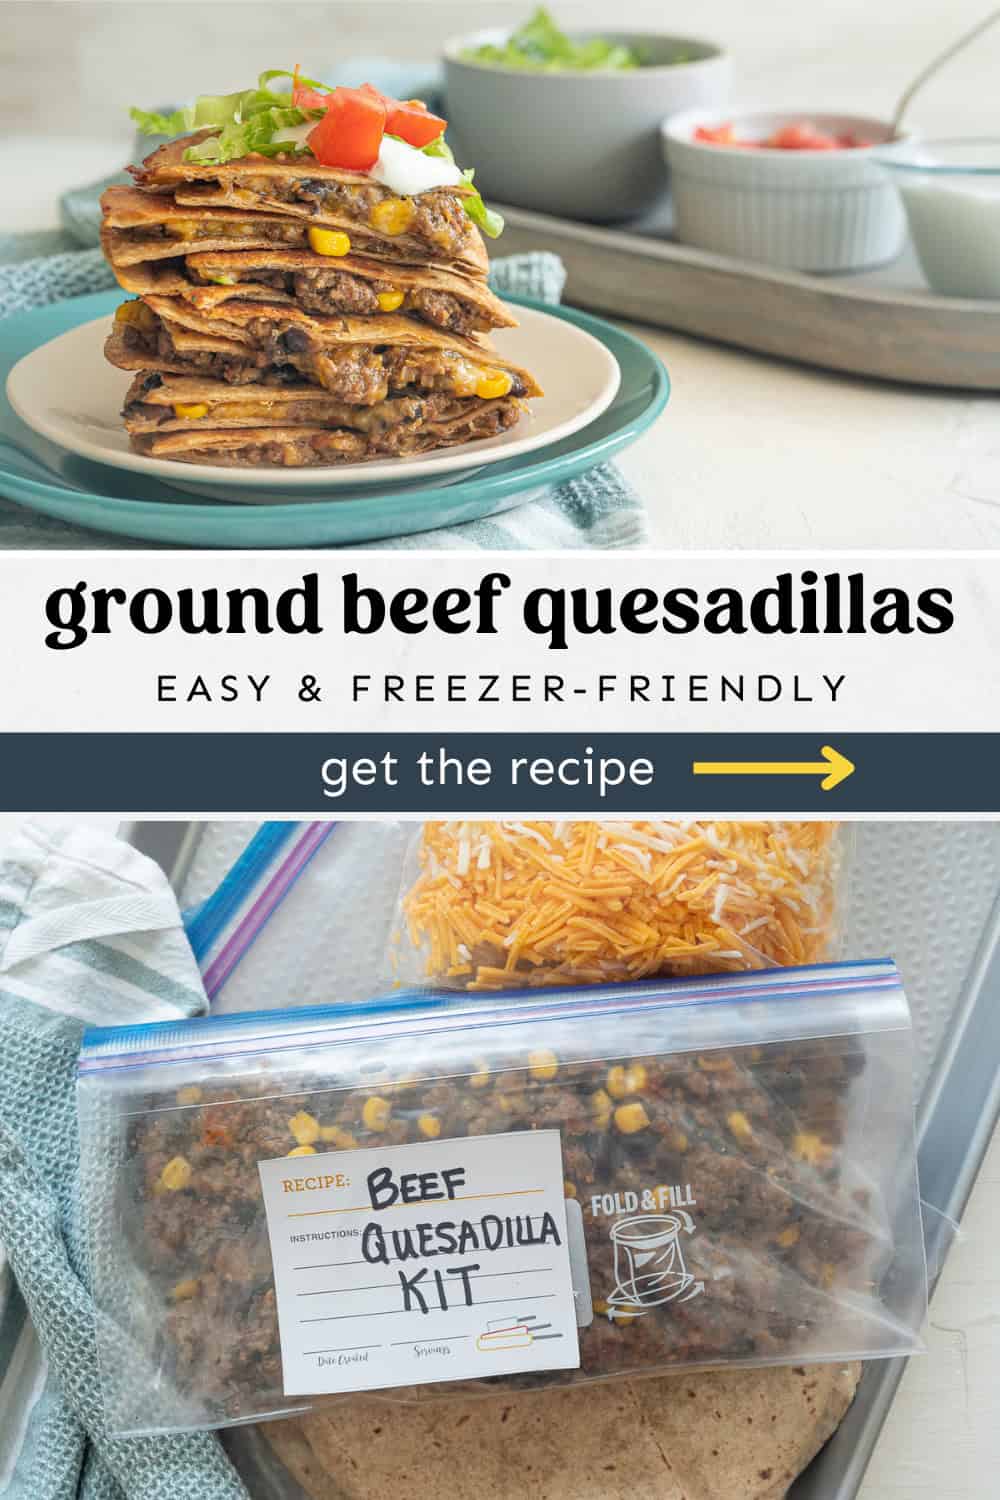
Get ready for a flavor-packed dinner with these easy, cheesy Ground Beef Quesadillas. Packed with savory Mexican flavors, this recipe is an instant crowd-pleaser. With a flavorful ground beef filling nestled between crispy tortillas, they’re perfect for any night of the week. Plus, we’ve got you covered with easy-to-follow steps, including tips for prepping them as freezer meals.
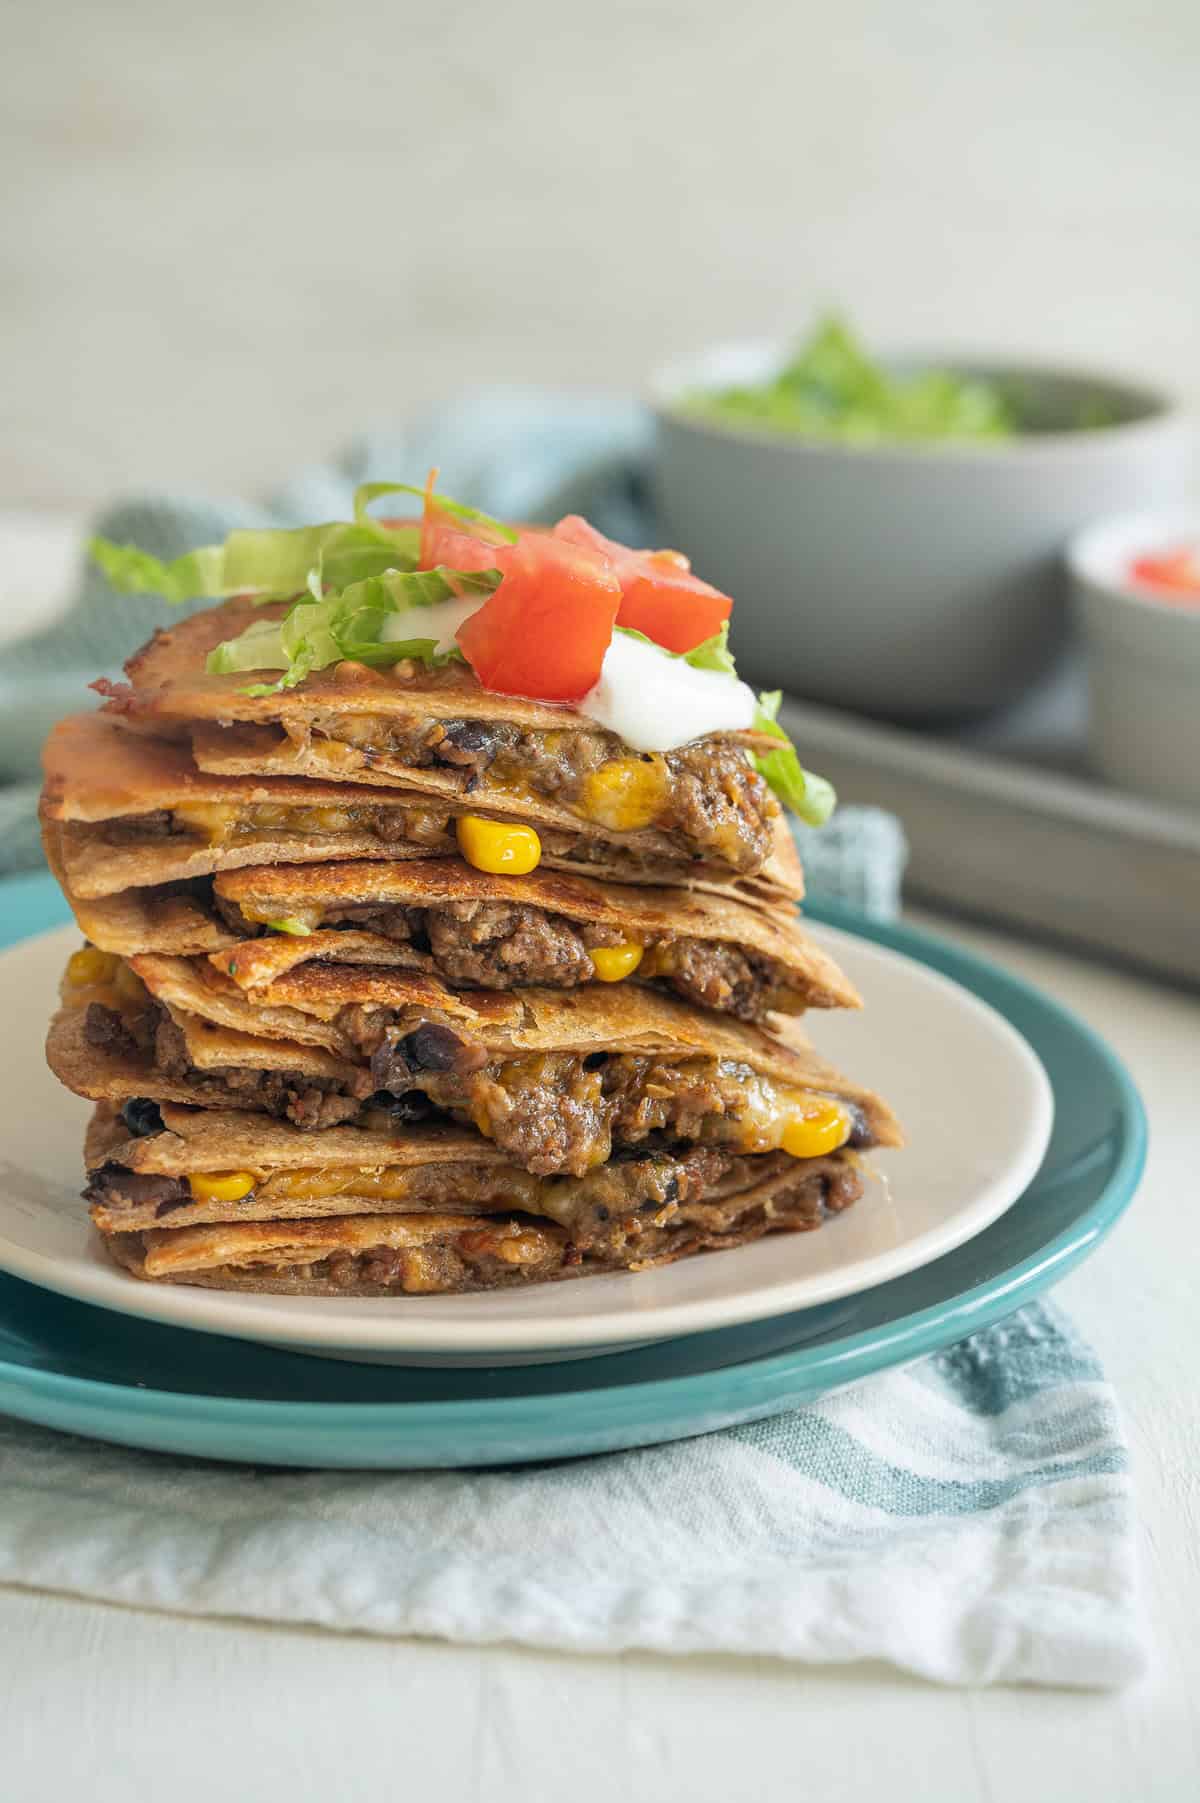
Why You’ll Love Beef Quesadillas
- These beef quesadillas are cookbook-worthy. In fact, a version of these ARE in a cookbook! This recipe is probably my husband’s favorite from our cookbook, From Freezer to Table.
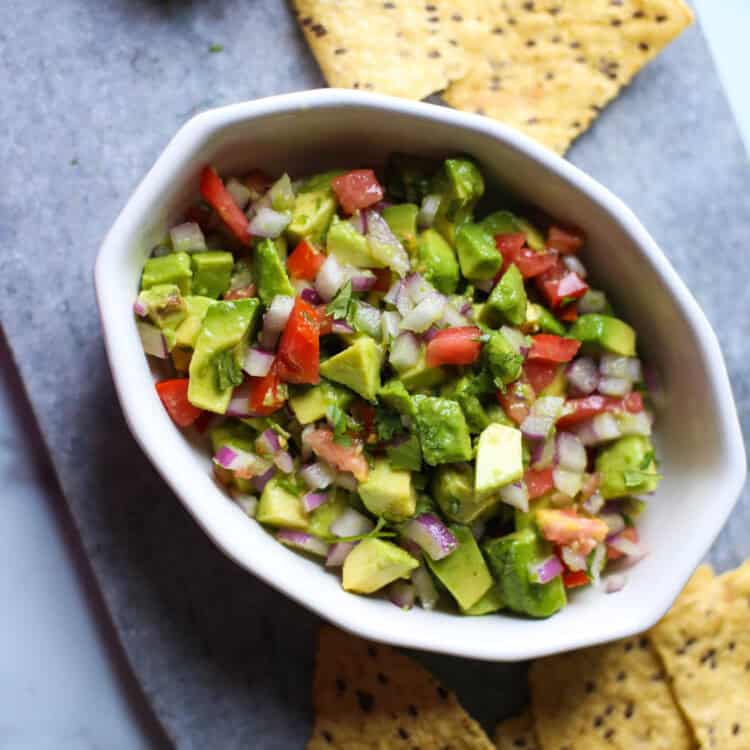
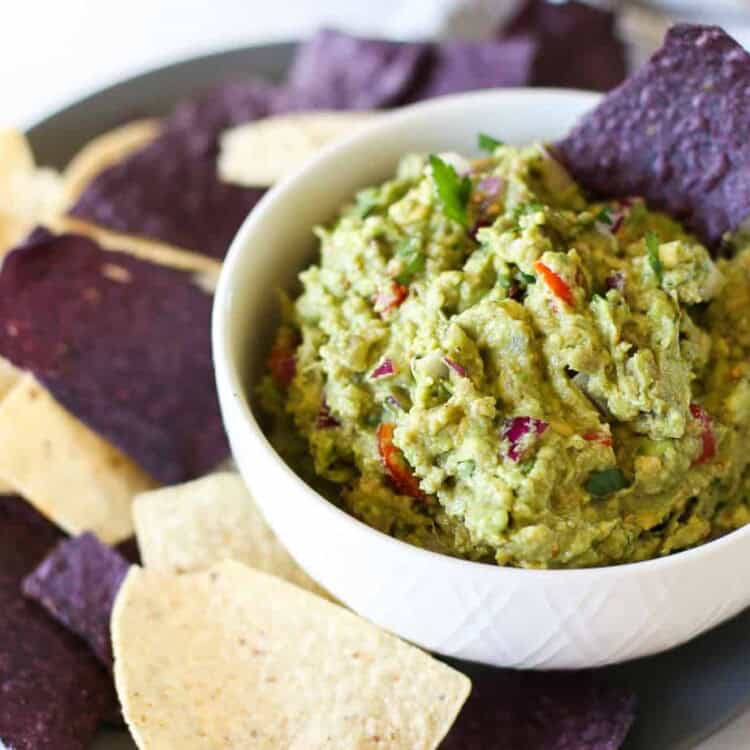
- They come together fast. I use this as a quick weeknight meal all of the time. When paired with some Chips and Guac it’s a tasty dinner.
- The filling can be repurposed. Use the ground beef mixture to put in Beef Burritos or on Baked Nachos.
- They are freezer friendly. You can freeze the ground beef mixture alongside tortillas and shredded cheese for a make ahead freezer meal.
Main Ingredients
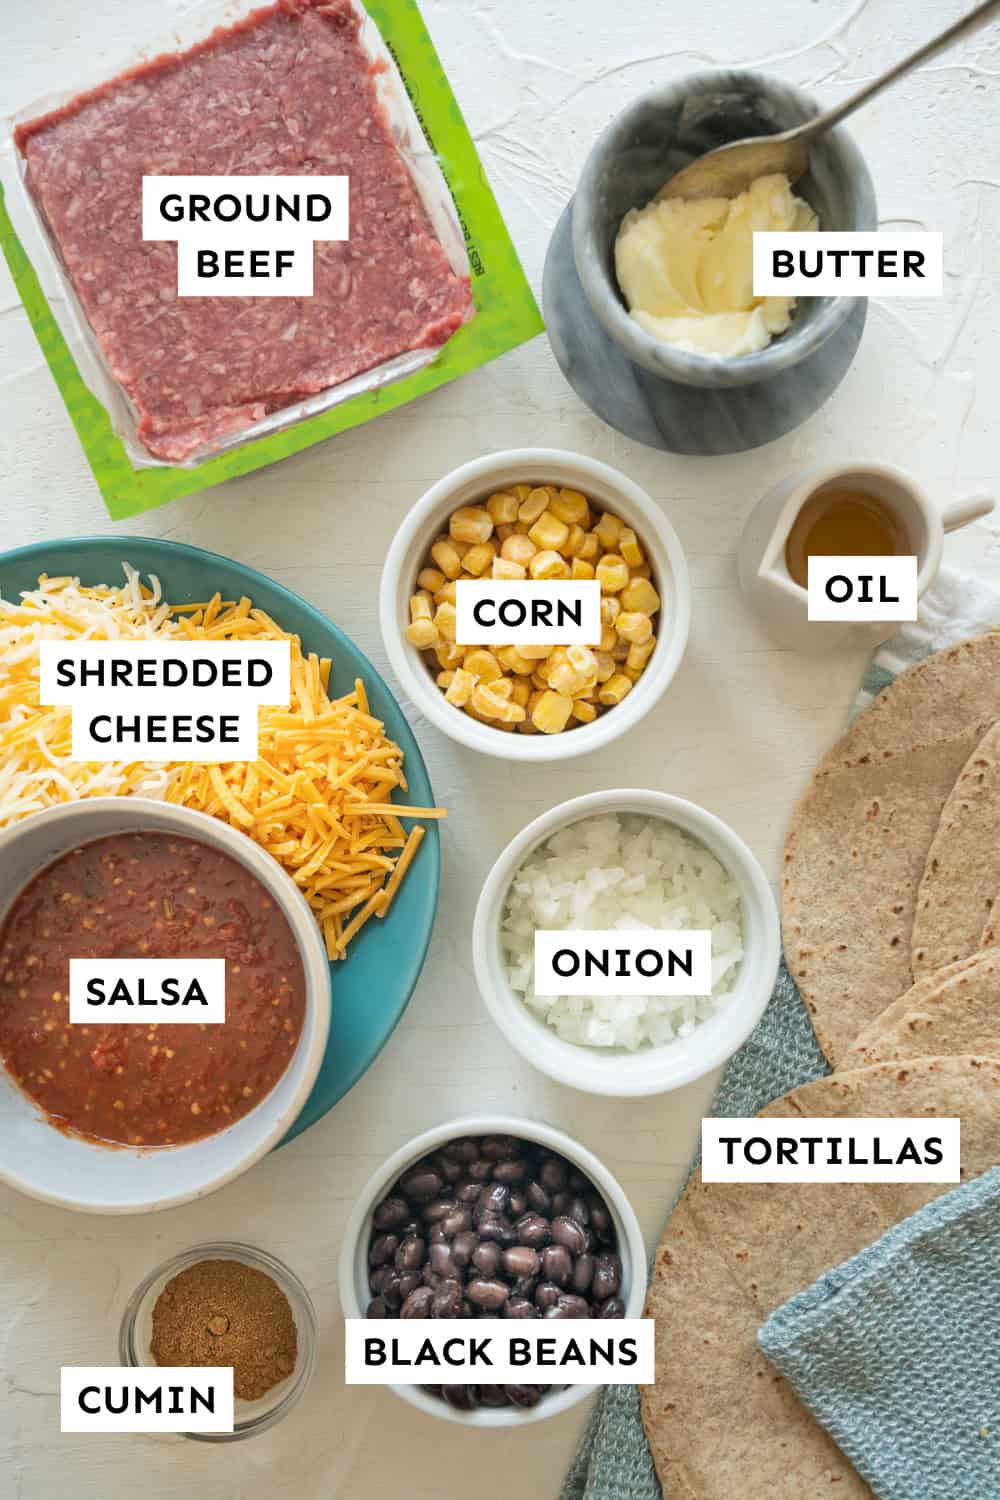
Here are the main things you’ll need to make this yummy dinner!
- Yellow onion – A white onion will work fine, too.
- Ground beef – Use lean ground beef or you can sub ground turkey or chicken. We get our beef from ButcherBox.
- Corn – Canned or frozen will work.
- Black beans – Rinsed and drained.
- Salsa – I prefer medium spice. This is a shortcut to adding a lot of flavor to the beef mixture.
- Tortillas – To make this recipe a little healthier, use whole wheat tortillas.
- Shredded cheddar cheese
25+ Amazing Mexican Recipes
Check out our ultimate collection of tasty and easy Mexican recipes that will satisfy your cravings without a trip to the restaurant!
How to Make Beef Quesadillas
Make the Ground Beef Mix
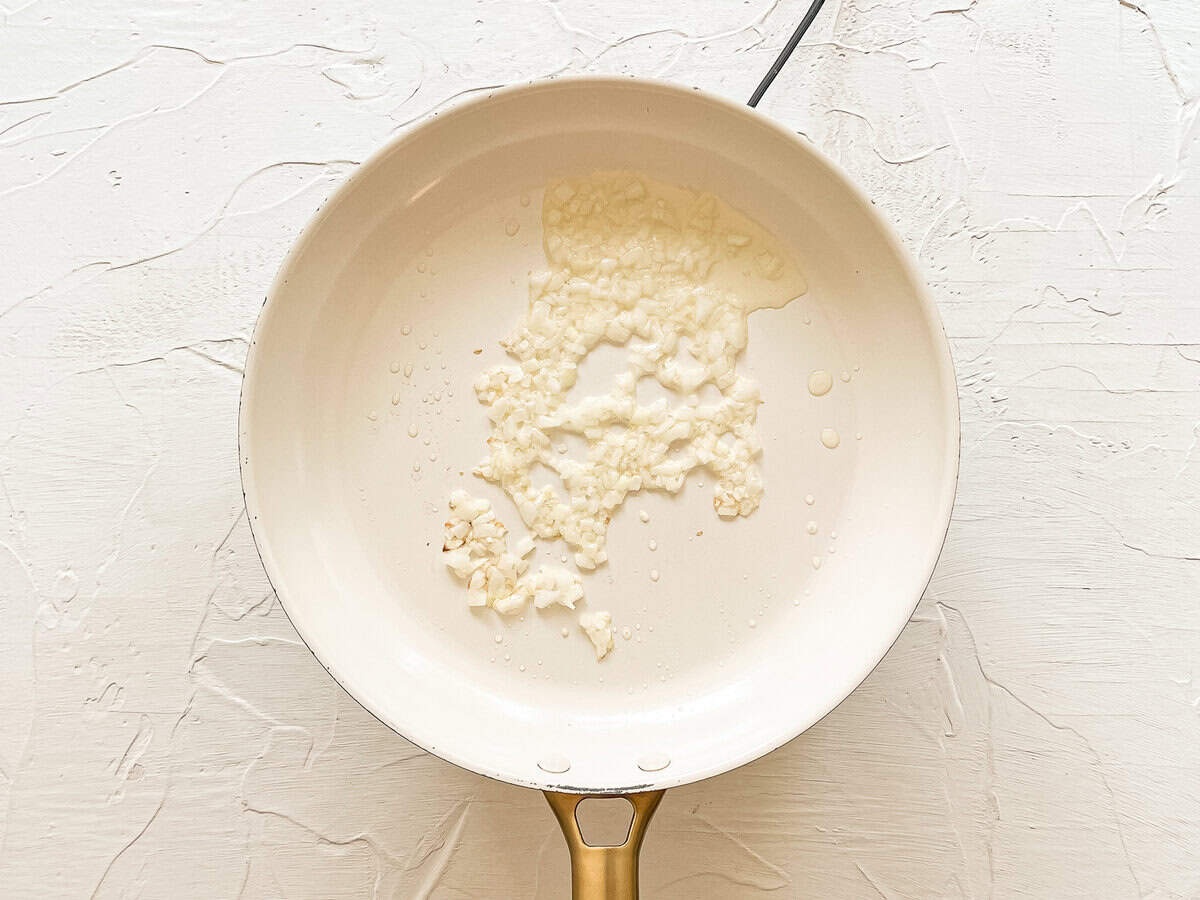
This mixture comes together super fast. After browning the ground beef in some seasonings and onion, you’ll add in the corn, black beans, and salsa.
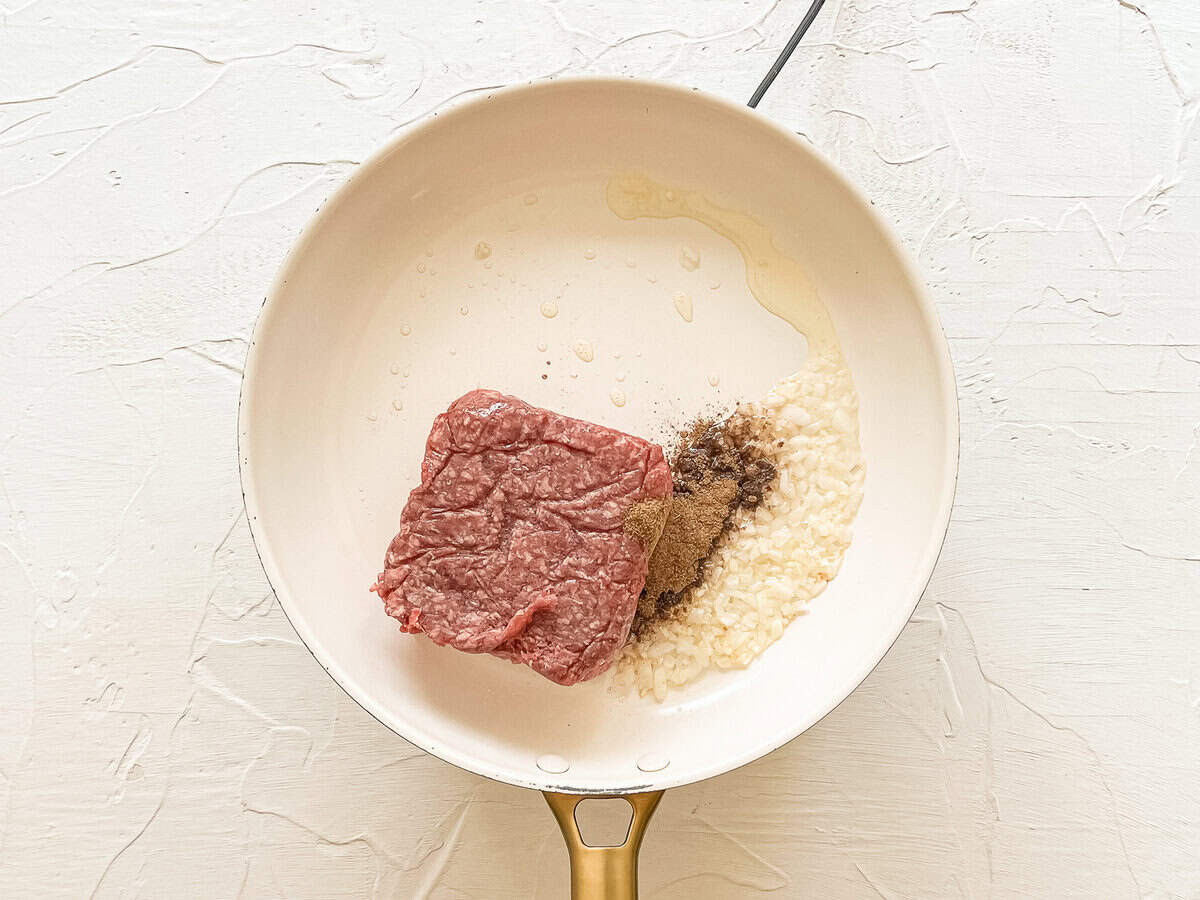
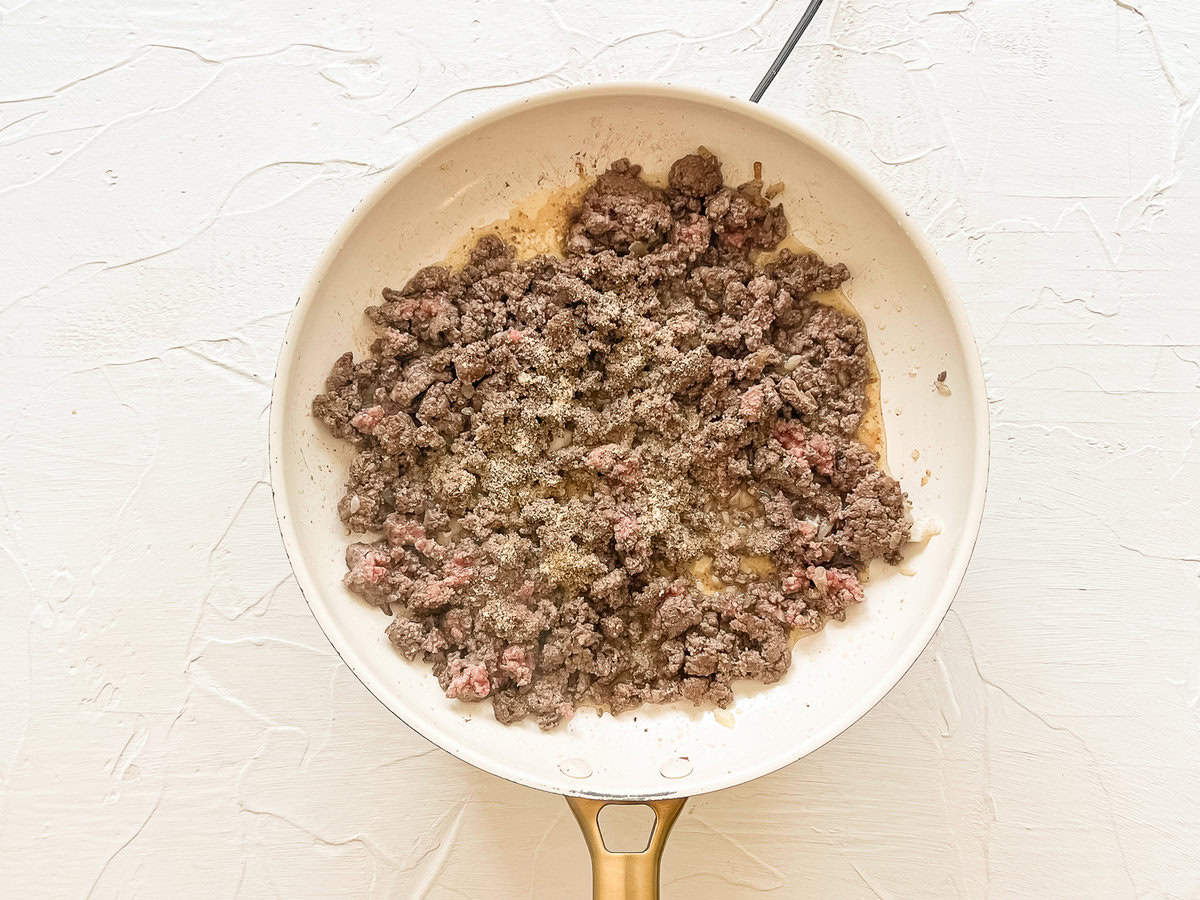
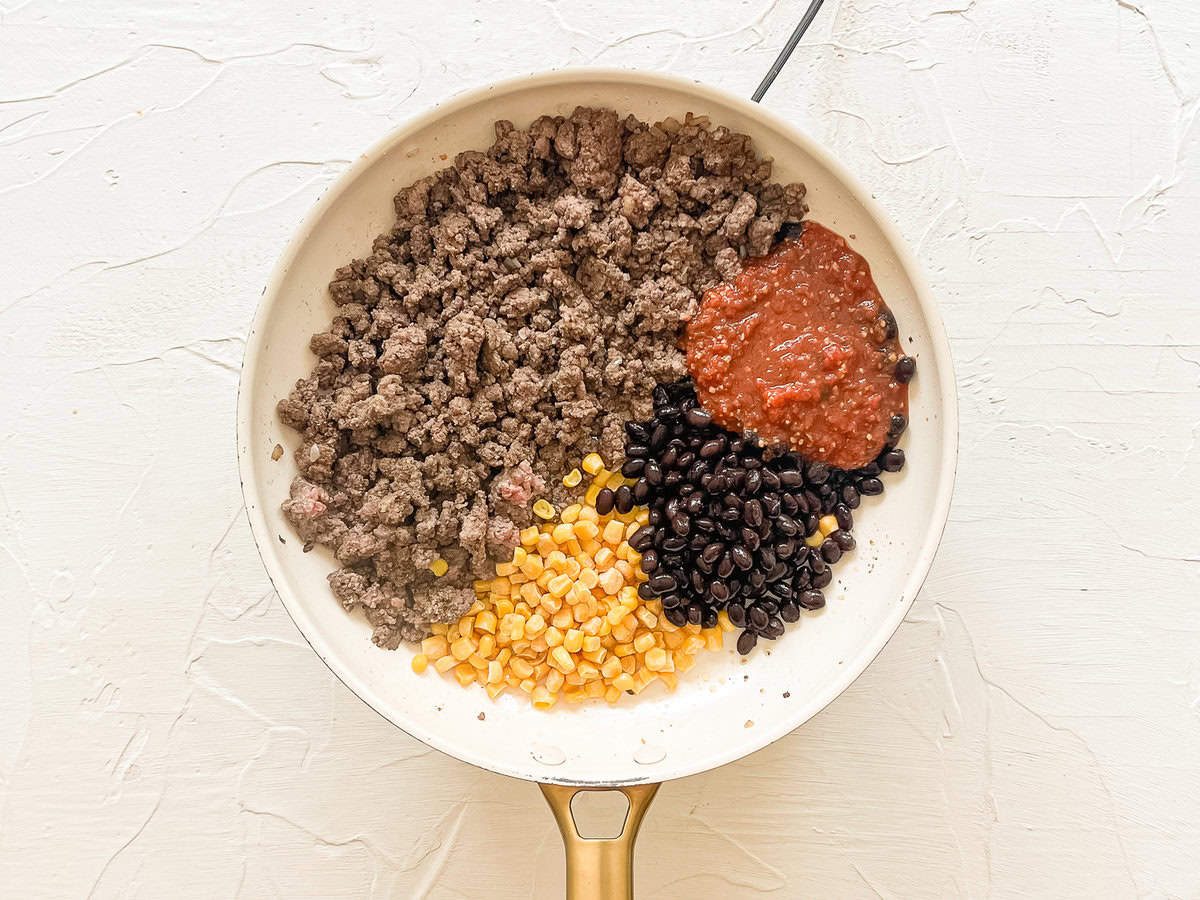
I highly highly highly recommend doubling or even tripling the ground beef mixture. It can be repurposed in so many ways. Here are some ideas.
Other Ways to Use This Ground Beef Filling
- Make Baked Nachos in the oven
- In a Taco Casserole
- For a Taco Bar
- On top of a Taco Salad
- In Bell Pepper Nachos
Assemble
Once the filling is cooked and set aside, preheat another skillet or griddle to medium-low heat.
Add a little softened butter or brush on olive oil to the outside of 1 tortilla.
Place the tortilla on the skillet and spread about 1/4 cup of cheese and a heaping 1/2 cup of beef mixture over it.
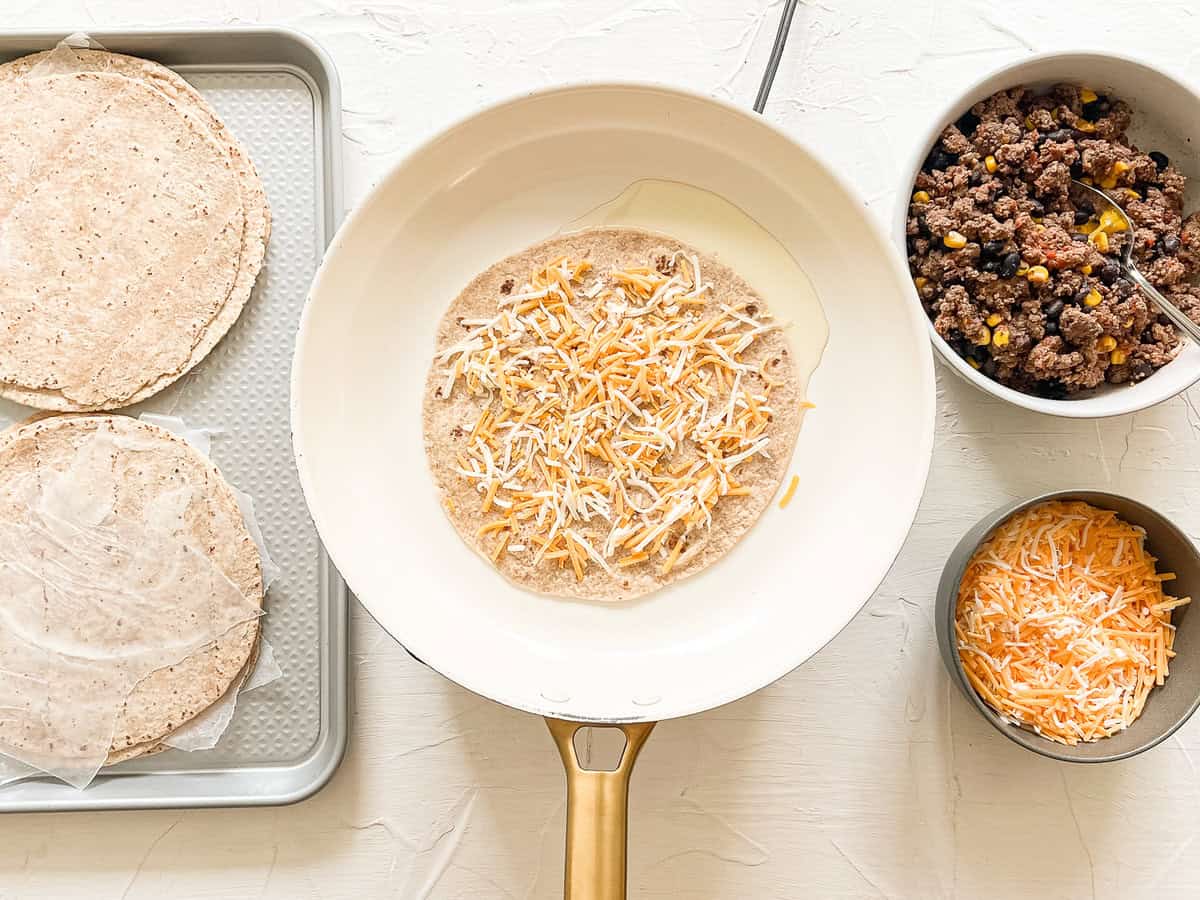
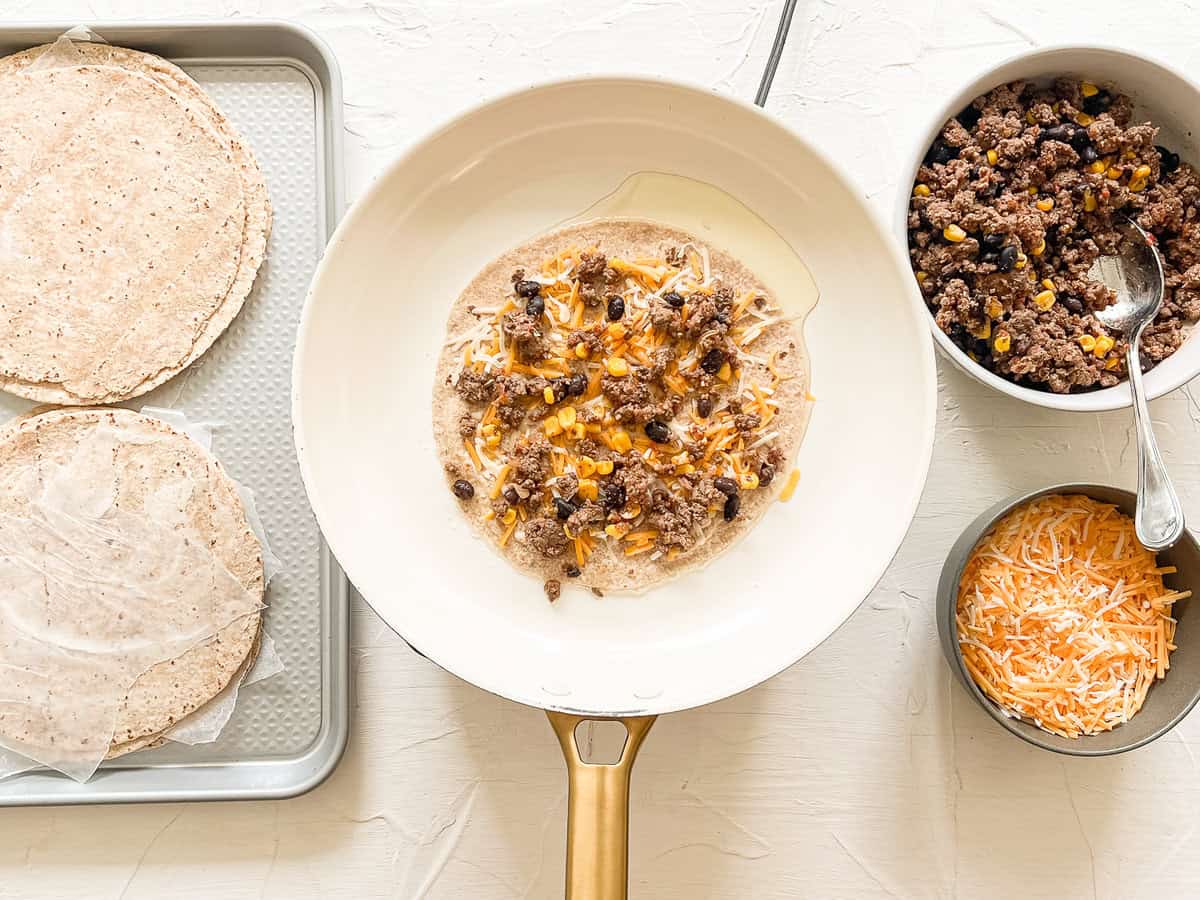
Top with another 1/2 cup of cheese and then another tortilla.
Add a little more butter or olive oil to the top of the 2nd tortilla.
Cook the Beef Quesadilla
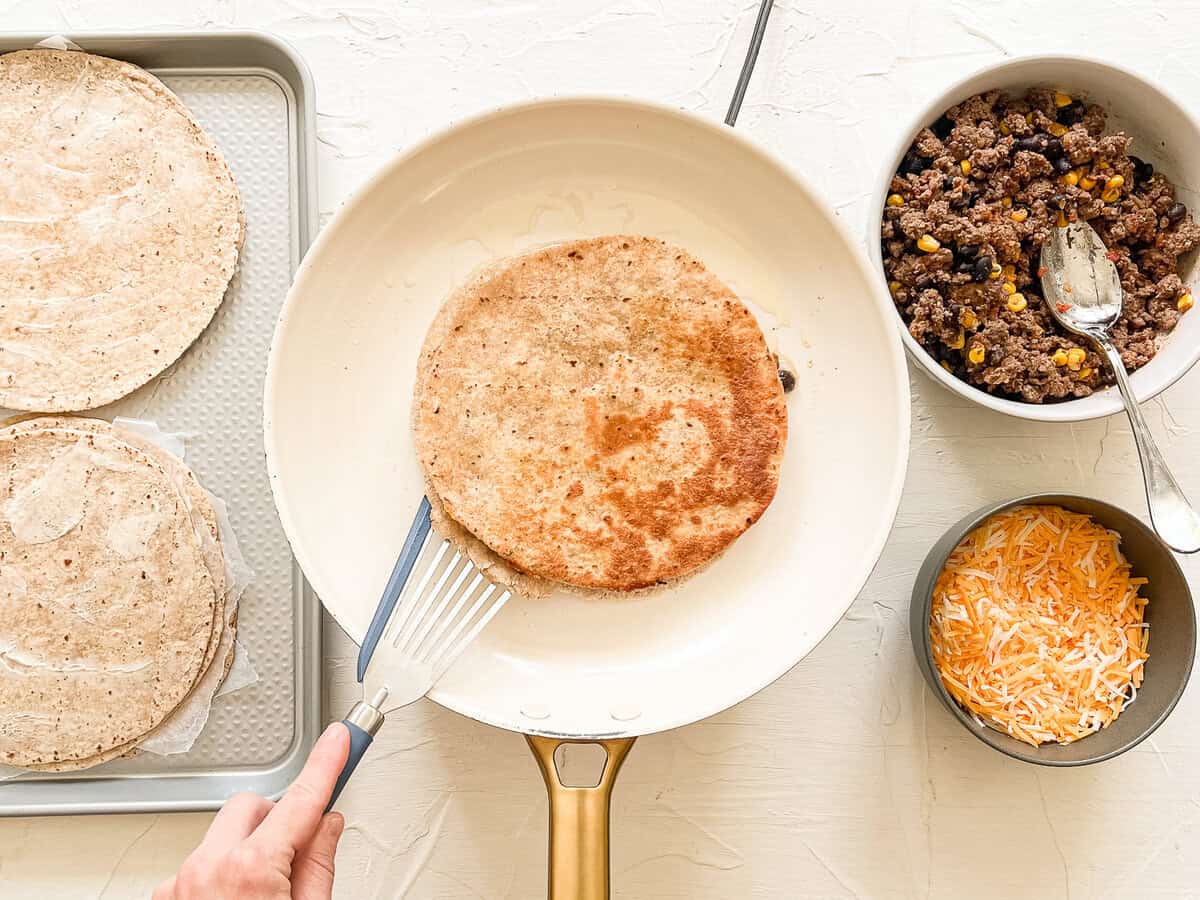
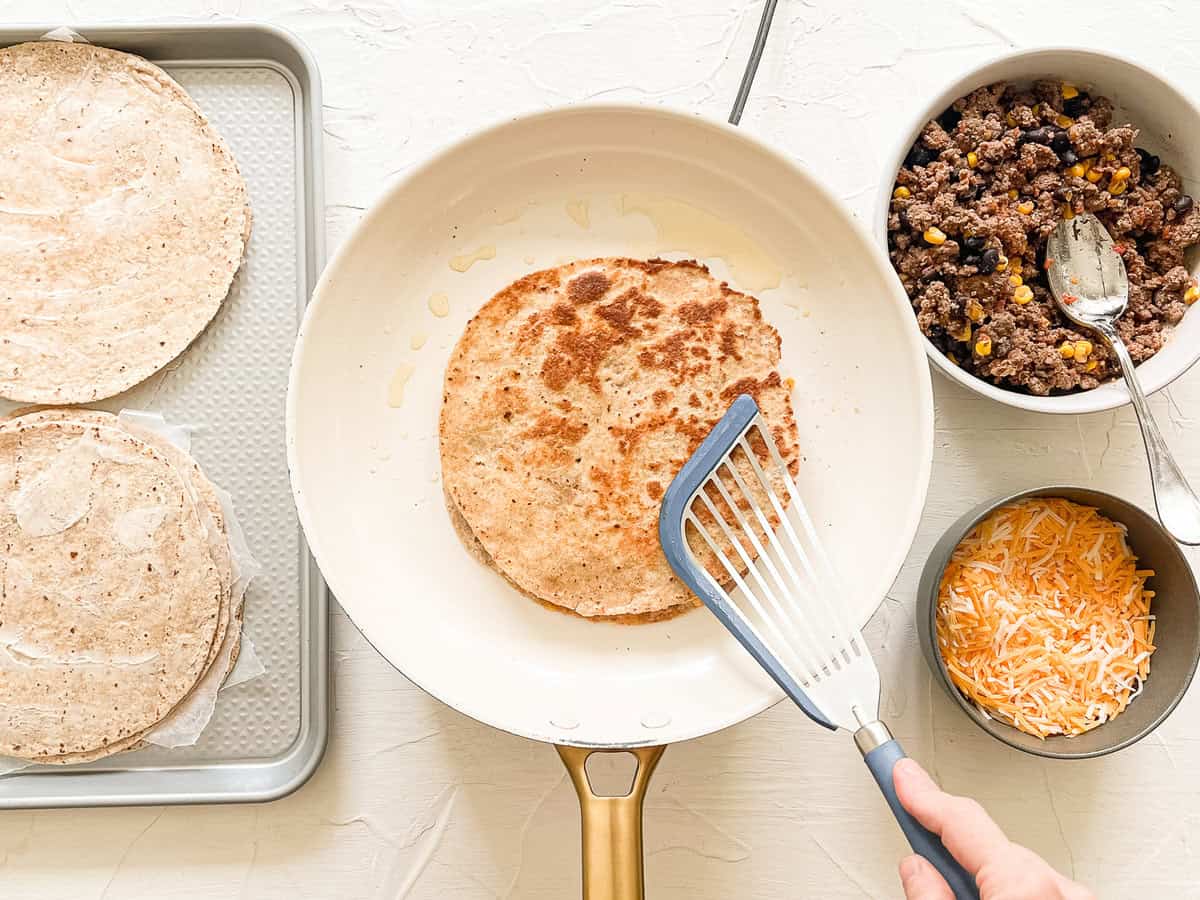
Cook for 4-6 minutes, flipping once, until the tortilla is browned and a bit firm.
You’ll also want to make sure the cheese is melted.
Serve
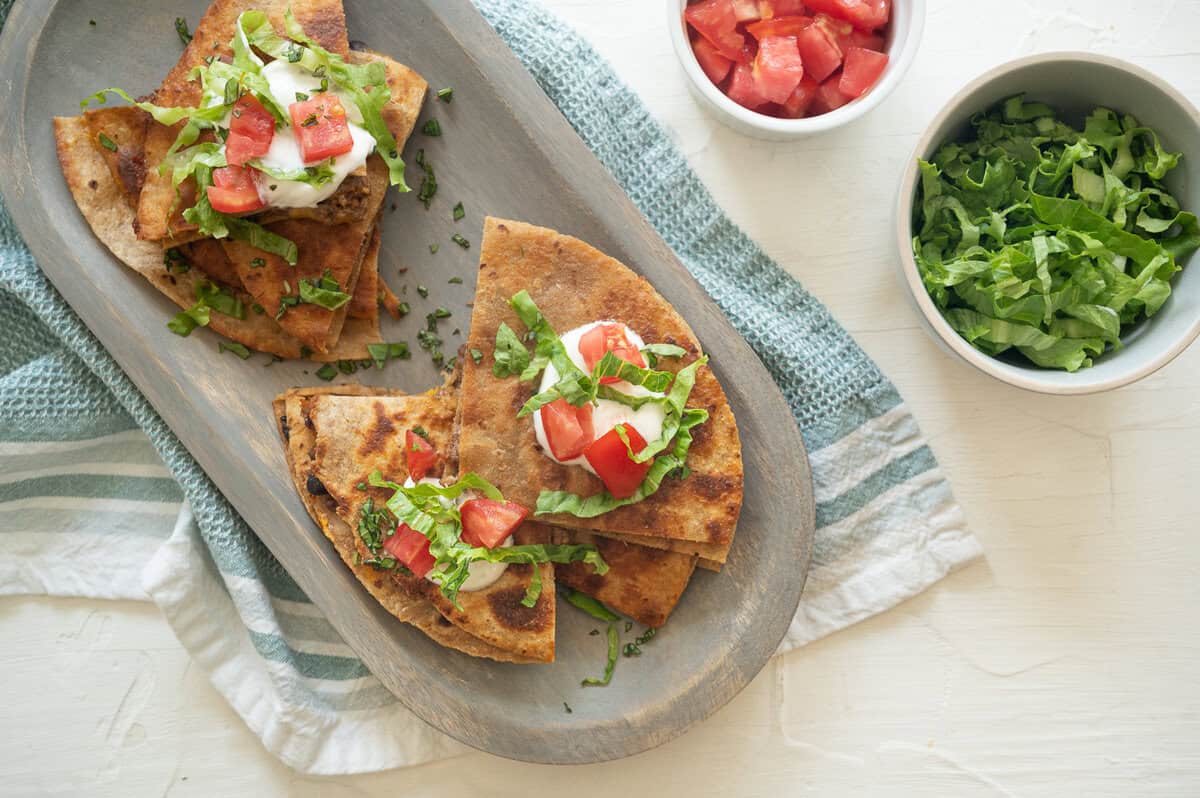
Repeat Steps 2-3 until all quesadillas are done. Cut into triangles. Serve with guacamole, salsa, sour cream, or your favorite Tex Mex toppings.
Make It A Freezer Meal
Freeze for Later:
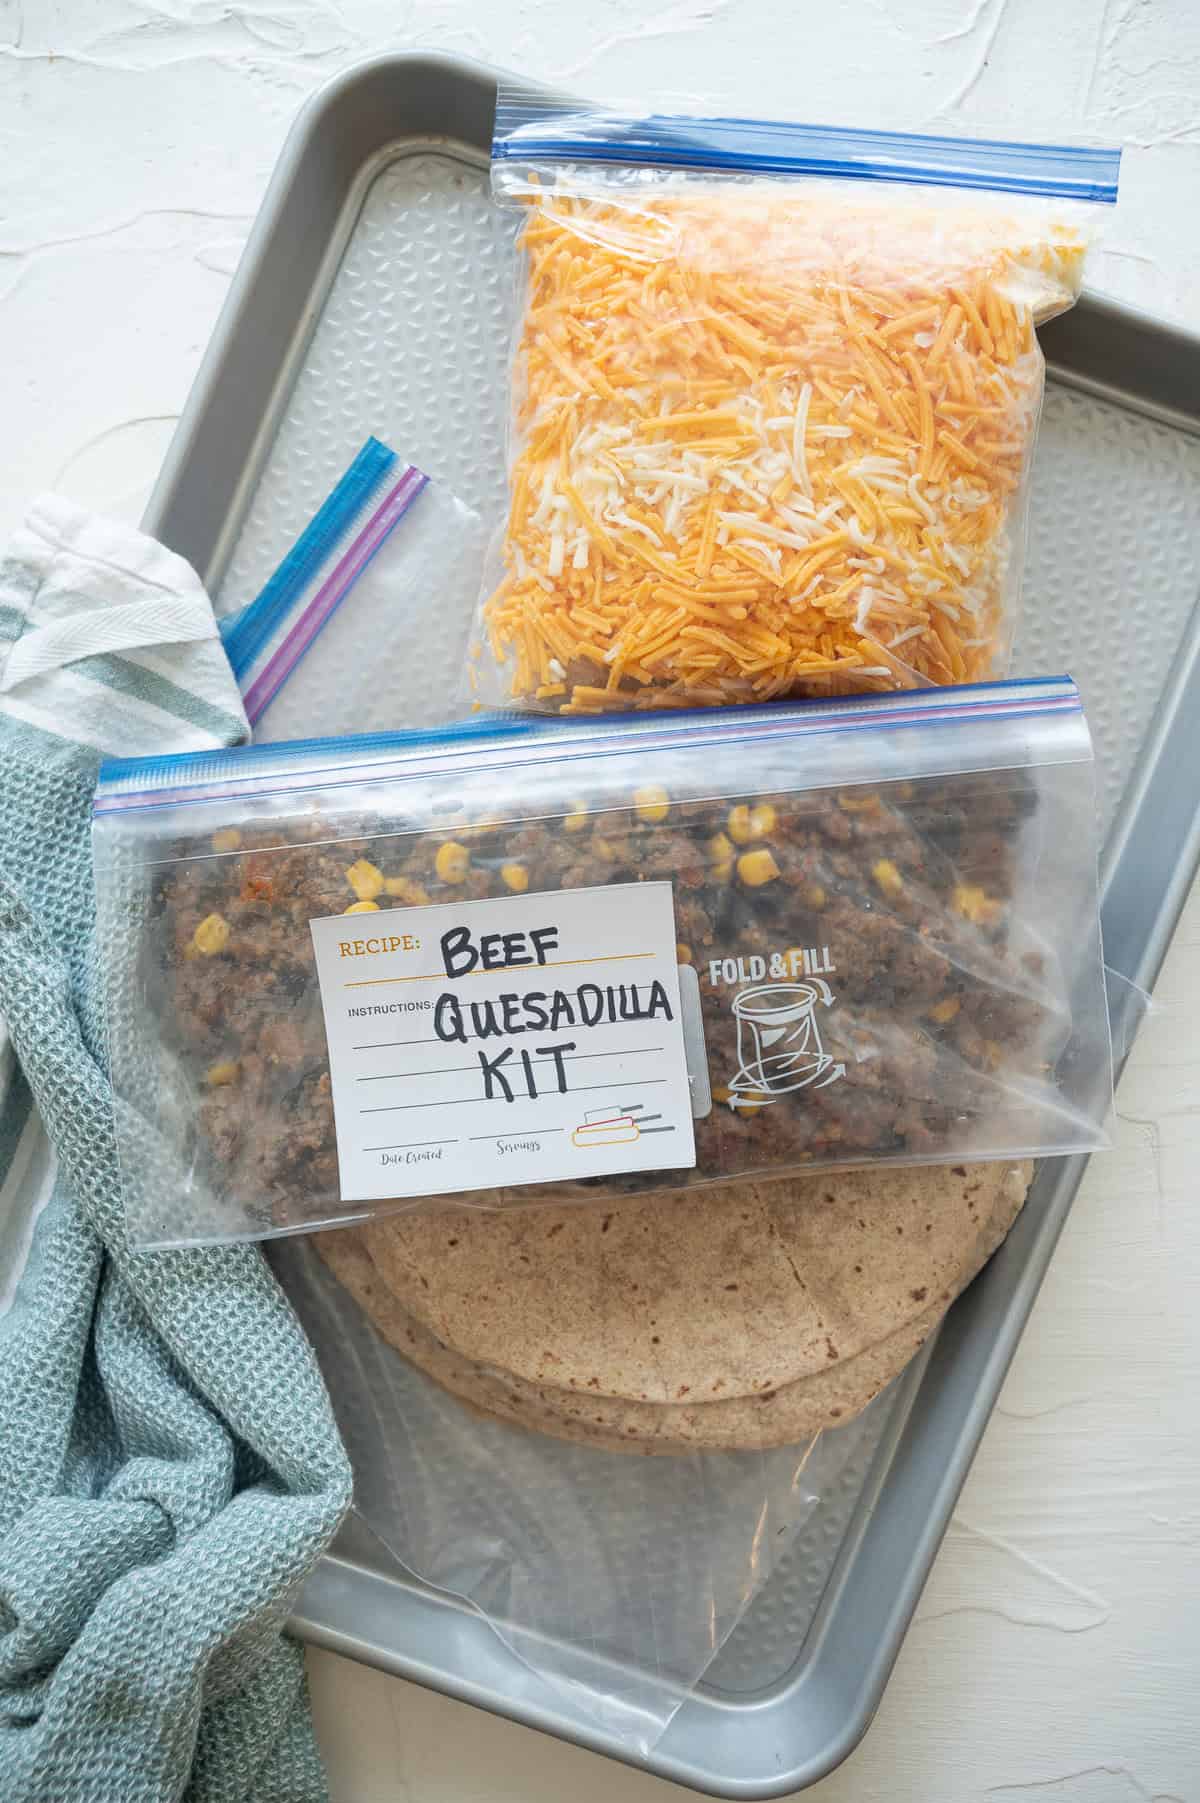
Place cooked and cooled beef filling in an airtight freezer bag or container. In a separate bag, freeze the cheese. In yet another bag, freeze the tortillas. Freeze all the bags together as a kit.
To Prepare:
Let all the ingredients thaw in the refrigerator overnight. Follow the cooking instructions as directed.
Here are our recommended freezer containers.
Side Dish Ideas
FAQs
There really isn’t a wrong size. I’ve made them with the large, burrito sized tortillas and simply folded the tortilla over on itself. I’ve also used the smaller sized and used two of them to make it more like a sandwich. But, if I had to recommend a size, I’d say the taco sized tortillas (7.5–8.5 inches) are best. I use two of them and then cut the quesadilla into 4 pieces.
Yes, both of these would be great substitutions for ground beef.
Yes! Dairy-Free Option: Use cooking spray or olive oil in place of the butter. Omit the cheese. You can add in smashed avocado in place of the cheese to add richness.
Gluten-Free Option: Use corn tortillas or gluten-free tortillas.
How to Video
Ground Beef Quesadillas
Ingredients
- 2 tablespoons olive oil (sub: avocado oil)
- 1/2 medium yellow onion (diced)
- 1 pound lean ground beef (sub: ground turkey)
- 2 teaspoons ground cumin
- 1/2 cup corn (frozen or canned; drained)
- 1/2 cup black beans (drained and rinsed)
- 1 cup salsa
- 2 tablespoons butter (Dairy-Free Option: cooking spray or olive oil)
- 16 soft taco-sized tortillas (Gluten-Free Option: Use corn tortillas or gluten-free tortillas)
- 4 cups shredded cheddar cheese
Instructions
Make the Beef Filling:
- In a large nonstick skillet, heat the oil over medium heat. Sauté the onion until it begins to soften, about 3-4 minutes. Add in the ground beef and cumin. Break up and cook the beef until it is no longer pink, about 5 minutes or so. Drain off the excess grease.
- Reduce the heat to low and stir in the corn, black beans, and salsa. Cook for 2-3 minutes, stirring occasionally. Set aside.
Make the Quesadillas:
- Preheat another skillet or a large griddle to medium-low heat.
- Add a little softened butter (or brush on olive oil) to the outside of a tortilla. Place the tortilla on the skillet and spread about 1/4 cup of cheese and a heaping 1/2 cup of beef mixture over it. Top with another 1/4 cup of cheese and then another tortilla. Add a little more butter to the top of another tortilla.
- Cook for 4-6 minutes, turning once, until the tortilla is browned and a bit firm.
- Repeat Steps 2-3 until all quesadillas are done. Cut into triangles. Serve with guacamole, salsa, sour cream, or your favorite Tex Mex toppings.
Freezer Instructions
Notes/Tips
- Dairy-Free Option: Use cooking spray or olive oil in place of the butter. Omit the cheese. You can add in smashed avocado in place of the cheese to add richness.
- Gluten-Free Option: Use corn tortillas or gluten-free tortillas.
- You will have roughly 4 cups of beef filling to work with. You can add more than 1/2 cup to each quesadilla but you may end up with less quesadillas in the end.
- You may be tempted to add salt to the beef mixture. But, once it is mixed with salsa, cheese, and in the tortillas, it is plenty salty.
Nutrition
Love the bulked up filling in this quesadilla recipe – it take something basic and makes it extra filling and flavorful! A go-to that pleases everyone in the family. Thank you!
Love the description of taking something basic and making it extra filling and flavorful! Gotta love it when the whole family loves a recipe. Thanks for taking the time to leave a review.
My daughter goes NUTS for these and she’s not a big meat eater. They are so easy to make and we end up with leftover meat that we freeze. So we can get two meals out of this recipe.
That’s awesome! Thanks for leaving a review Erin. It’s always a win when we find things our kids like!
These were delicious and I loved having a meal kit in the freezer with everything I needed. Adding this one to faves for sure!
That’s so great to hear, Becka. Thank you for taking the time to leave a review!