Skip to primary navigation
Skip to main content
Get our Freezer Meal Quick Start Guide
Get Our Freezer Meal Quick Start Guide
Please enable JavaScript in your browser to complete this form.
Name
*
Email
*
GDPR Agreement
*
I agree to receive emails from Thriving Home
*
Sign Me Up
About
Free Resources
Contact
Instagram
Facebook
Pinterest
YouTube
TikTok
Thriving Home
Food & Lifestyle
Recipe Index
Course
Breakfast
Lunch & Dinner
Sides & Salads
Soups & Chilis
Appetizers
Snacks
Desserts
Baked Goods
Beverages
Condiments
Method
Freezer Meals
Stovetop
Oven
Slow Cooker
Instant Pot
Grill or Smoker
6 Ingredients or Less
Air Fryer
Diet
Gluten-Free
Dairy-Free
Vegetarian
Ingredients
Chicken & Turkey
Beef
Pork
Seafood
Pasta & Pizza
Holiday
Birthday
Christmas
Easter
Halloween
Thanksgiving
Valentine's Day
All Recipes
Freezer Cooking
Start Here
Freezer Meal Recipes
1 Hour Freezer Prep
Cookbooks
Menu Plans
Shop
Cookbooks
Our Recipe Ebooks & Digital Products
1 Hour Freezer Prep
Shop Our Favorites
Gift Guides
Search...
Home
side dish
side dish
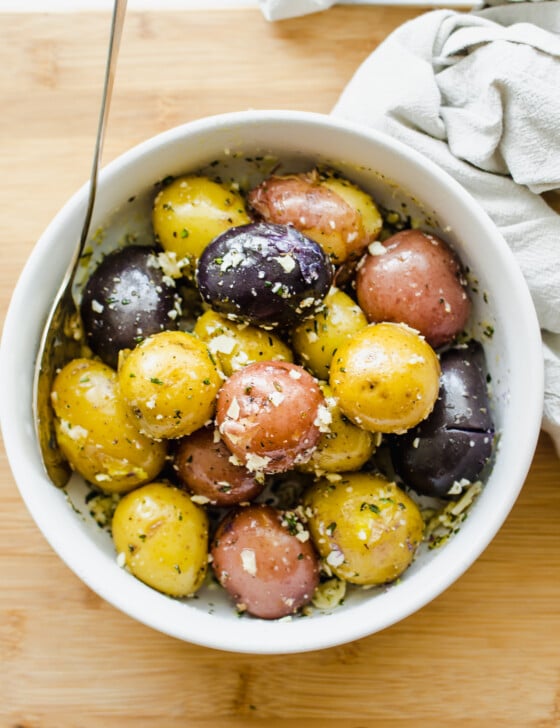
The BEST Boiled Baby Potatoes
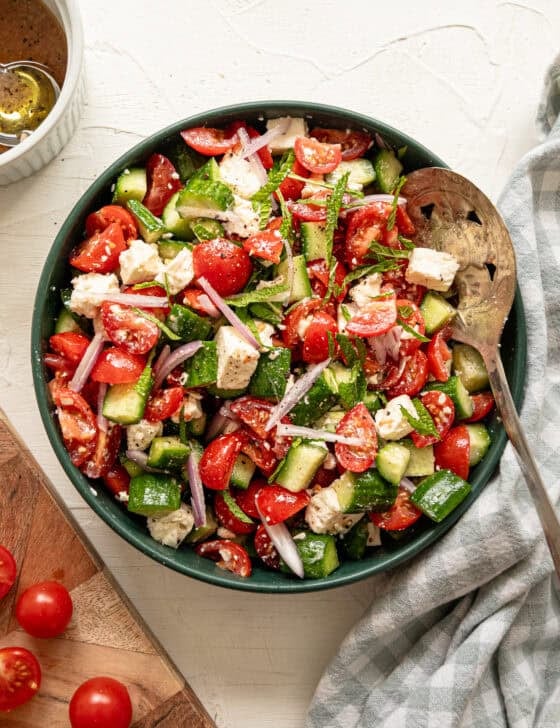
Cucumber Tomato Feta Salad
Crispy Smashed Potatoes
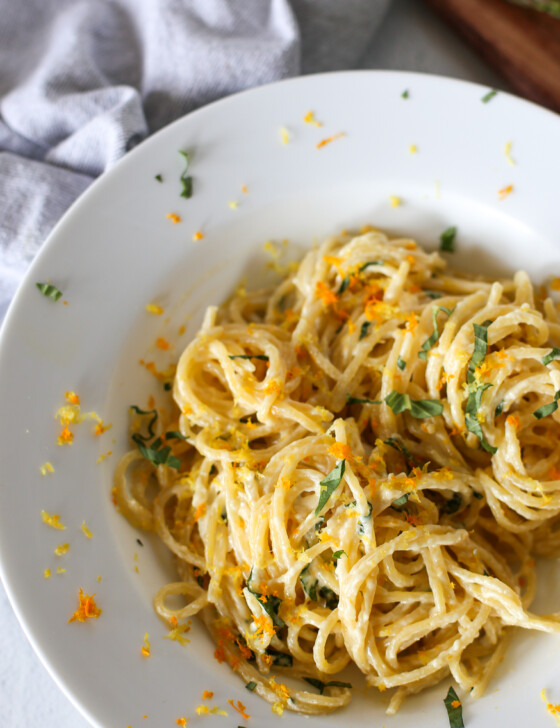
Creamy Lemon Pasta Sauce
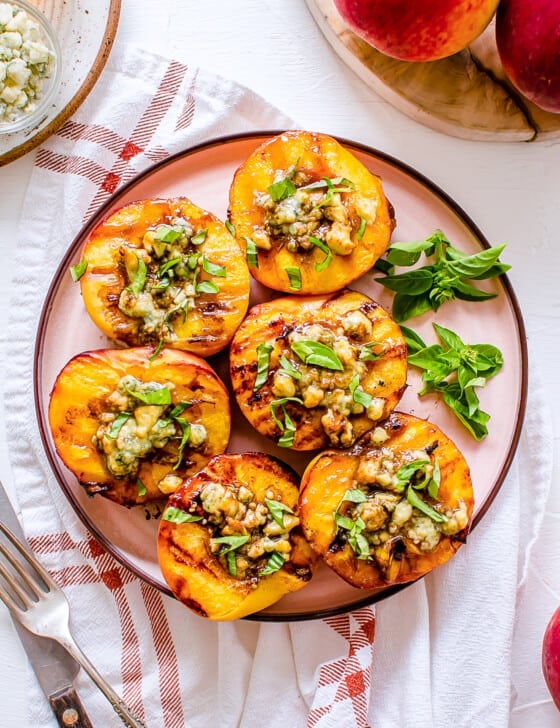
Jane’s Grilled Peaches
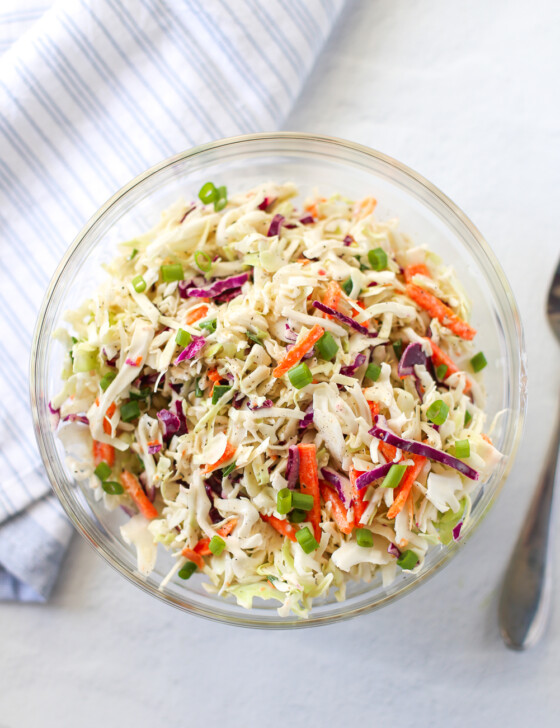
Asian Slaw
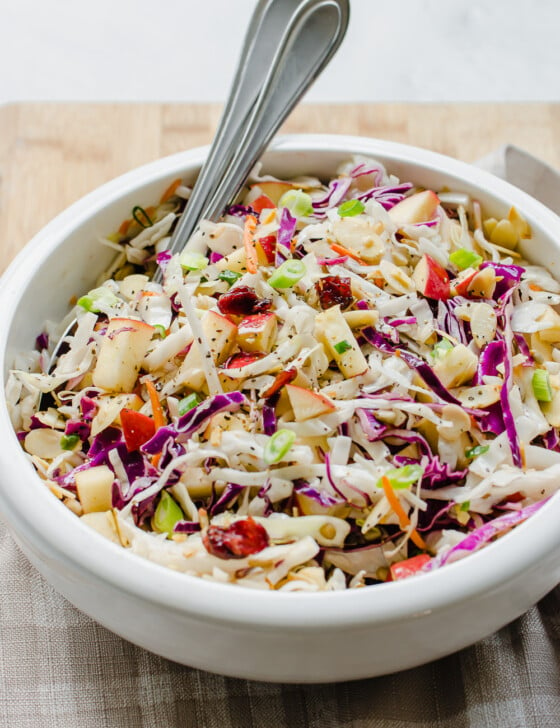
5-Ingredient Coleslaw
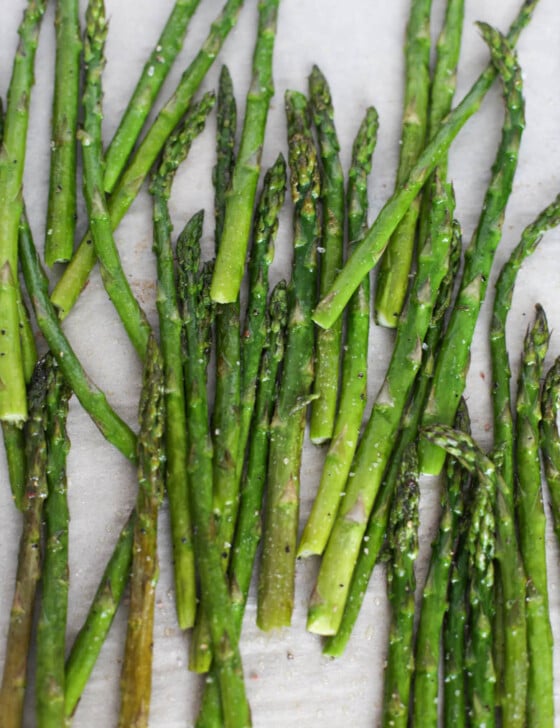
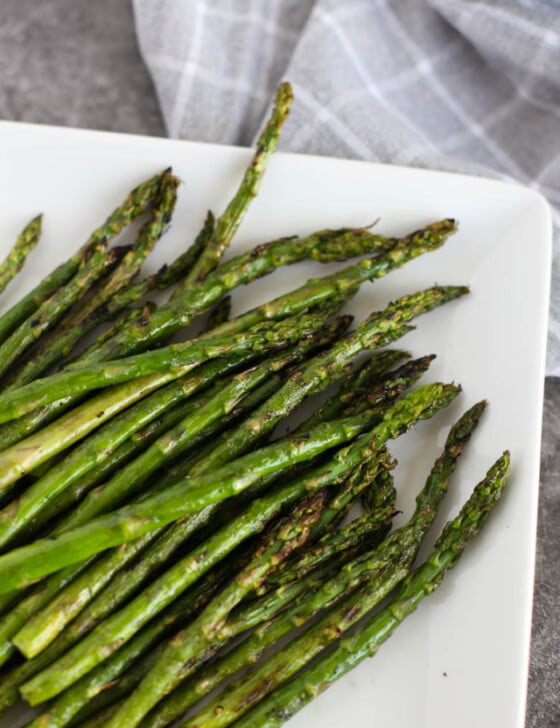
Oven Roasted Asparagus
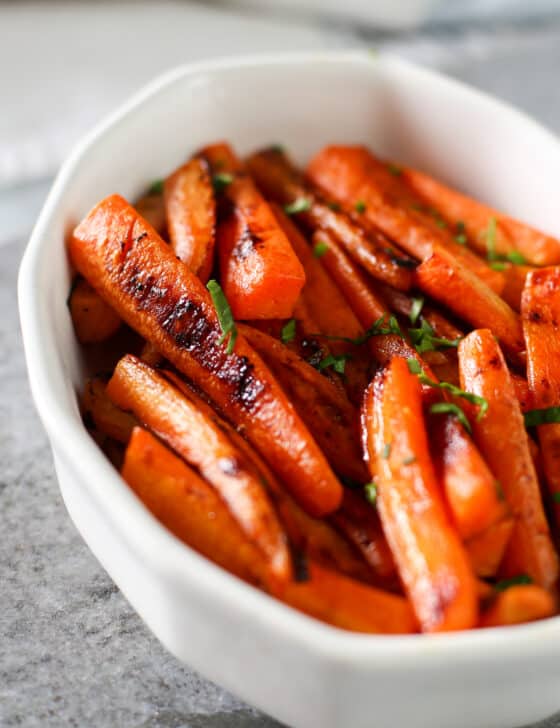
Maple Glazed Carrots
How to Grill Asparagus
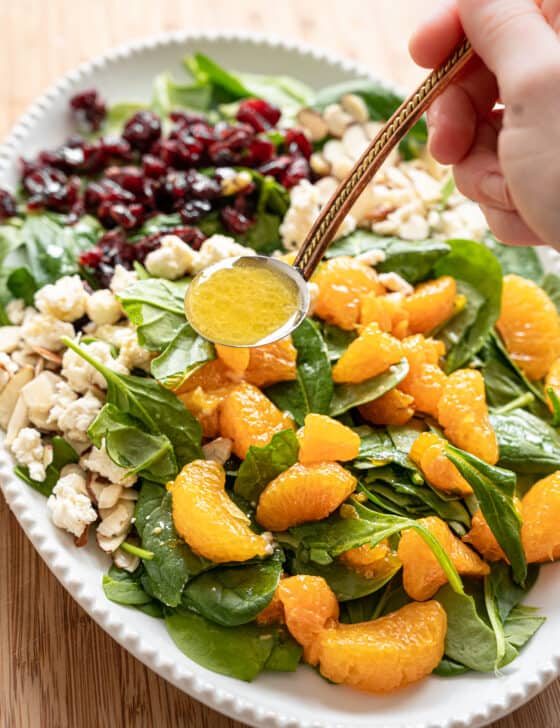
Mandarin Orange Salad with Creamy Citrus Dressing
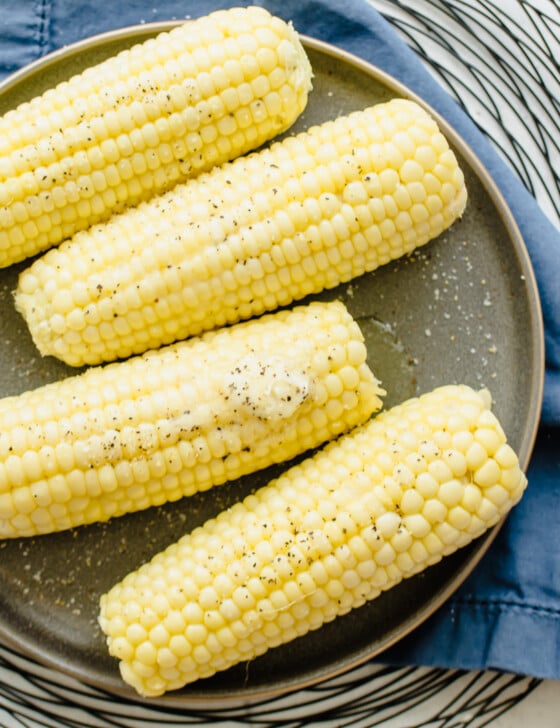
Microwave Corn on the Cob
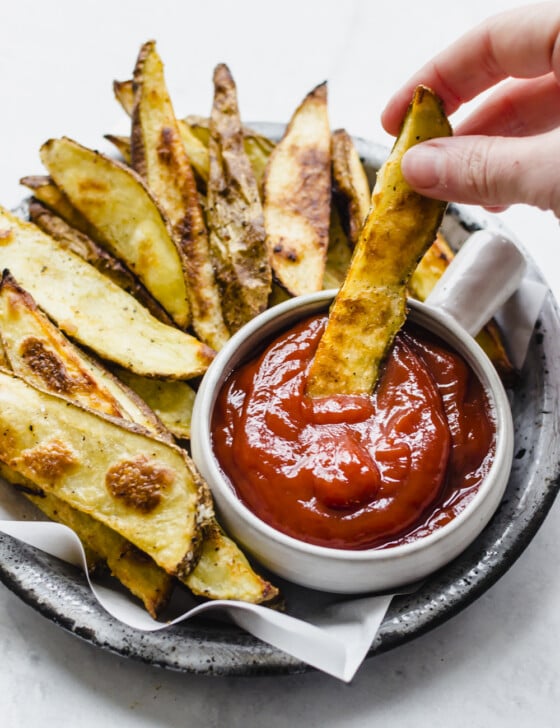
Steak Fries
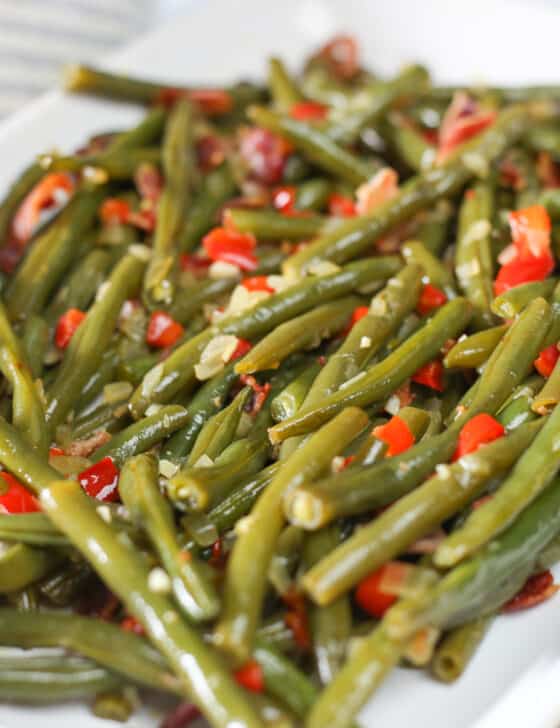
Skillet Green Beans
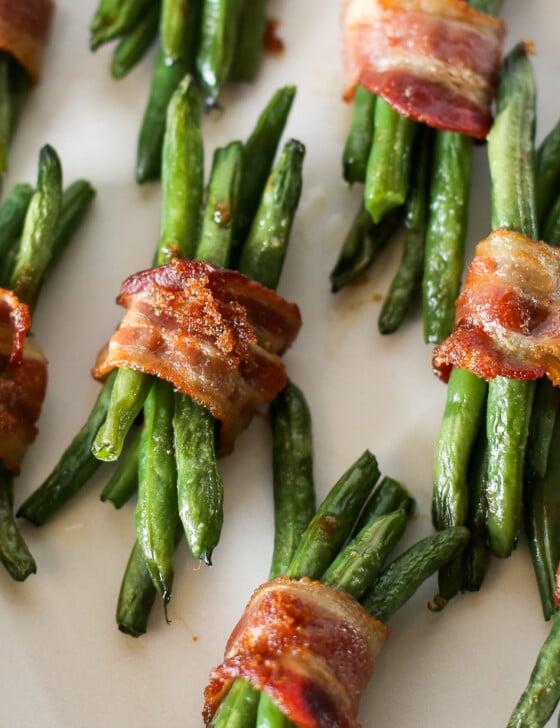
Bacon Wrapped Green Beans
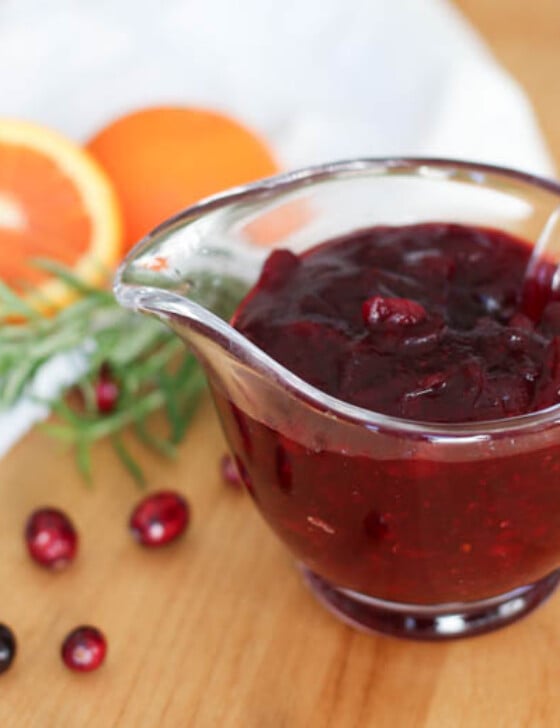
Cranberry Orange Sauce
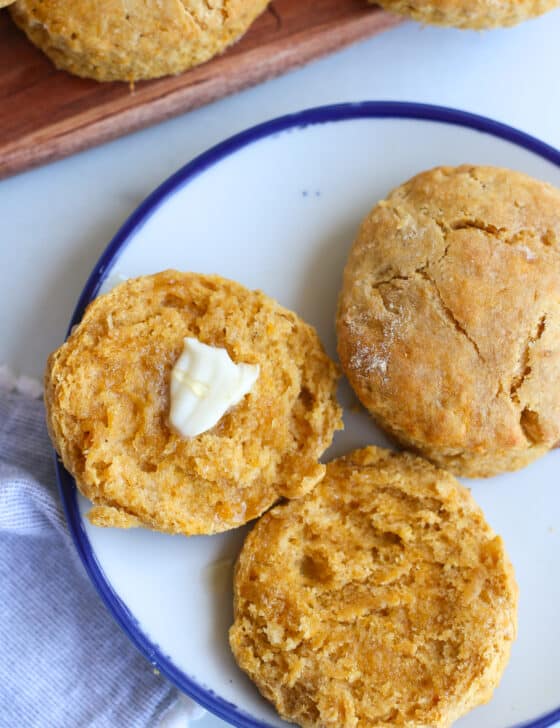
Sweet Potato Biscuits
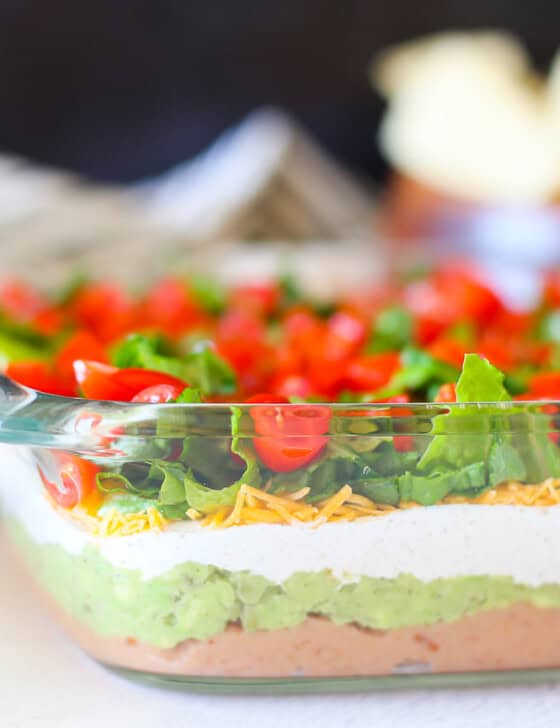
Layered Taco Dip
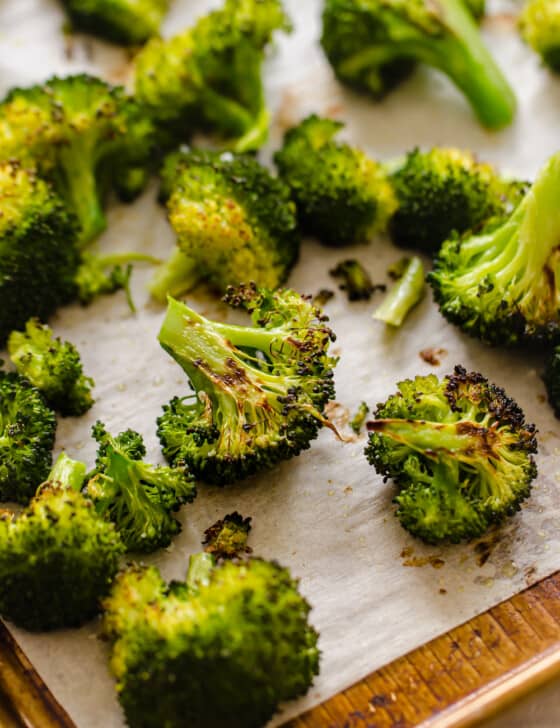
Oven Roasted Broccoli
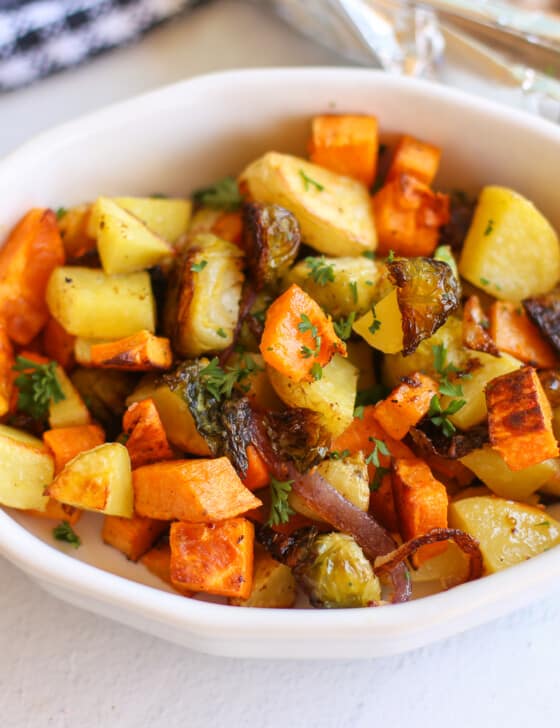
Roasted Vegetables