Gluten-Free Banana Muffins
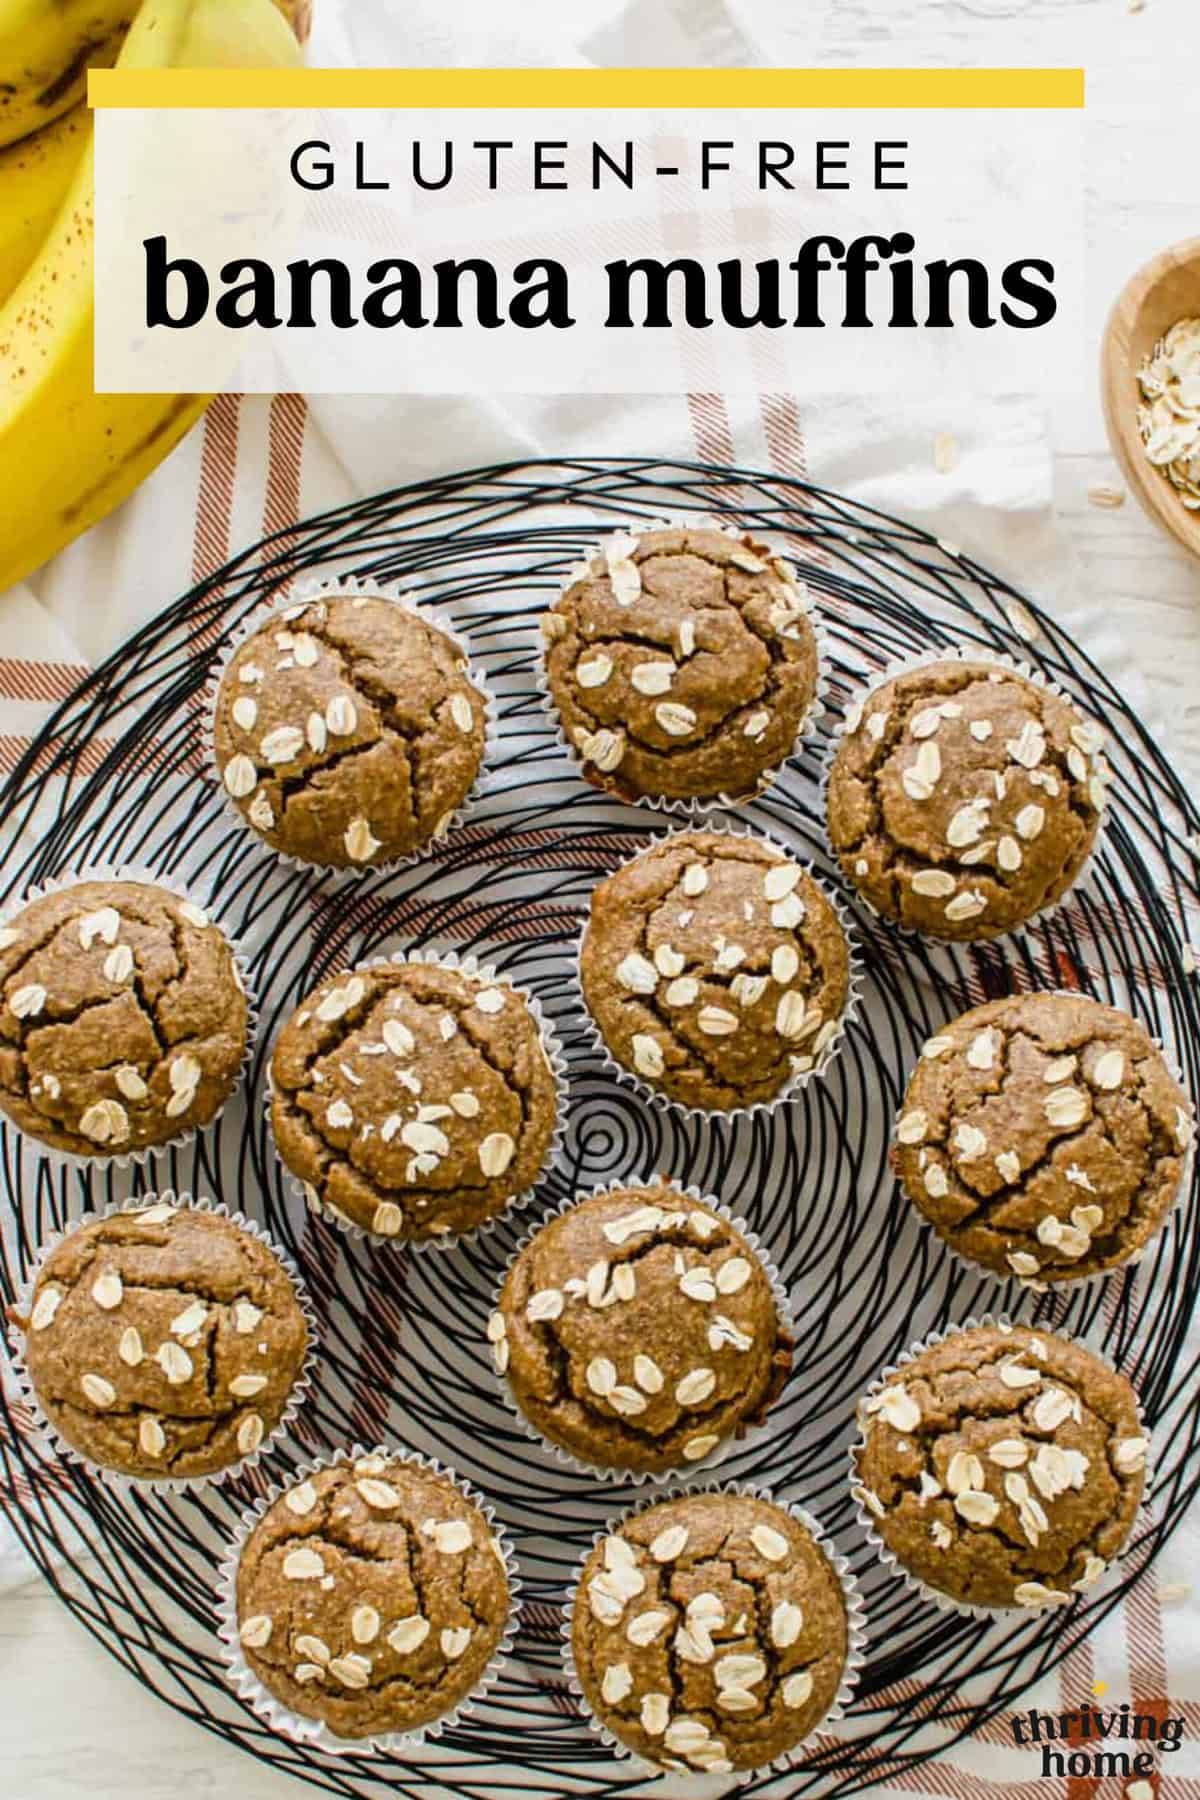
These are some of the easiest and BEST Gluten-Free Banana Muffins I’ve ever had. They are made with all real food ingredients and absolutely moist, delicious, and good for you! Add mini chocolate chips to take these over the top.
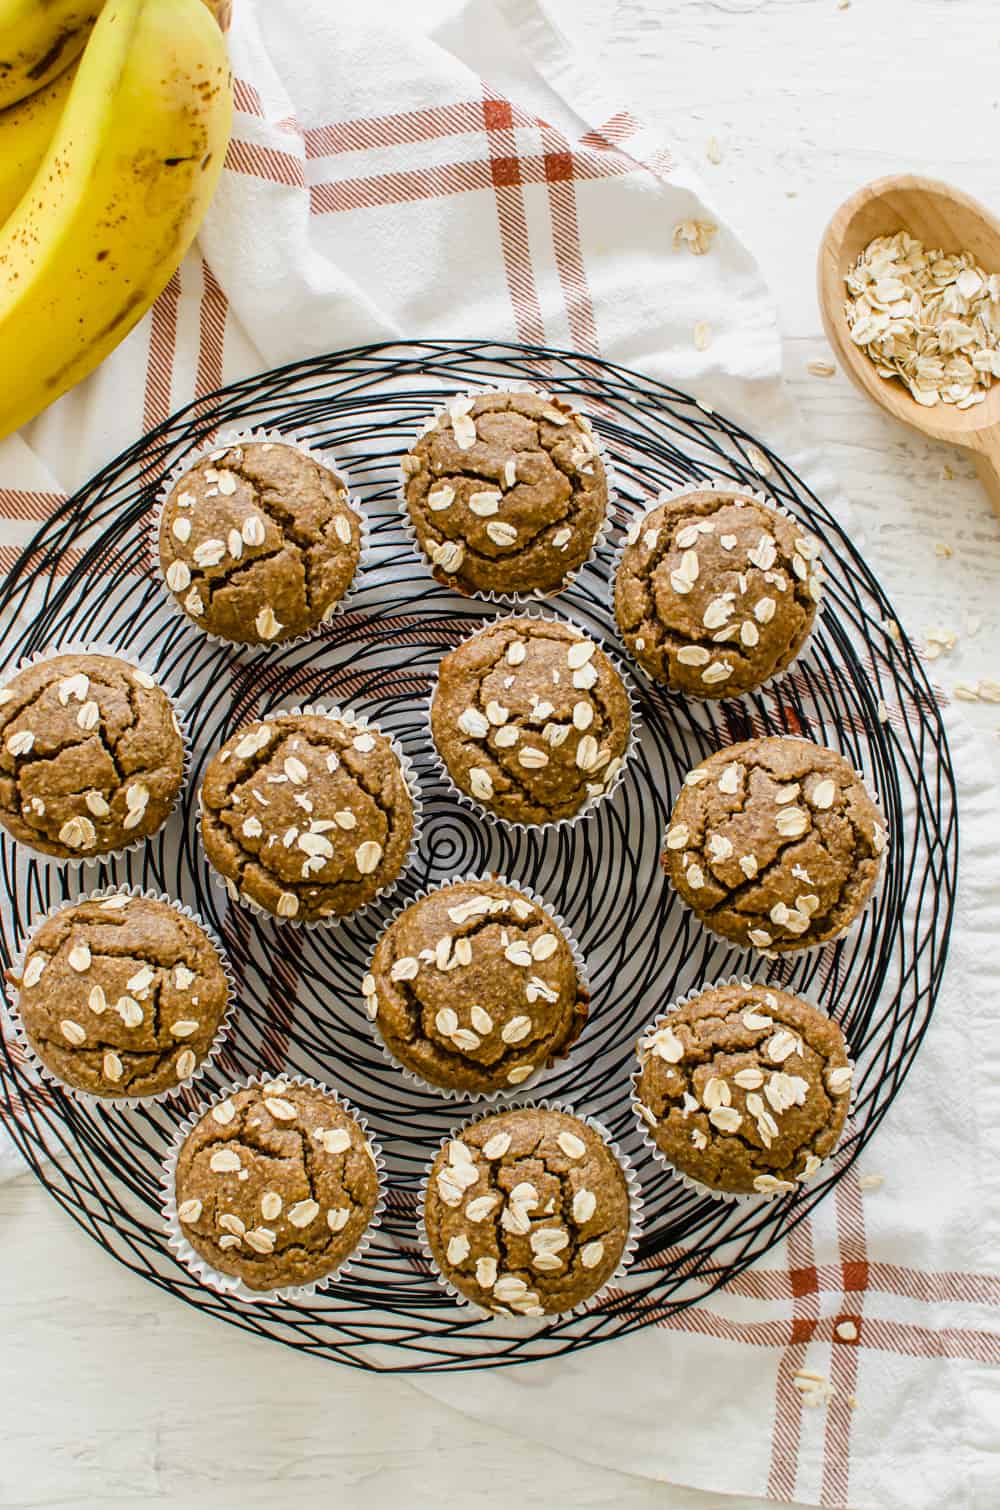
Why I Make These Muffins All the Time
Whether you’re gluten-free or not, these muffins are totally worth making. Here’s why:
- Tastes like banana bread in a muffin form. Moist and delicious!
- The batter is made in the blender (seriously!) in no time, which means fewer dirty dishes.
- Packed full of protein, fiber, and so much more goodness. All real food ingredients that you can feel great about eating.
- Freezer-friendly and a perfect make ahead breakfast for busy mornings.
- Very filling and will keep you satiated for hours.
- They’re also dairy-free, if that’s important to you.
Ingredients Needed
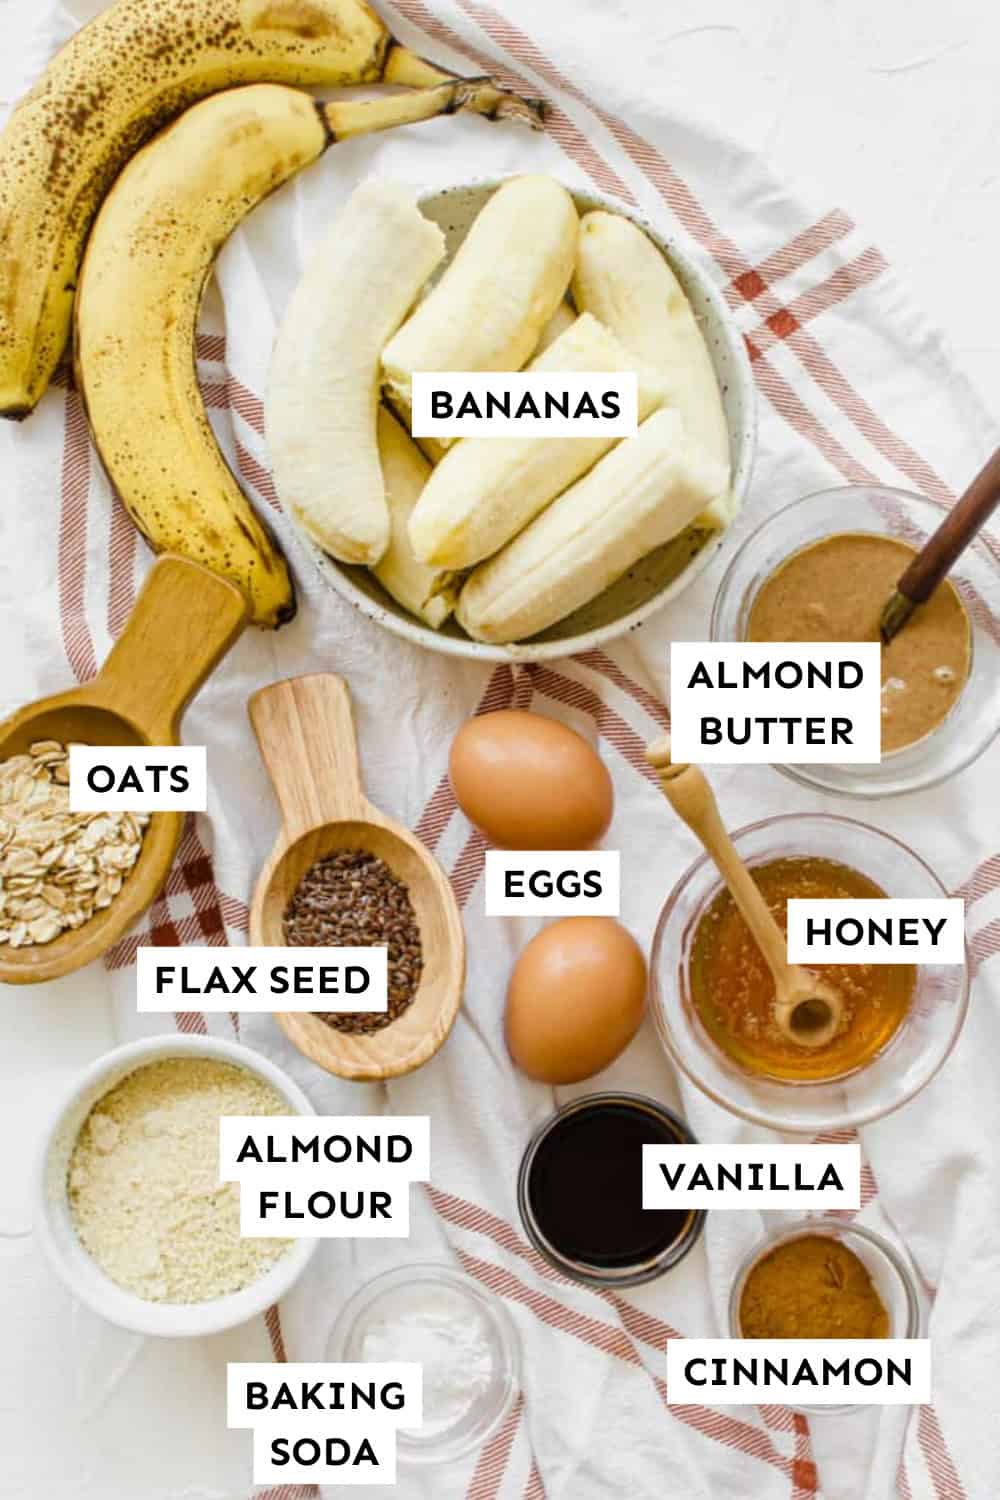
Since some of these ingredients may not be ones you normally have in your pantry, I want to introduce them to you and explain why I think they are worthy of investing in.
Almond Flour
The first ingredient you might not recognize, but that is gaining huge popularity in the Paleo diet realm, is almond flour, also known as almond meal. This ingredient is just finely ground almonds. It’s filled with good fats, protein, magnesium, antioxidants, and B vitamins. (source)
I always have a bag of almond meal in my fridge, as it’s a simple way to add in protein and nutrition to things like smoothies, oatmeal, pancakes and waffles, Powerball Cookies or Peanut Butter Protein Bars. It also works surprisingly well as a gluten-free flour in baked goods, like this recipe.
Ground Flaxseed
Again I always have a bag of this in my fridge and use it in many of the same ways that I use almond meal. Read this post to find out more about this versatile ingredient.
Almond Butter
You’ll also notice I’ve used almond butter in these muffins. I love, love, love almond butter for it’s deep flavor and nutrition profile. However, if you only have peanut butter on hand, that will work. In fact, I tested these muffins with PB and they turned out delicious. They just have a more…well…peanutty flavor.
Rolled Oats
Old-fashioned rolled oats are what you’ll need. Be sure to look for certified gluten-free oats if you have an allergy. Oats provide another way to add fiber and protein in a whole-grain form.
All Natural Sweeteners
Lastly, I’ve used only all-natural forms of sugar–honey (not much really) and bananas–to sweeten these guys. No refined sugar needed here. These gluten-free banana muffins are truly naturally sweet.
Other Ingredients
Other than those main components, you’ll need baking soda, salt, eggs, and vanilla extract on hand. I like to toss in some mini chocolate chips too!
How to Make Gluten Free Banana Muffins
Blend the Oats
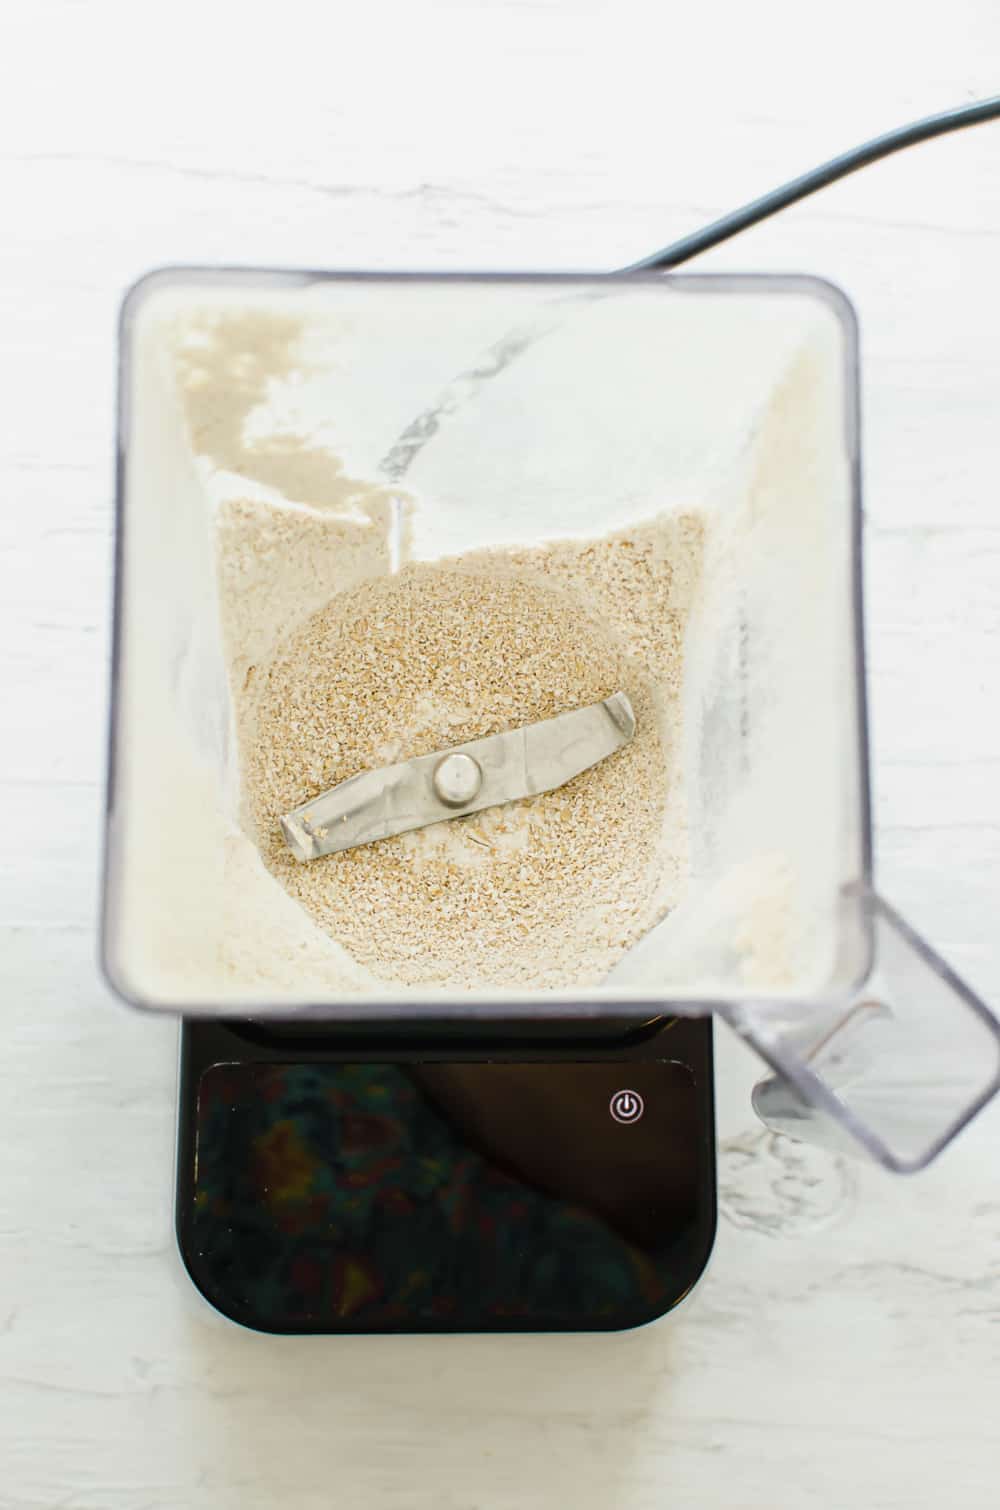
You’ll start by blending the rolled oats in a high-powered blender. This chops them up finely and essentially turns the grain into flour.
Blend the Rest of the Batter Ingredients
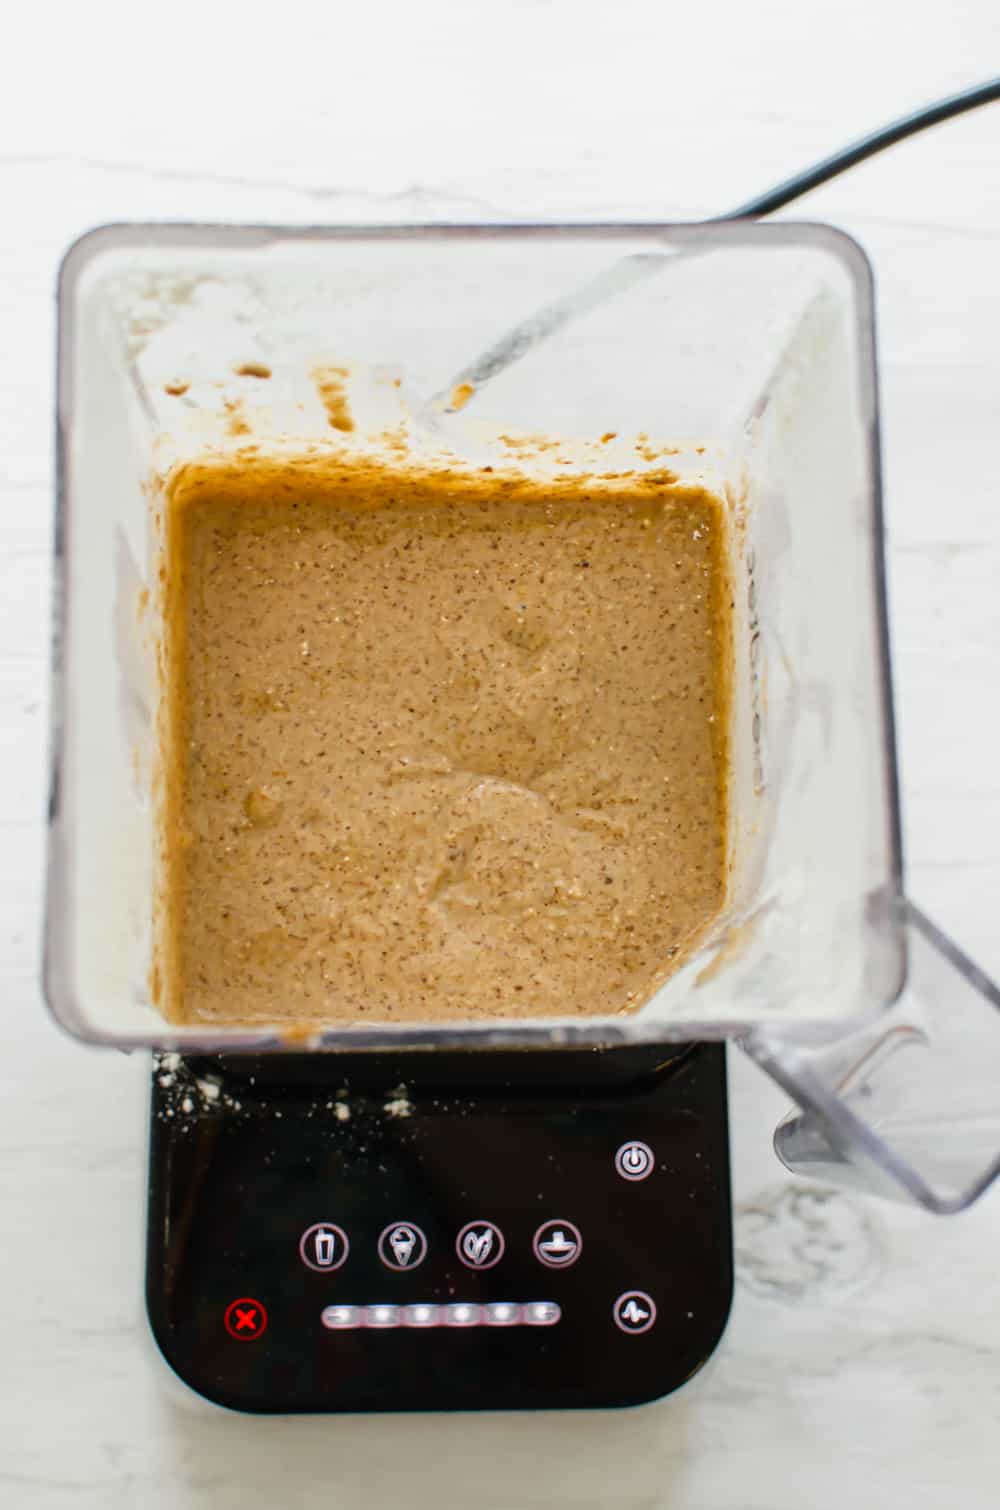
Next, you’ll add the rest of your ingredients to the blender and pop on the lid. Start by blending slowly and gradually increase the speed. Because there is no gluten in this recipe, you don’t have to worry about over-mixing the batter.
If you have a hard time getting it to go, stop and stir or push down the ingredients and try again. If you don’t have a high-powered blender like a Vitamix or Blendtec, this may take a few tries.
Fill the Muffin Tin
We recommend using paper or silicone liners in a metal pan or using a silicone muffin tin for easiest clean-up.
Add a heaping 1/4 cup of batter to each muffin cup. Use a scraper to get as much batter out of your blender as you can. You should end up with 15 muffins.
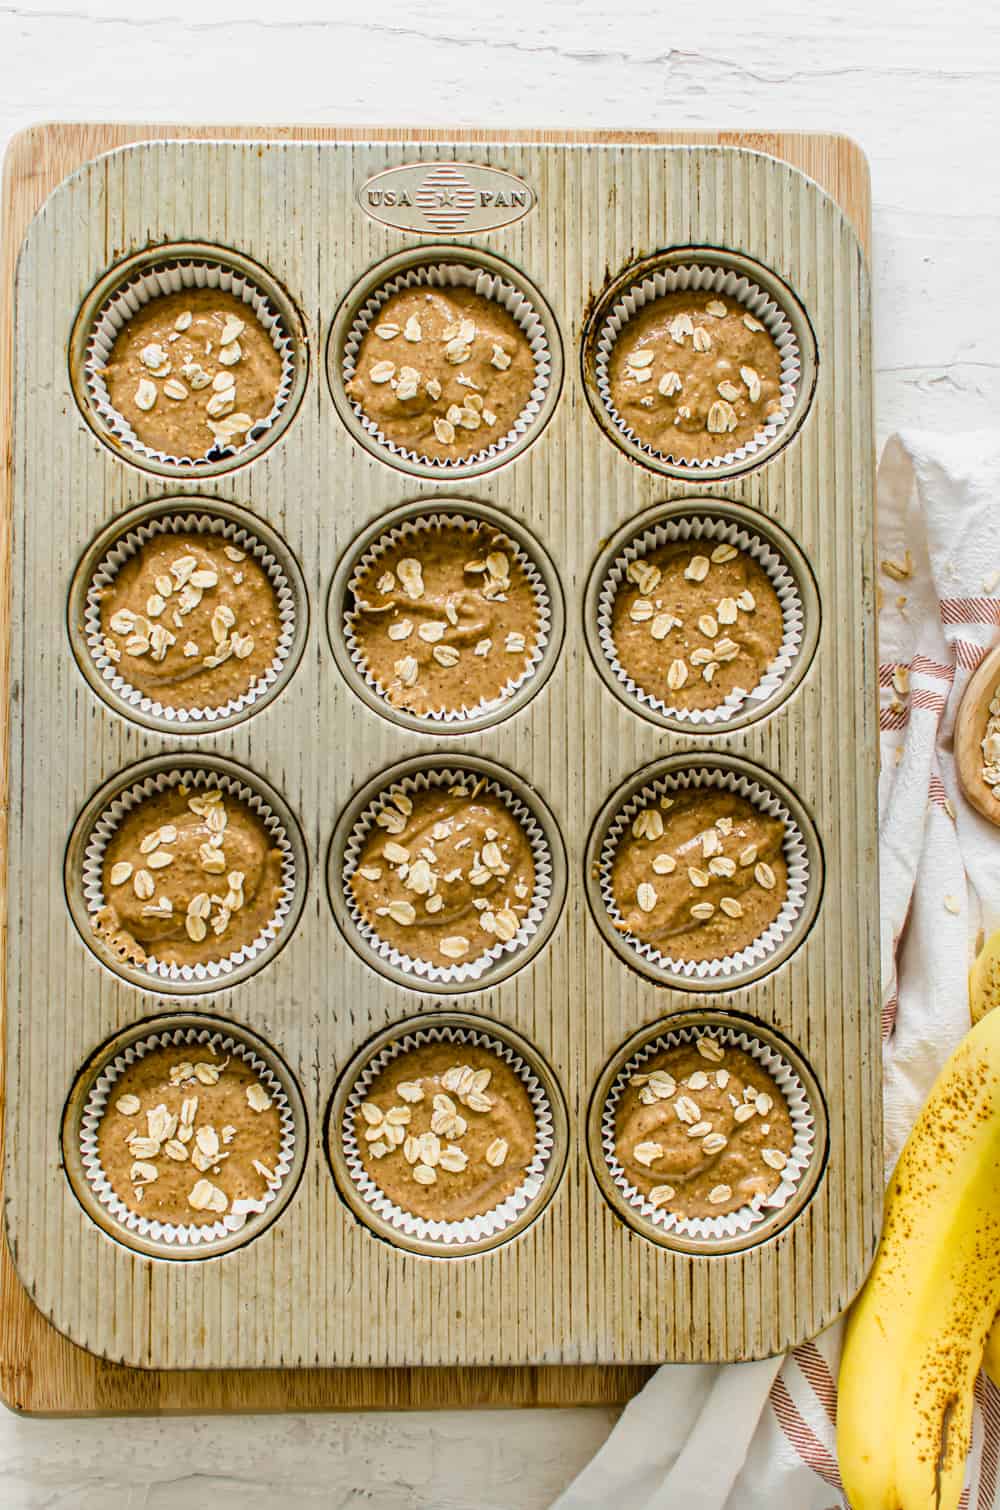
Then, sprinkle some rolled oats or mini chocolate chips over the top to make them look pretty!
Bake and Cool
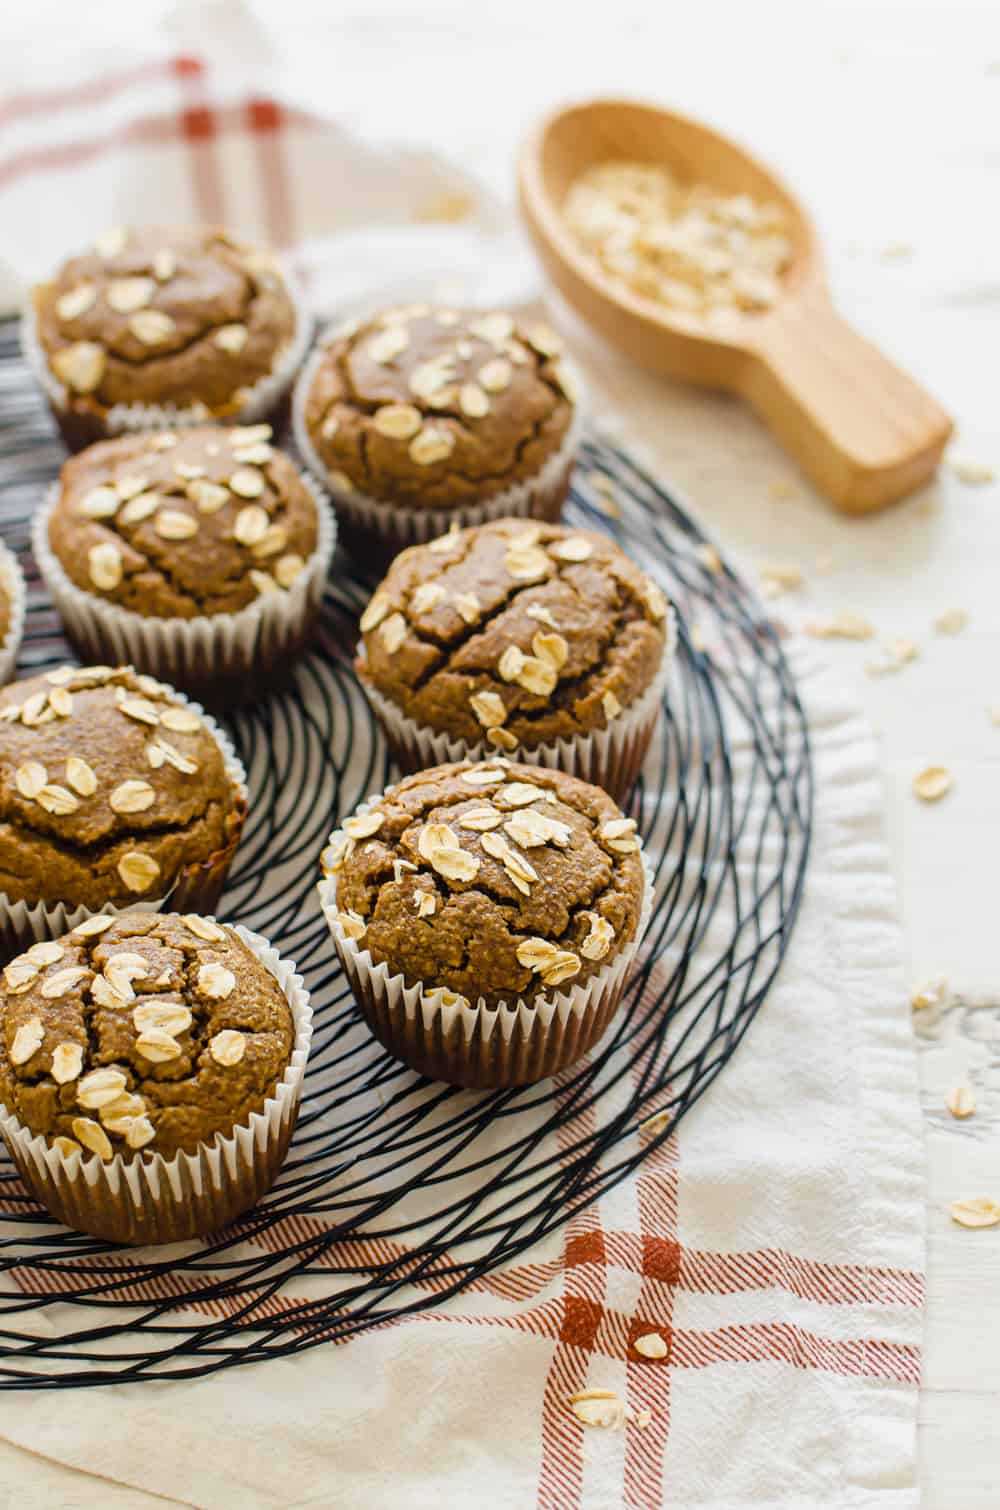
You’ll bake these in a preheated oven at 375°F for about 15-18 minutes. If you’re using a silicone pan, it will take about 3-5 minutes extra.
Tips for Success
- A high powered blender is needed for this recipe. If you don’t have one, you can blend the wet ingredients and dry ingredients separately by hand (really mash up those bananas!). Then combine the two to make the batter.
- Letting the muffins rest in the pan before removing them for 10 minutes is really important. It will help them keep their shape and not fall apart.
- If using a metal pan, I recommend using paper or silicon muffin liners for easier clean up.
- If using a silicone pan, my tests showed these need to bake 2-3 minutes longer to get done.
How to Freeze Banana Muffins
I always double this batch and then freeze at least half of them to have on hand for healthy grab-and-go breakfasts. Here’s how to freeze these:
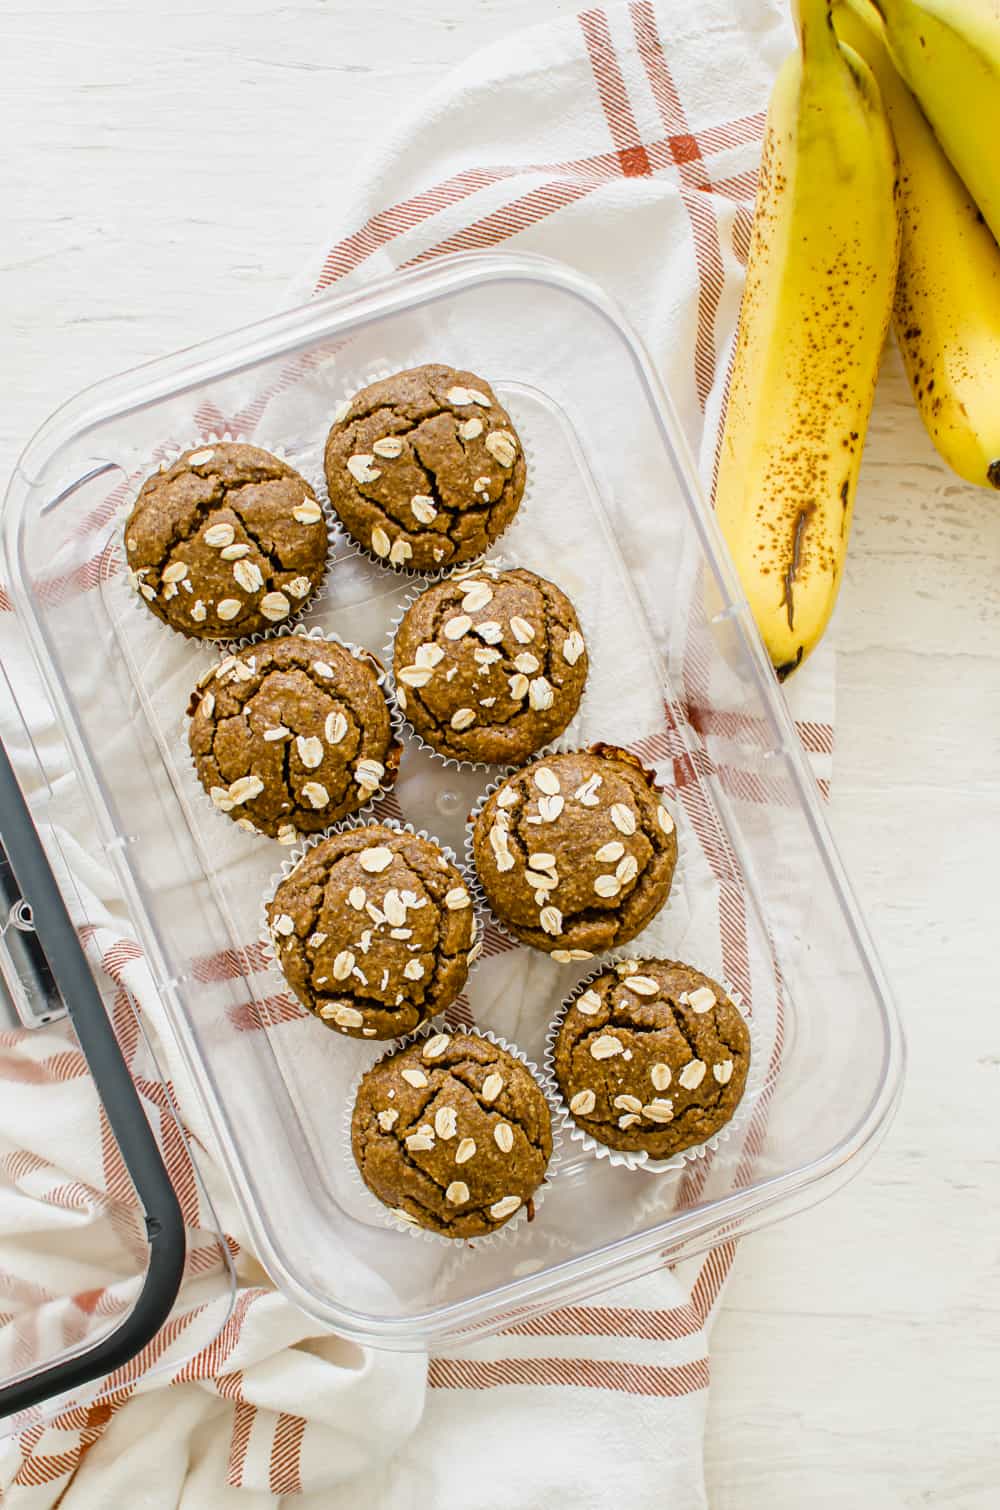
Freeze For Later: Bake muffins as directed in recipe. Let cool completely. Once cool, place muffins in freezer safe bag or container, squeeze out as much air as possible, and seal tightly. Freeze for up to 3 months.
Prepare From Frozen: Thaw desired amount of muffins overnight in the refrigerator or warm them slightly in the microwave.
Recipe FAQs
How to Freeze Muffins:
Let muffins cool completely. Place in a freezer bag or airtight container, squeezing out excess air. Label and date. Store up to 3 months.
How to Thaw:
– Room temp: 1 hour.
– Microwave: 20–30 seconds.
– Oven (350°F): 10–15 minutes for a warm, fresh taste.
Yes! In fact, I usually double the recipe and make one batch regular sized and one batch mini muffins. They will cook much faster (10-15 minutes) so keep an eye on them!
If you place muffins in an airtight situation, the moisture will migrate to the top, resulting into a squishy muffin top. But if you surround them with paper towels, they will absorb some of the moisture trying to escape and they should be good at room temperature for at least three days.
More Gluten-Free Breakfast Ideas
If you like these simple gluten-free muffins, we know you’ll love some of these other gluten-free recipes as well.
While I do hope you enjoy these gluten-free banana muffins, hopefully you won’t eat as many as I did at 9:30 p.m. while making these for breakfast the next day!
How to Video
Gluten Free Banana Muffins
Ingredients
- 1 cup rolled oats (plus 1/4 cup more for optional garnish; look for gluten-free oats, if avoiding gluten)
- 1/2 cup almond flour (or almond meal)
- 1/4 cup ground flaxseed
- 1 teaspoon baking soda
- 1 1/2 teaspoons ground cinnamon
- 2 eggs
- 1/4 cup honey
- 1/2 cup almond butter (sub: any nut butter; If you use a nut butter without salt, add in a pinch of salt to the recipe.)
- 4 medium bananas (ripe or overripe)
- 2 teaspoons pure vanilla extract
- Optional garnish: 1/4 cup mini chocolate chips (I like Enjoy Life Dairy-Free Mini Chocolate Chips.)
Instructions
- Preheat oven to 375° F. Spray a muffin tin with cooking spray and/or line the tin with cupcake liners. (See Cooking Notes below for tips about the tin.)
- To a large high-powered blender, add the oats and blend until fairly smooth. Then, add the rest of the ingredients to the blender and secure the lid. Start blending on low and increase speed until the wet ingredients are well blended and batter is smooth and creamy. You will have to stop and stir a few times, scraping down the sides.
- Pour or scoop the batter into the muffin tin, filling each cup until almost full (about a heaping 1/4th cup of batter per muffin.) Sprinkle a pinch of rolled oats or mini chocolate chips on top of each muffin, if desired. If you really scrape out as much batter as you can, you’ll end up with 15 muffins.
- Bake for 15-18 minutes, until the tops of your muffins are set and a toothpick inserted into the middle comes out pretty clean (you may see just a few crumbs on the toothpick). Note that silicone pans may require about 5 minutes more of bake time.
- Allow muffins to cool in pan for about 10 minutes before removing to a cooling rack. They are delicious warm and with a little butter on them. Once they are fully cooled, store in an air-tight container for up to a week in the fridge or freeze using directions below.
Freezer Instructions
Notes/Tips
- A high powered blender is needed for this recipe. If you don’t have one, you can blend the wet ingredients and dry ingredients separately by hand (really mash up those bananas!). Then combine the two to make the batter.
- Letting the muffins rest in the pan before removing them for 10 minutes is really important. It will help them keep their shape and not fall apart.
- If using a metal pan, I recommend using paper or silicon muffin liners for easier clean up.
- Cooking Time: If using a silicone pan, my tests showed these need to bake 2-3 minutes longer to get done.
- These muffins are a bit denser than a muffin made with wheat. Expect them to deflate a little after they cool off.
Nutrition
I love this recipe! It’s very easy just to do it all in the blender. I’ve tried it with almond butter and natural peanut butter and although both are great, I prefer the peanut butter better!!
Hi Julia. Thanks for leaving a review and letting others know your preference in nut butter!
YUM! These came out perfectly moist and delish! So happy to finally have a recipe to get rid of the giant jar of almond butter I bought for my daughter’s lunches (only for the class to go nut -free exactly one week later)!
Oh goodness, Shannon… that sounds about right in my life too… buying a big jar of peanut butter replacement only for it to not be able to be used! But you found us and we’re happy to help find ways to use up things. Rachel’s favorite smoothie (ok, and mine too) – Chocolate Covered Cherry – also uses almond butter. If you haven’t already, join our Facebook Group, Thriving Home’s “Freezer Foodies”. It is a great place to get ideas to use up items and just generally learn more from others about cooking!
It was a great and easy recipe. Very good!
Great to hear that feedback. Glad you enjoyed it!
These muffins are the BEST!!! Incredibly moist and flavorful, with just the right amount of sweetness. My husband, parents, and 1 year old loved these so much that I made a 2nd batch as soon as the first was gone! Stock up on bananas because you will want to make these again and again!
Love this so much. Thanks, Whitney!
I made these this morning and they are delicious! My 12 and 15 year old kids liked them, too!
Very easy to assemble. I followed the recipe exactly except I used a blend of half peanut butter/half almond butter rather than all almond butter. On a side note, I had to bake them for 20 mins to get them done all the way through. I live at very high elevation (7200′) so perhaps that made a difference.
Glad these worked well for your family, Kristen, and thank you for the “high elevation” tip.