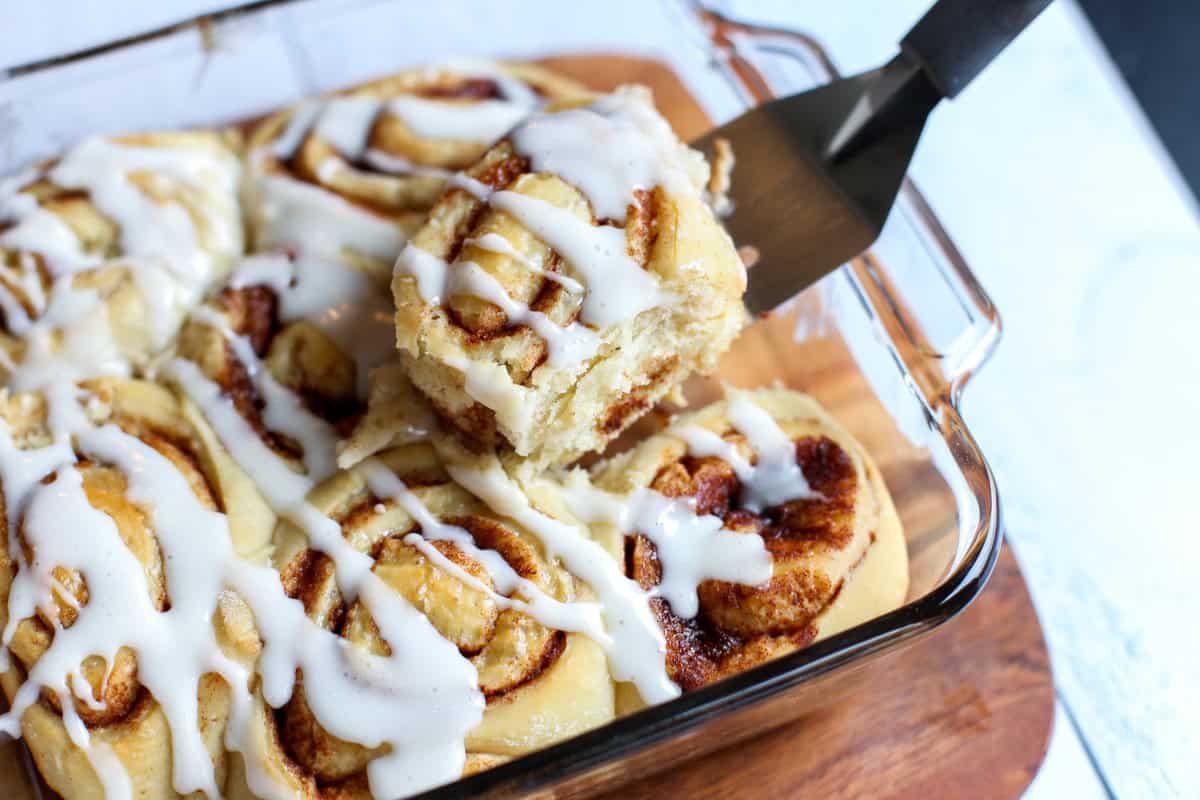
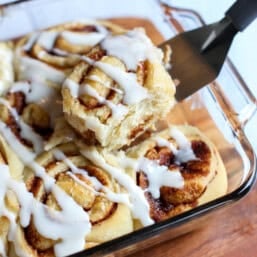
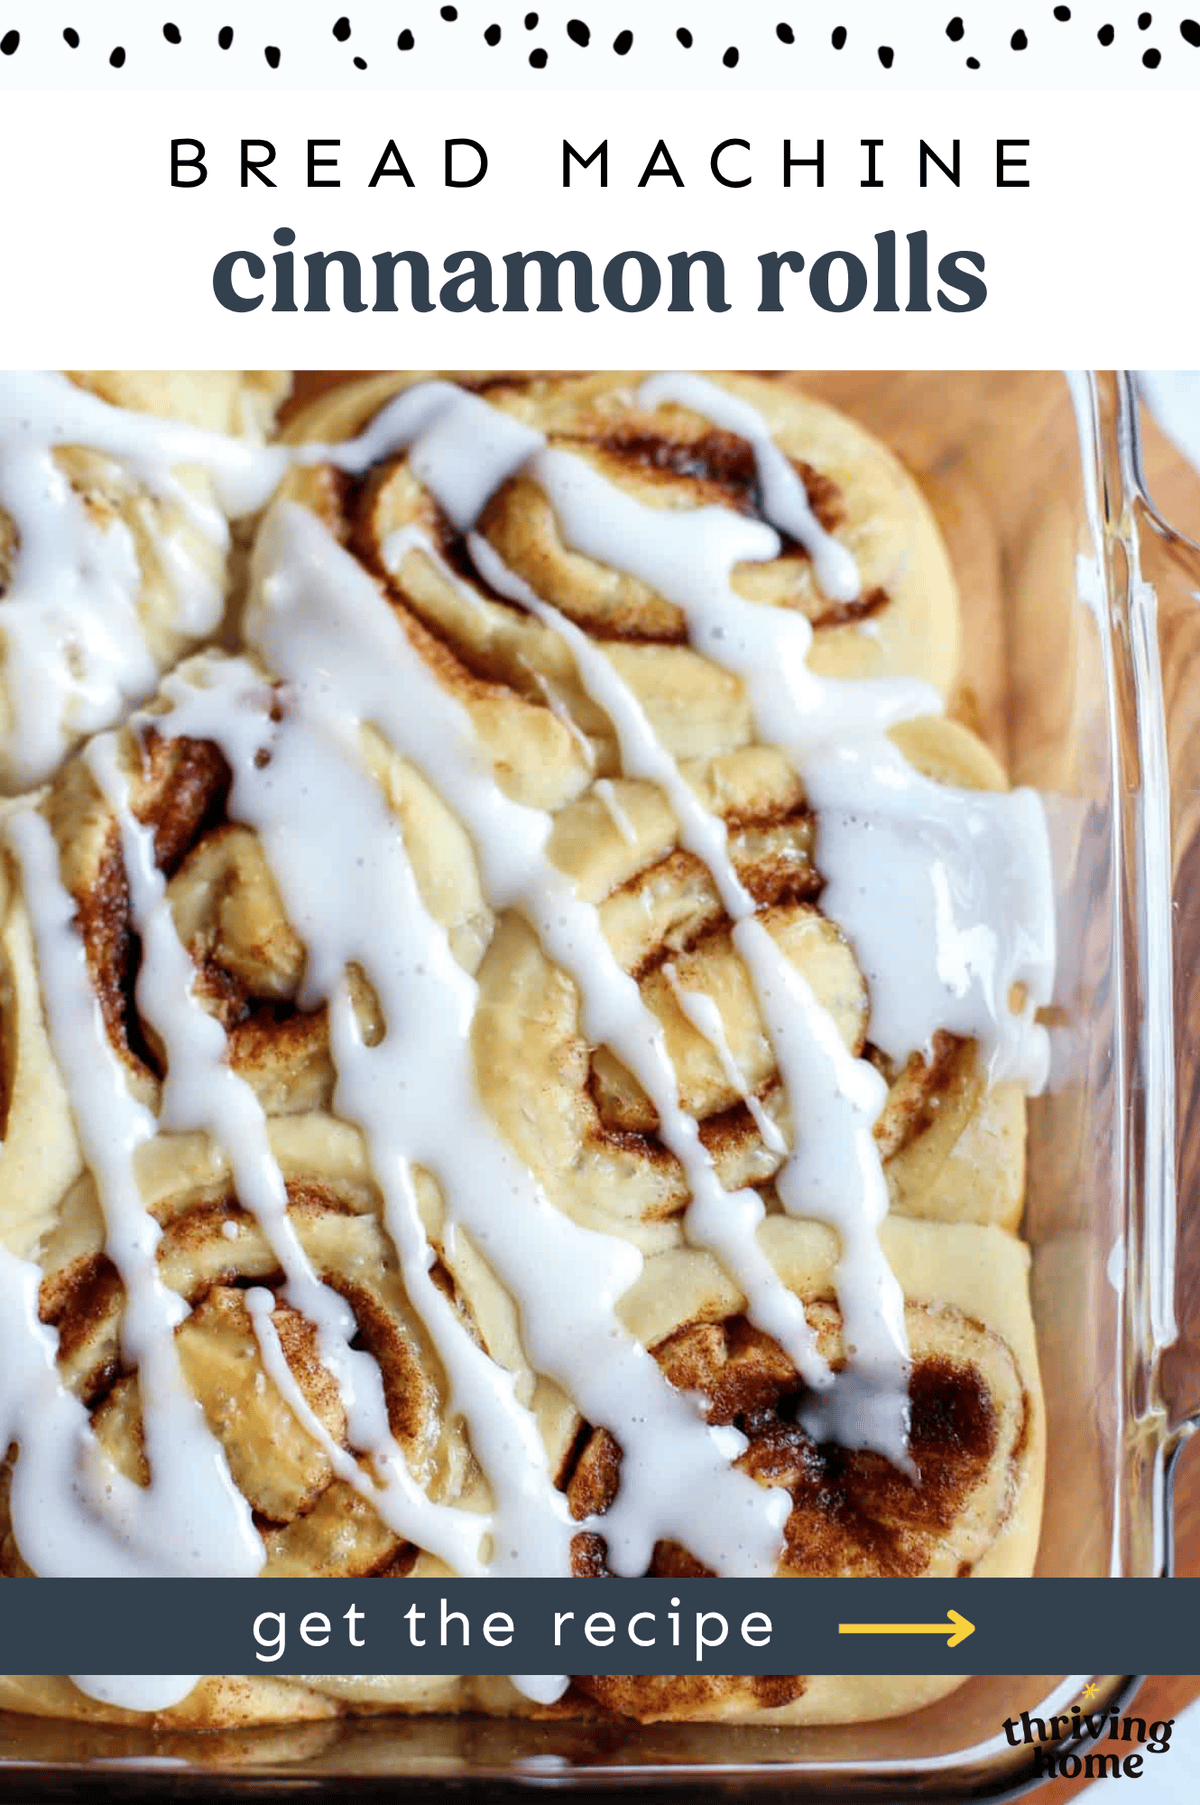
Bread Machine Cinnamon Rolls
I can’t even begin to count the number of times I’ve made these Bread Machine Cinnamon Rolls. My kids cheer when they find out I’m making them. You’ll be the one cheering when you realize how easy it is.
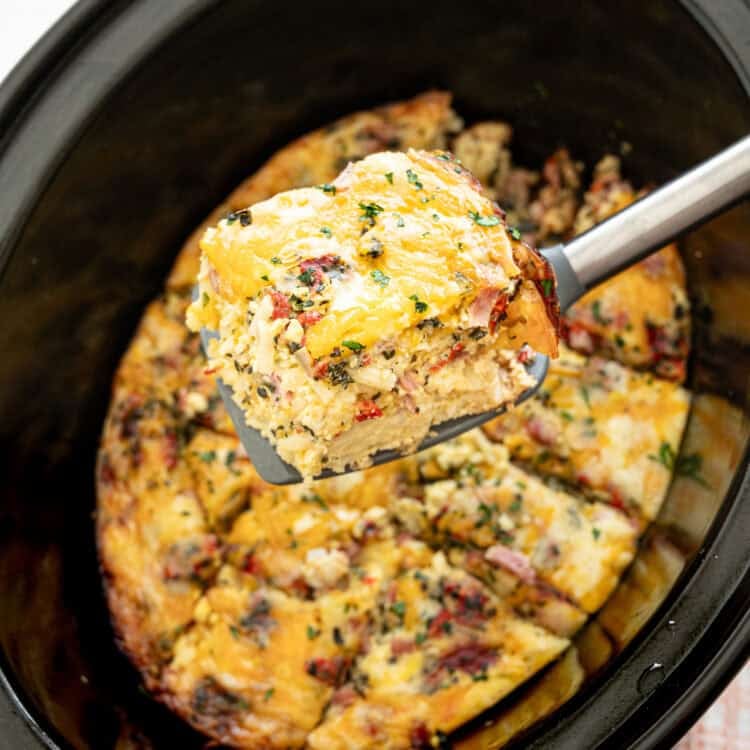
Fear not: Non-bread machine instructions are included or just make our super easy Overnight Cinnamon Roll Casserole instead. Let’s get baking!
Why You’ll Love These Cinnamon Rolls
- The bread machine makes the dough for you. No kneading.
- It yields fluffy results.
- This recipe makes a huge batch of rolls. Great for groups!
- You can make the cinnamon rolls in advance and freeze.
- They are absolutely delicious. We’ve tried all sorts of variations of cinnamon rolls over the years: canned, sourdough, store-bought, farmers market, etc. Despite the hefty competition, this cinnamon roll recipe rises to the top.
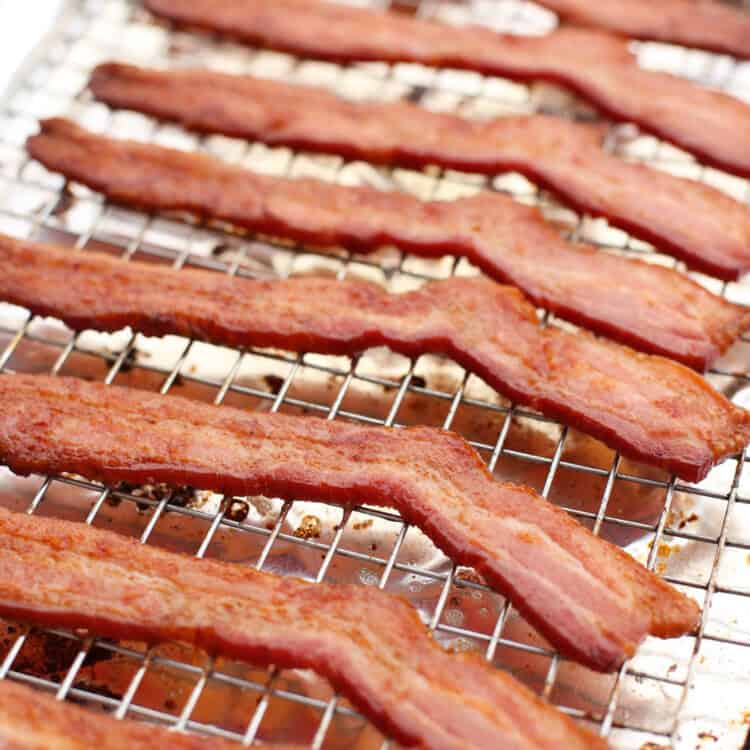
Serve it up with our Spinach and Bacon Quiche or along side Crockpot Ham for a delicious meal!
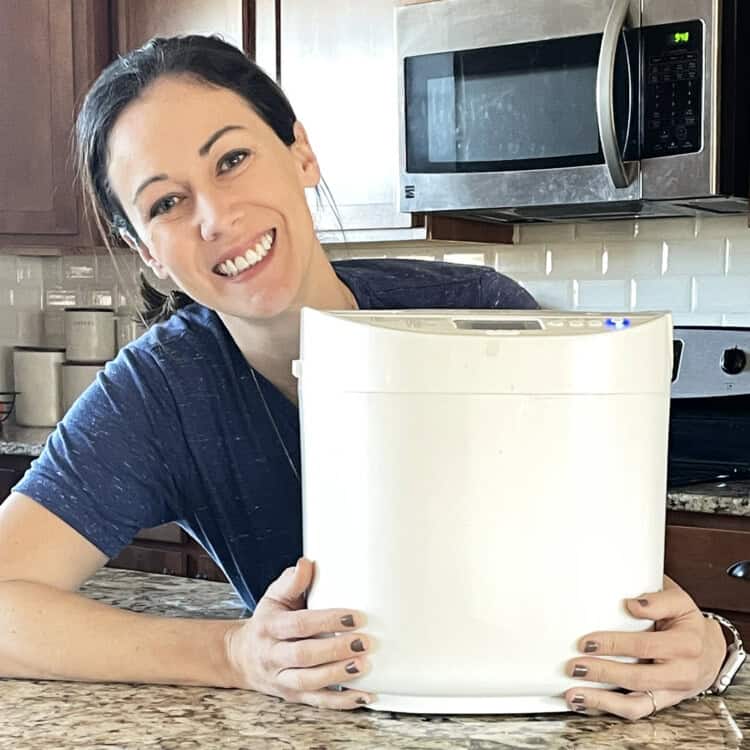
My Favorite Bread Machine
Here is the bread machine I personally use. Many bread machines will have a yeast dispenser at the top. If yours has it, go ahead and use it.
Mine does not but I’ve found my dough turns out fine when I nestle the yeast in right on top of the ingredients.
Ingredients
Here is what you will need to make cinnamon rolls in the bread machine.

Ingredient Notes:
Butter – Needs to be softened. Otherwise the bread machine has a hard time mixing it in.
Flour – Regular all-purpose flour works fine.
Quick Rise Yeast – I have found quick rise yeast yields fluffier results than active dry yeast. But active dry yeast will work as well. Just give the dough more time to rise.
Brown Sugar – I used to use white cane sure but have found I like brown sugar more now. White will work though.
How to Make Bread Machine Cinnamon Rolls
Here’s a brief overview but you’ll find the full printable recipe at the bottom of this post.
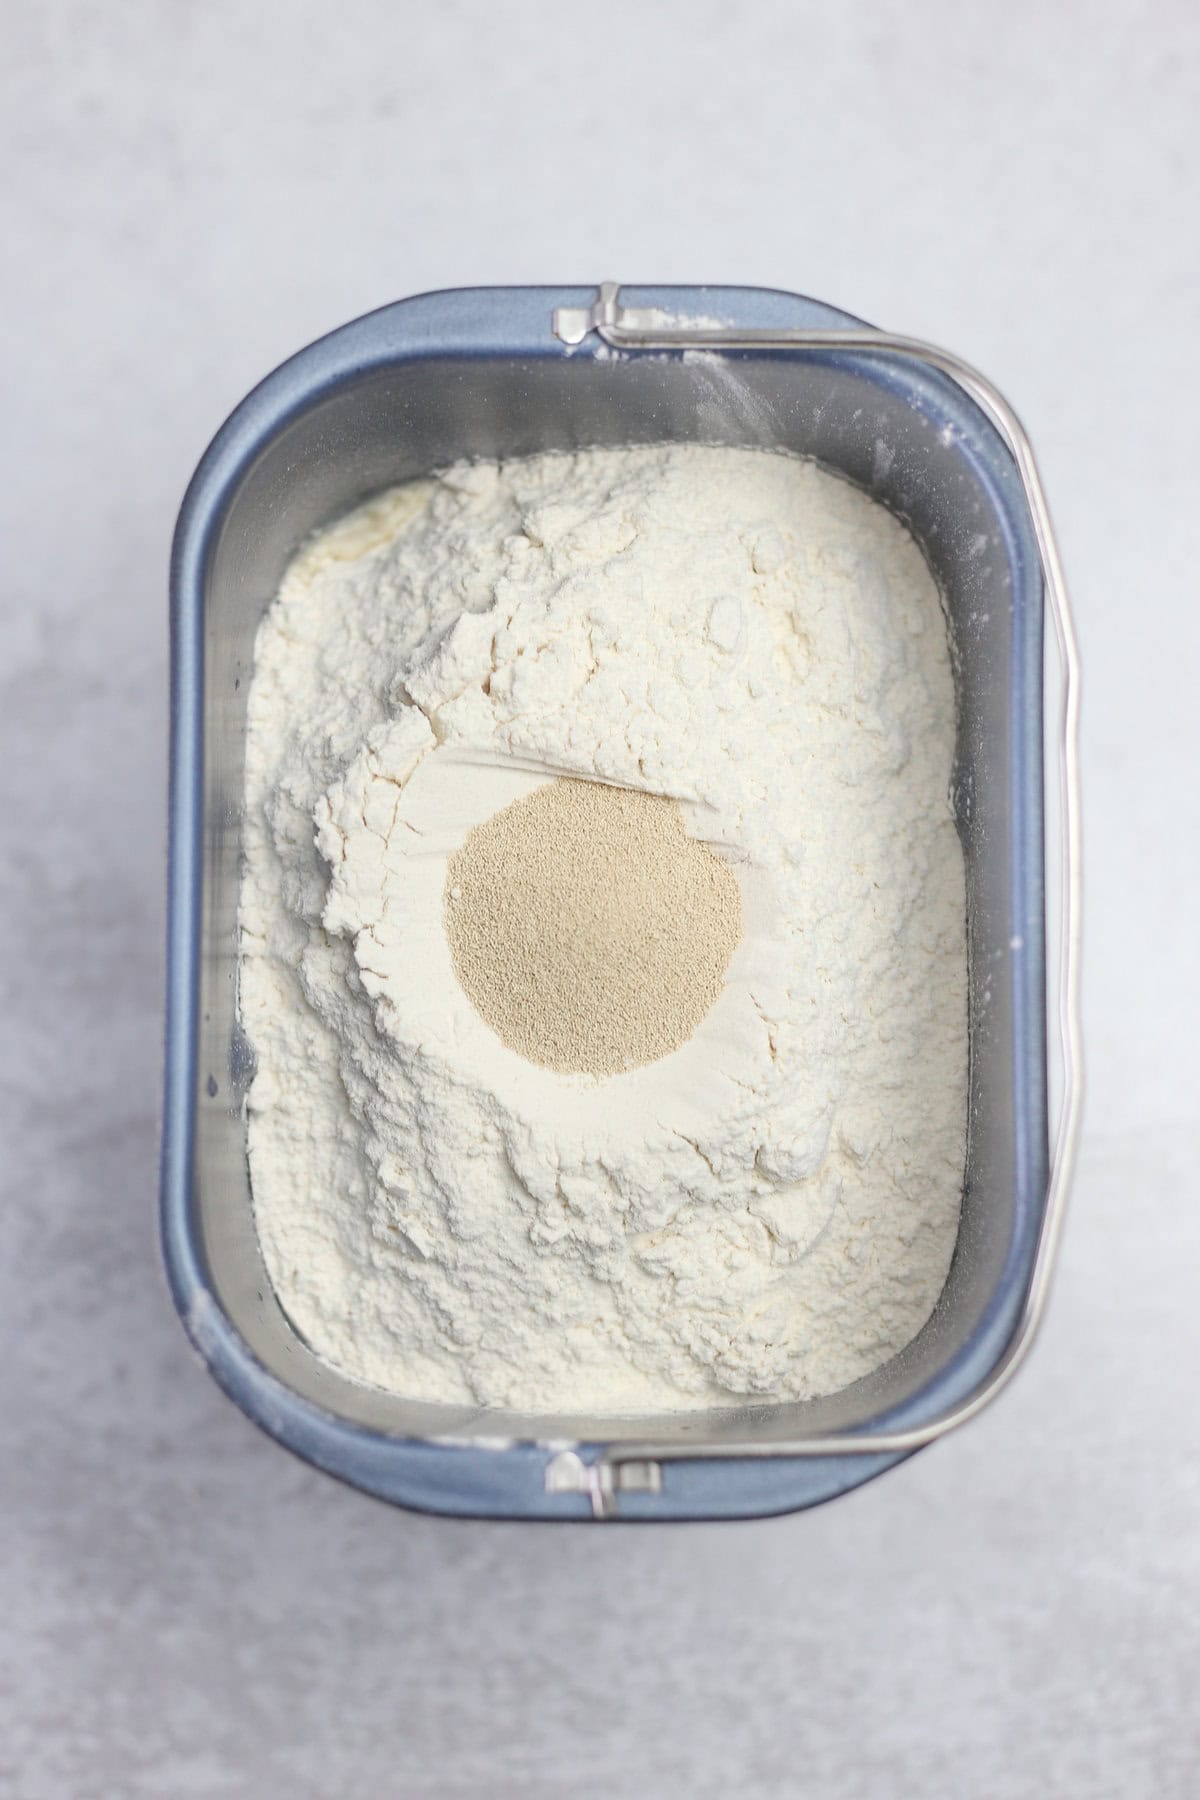
1. Make the Dough
Place the ingredients for the dough in your machine in the order listed in the recipe below. If you don’t have a yeast dispenser, just nestle the yeast on top of the flour. Run your machine on a dough cycle.
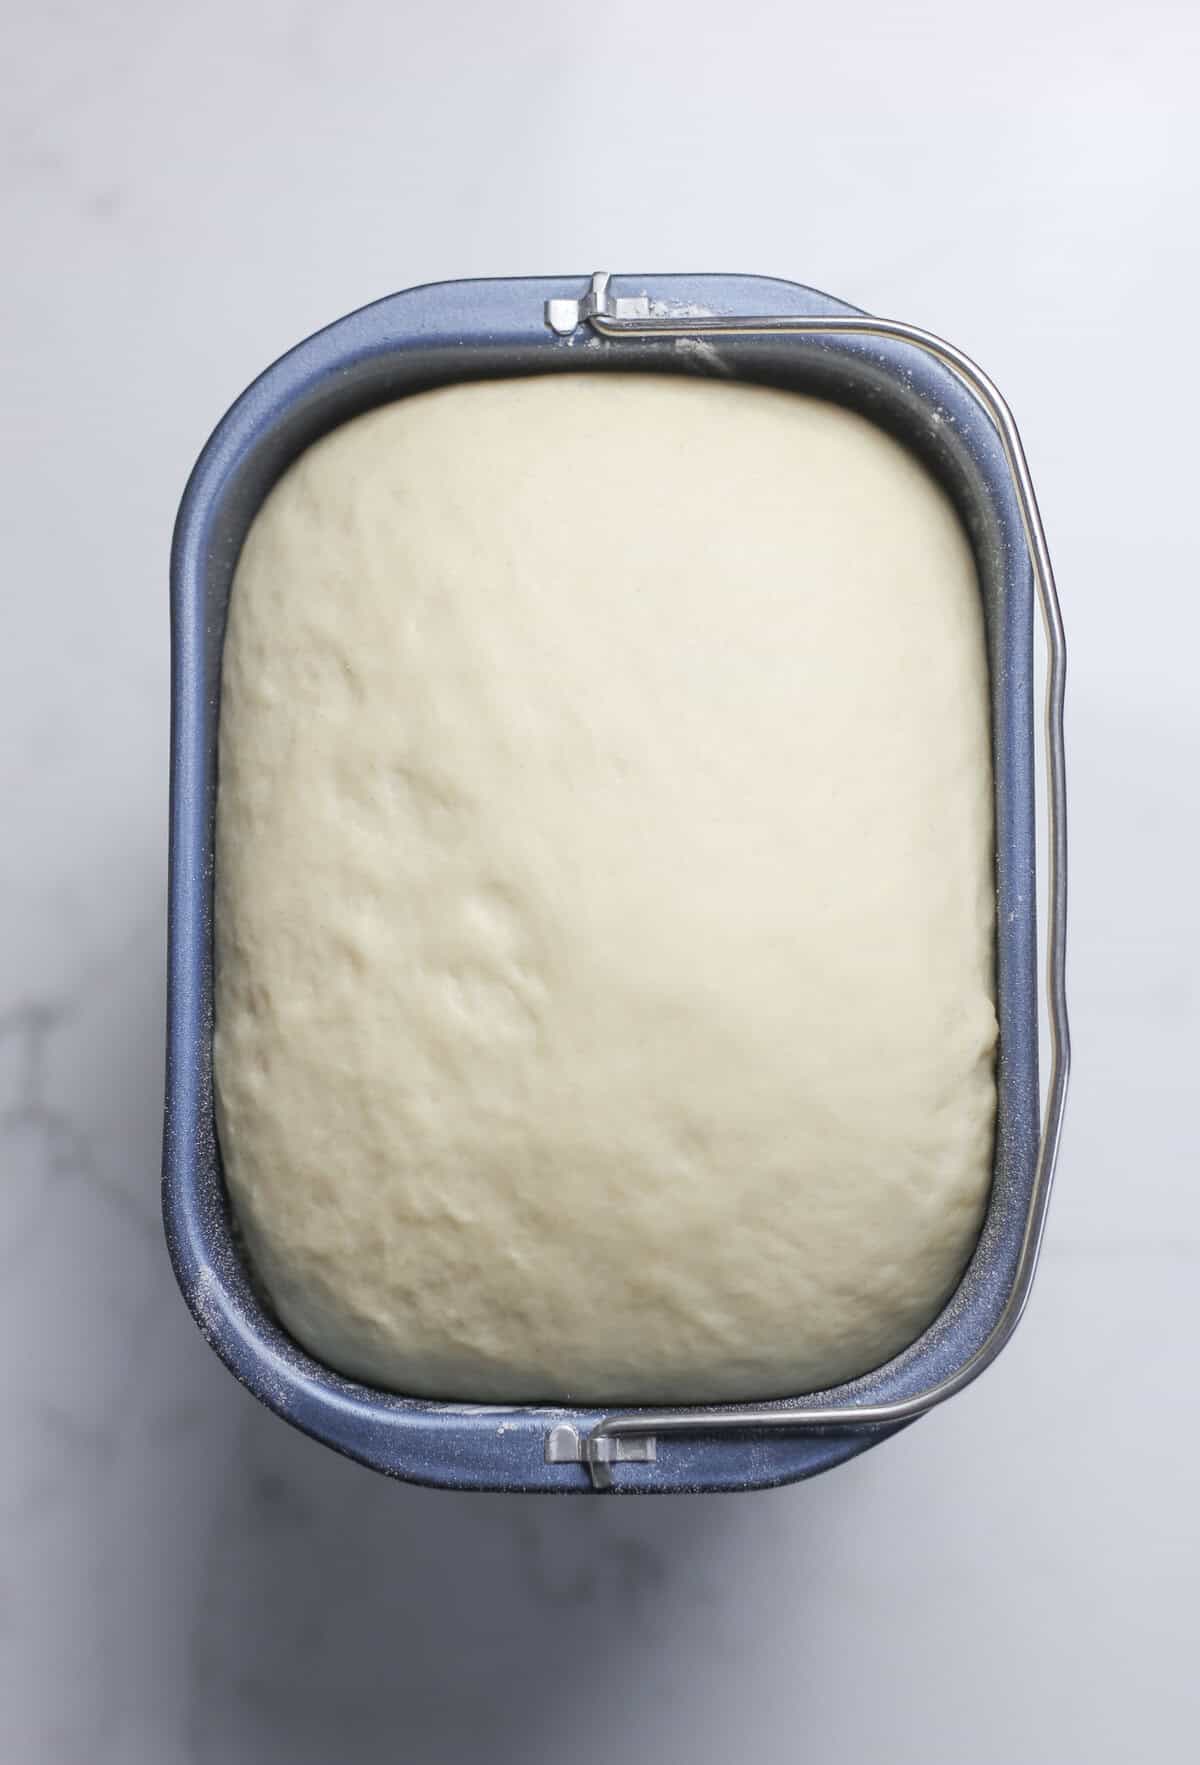
The dough setting on bread machines will vary. For reference, my dough cycle takes around 90 minutes. If yours is much different than mine, this recipe may not work as well.
2. Prepare the Dough
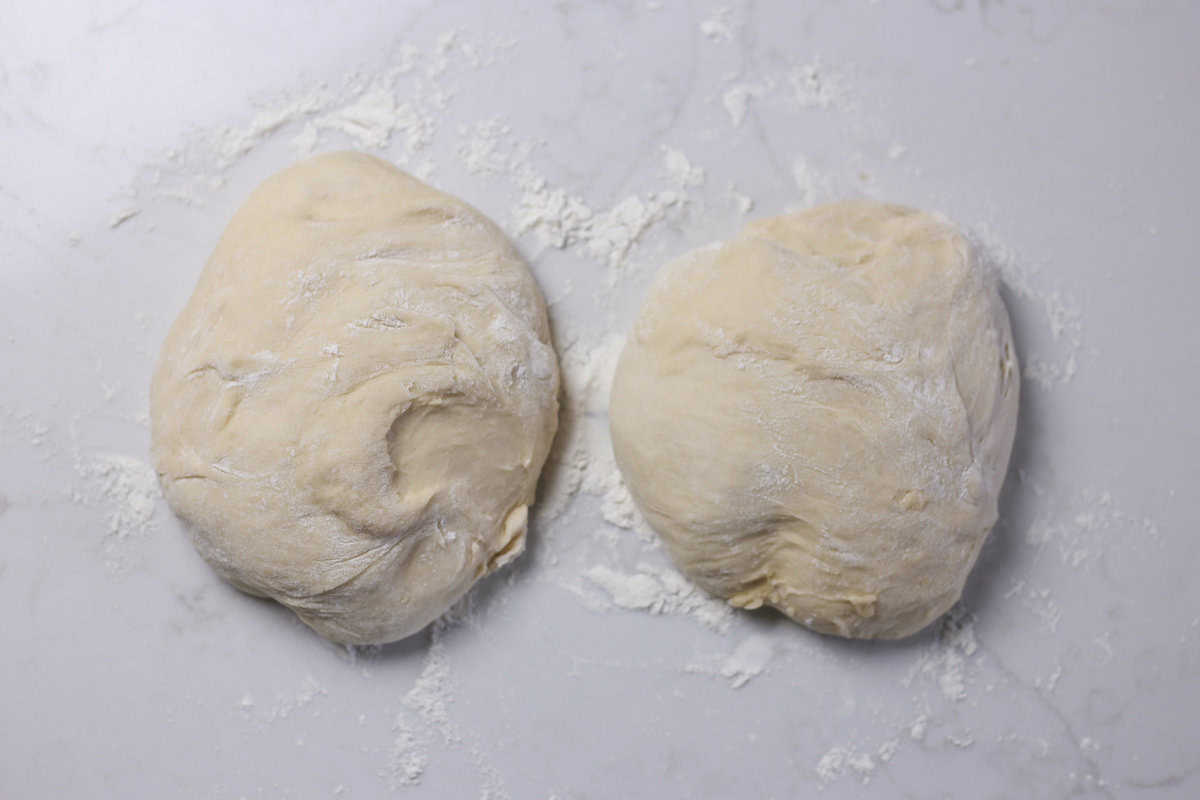
Split the dough into two mounds.
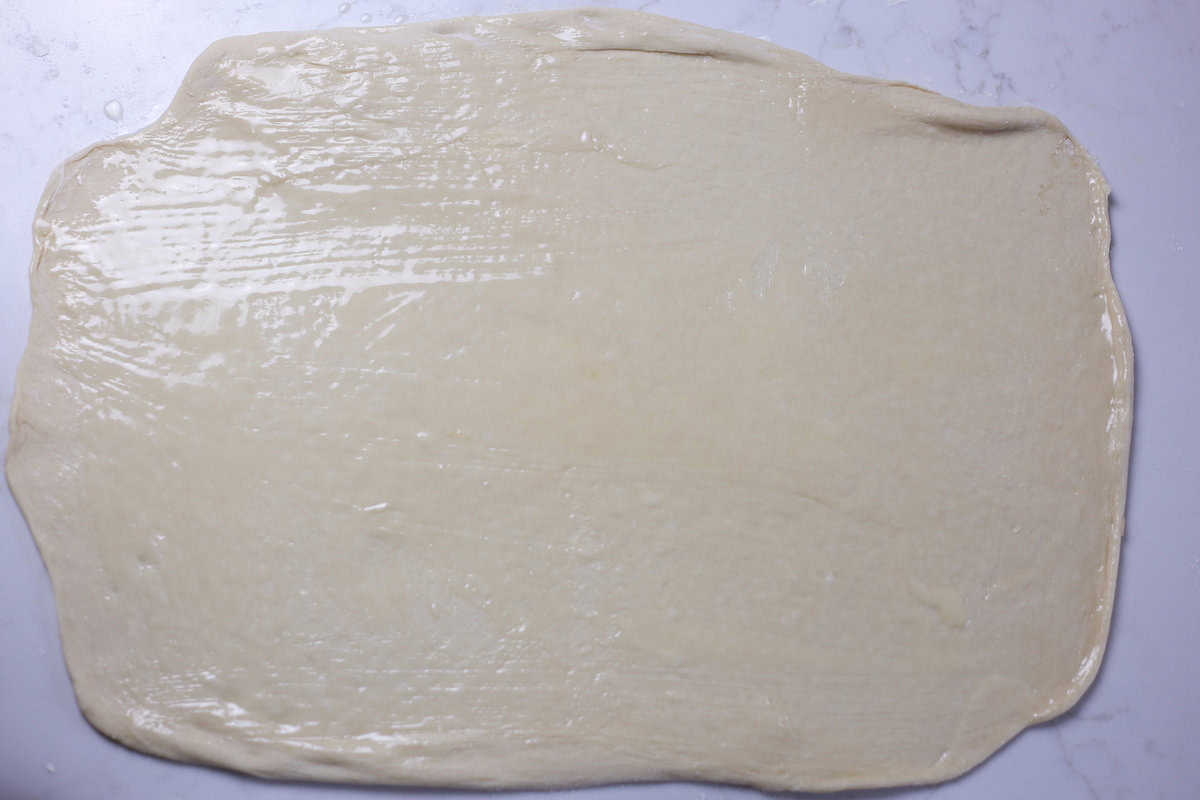
On a floured surface, roll one of the dough mounds into roughly a 18×12-inch sized rectangle. Don’t get too caught up on the size. Aim for a large rectangle.
Using a pastry brush, spread about half of the melted butter over the dough you just rolled out.
3. Add the Filling
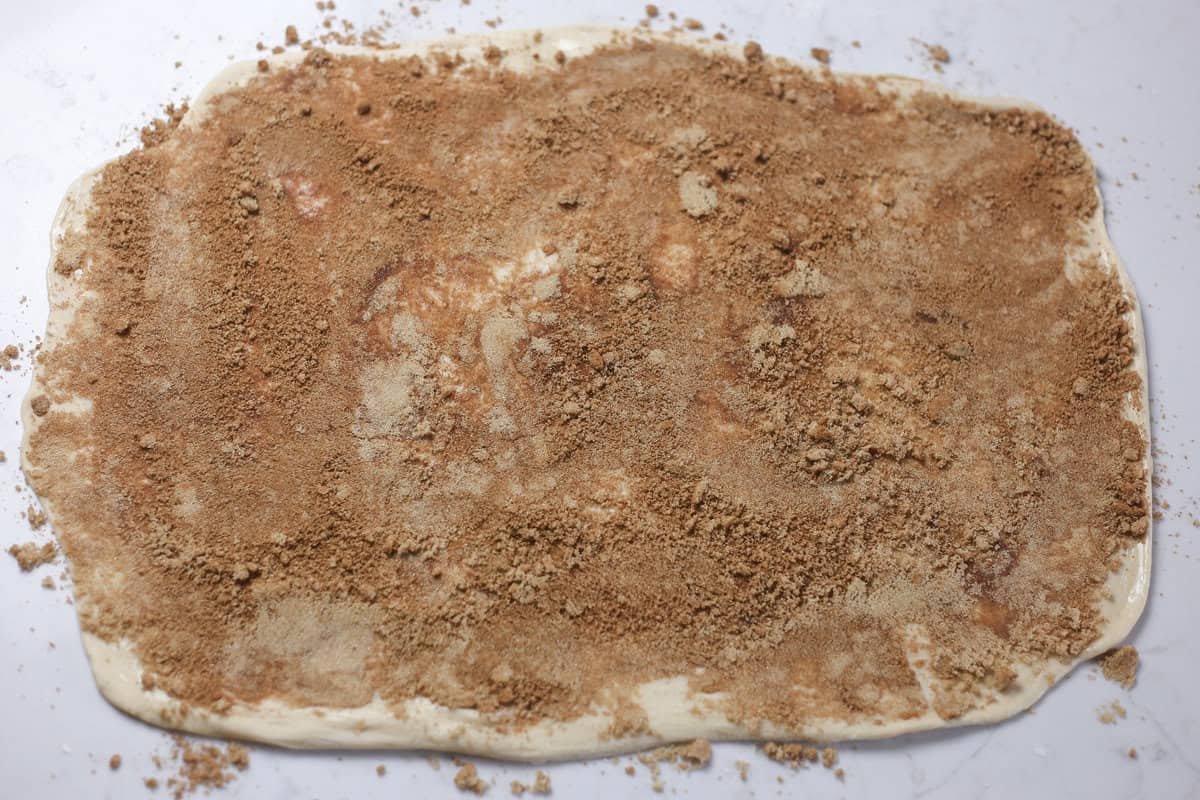
In a small bowl, combine brown sugar and cinnamon. Spread about half of the sugar mixture out over the dough you just rolled out. Just enough to cover the surface.
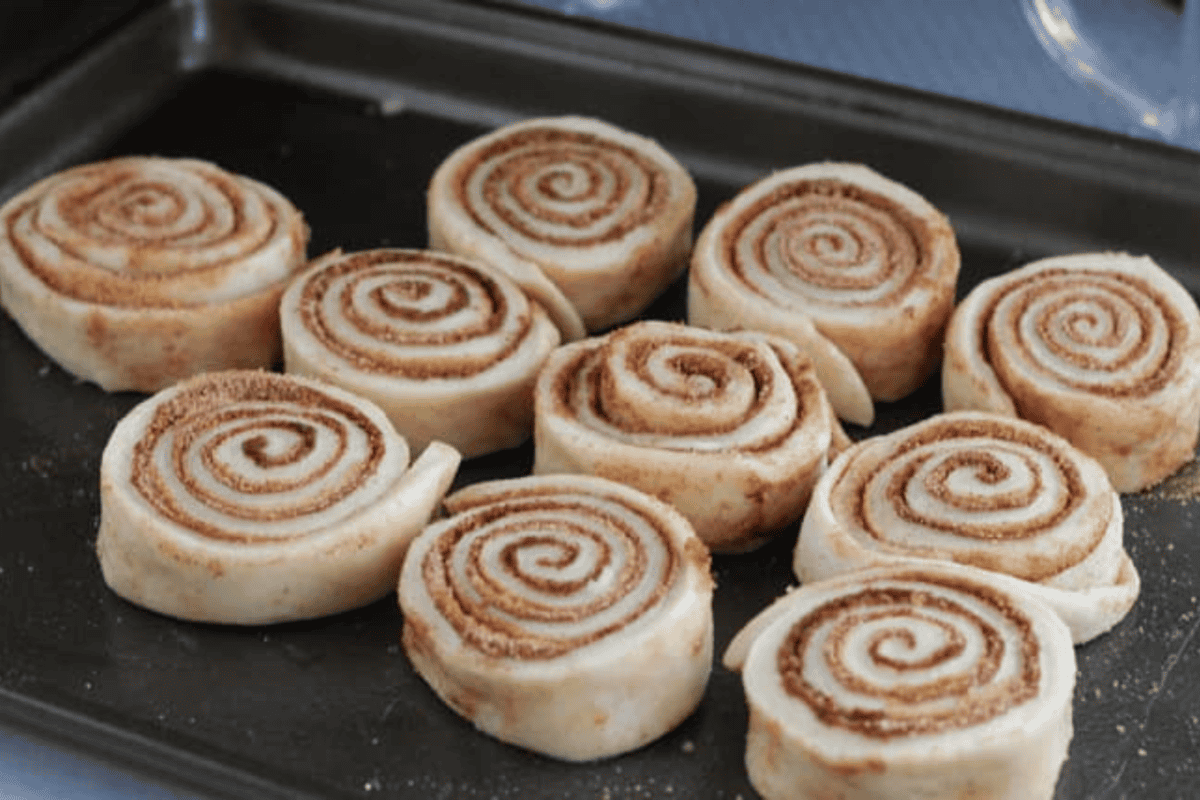
4. Roll and Slice the Dough
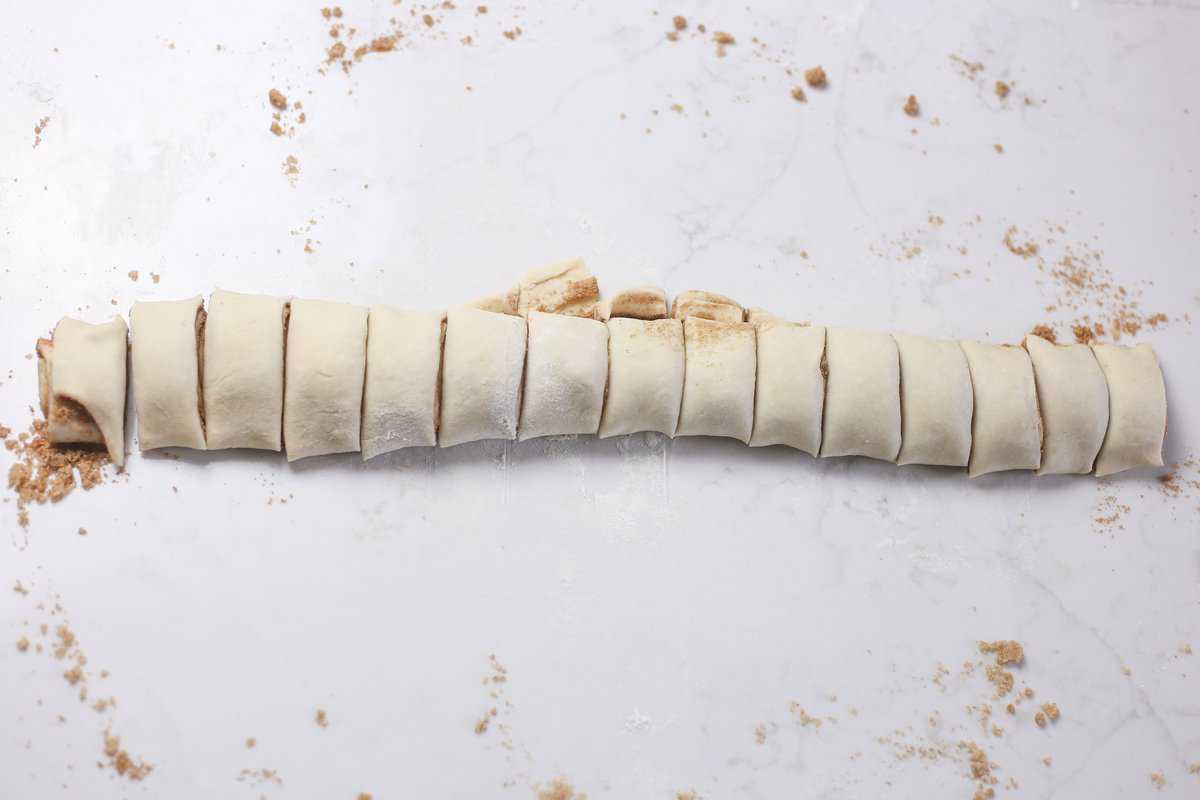
With the long edge in front of you, begin to gently roll the dough. Using a sharp knife, slice the rolled dough into roughly 1-inch pieces.
In a prepared baking sheet (either parchment lined or greased), place the cinnamon rolls close together but not touching. This gives them room to rise.
Repeat the steps above with the second mound of dough.
Optional: If you have extra butter leftover, brush the tops of your dough with it.
5. Let Them Rise
Cover assembled dough with a lightweight hand towel and let rise in a warm environment for another 25-30 minutes. (If it’s cooler weather, I turn on my oven for just a minute or two and then turn it off in order to get it a little warm. I then let it rise in there.)
Don’t worry if they don’t get much bigger. They will still bake fine!
6. Time to Bake
Bake at 350°F for about 17 minutes or until lightly brown on top. Tap the middle of the roll to see if it bounces back. If it does, it’s done!
Note: If baking in a glass dish, they will need additional time. Probably 3-4 minutes more.
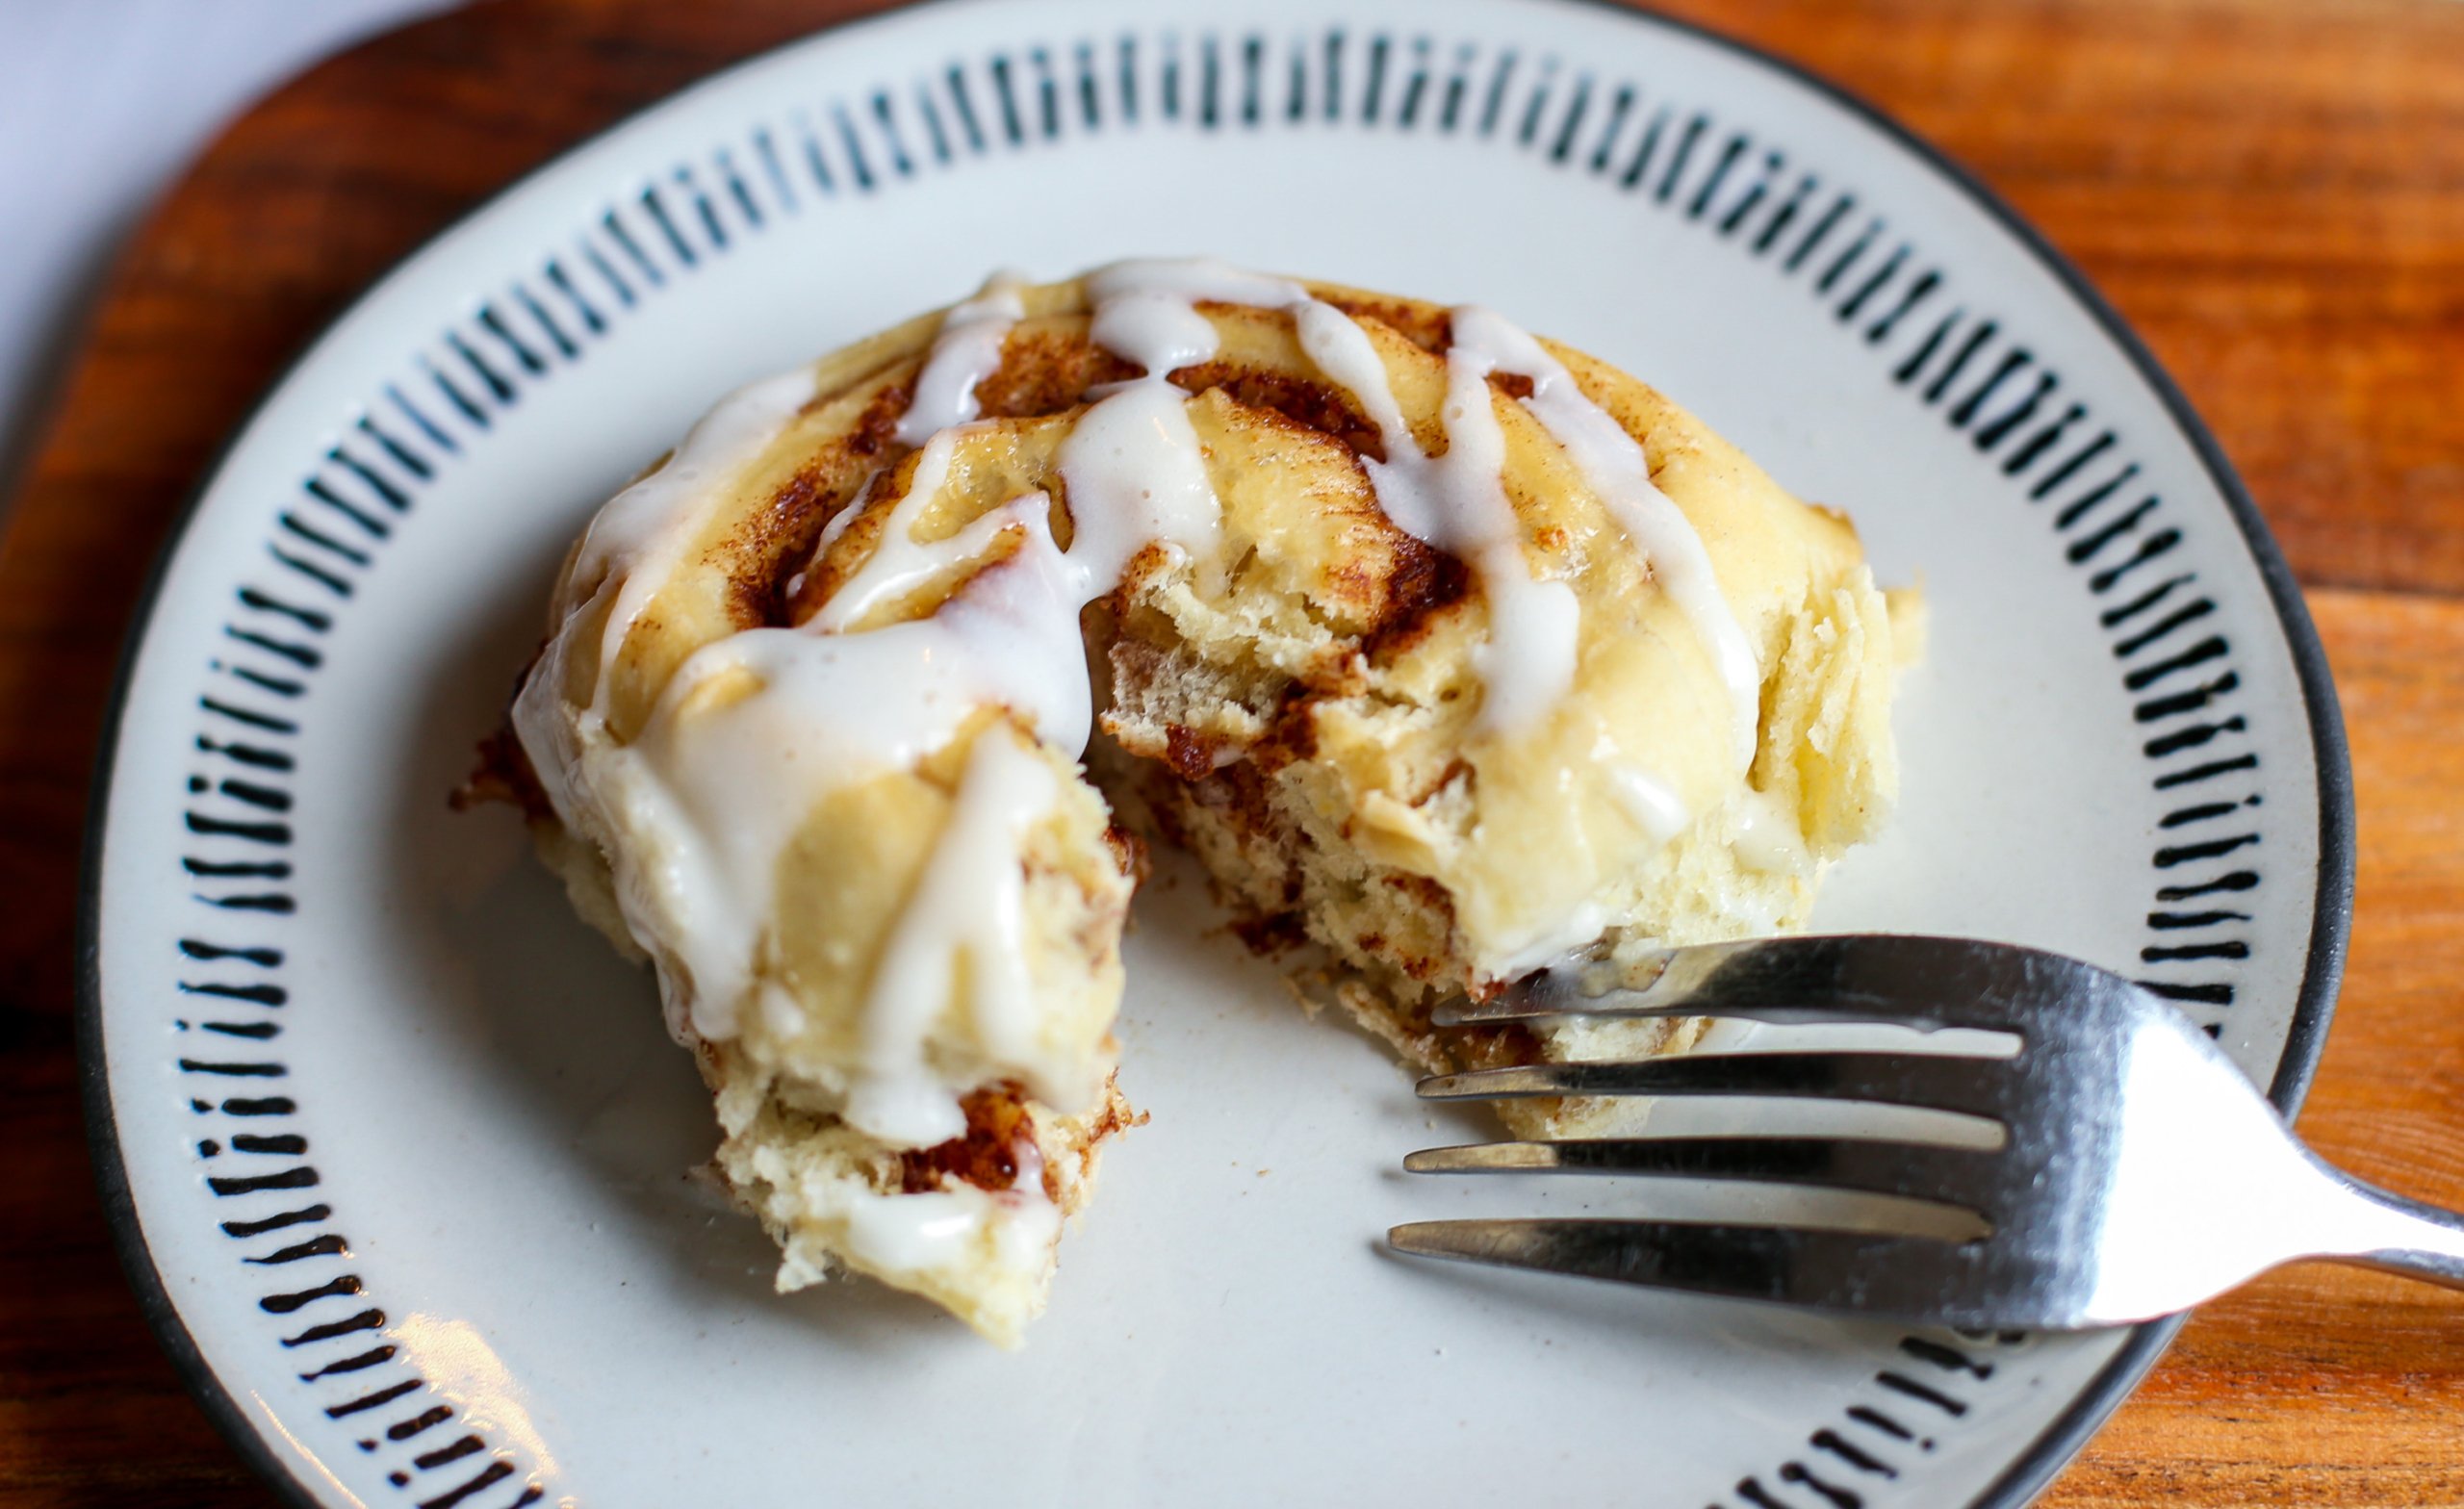
Cinnamon Roll Icing
I keep my icing pretty simple. While there are many variations out there, here is what I use:
- 3-4 cups powdered sugar
- 1/2 teaspoon vanilla
- 4-5 tablespoons whole milk + more if you want it thinner
Mix all of this together until it forms the desired consistency. Drizzle it over the cinnamon rolls.
Freezing Cinnamon Rolls
Prepare Rolls for the Freezer:
- Prepare the dough, roll it out, add the filling, and shape the rolls as usual. Place them in a baking dish or on a baking sheet lined with parchment paper.
- Tightly wrap the rolls and baking dish in plastic wrap, ensuring no air can get in. Then cover with aluminum foil for extra protection.
- Store in the freezer for up to 3 months for the best quality.
Prepare Frozen Rolls for Baking:
- Thaw: Remove the rolls from the freezer and arrange them on a baking sheet. Cover them loosely with plastic wrap or a clean kitchen towel and let them thaw in the refrigerator overnight.
- Proof: After thawing, place the rolls in a warm spot to rise. This can take 1-2 hours depending on the temperature of your kitchen. A good place for proofing is inside an oven turned off but with the light on.
- Bake: Follow directions as instructed.

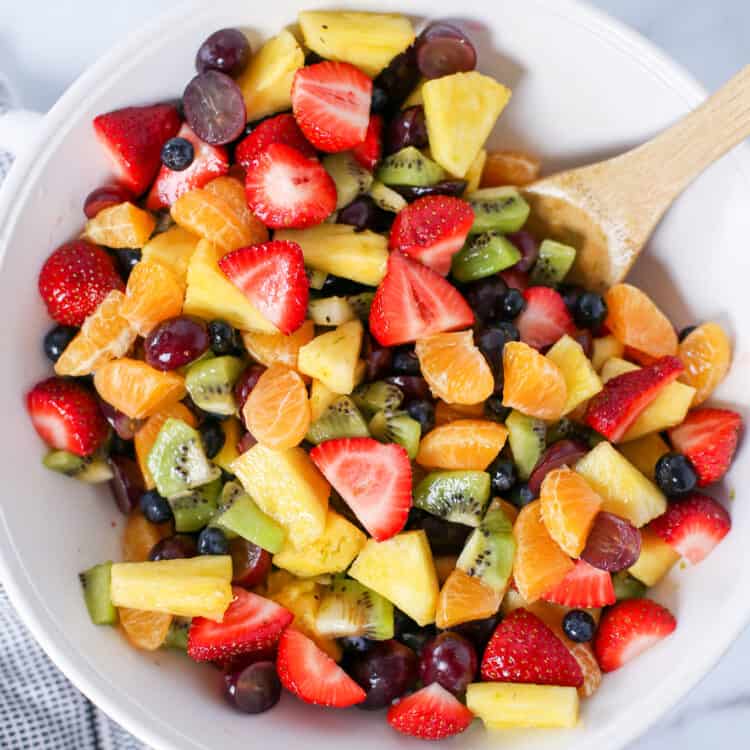
What to Serve with Cinnamon Rolls

FAQs
I’ve gotten this question a lot so I tested out this exact recipe without using a bread machine. And guess what? It worked!
If you don’t have a bread machine, use a stand mixer to combine all of the dough ingredients. Using a dough hook, let it knead the dough for 7-8 minutes. Transfer the sticky dough to a grease-lined bowl. Cover with a towel and let it rise for about 1-1.5 hours (or until twice its size.) It will be sticky so use lots of flour when rolling it out.
Quick Rise (aka Instant) and active dry yeast are essentially the same ingredients. They are just slightly different in forms and applications.
The main differences between the two are:
Active yeast needs rehydration. Active dry yeast must first be dissolved and rehydrated in warm water. I like to think of it like, “It needs to be activated!”
Quick Rise Yeast needs less time to rise. Since instant yeast has a finer texture than active dry yeast, it’s possible to skip the initial rise time that Active Rise Needs. This is why it works great for bread machines!
I’ve tested both types of yeast with this recipe in my bread machine and the Quick Rise Yeast works much better! Active yeast will work. In fact, I use it in our Ham and Cheese Crescent Roll recipe. It will just need more time and more warmth to rise.
Yes, the rolls are very forgiving and will usually bake just fine even if they didn’t rise much.
I prefer to use metal baking sheets because it gives a nice caramelization on the bottom of the cinnamon rolls. However, a glass baking dish will work as well. You’ll need more than one!
Yes, follow the instructions above about combining two small rolls into 1 large one.
If you want to prepare the rolls ahead of time, assemble them as normal, let them rise, and then refrigerate for 24-48 hours. Make sure to let them come back to room temperature and rise back up again before baking.
How to Video
Bread Machine Cinnamon Rolls
Ingredients
Dough
- 1 1/3 cups water (lukewarm: 110-115°F is perfect)
- 1/2 cup butter (room temperature and cut into small chunks)
- 5 tablespoons sugar
- 1 large egg
- 1 teaspoon salt
- 4 1/2 cups all-purpose flour
- 1 tablespoon quick-rise yeast
Filling
- 1 1/2 cups brown sugar (cane sugar works great too!)
- 2 tablespoons ground cinnamon
- 1/2 cup butter (melted)
Icing
- 3 cups powdered sugar
- 1/2 teaspoon pure vanilla extract
- 4 tablespoons milk (plus more if you like it thinner)
Instructions
- Place the ingredients for the dough in your bread machine in the order listed. If your machine doesn’t have a yeast dispenser, just nestle the yeast in on top of the flour (don’t let it touch the wet ingredients).
- Run your machine on a dough cycle.
- Make the cinnamon sugar filling: Combine brown sugar and cinnamon in a small bowl. Set aside.
- After dough is done, take it out and split the dough into two mounds.
- On a lightly floured surface, roll one mound of your dough out into roughly a 18×12-inch rectangle.
- Spread half of the melted butter over the rolled-out dough.
- Sprinkle about half of the cinnamon sugar over the melted butter making sure to cover as much surface with the filling as you can.
- Starting at one long ends of your rectangle of dough, roll it up.
- Using a sharp knife, slice the dough into roughly 1-inch pieces. The result will be a pinwheel shaped form when turned on its side.
- Place pinwheels on greased metal baking sheet. I like mine slightly touching each other so they all are soft and not too browned on the outside but if you want them not touching, spread them apart on the sheet pan.
- Repeat the steps above with the second mound of dough.
- Cover assembled rolls with a lightweight hand towel and let rise in a warm environment for 25-30 minutes.
- Preheat the oven to 350°F. Bake for 17-20 minutes or until lightly brown on top (add a few extra minutes if using a glass dish). Tap the middle of the roll to see if it bounces back. If it does, it’s probably done!
- Combine ingredients to make icing and spread over warm rolls so it melts into them.
Notes/Tips
- Every bread machine is a bit different. The dough setting on mine is 90 minutes. This is the first rise. The second rise will be after you assemble the rolls.
- I prefer to use a metal baking sheet but if you are using a glass baking dish, allow for a few extra minutes when baking.
- If you don’t have a bread machine, use a stand mixer to combine all of the dough ingredients. Using a dough hook, let it knead the dough for 7-8 minutes. Transfer the sticky dough to a grease-lined bowl. Cover with a towel and let it rise for about 1-1.5 hours (or until twice its size.) It will be sticky so use lots of flour when rolling it out.
- This recipe yields about 25-30 small rolls. Another option is to make large cinnamon rolls. For large rolls, combine two small rolls by unrolling one and attaching it to the end of another. Wrap the dough around itself to form a single large roll.
- Note: This recipe was changed slightly in 2021. I removed 1/4 cup powdered milk from the ingredient list. I made these once when I didn’t have it on hand and couldn’t tell the difference. But it’s up to you if you use it or not! I also opt for quick rise yeast vs. active yeast now.
Nutrition
I have never had so many compliments for cinnamon rolls. I have tried many recipes and this is by far the best. I bake them in rounds of 6. I do use whipping cream to the powdered sugar for icing instead of milk. It was what I had on hand and it gives it a great texture
Hi Melinda! I bet the whipping cream is delicious in the icing. 🙂 Thank you for taking the time to leave a review.
Amazing recipe
Thanks Makayla! Glad you enjoyed it.
Do you just measure out 4.5 cups flour or weigh it out in grams or ounces?
When I measure the flour, I always whisk it in the bag to fluff it and then lightly scoop it out. I know weighing the flour is the gold standard but most people don’t have a scale. This has worked for us many times over!
I’ve been making this recipe for awhile. It is amazing and everyone loves them.
I often make them as a gift for friends.
I’m planning to make them for my card group. I will have to make them then refrigerate over night.
Do you have any idea how long they will take to come to room temperature and rise before baking?
Hi Judy! I hope your card group loves them as much as everyone else! As for how long to rise — It really depends on the temperature and humidity of your home. I like to put mine under a warm light, cover with a light weight hand towel and I give it about an hour. Don’t get too worried if they don’t rise up as much as you are used to. They will still rise and expand as they bake.
I make these all the time, they are huge in my family. But my Grand-daughter wants raisins in them, when and how do I add them?
Hi Lavetta. We haven’t tried them with raisins. If you do, please let us know how they turn out and when you added them!
I used raisons in mine as a cinnamon roll for me requires them. I add them to the cinnamon sugar at the roll up stage but first we take the raisins, put them in a bowl with water to cover, with cinnamon and vanilla to taste, cover lightly and microwave them on high for 3-4 minutes depending on power then let them cool. Drain and pat dry then add to the rolls. This step helps prevent raisin scorching during cooking and maintains the softness of the roll.
Thanks so much for the details on how you add raisins. Sounds wonderful!
Other than my personal preference for cream cheese icing over normal icing, These are awesome! For reference I used my WestBend bread maker (model 41300) and baked them in a 9×13 glass casserole dish.
I’ve made them twice now with no issues!
Hi Taylar. So glad you enjoyed these. Thank you for leaving a detailed review. I’m sure it will help others to know your specifics.
This is a great recipe. They turned out absolutely perfect. The rolls remind me of the cinn buns my mom and dad made when I was a young child. These bring back the wonderful memories of how we could hardly wait for them to cool.
So glad you enjoyed these and they brought back good memories Pam! Thanks for leaving a review.
First time trying cinn rolls. I usually make dinner rolls at holidays but my kids wanted cinn rolls instead. First off the Dough was sticky and wet when doing rise in bread maker. I knew from reg rolls this was not right. I had to add flour in the bread machine and mix it by hand it is perhaps my fault as I used bread flour by accident and I was not meticulously measuring my 4 cups of flour. Adding more flour did the trick dough ended up perfect
Part two It’s much harder to roll the dough with all the filling than I realized. Perhaps it was the bread flour but these dough balls just wanted to puff up and not lay flat. And when I put the melted butter for the filling it seemed to make the dough really soggy and kinda slimy. I rolled them so poorly I needed to scrap and roll the two ends on each log again they just ended up being wet butter blobs of dough with sugar mix in them. I baked them in casserole dish and they ballooned up and it’s looking good. I also tried adding jam to the other dough half and boy was that a mess wet butter jam oozing all over. I think most of the problems are due to my lack of practice rolling dough and putting too much wet filling. Also I always use butter sub like earth balance because my son is allergic to dairy and I did not have issues doing this here. I think I made the icing a bit too wet but it tasted great just so sweet wow. These baked for 25 min and the dough was just cooked and squishy inside which was good. Just browned on edges. Overall it’s a great recipe and the taste was wonderful sweet oozy yum and I’m glad my son was able to enjoy a dairy free dessert. Also we enjoyed the regular cinnamon filling over the strawberry which remained a bit too wet and rolls lost their shape due to my horrible rolling skills. The taste was good and fruit added tartness( I just don’t love baked fruit personally even pies etc ) The Regular cinn rolls really looked so beautiful in pan and tasted amazing and I will make these again and get better at rolling filling and cutting and perhaps add a little less liquid to dough. Thank you for sharing this recipe!
Thanks for the review Natalie. I’m sure you’ll get better at rolling the more you make them!
What size pan works best for this? Are the rectangles 12″wide and you get 12-1″ rolls to put in a 9×13 pan? with 3 across and 4 down? So it makes 2 pans of these or ?
Hi Marty. The recipe makes 22 cinnamon rolls, so you can bake them in varying dishes. You could put 11 cinnamon rolls in 9×12 casserole dishes or use baking sheets of different sizes to bake them.
Made this twice already and it’s a hit with the family. Definitely my go to recipe for cinnamon buns.
Yay! Glad you’ve found a hit recipe Anne! Thanks for taking the time to leave a review.
Easy to follow recipe with simple ingredients and smell and taste delicious!
So glad you enjoyed these Angela. Thank you for taking the time to leave a review!
My family is obsessed with these. I don’t make them often cause I don’t always have 3-4hrs to spare but I don’t usually have left overs
Love to hear of family food obsessions over our recipes! Thanks for taking the time to leave a review.
I have made these twice in my bread maker. They come out perfect. The icing is great… this time I made cream cheese icing. I am also freezing half of rolls to bake at a later time…most likely next weekend. Thank you for this great, solid, easy to follow recipe.
Thank you for taking the time to leave a review Michelle. We’re so glad you found the recipe and have had great success.
I like the idea of freezing half of the rolls. Do you freeze the dough after they’re sliced and have risen on the sheet pan?
Hi Sarah, yes. You let them rise and then freeze. Wrap them tightly or place them in an airtight container with a lid and freeze. Just make sure you let them thaw and warm up to room temperature and rise a bit before baking.
I was just going to ask about freezing them since it’s just me and the temptation would be too much. I will put 4-5 in an oven proof container and freeze them that way. I’ll let you know how they turn out.
Yes, would love to know how they turn out!
Followed the recipe as written with the exception of using a 50/50 mix of white flower, and whole wheat. Additionally, upon splitting the dough to make the pinwheels, I used the cinnamon/sugar on one, and strawberry jelly in the other. Both were excellent and it was a toss-up on which were best
Ooh, thanks for the suggestion of the strawberry jelly. That sounds delicious!
These were easy to make with my bread machine and they were delicious!!!
So glad you enjoyed them Bertha! Thanks for leaving a review.
I used the exact recipe except I didn’t cut it into rolls. I made two big rolls and ….made a king cake because it’s Mardi Gras time in New Orleans! It came out great.
So fun! Thanks for sharing Sid.