Bread Machine Dinner Rolls
This post may contain affiliate or sponsored links. Please read our disclosure policy.
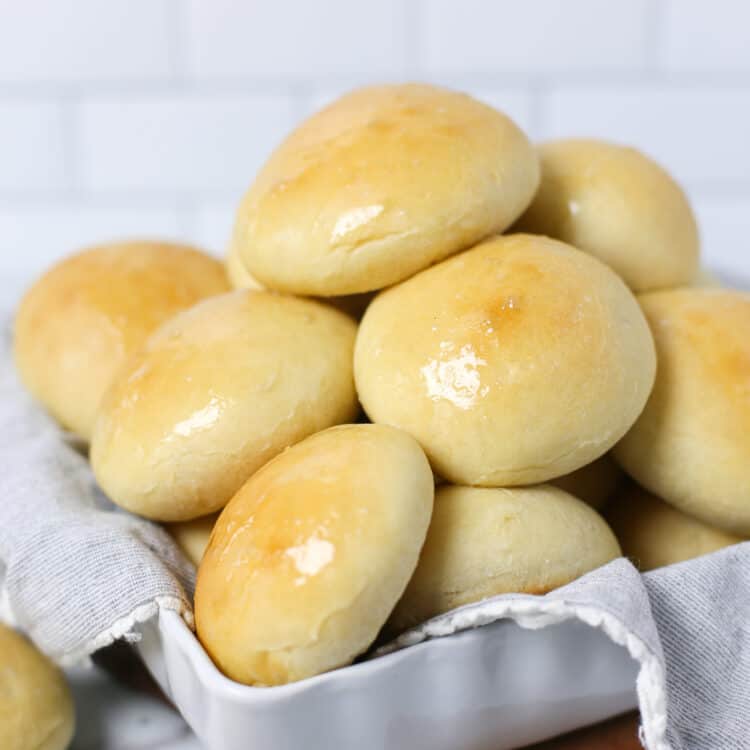
You can make delicious, homemade rolls at home! Follow our detailed instructions and pro tips for perfectly soft and fluffy Bread Machine Dinner Rolls. Ideal for holidays or to stock the freezer for a grab-and-go side dish.
We also have Bread Machine Wheat Rolls if you’re looking for a slightly healthier version!

“I have made this recipe twice now. Perfect dinner rolls both times! I use egg wash on top before I put them in the oven and they turn out golden and fluffy.” – Kerri
Why Use a Bread Machine to Make Rolls?
We all know delicious rolls can be made without a bread machine.
But, you’ll love the convenience of dumping ingredients into the machine, pushing a button, and having perfectly prepped dough ready for rolling and baking.
This is one of the many reasons I love using a bread machine for recipes like our Cinnamon Rolls and Panini Bread.
P.S. If you value made-from-scratch baked goodies but lack the time, consider trying a Wildgrain Subscription! We have written a thorough Wildgrain Review here.
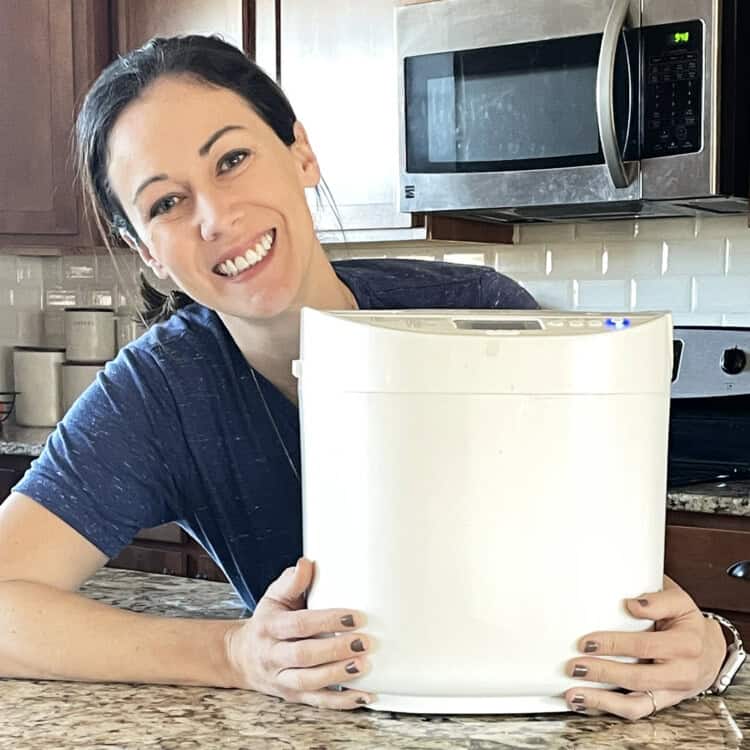
“What Bread Machine Do You Use?”
I don’t need a bread machine with a lot of bells and whistles. I need a quality, reliable bread machine. I’ve found this Oster brand to work great for the recipes I use.
Ingredients
I tested this recipe many times to really nail down what made the best roll recipe.
Here is what you need:
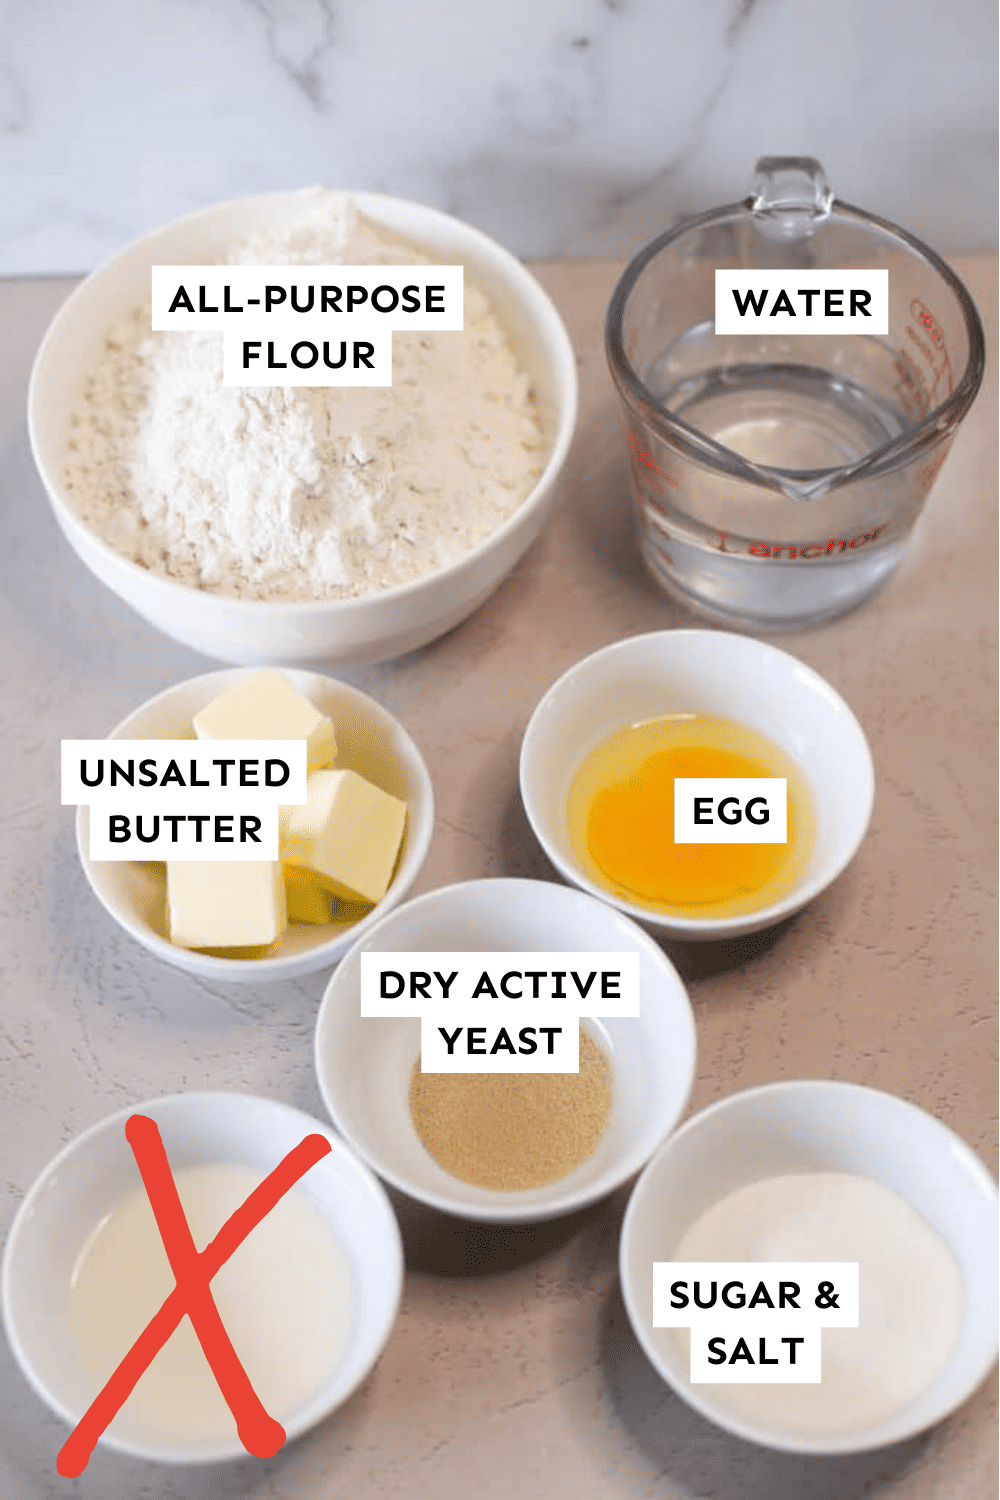
Ingredient Notes:
- Water – I have had best results when using lukewarm water.
- Unsalted butter – If you have salted butter, it’s ok. But when adding in salt, only use 3/4 tsp instead of the 1 teaspoon called for.
- Dry active yeast – Quick rise will work too. Dough will rise more quickly if using this though.
*Note: Although the image above mistakenly shows milk as an ingredient, there is no milk in this recipe. Sorry about that!
How to Make Bread Machine Dinner Rolls
Here’s a step-by-step overview to scan before you get started. The full recipe is below.
Step 1: Make the Dough
There are 3 steps to making the dough.
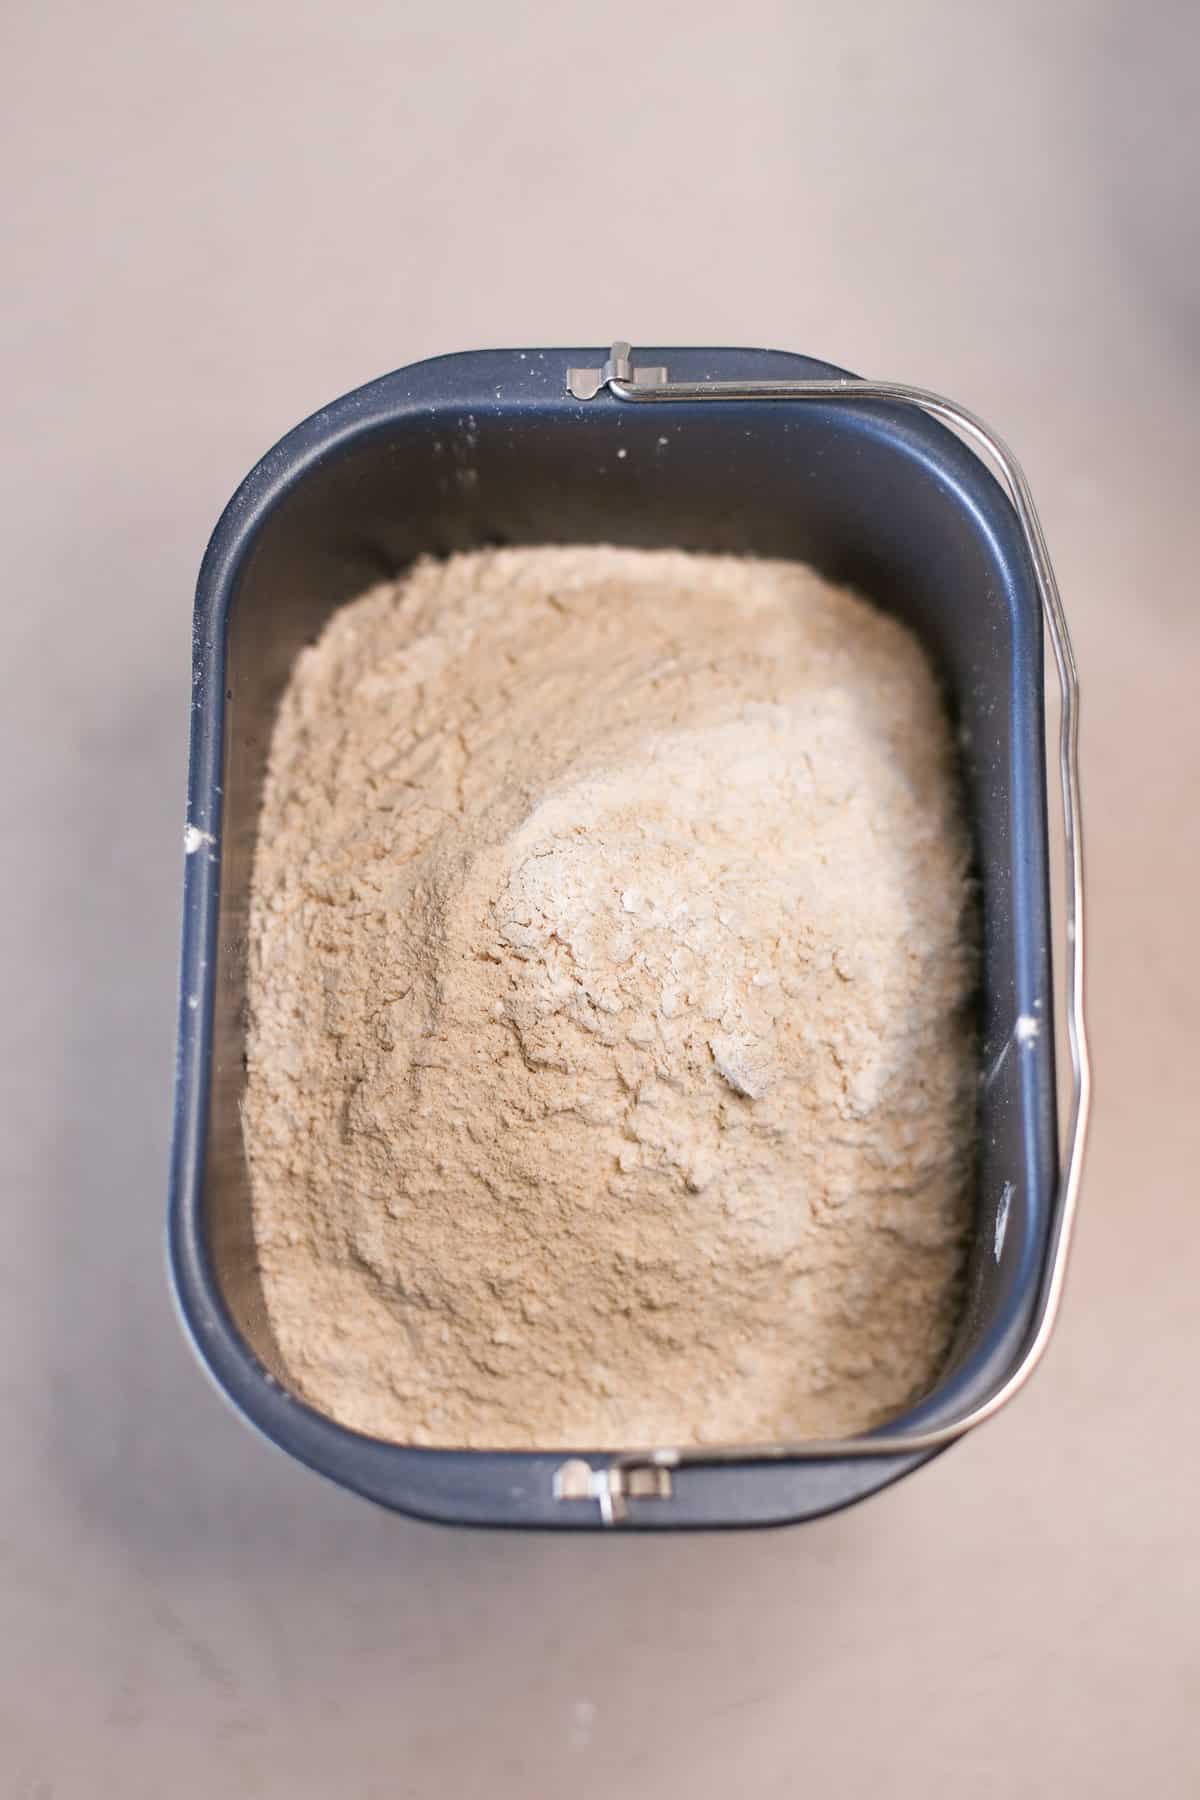
- Add the ingredients to the bread pan, ending with flour.
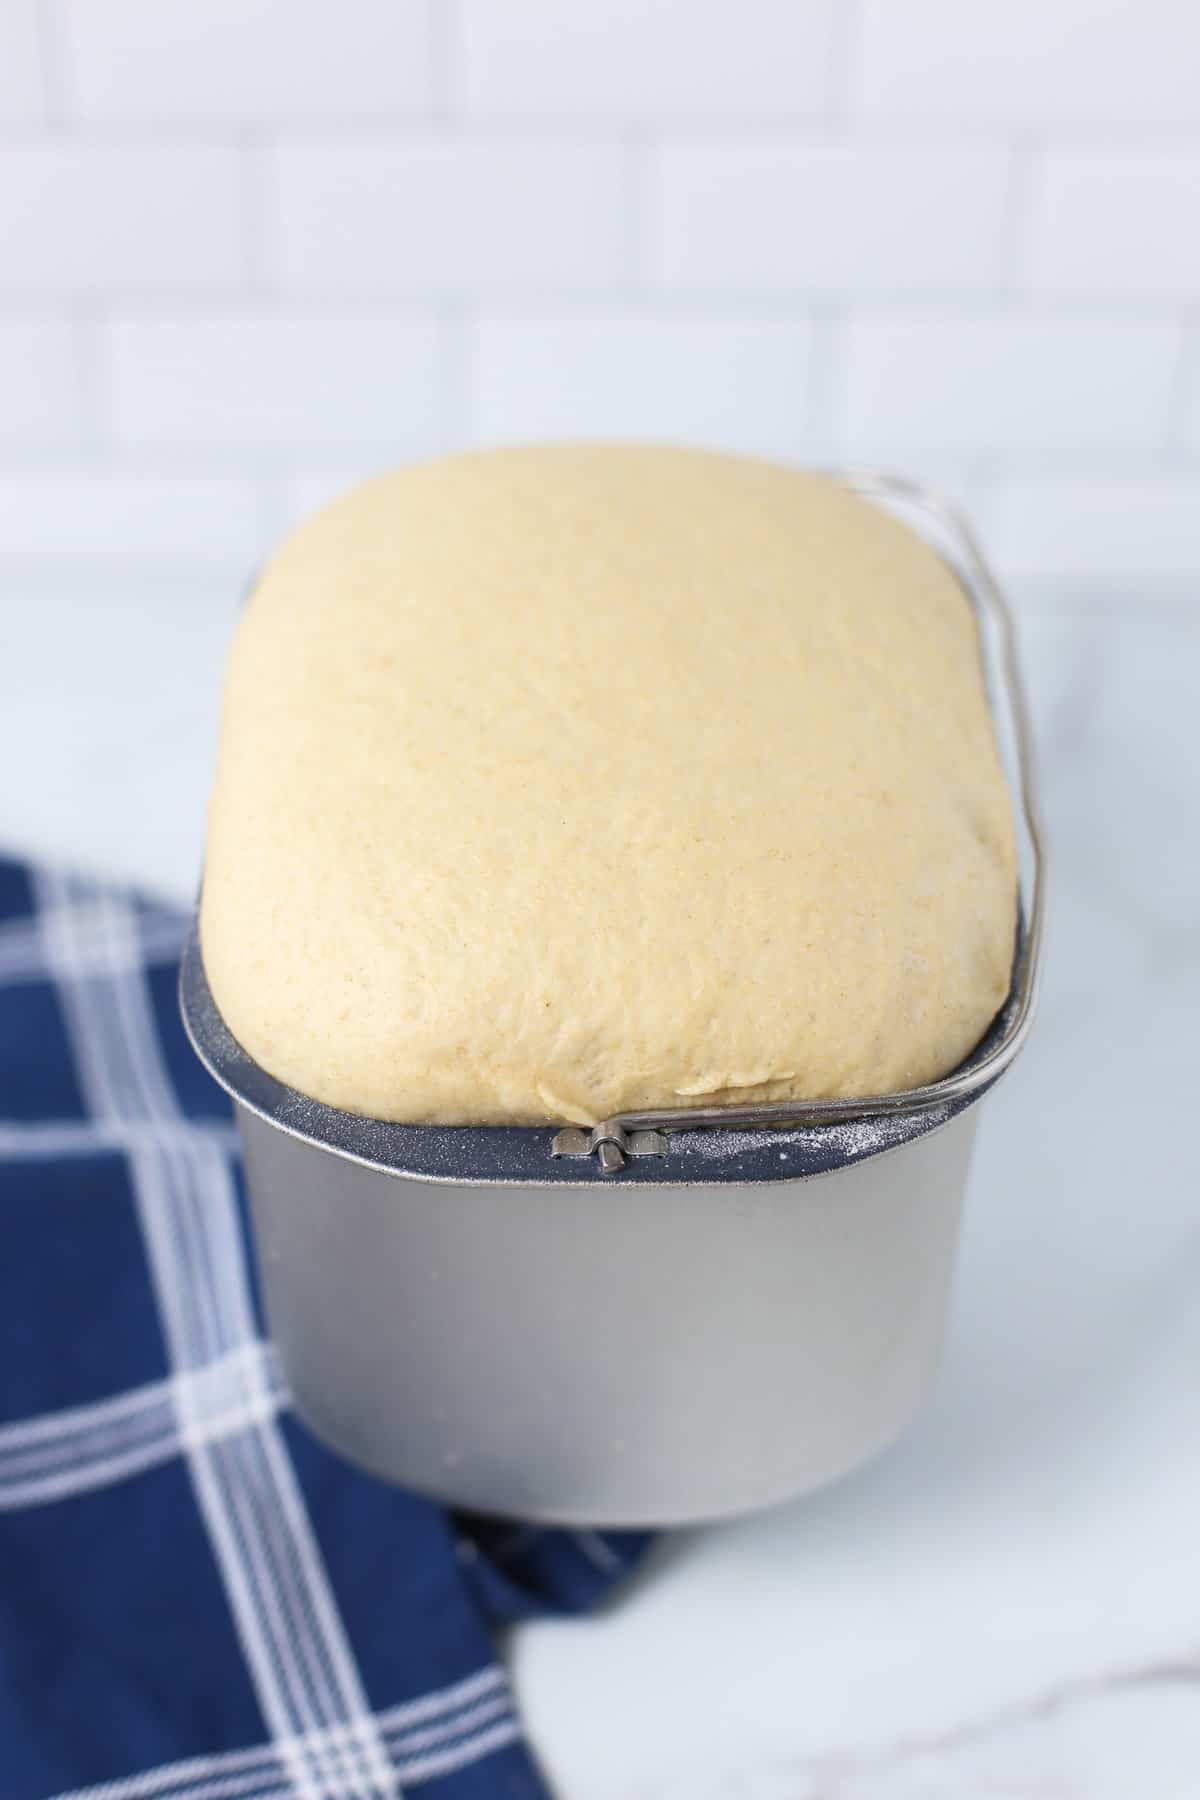
- Run the dough cycle. Every machine is different but this should be around 90 minutes. Dough should be soft and puffy at the end.
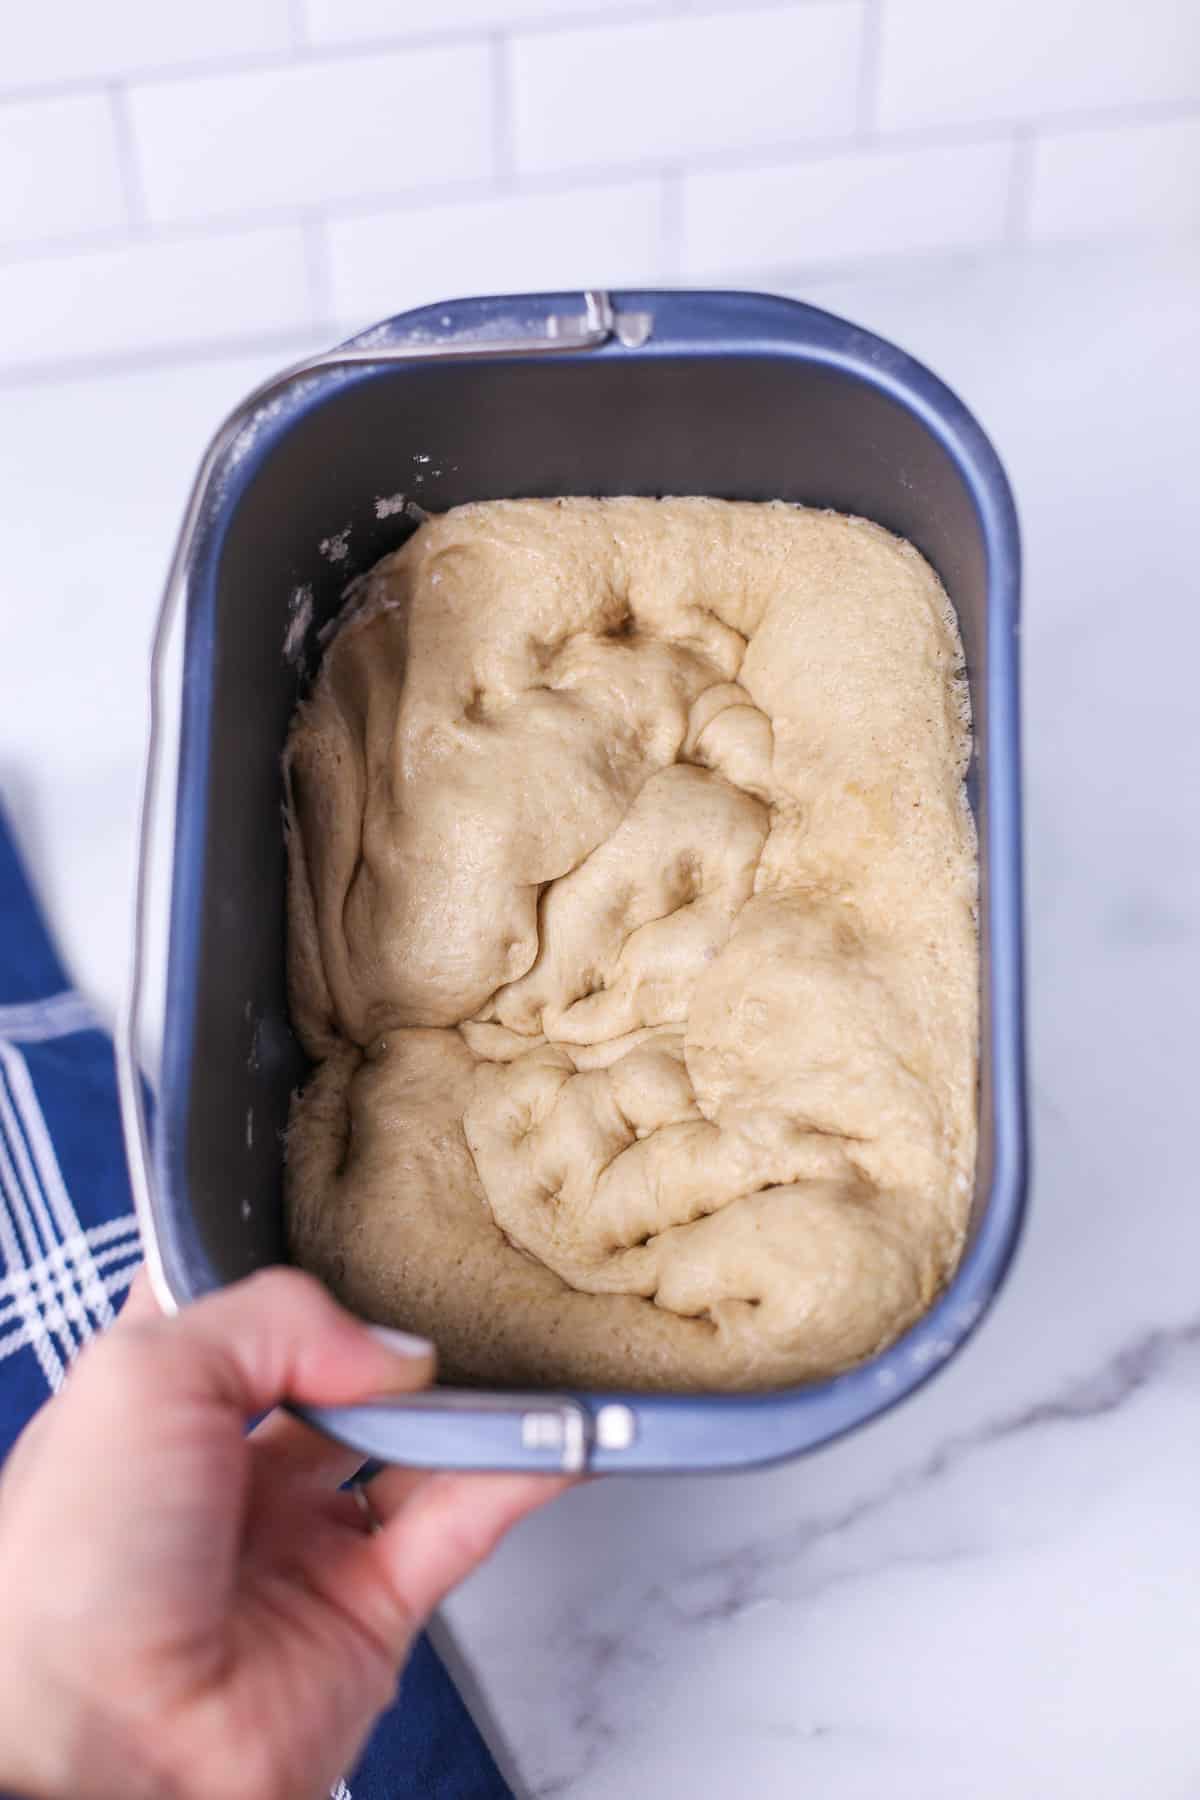
- Remove the bread pan and punch the dough down. (Kids love helping with this!) This helps air escape.
Step 2: Roll the Dough into Balls & Let Them Rise
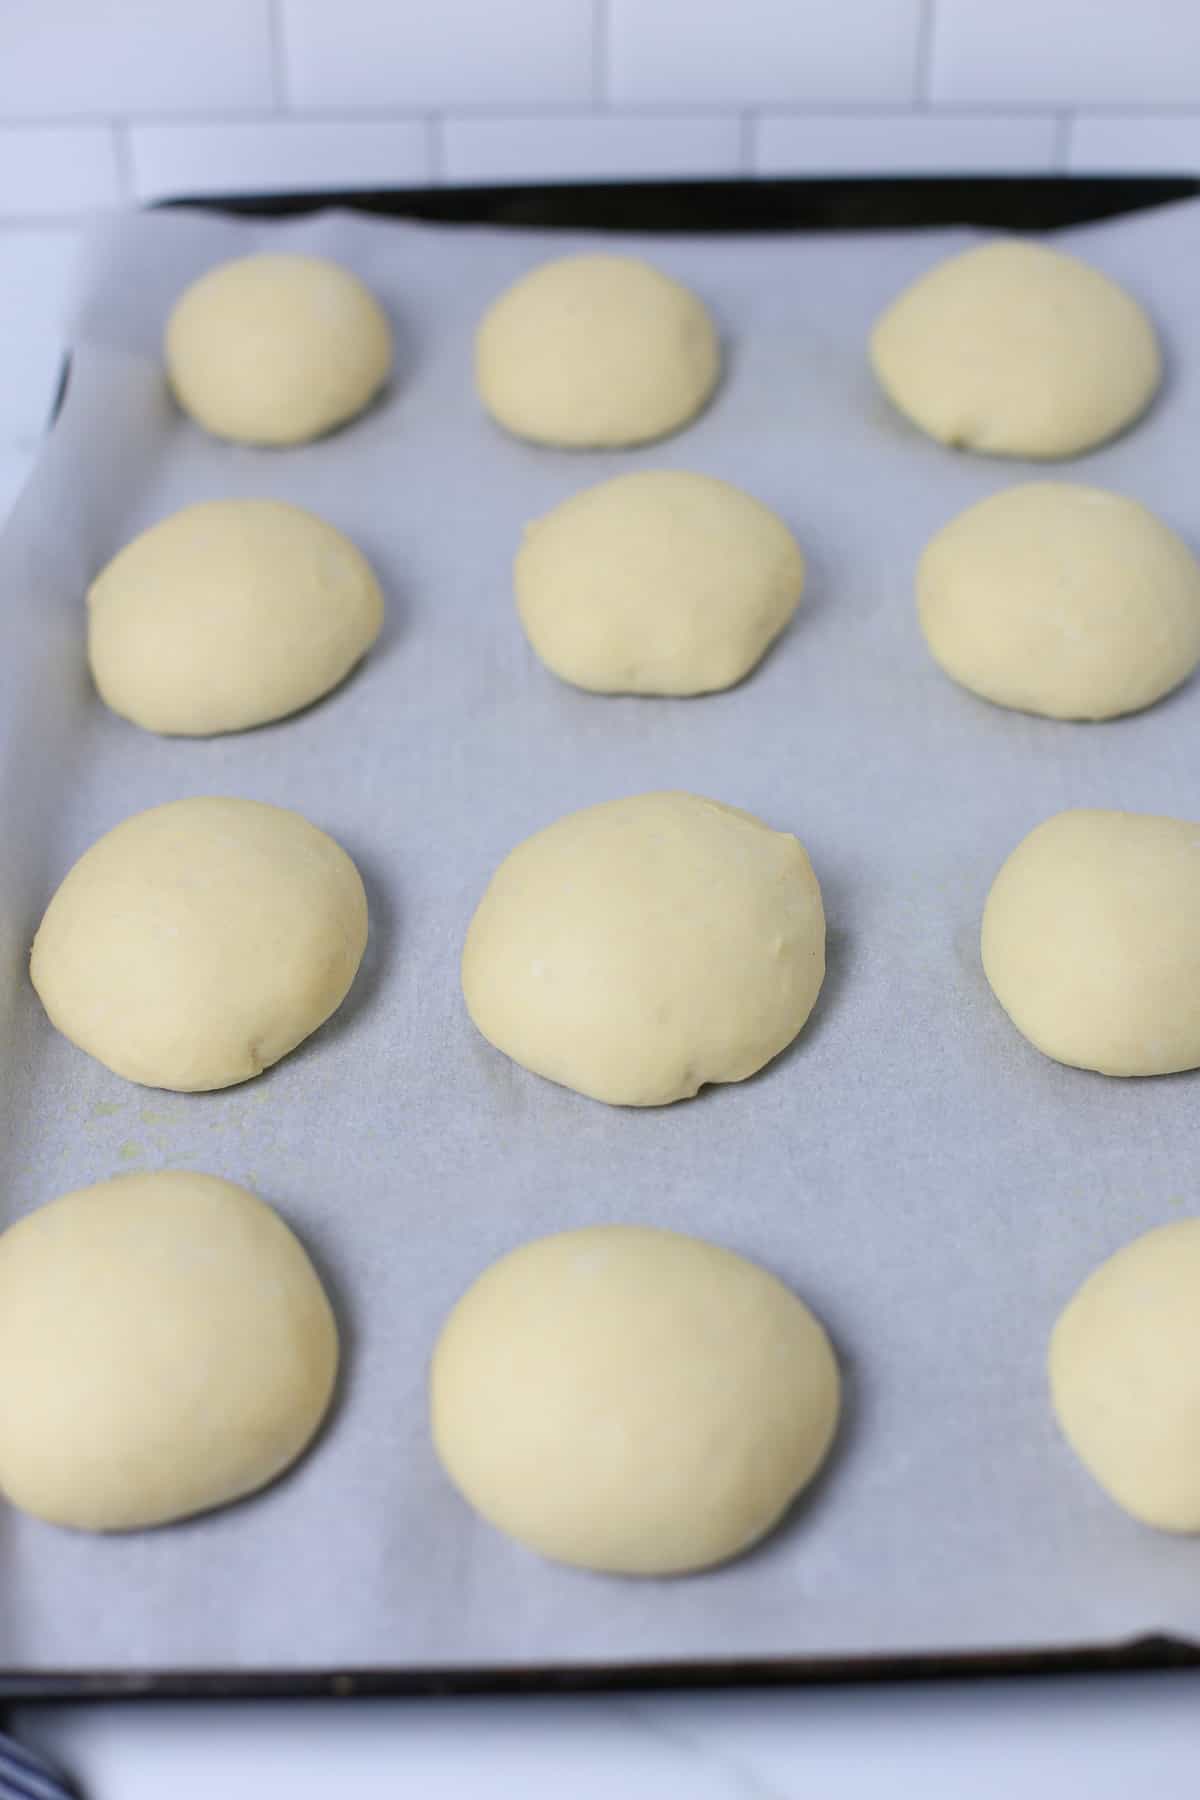
Working with one roll at a time, round the dough into smooth, taut balls. Aim for them to be about the size of golf balls.
Cover the dough balls loosely with plastic wrap or a tea towel and let them rise in a warm environment for about 1 hour until they are light and fluffy. They should double in size.
Timing will be a bit different depending on the temperature and humidity.
Tip: How to Make The Rolls Extra Smooth on Top
After rolling a portion of the dough into a ball, pull the outer edges up and towards the center of the dough, all around. Gently pinch the pulled edges together. Turn the ball over so that the seam side is facing down, unseen on your baking sheet.
Step 3: Bake the Dinner Rolls
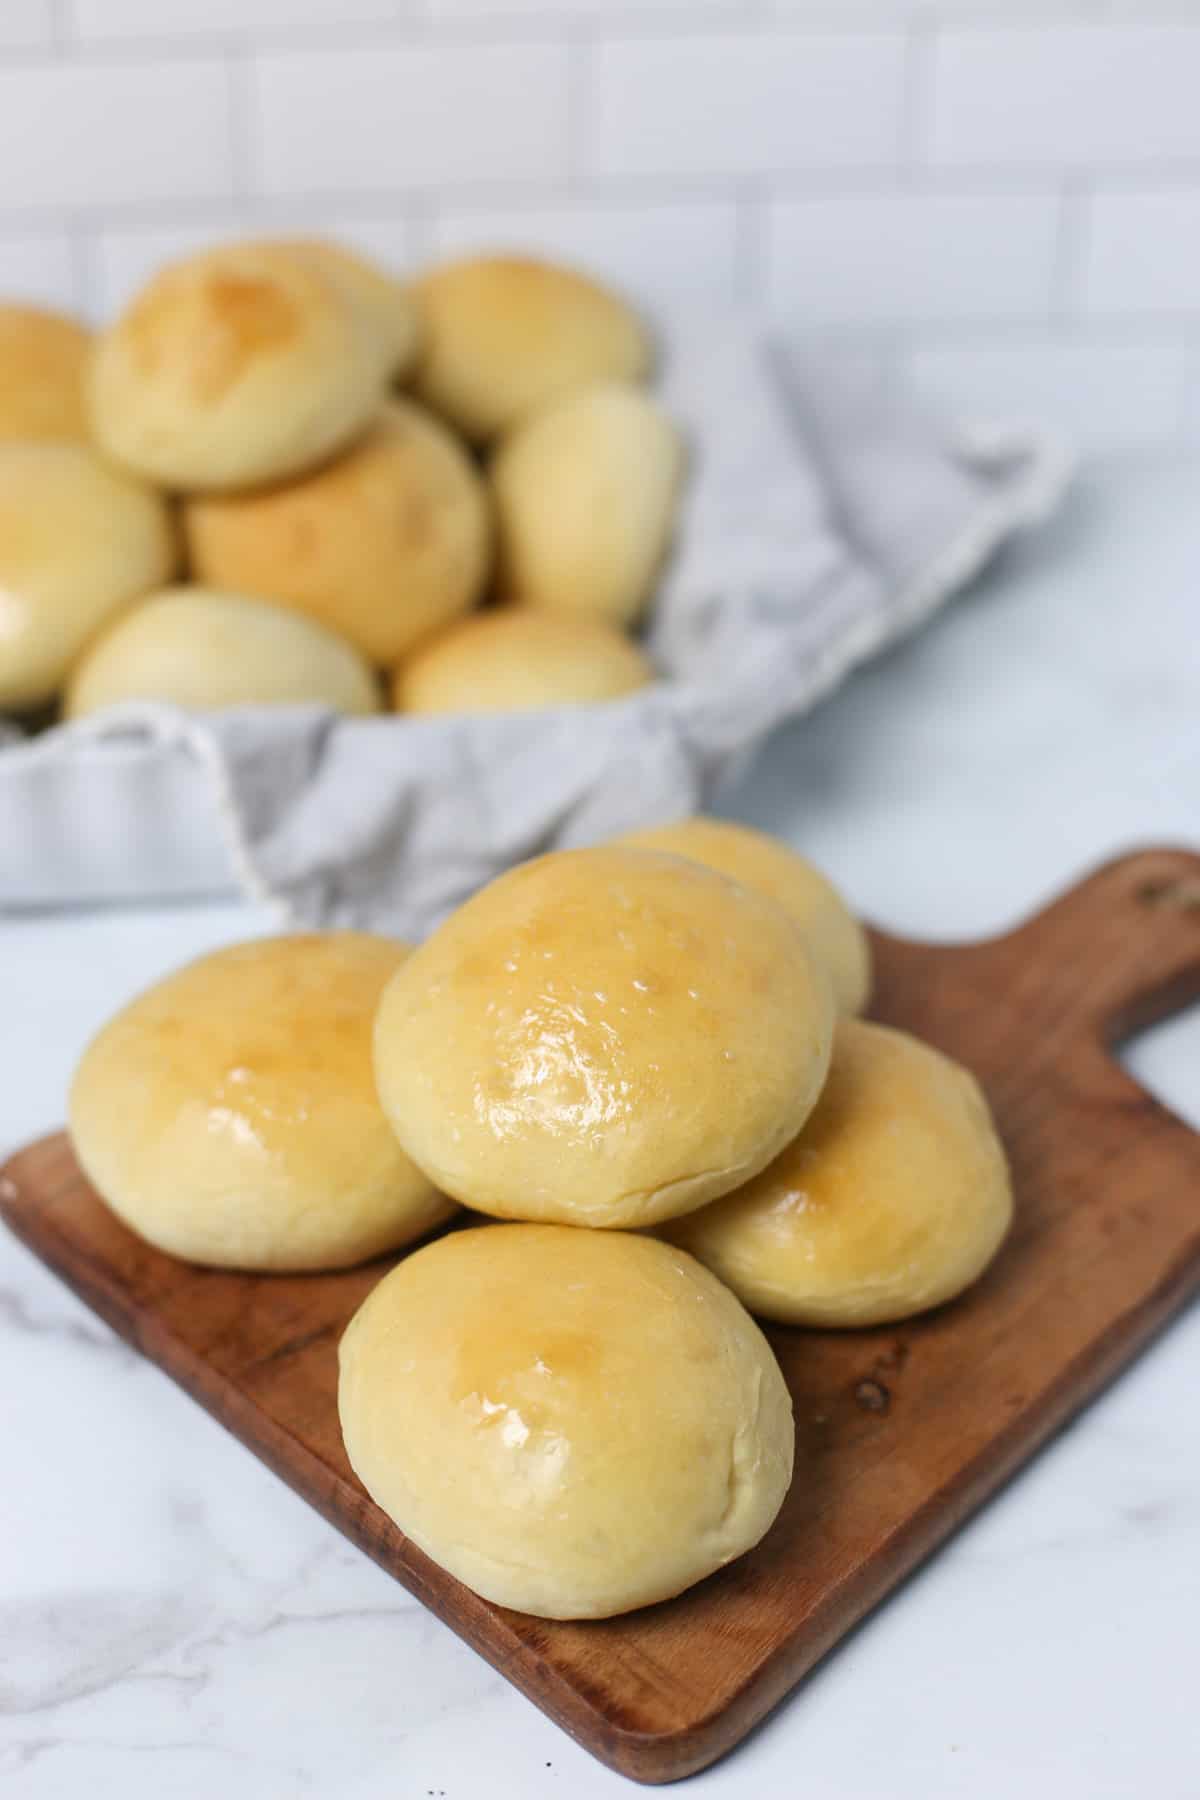
Once the rolls have almost doubled in size, preheat the oven to 350°F.
Bake the rolls for about 15-17 minutes or until starting to brown on top. Remove and let cool a bit before serving.
Done! Serve them at a holiday meal with our Homemade Stuffing, Roasted Turkey Breast, and Pumpkin Dump Cake.
How to Make Rolls Ahead of Time
There are many times you may want to prep the dough ahead of time. Then you simply need to let them do their second rise on the counter and bake them.
These make-ahead options are especially helpful if you want fresh-baked rolls for Easter lunch, Thanksgiving, Birthday dinner, or on Christmas.
To Prepare Dough for the Fridge:
After the dough is made and shaped into the rolls, cover tightly and refrigerate for up to one day.
A few hours before you need them, remove the rolls from the refrigerator and allow to rise on the counter for about 1-2 hours before baking.
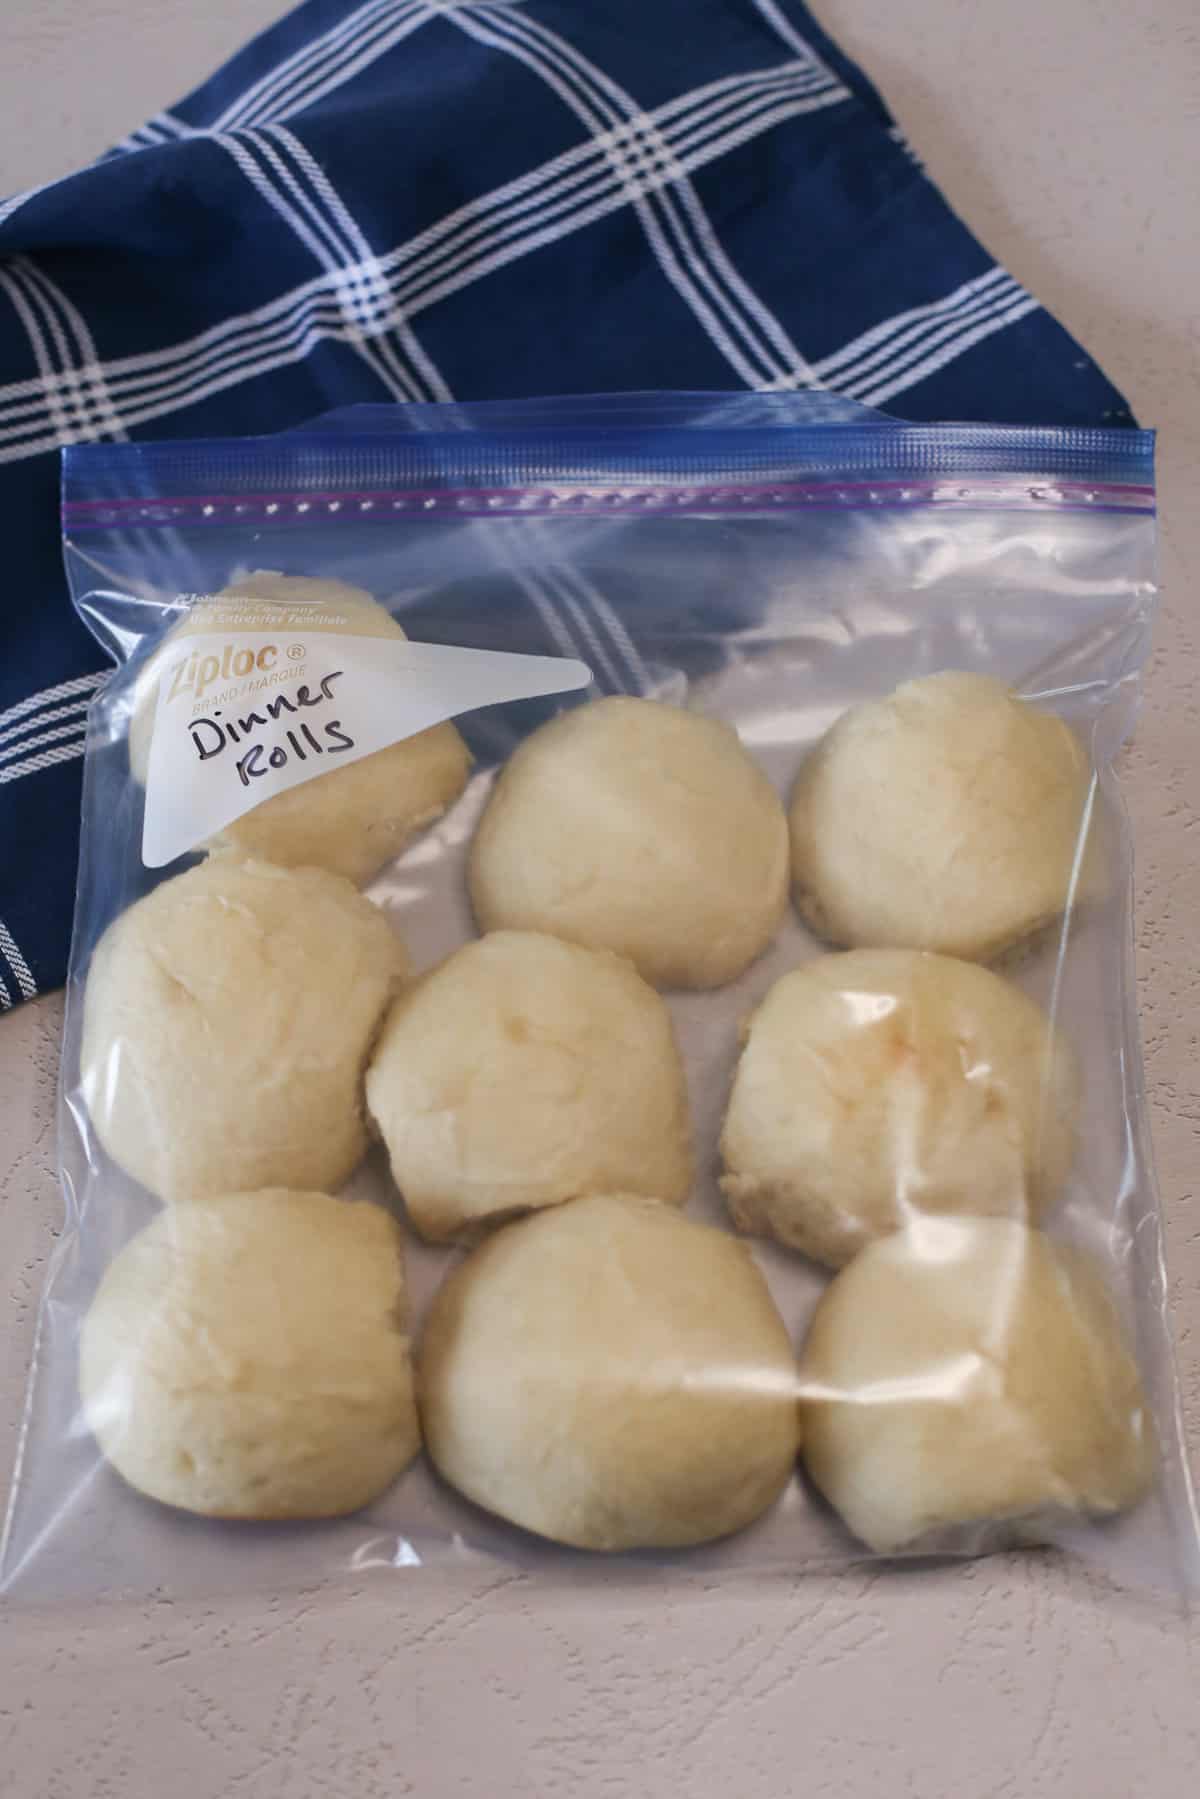
To Prepare Dough for the Freezer:
Follow the make-ahead instructions and instead of refrigerating overnight, freeze the rolls in a baking pan. Once frozen you can place them in a freezer bag. To prepare from frozen, let them thaw and rise for about 4-5 hours, then bake.
_____________________
To Freeze Baked Rolls:
You can also freeze the baked dinner rolls. This is a great option for the leftovers you don’t eat. Simply place baked rolls in a freezer bag, seal, and freeze.
To Prepare Frozen Rolls:
Let rolls thaw at room temperature. You can also place them in the oven on low to reheat prior to the meal.
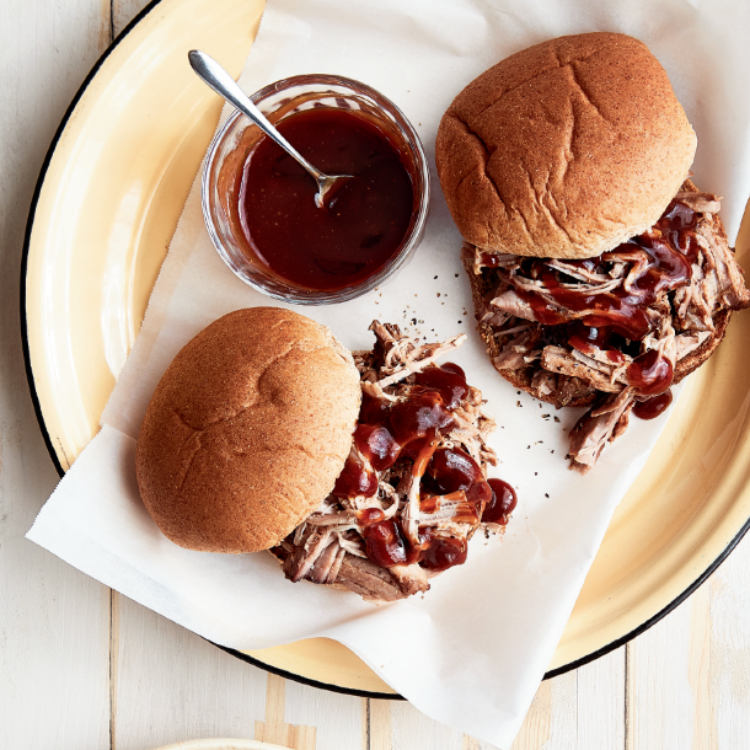
What Goes Well With Dinner Rolls?
These rolls with pair well with so many recipes. Here are a few ideas!


Bread Machine FAQ
Many machines allow you to specify how big of a loaf you are wanting to make. (1 lb., 1.5 lb., 2 lb., etc.) Since you are only using the dough cycle, specifying this won’t change how it is made in the machine so any size should work.
There could be a few reasons for this.
1.) Your yeast is expired. Check the date!
2.) The environment isn’t warm enough. I sometimes turn on my oven for 2-3 minutes to make it warm. Turn it off, place the dough in the oven, and let it rise in there.
Yep! This recipe was tested with Dry Active Yeast but I do know quick rise will work as well. Just keep an eye on the dough as it will rise faster.
Check out some other yummy bread machine recipes we have in our recipe index!
Did you make this? Snap a photo and tag us on Instagram at @thrivinghome so we can see your creations and cheer you on!
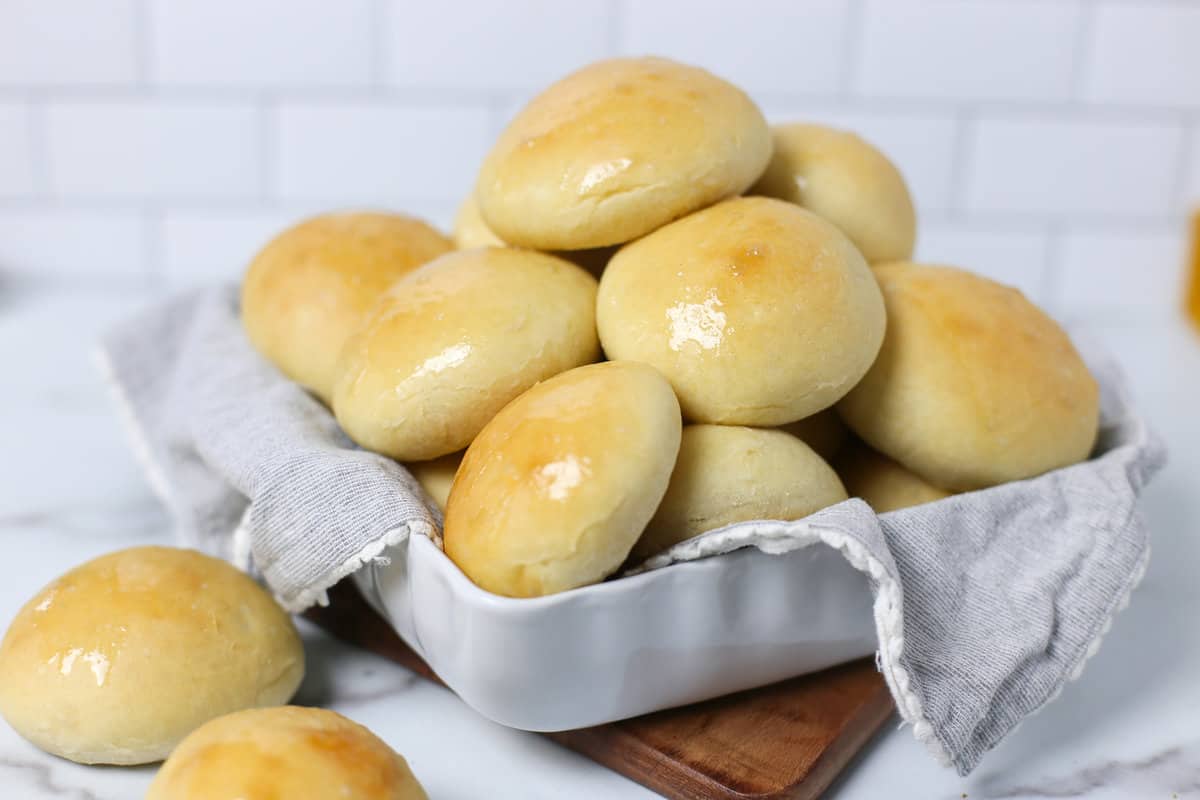
Bread Machine Dinner Rolls
Perfectly soft and flavorful, this dinner roll recipe is super simple and will become a go-to for your family!
Ingredients
- 1 1/3 cup water, lukewarm (about 110°F)
- 1 stick (1/2 cup) unsalted butter, softened
- 5 tablespoons sugar
- 1 teaspoon salt
- 1 large egg, lightly beaten
- 1 tablespoon dry active yeast*
- 4 1/2 cups unbleached all purpose flour
*Quick-rise yeast will work as well, but keep an eye on the dough as it will rise faster.
Before You Begin! If you make this, please leave a review and rating letting us know how you liked this recipe! This helps our business thrive & continue providing free recipes.
Instructions
Make It Now:
- Add ingredients to your bread machine in the order listed. Run on the dough cycle. It should be around 90 minutes for reference.
- Punch the dough down and then remove from bread maker.
- Roll dough into balls (a little bigger than the size of a golf ball) and place on a greased baking sheet. Loosely cover with plastic wrap (or a thin dish towel).
- Let dough balls rise in a warm atmosphere for 1 hour.
- Preheat the oven to 350°F. Bake for 15-17 minutes, until starting to brown on top.
Freeze For Later: Bake rolls as stated in recipe. Let cool completely. Place rolls in air-tight, freezer bag or container. Freeze up to 1 month for best quality.
Prepare From Frozen: Let rolls thaw on the counter or in refrigerator overnight.
To Freeze Before Baking: Follow the steps all the way up to baking. Freeze the rolls of dough on a baking pan. Once frozen you can place them in a freezer bag. To prepare from frozen, let them thaw and rise for about 4-5 hours, then bake.
Notes/Tips
- There is no need to activate the yeast prior to adding it to the machine.
- If you have more questions, be sure to read the article above.
- To make the rolls extra smooth: When rolling the dough into balls, pull the outer edges up and towards the center of the dough, all around. Gently pinch the pulled edges together. Turn the ball over so that the seam side is facing down, unseen on your baking sheet.
Super soft and fluffy. A very delicious recipe.
Hi Gigi. So glad you enjoyed these rolls! Thanks for taking the time to leave a review.
THE DOUGH WAS EASY TO WORK WITH. THE ROLLS CAME OUT PERFECT
Wonderful to hear you enjoyed it. Thanks, Kathleen!
I made these today in my bread machine and I thought the dough was going to climb out of the machine, but it didn’t. LOL
It was fine and I was able to punch it down and make my rolls and all was well
I used the ‘Bread Machine Yeast’ and it really did rise fast so just a caution to others.
Hi Laura! I can only imagine the scene of your dough about to climb out of the bread machine. Thanks for letting others know that the Bread Machine Yeast you used did rise quickly! Glad you enjoyed the rolls.
These rolls are a hit everytime
Love to hear this Diana! Thanks for leaving a review.
Delicious! I’d been searching for the perfect hot roll recipe for years. This is it !!!
Amazing! So great to hear Connie. Thanks for leaving a review.
Made these for Thanksgiving. Best rolls ever and I’ve made a lot of different rolls! Used some of the dough and made pepperoni rolls. They were excellent and my husband’s favorite!
Yum! I need to try making pepperoni rolls. Thanks for taking the time to leave a review Angie! Glad your family enjoyed these.
It was a Potluck Hit!
Wonderful to hear that!
This recipe is super close to the cinnamon roll recipe. I make those three times a week for my house. We love it. I am excited to make these for lunch sandwiches. They are sweet and tasty!
So glad you enjoy this recipe Stacey. Thanks for leaving a review!
I have made this recipe twice now. Perfect dinner rolls both times! I use egg wash on top before I put them in the oven and they turn out golden and fluffy. Thanks for the recipe Carla!
Hi Kerri! So glad you love them. Polly is the Bread Machine queen around here so it is her recipe. But we’re all so happy you’re here!
Easy peasy and scrumptious! There is nothing like the amazing aroma of home made rolls baking in the oven! Thank you for this gem of a recipe!!!
Thanks Janny! What a fun review. 🙂