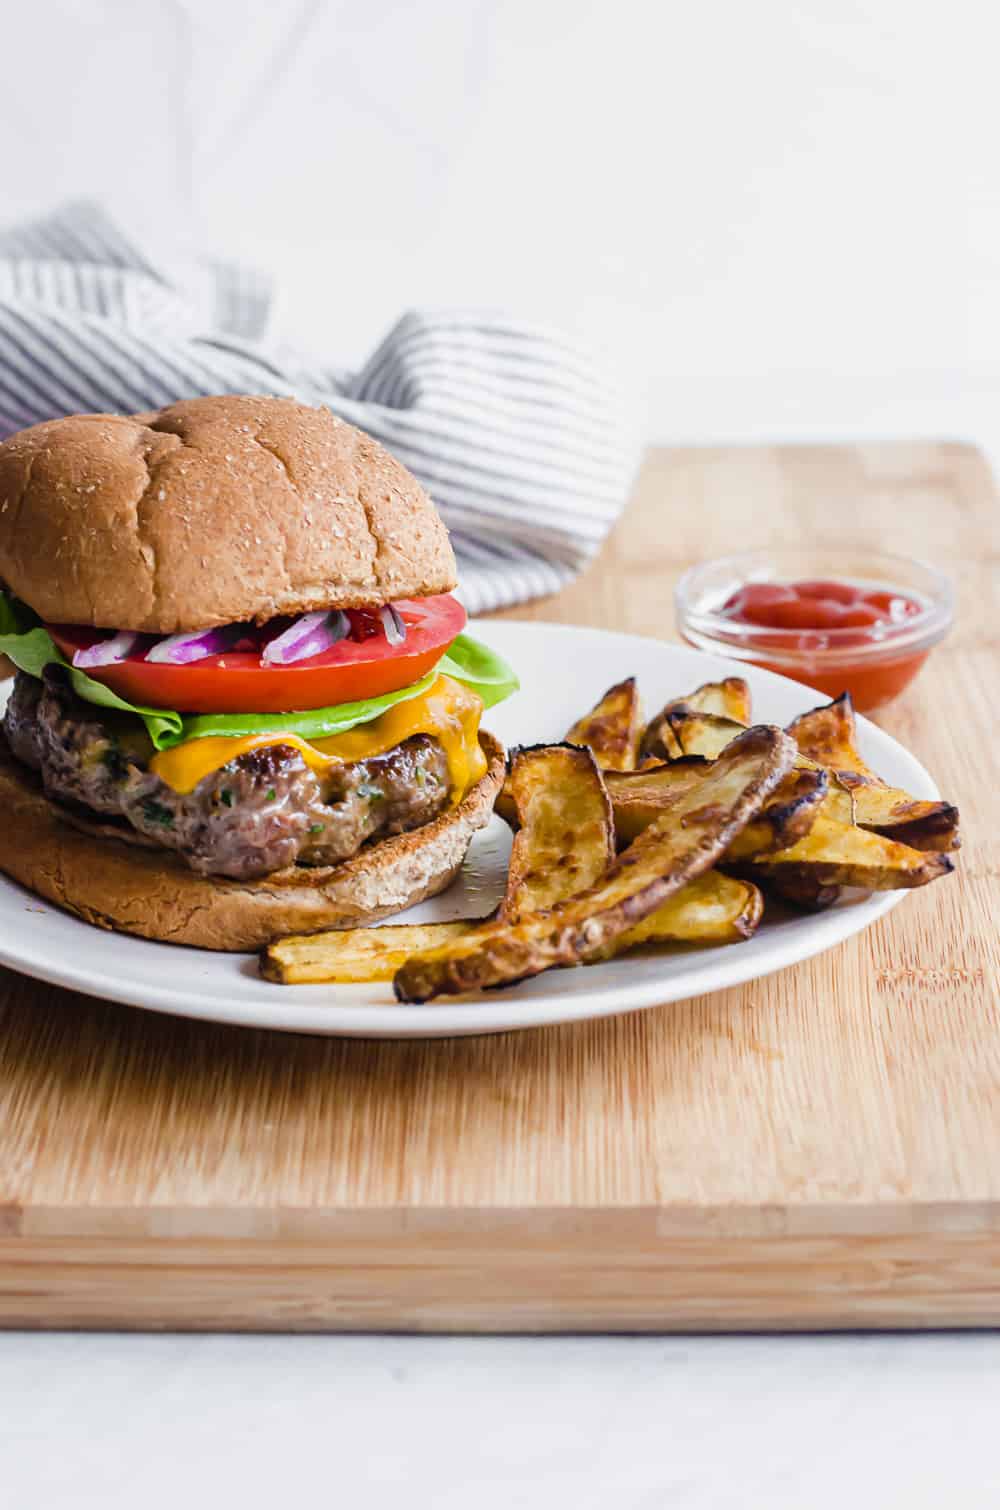
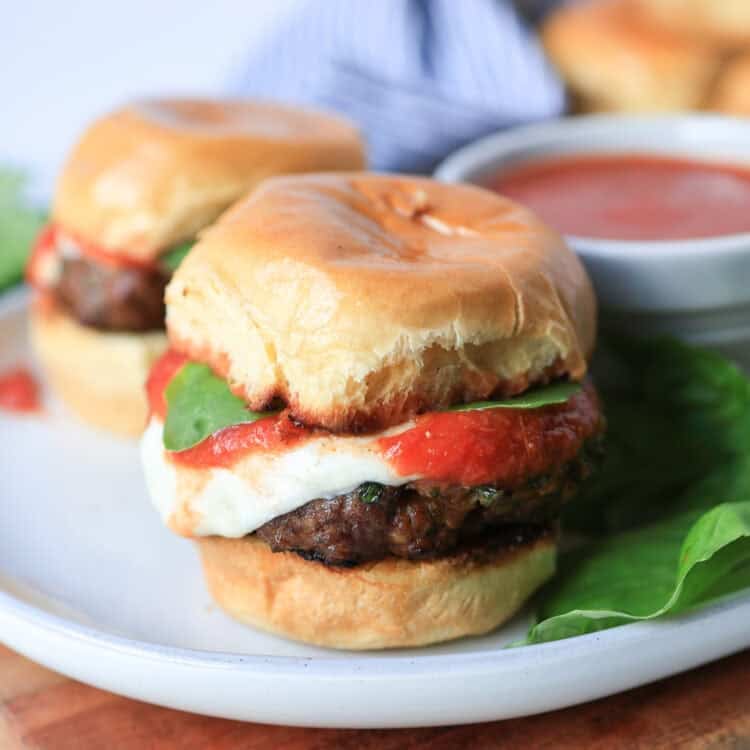
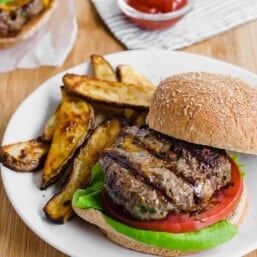
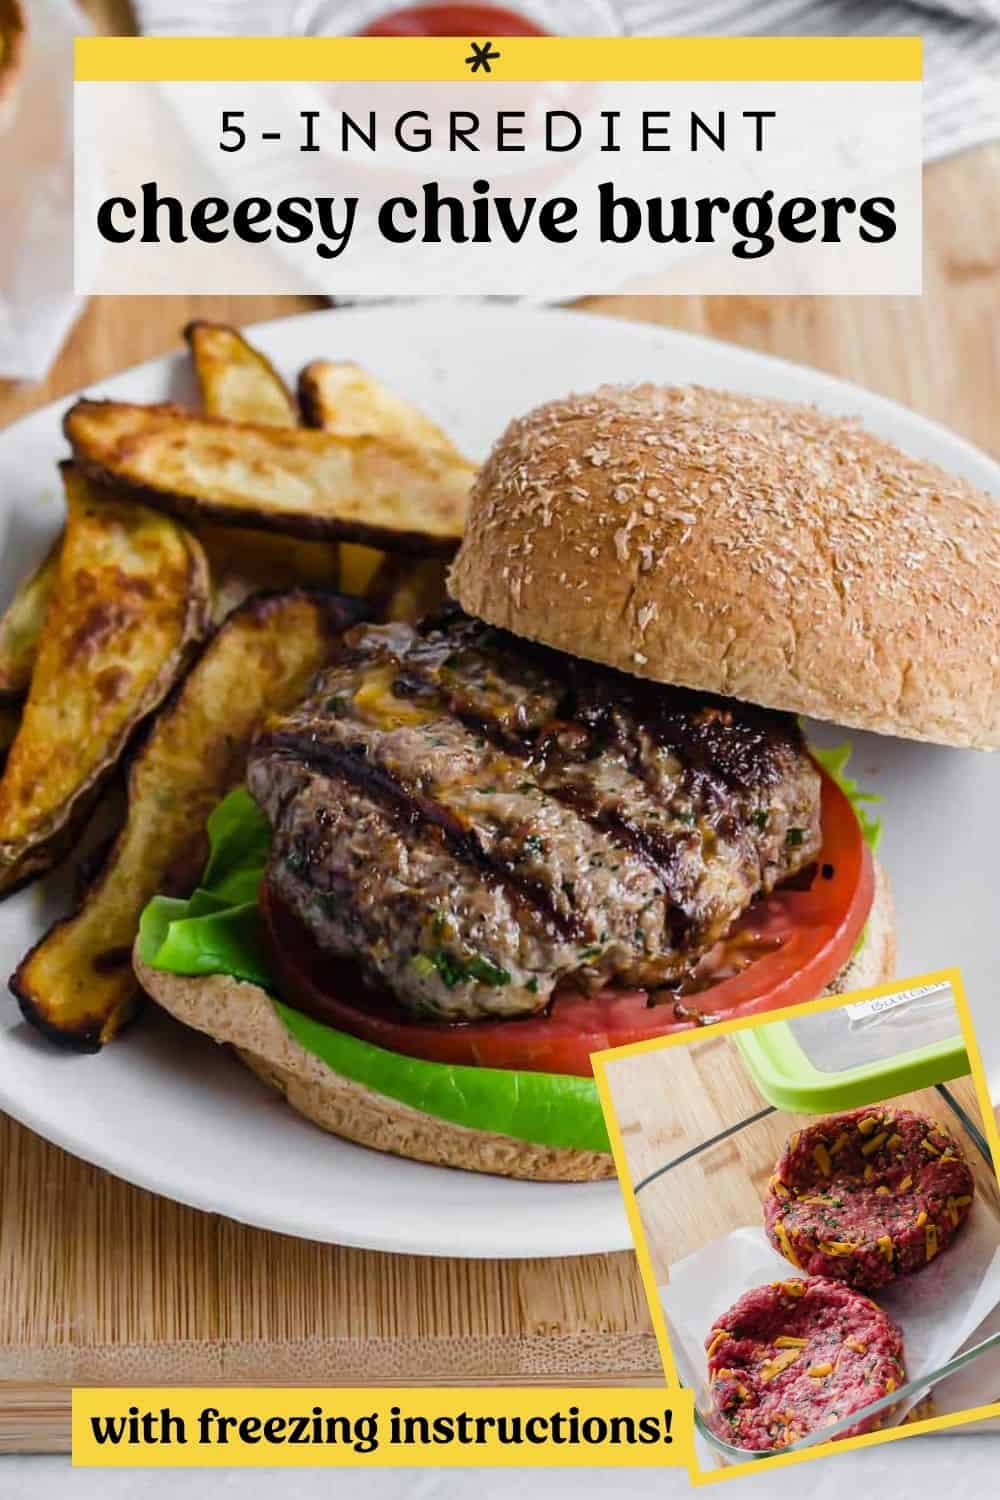
Cheesy Chive Burgers
There’s nothing quite like a big juicy homemade burger, eh? The fresh herbs, seasoning, and shredded cheese inside these Cheesy Chive Burgers take them over the top in taste and texture. With only 5 main ingredients, they come together fast for a weeknight meal.
Why Cheesy Chive Burgers Are the BEST
- Incredibly juicy and flavorful. Fresh herbs, garlic, and the perfect amount of salt and pepper make these burgers taste fresh and seasoned throughout. The shredded cheddar cheese inside makes each bite even more mouthwatering.
- Only 5 main ingredients, so it’s easy to make for a weeknight dinner.
- These aren’t little fast food burgers…they are some BIG, beefy burgers that will satisfy your heartiest eaters. Each one is a 1/3 pound, although you can make them into smaller patties.
- Kids and adults love these! I (Rachel) have been making this 5-ingredient recipe for years, and it’s one that my family requests regularly.
- Easy to prep ahead and freeze as a ground beef freezer meal, which makes it a great recipe to serve large groups.
“My Fav cheeseburgers. I make at least 2 batches when I prep them!”
– Carla S. ⭐️⭐️⭐️⭐️⭐️
Ingredients Needed
You’ll find all 5 main ingredients at your local Hy-Vee (Columbia). I love their wide meat selection and fresh herbs for this recipe. They have you covered!
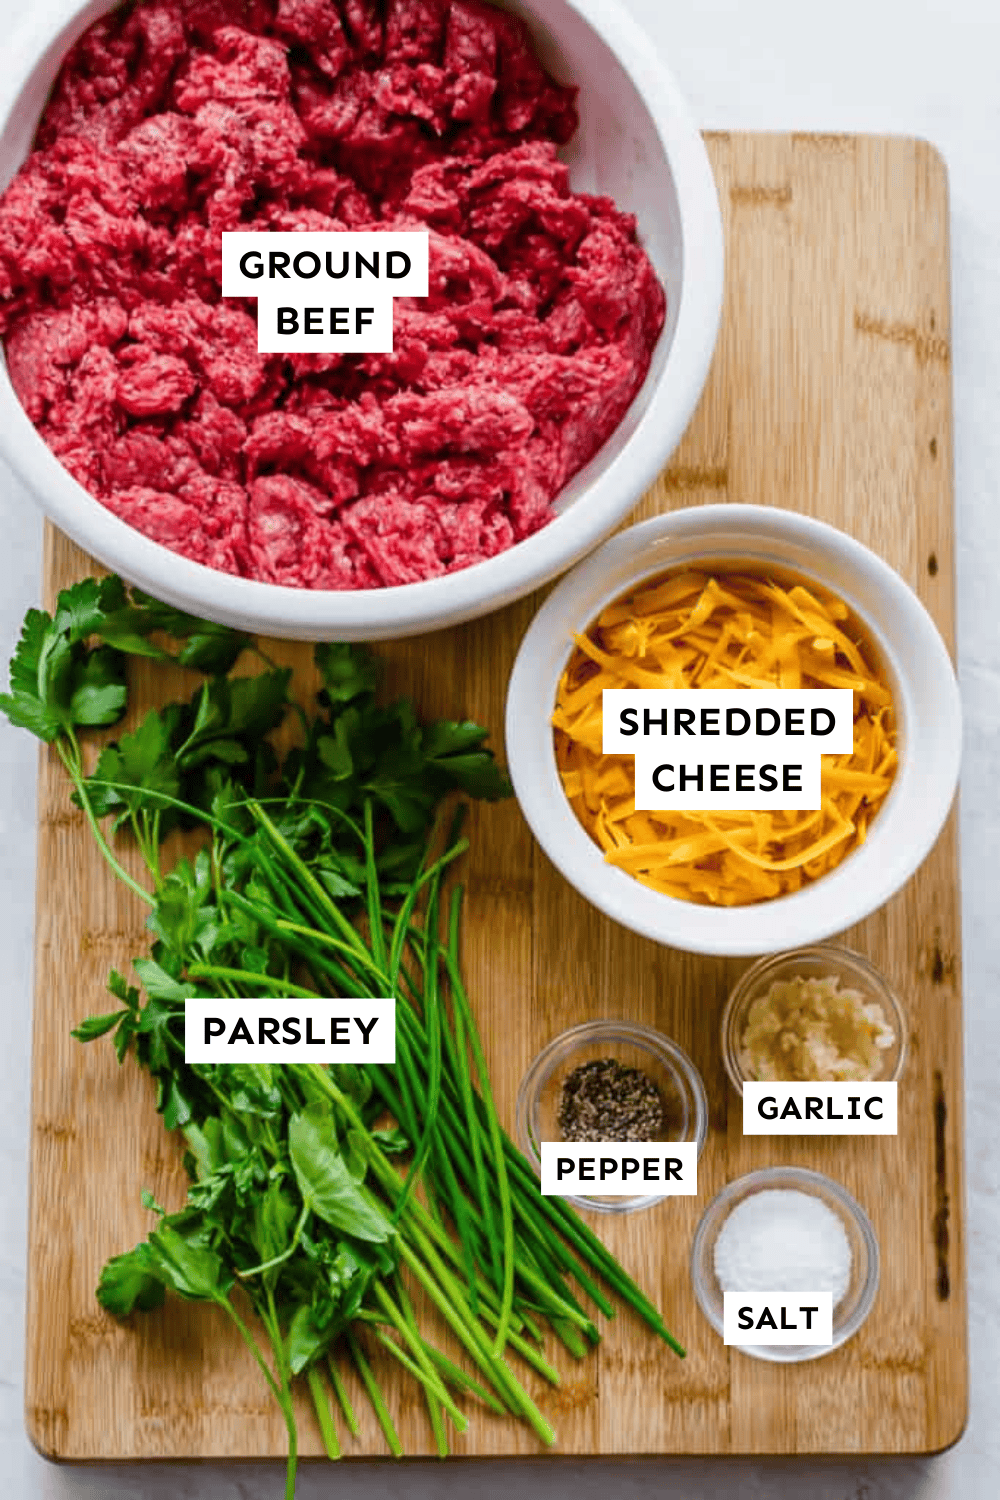
- Fresh parsley – Be sure to finely mince this.
- Fresh chives – Finely mince the chives, too.
- Garlic cloves – Oh and mince the garlic, as well, so you don’t bite into a big piece.
- Shredded cheddar cheese – Freshly shredded from a block will melt easier, but you can use the store-bought pre-shredded kind.
- Ground beef – I prefer using grass-fed, organic, 80-90% lean.
In addition, you’ll just need salt and pepper from your pantry, hamburger buns or lettuce leaves for serving, and whatever toppings you like on your burgers.
If you really want to take these over the top, try our Secret Sauce.
Steps to Make Homemade Burgers
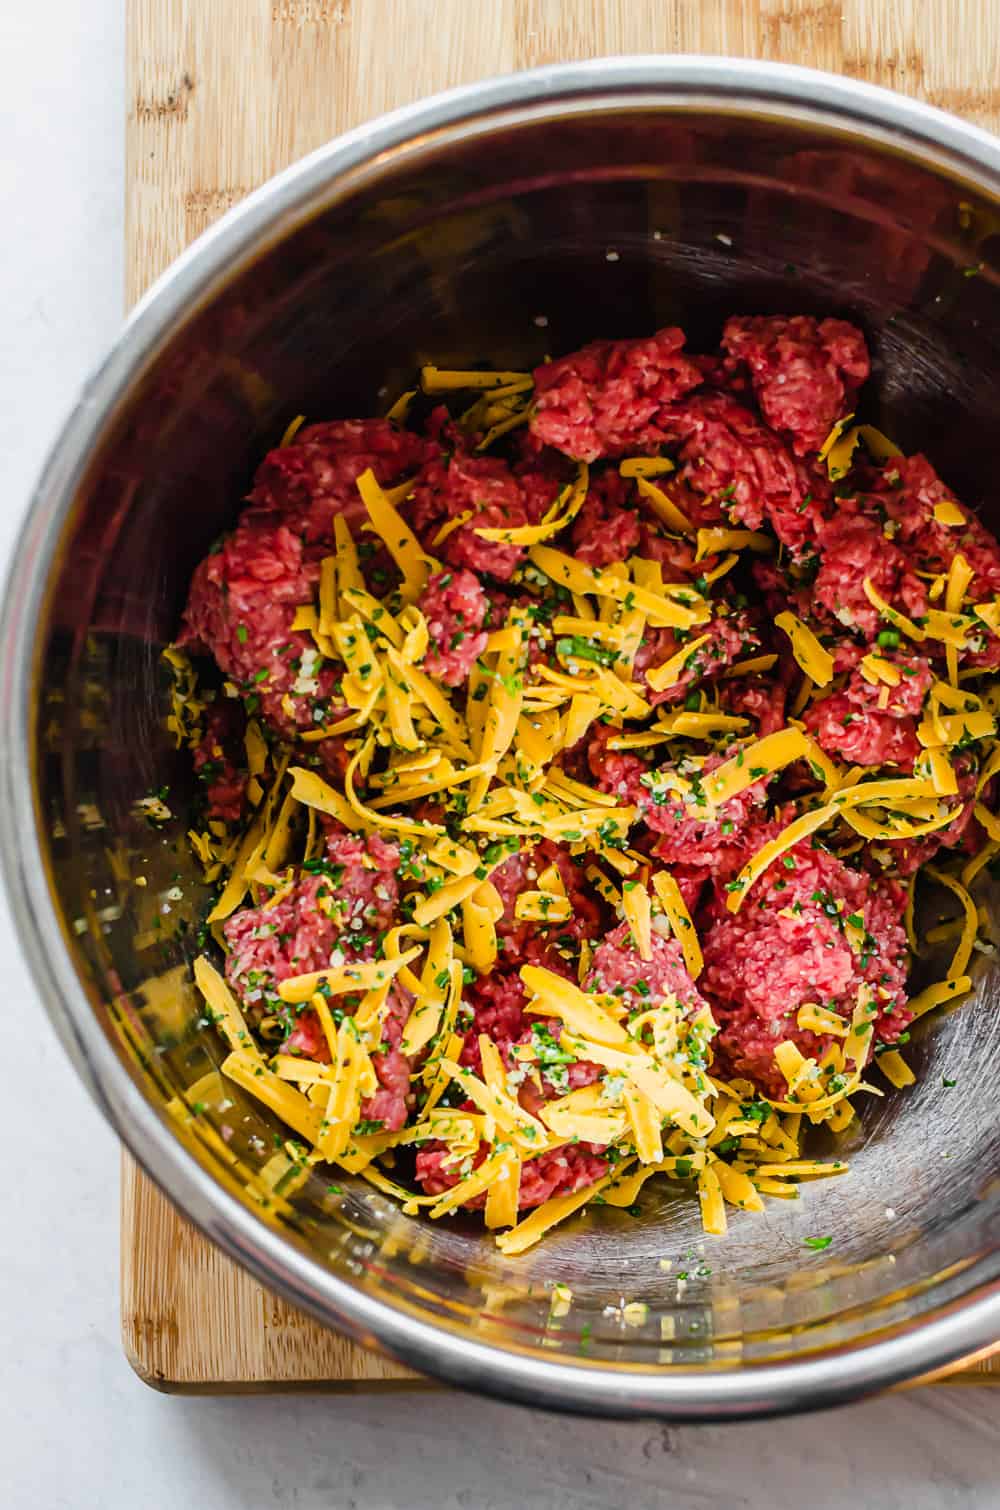
1. Combine the burger mixture.
Using your hands, gently combine all the ingredients in a mixing bowl.
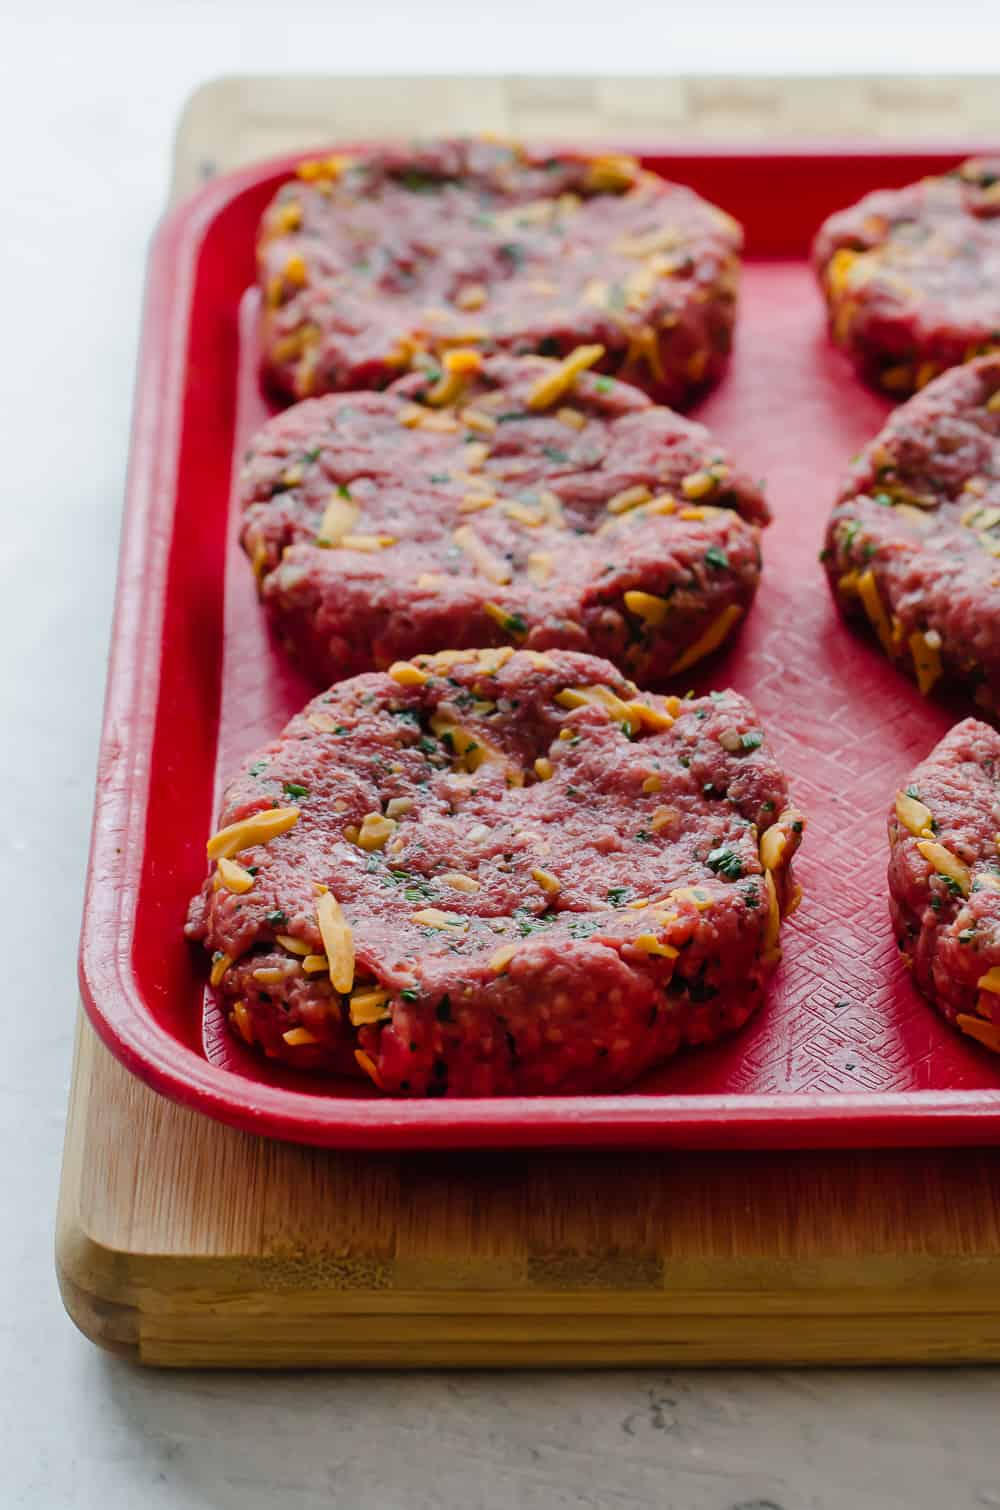
2. Form the patties.
Divide the mixture into 6 equal portions and form them into patties (or, if you like smaller burgers, divide into 8 patties).
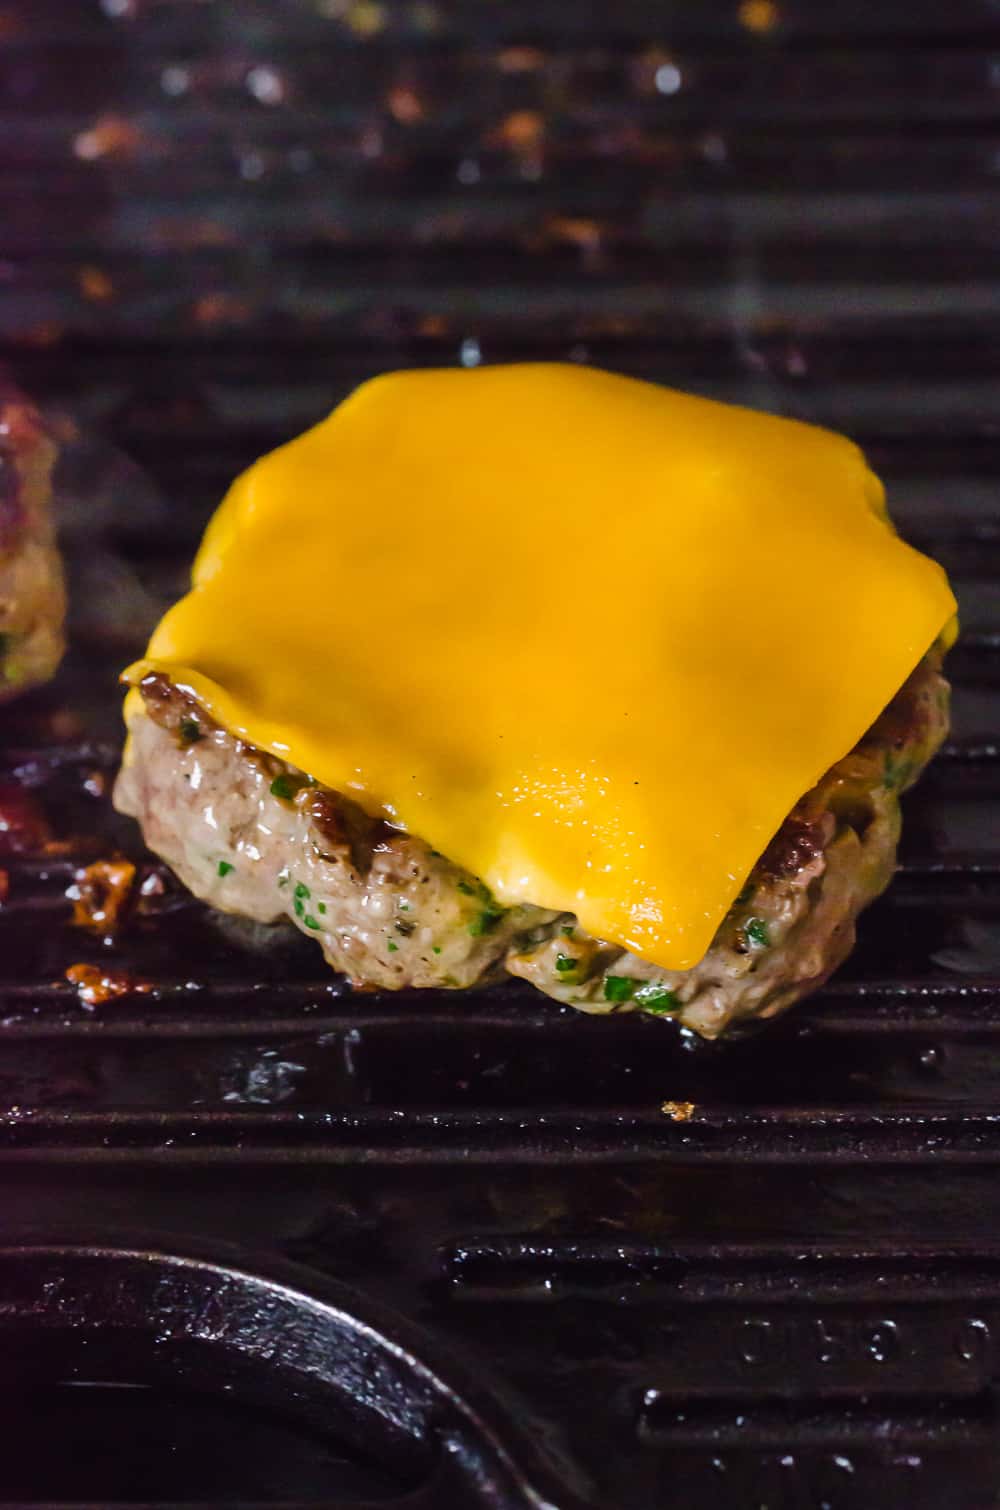
3. Grill the burgers.
Grill over high heat for about 2-3 minutes on each side, until golden brown. Then move the burgers to a cooler part of the grill to finish them to your desired doneness.
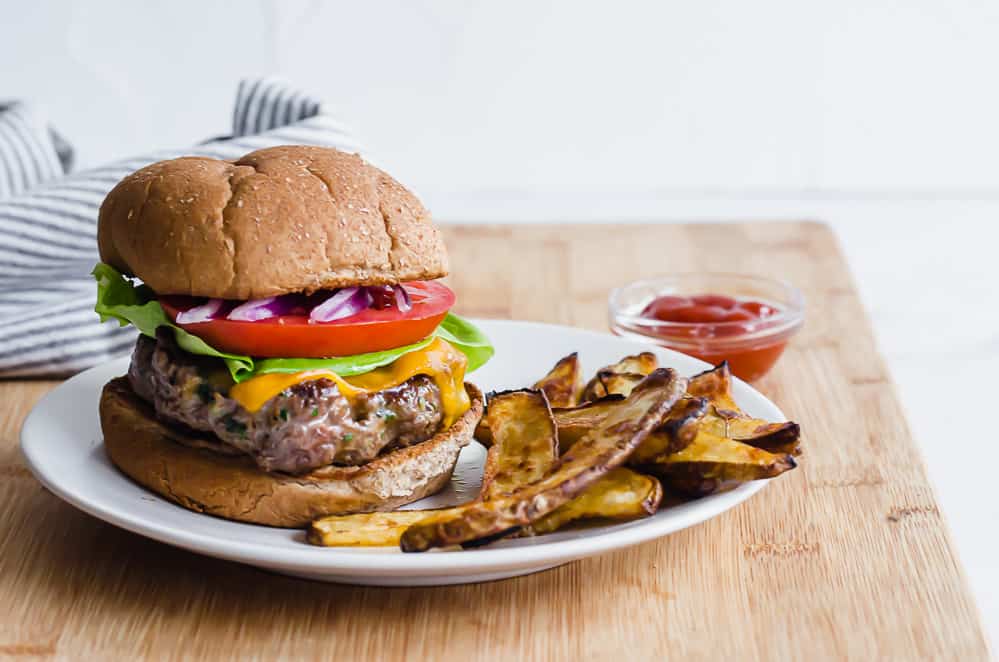
4. Serve with your favorite toppings.
Serve your burgers on a whole wheat hamburger bun. Try toasting the insides of the buns on the grill for 1-2 minutes to add some texture. Or, if you want to avoid gluten or carbs, serve the burgers on large lettuce leaves.
Add your favorite burger toppings, like lettuce, tomatoes, red onion, mayo, ketchup or our Secret Sauce from our Smash Burgers recipe.
Tips for Making the BEST Burger
- To keep the burgers from getting tough, try not to over handle the meat mixture.
- The key to uniformly shaped/cooked burgers is to leave an indentation in the middle of the burger, so the outside of the patty is thicker than the middle. This is an important step because otherwise, you’ll end up with a cooked burger where the center is puffed up and thicker than the outside.
- Never press down on a burger while it cooks. This will result in a dried-out patty.
- If adding a slice of cheese, do that during the last minute of cooking. I suggest using our temperature recommendations in the recipe below and a meat thermometer to get them just right. You’ll find our favorite meat thermometer in our Amazon Store here.
- Try toasting the insides of the buns on the grill for 1-2 minutes to add some texture.
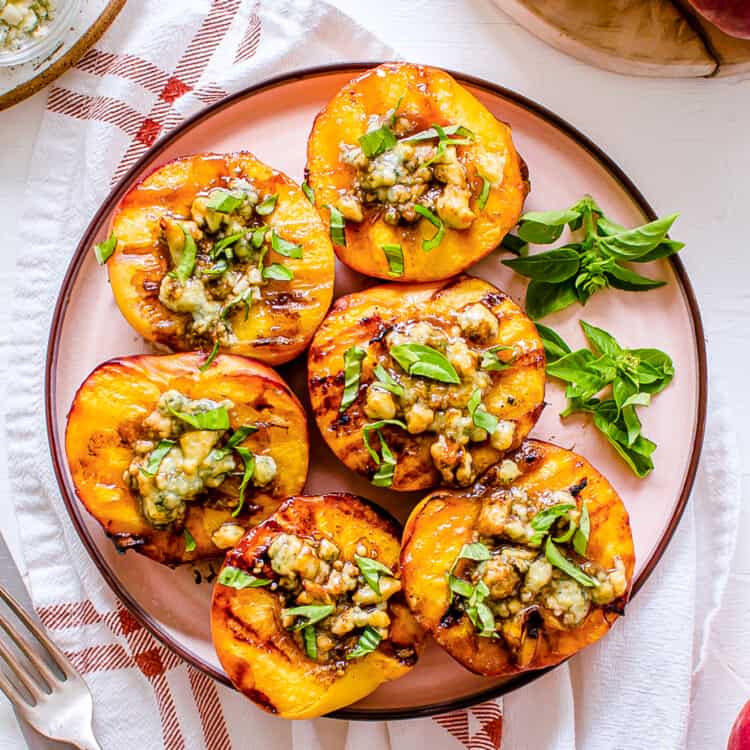
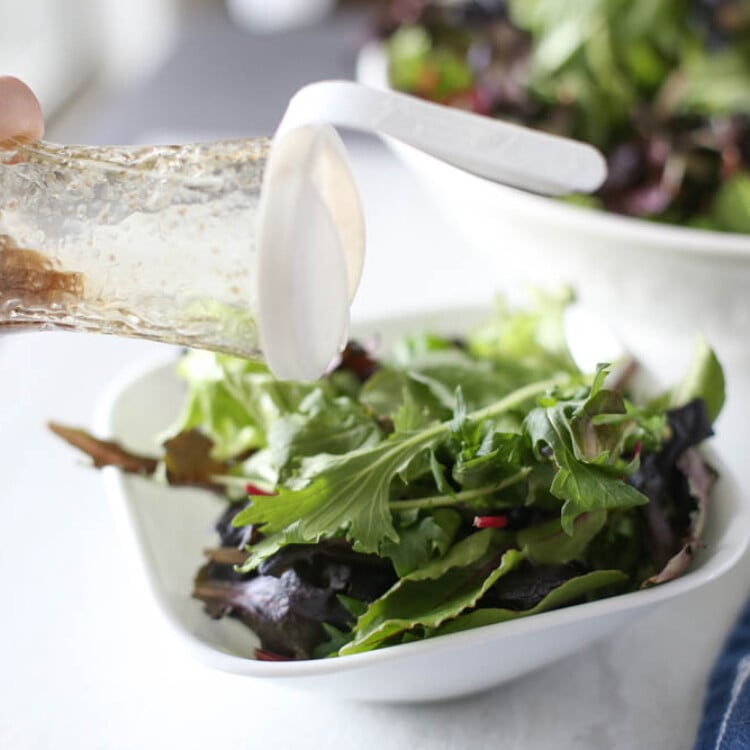
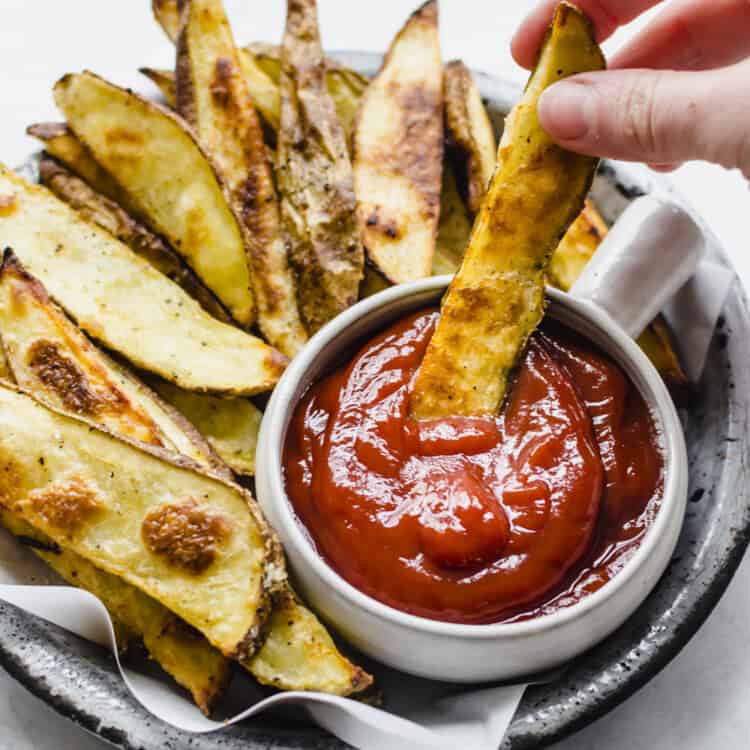
Side Dish Ideas
Try a few of these simple, healthy side dish ideas to go with your burgers.

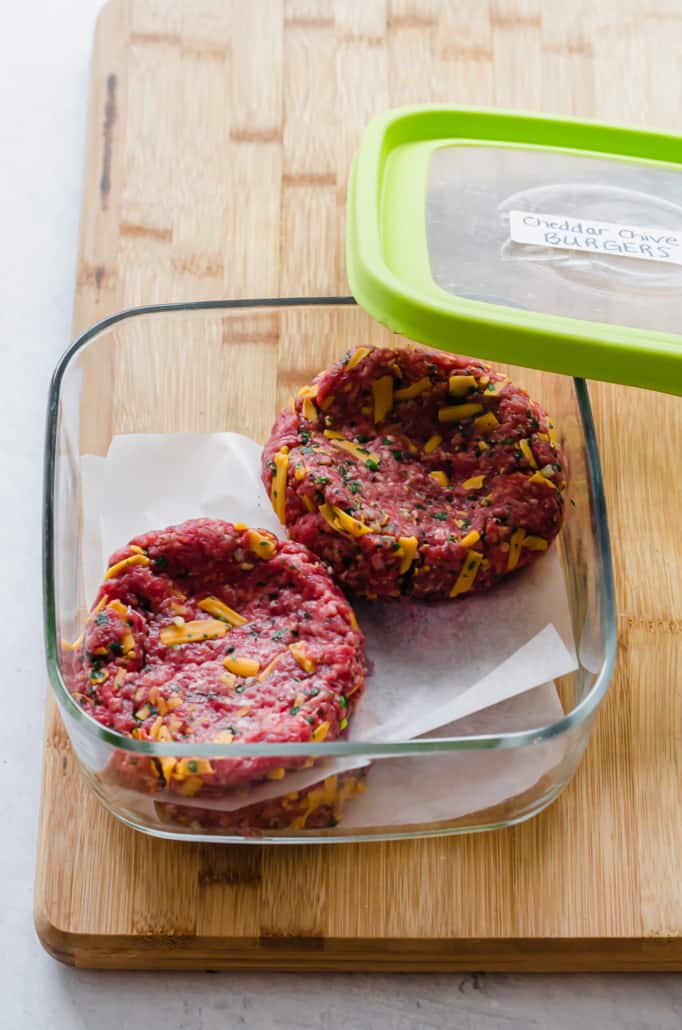
How to Prep Ahead and Freeze
Like our Cheeseburger Egg Rolls, you can make these ahead of time and store them in the fridge for 2-3 days or in the freezer for up to 6 months, if you package them correctly.
I always double the batch and freeze one for later. It’s such a great use of my time in the kitchen, especially when I know my family loves these so much. Here’s how…
Freeze for Later: Package uncooked burgers in single layers between pieces of parchment or waxed paper in a freezer bag/container. Here are the 5 best freezer storage methods. Squeeze out as much air as possible before sealing. You can freeze a package of hamburger buns and the cheese slices along with the burgers to create a kit.
Prepare From Frozen: Thaw completely in the refrigerator, about 24 hours. Set on counter and bring up to room temperature for about 20-30 minutes. Grill according to instructions.
FAQs
Yes, you certainly can leave out the cheese. They will still be tasty.
Cook 1/3 pound burgers on a preheated grill or grill pan over high heat (about 450°F) for 2-3 minutes on EACH side, until golden brown. Do not push down on the burgers while they cook. Then, move to a lower heat area of the grill and cook to desired doneness, another 3-4 minutes (for medium) or 5-6 minutes (for well-done).
Use a meat thermometer to determine when your burger is done to your liking. It’s safest to cook until well-done to kill any bacteria. A well-done burger is no longer pink inside and has an internal temperature of 160°F.
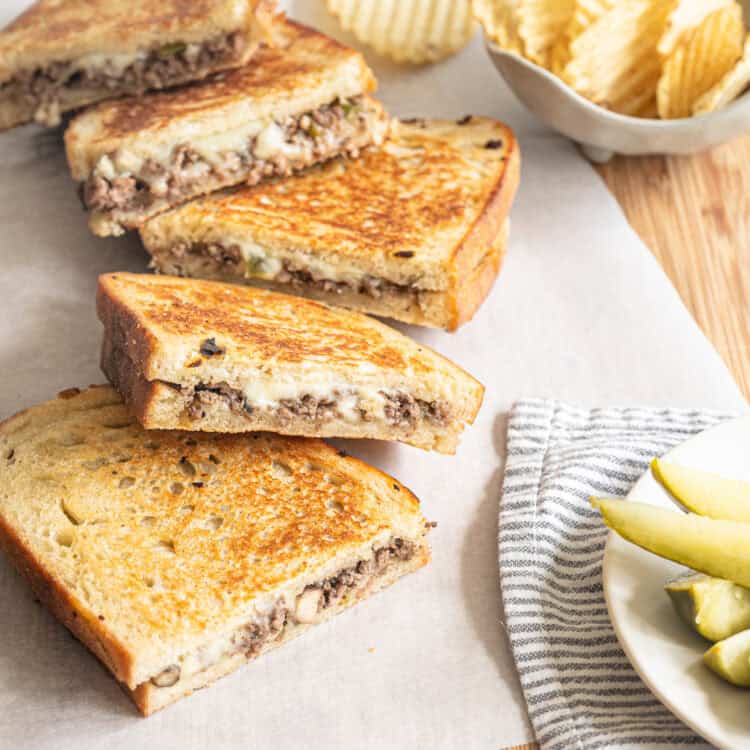
Make extras because we have a great idea for you! Chop them up into small pieces and use in our Cheeseburger Bowls with Special Burger Sauce another night soon. So yummy!

Want More Grilling Recipes?
We’ve rounded up our best grilling recipes just for you! Steak, burgers, peaches, side dishes, and more.
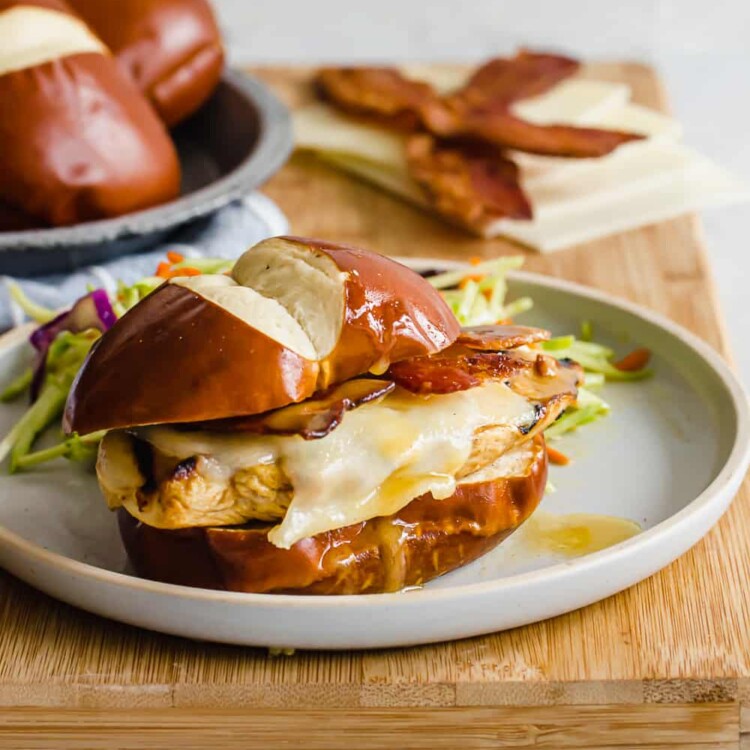
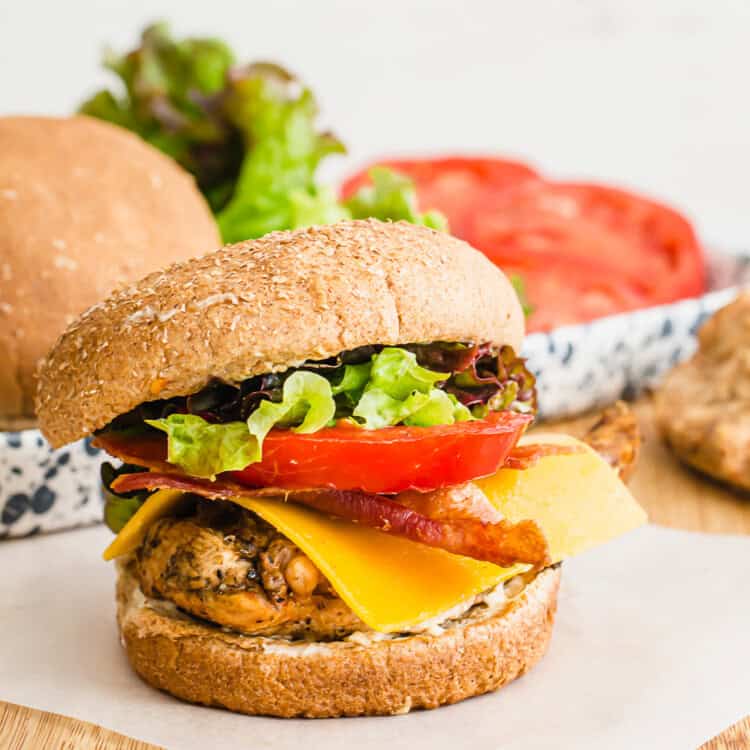
More Burgers & Sandwiches to Try
How to Video
Cheesy Chive Burgers
Ingredients
- 1/3 cup fresh parsley (finely chopped)
- 3 tablespoons chives (minced; at least 1 package from the store)
- 4 cloves garlic (minced)
- 1 teaspoon salt (If omitting the shredded cheese, add another 1/4 teaspoon.)
- 3/4 teaspoon ground black pepper
- 1 1/2 cups shredded cheddar cheese (recommended: sharp cheddar but mild will work)
- 2 pounds ground beef
- 6 slices cheddar cheese (optional)
- 6 whole wheat hamburger buns (toasted; sub: large lettuce leaves)
Instructions
- In a large bowl, combine parsley, chives, garlic, salt, pepper, and shredded cheese. Add ground beef and combine ingredients gently using your hands. Do not overmix. Divide meat mixture into six equal portions and form burger patties. Leave a slight indentation in the middle of the burger so that the edges are thicker.
- Cook burgers on a preheated grill or grill pan over high heat (about 450°F) for 2-3 minutes on each side, until golden brown. Do not push down on the burgers while they cook. Then, move to a lower heat area of the grill and cook to desired doneness, another 3-4 minutes (for medium) or 5-6 minutes (for well-done). A well-done burger is no longer pink inside and has an internal temperature of 160°F. In the last minute of cooking, add optional cheddar slices on top.
- Serve on a toasted whole grain bun or a large lettuce leaf with your favorite toppings and condiments, like lettuce, tomato, onion, ketchup, and mustard.
Freezer Instructions
Notes/Tips
- Each one is a big 1/3 pound burger, although you can make them into 8 smaller patties (instead of 6).
- If you really want to take these over the top, try our Secret Sauce from our Smash Burger recipe.
- These are especially delicious on our Bread Machine Hamburger Buns.
- To keep the burgers from getting tough, try not to over handle the meat mixture.
- The key to uniformly shaped/cooked burgers is to leave an indentation in the middle of the burger, so the outside of the patty is thicker than the middle. This is an important step because otherwise, you’ll end up with a cooked burger where the center is puffed up and thicker than the outside.
- Never press down on a burger while it cooks. This will result in a dried-out patty.
- Try toasting the insides of the buns on the grill for 1-2 minutes to add some texture.
Nutrition
Do you think it would work to use this recipe for meatloaf?
Meatloaf typically has an egg and some bread in it, so using this exact recipe may result in a denser texture. But if you try it, please let me know how it goes!
Hey y’all! I haven’t cooked a burger in years, can you believe it! This recipe looked SO good I had to try them! I prepared the burgers exactly as you wrote and cooked them stovetop. We had them bunless, with some broccoli apple slaw. Man, these burgers were some good eating! Super easy meal! Will do these burgers again!
So glad you loved these Evelyn! Honestly, they are a staple at our house. We routinely quadruple the recipe and freeze so on busy nights or when we are just feeling a burger, we pull them out. And they are so much better than any fast food burger! Thanks for taking the time to leave a review.
I love, love, LOVE these burgers!!!! My husband can eat the plain burgers and I’ll have these ALL the time!
Hi Anna! They are my family’s favorite as well! Thank you for leaving a review.
These burgers are always a hit, whether for a family dinner or a summer BBQ. I prepped these last summer to make quick work of having a family party and they were loved by all!
Glad to hear this Rebecca. Thank you for taking the time to leave a review!
Great recipes!!
Thanks Cecil!
My Fav cheeseburgers. I make at least 2 batches when I prep them
These are my fav too! Thanks for the review Carla. 🙂
YUMburgers is what I like to call these! Great recipe!
Ha! Love it. Thanks for leaving a review Janny!
Delicious! Simple to throw together, a great variation from a typical burger.
Thanks Kim! This is a favorite with my 11-year-old. 🙂