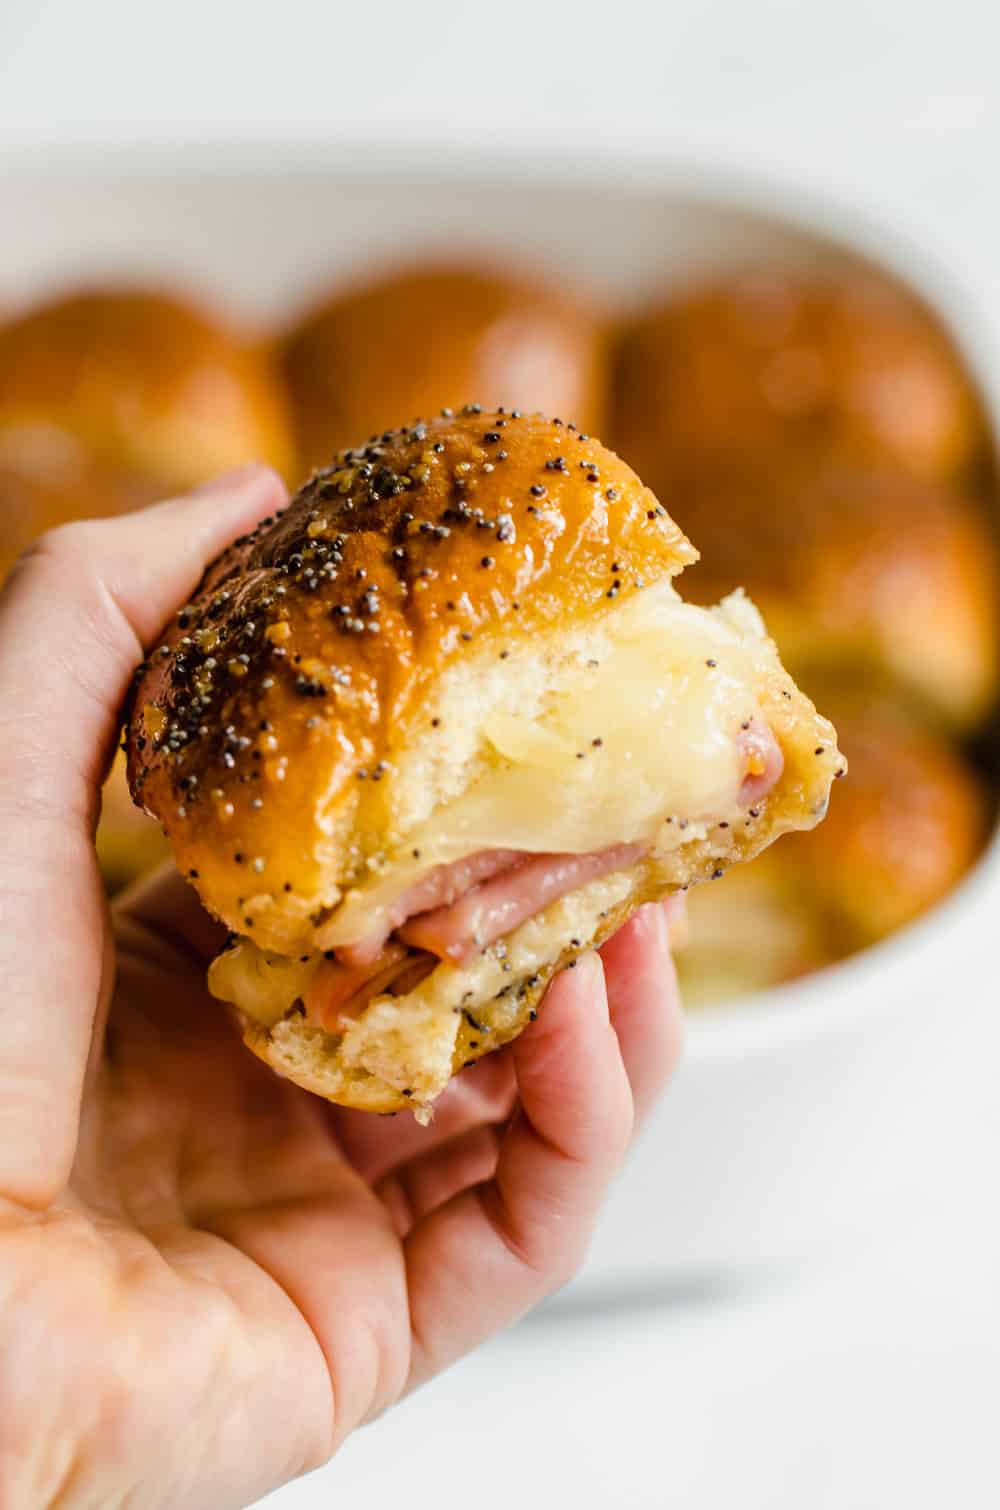
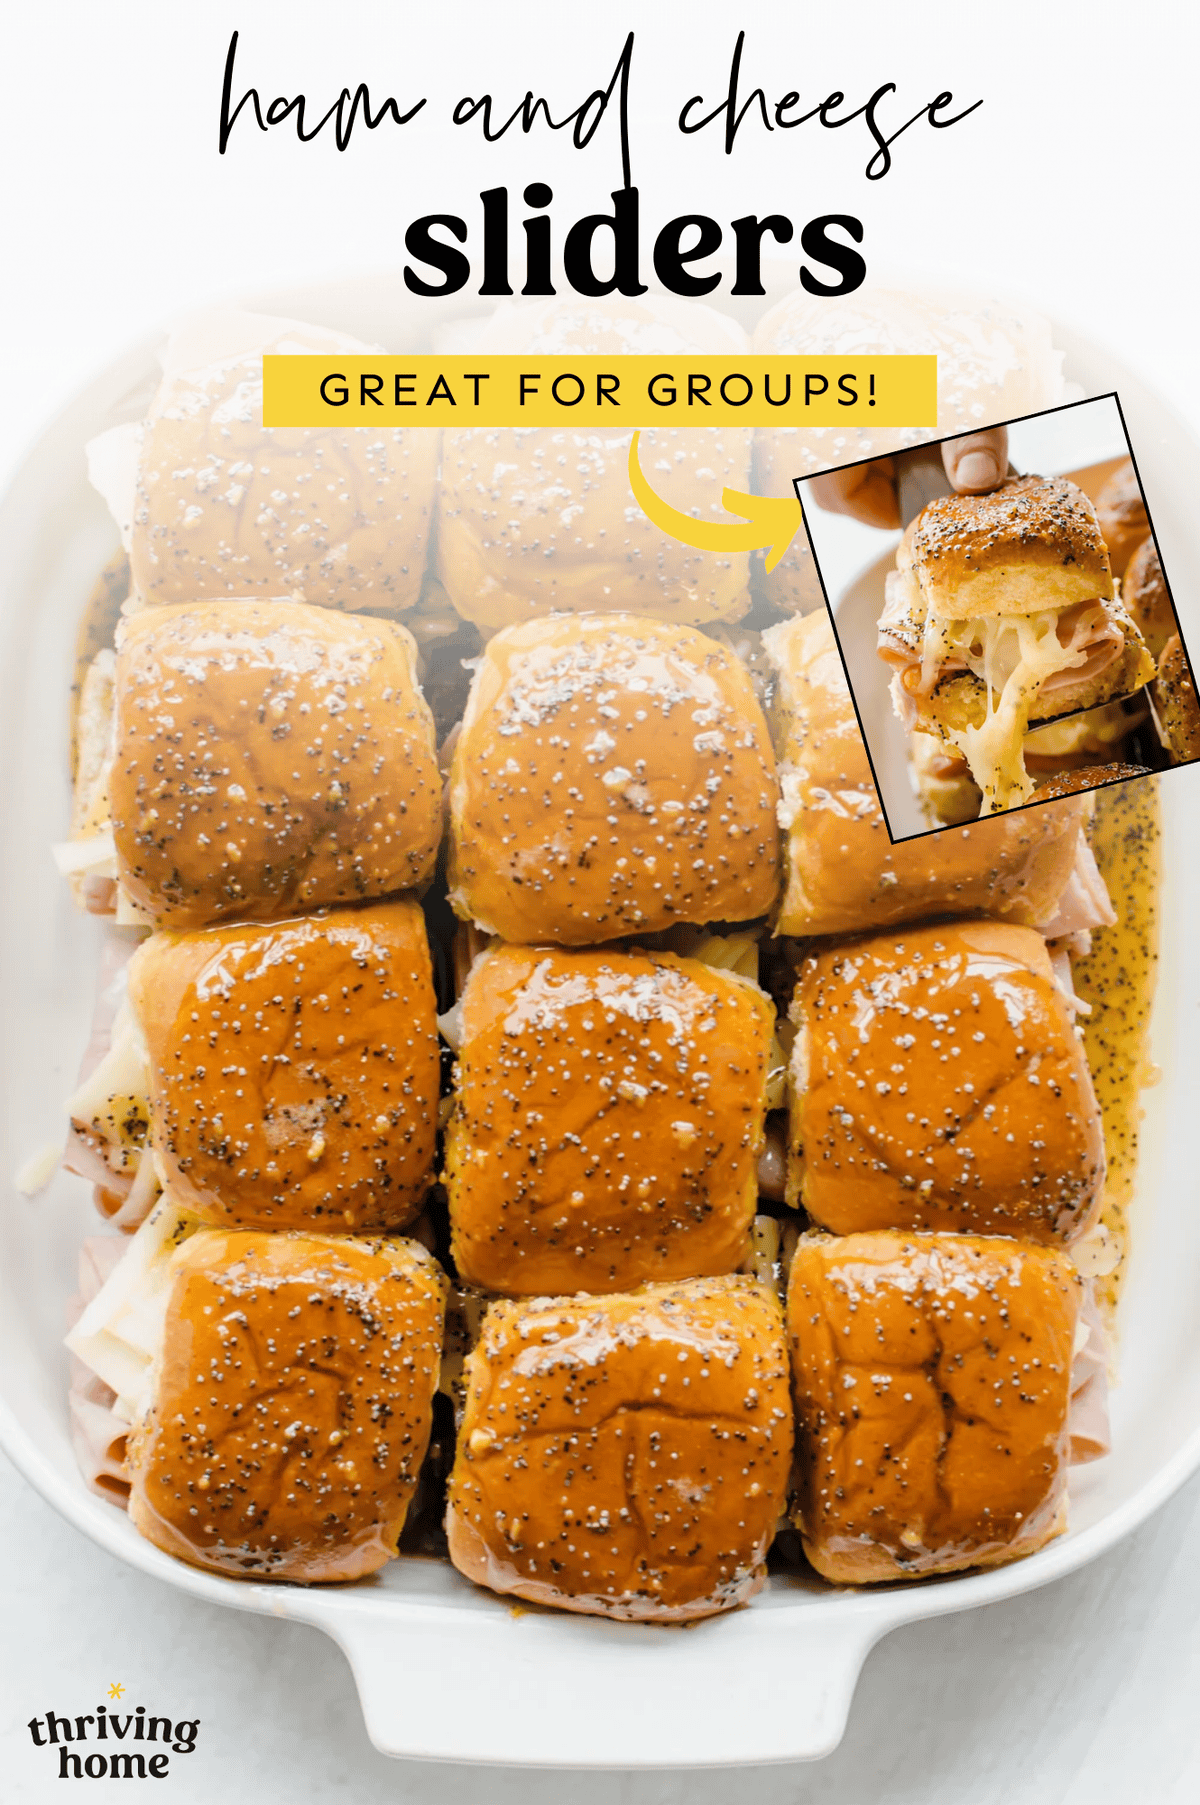
Ham and Cheese Sliders
These Ham and Cheese Sliders are a family staple. They are super easy to make, budget-friendly, great for a group of people, and even freezer friendly. I’ve been making these for YEARS and constantly have people ask for the recipe.

“These are awesome. They get rave reviews and there are never leftovers!” ⭐️⭐️⭐️⭐️⭐️ – Wendy
Reasons We Love This Recipe
- It’s easy! This recipe is a great one for beginner cooks. Simply layer the ingredients and drizzle a sauce over it for prep.
- It’s freezer-friendly. Simply assemble, freeze, thaw, then bake. I’ve prepped this recipe for the freezer SO many times. It works!
- It’s a kid-friendly meal. Kids and adults both love Ham and Cheese sliders.
- It’s a perfect recipe for potlucks or serving groups of people.
- You can make it in advance. Simply assemble the sliders right up until baking and store in the refrigerator. This makes it ideal for a holiday meal or Birthday Dinner.

Polly’s Testing Tips
-
- I’ve used all different types of rolls over the years. You can use wheat or white rolls. My family even loves brioche rolls!
-
- While I usually use deli ham, you can also use leftover ham like from our Crockpot Spiral Ham.
-
- I know the recipe calls for Wwiss cheese but I almost always use provolone or mozzarella now.
- No poppy seeds? No problem. I’ve made it without them before and the recipe turned out fine. Sometimes the poppy seeds can throw off picky kids too so if you need to leave them out, it’s fine!
- Only let the sauce simmer for a minute or two. It gets thick if it cooks too long.
Let’s Make Some Sliders
These come together SO fast!
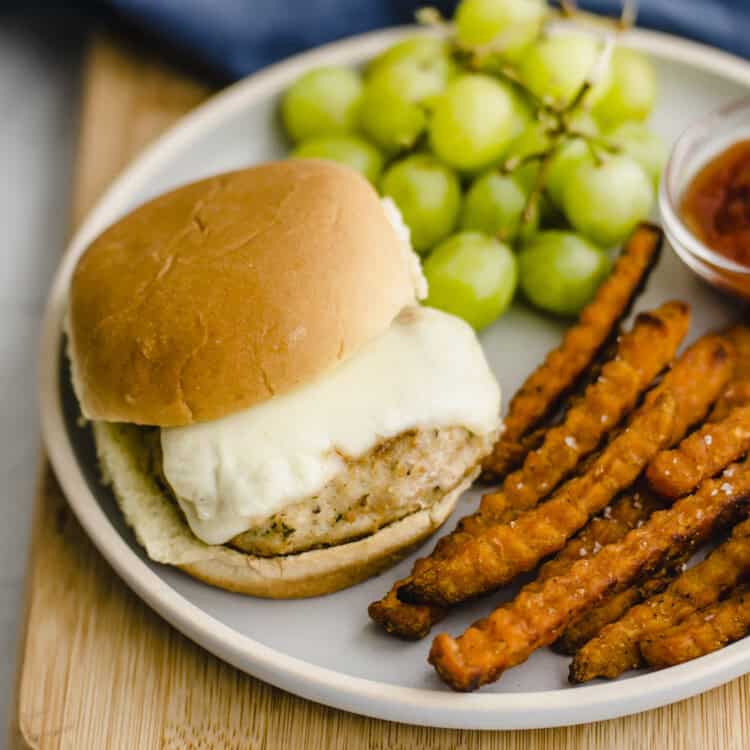
Side Dish Ideas
Here are some recipes that would be tasty to serve with Ham & Cheese Sliders:
Can I Freeze Ham & Cheese Sliders?
YES! Like many of our freezer meals, Ham & Cheese Sliders work wonderfully to prep ahead and freeze.
To Freeze:
After assembling the sandwiches and covering them in the glaze, do not bake. Wrap the casserole dish tightly with plastic wrap or foil or place them in an airtight container before freezing.
You can freeze these sandwiches for 3-6 months (or longer if you properly package them for freezing!)
To Prepare:
When you want to eat them, let them thaw in the fridge overnight and then just bake them as directed.
FAQs
You use any down-the-pipe dinner roll that you find at the store. It saves a little time if they are pre-sliced! Popular choices are Hawaiian Rolls, Brioche Buns, or Wheat Rolls.
Yes! This is one of the many reasons I love this recipe. If I have a group of people coming over or just want to get dinner done ahead of time, I prep the sliders all the way up until baking. I stick them in my fridge (for up to 2 days) and then just pull them out and bake them when I’m ready!
While the buns do soak up the sauce a bit, I wouldn’t describe them as soggy. The sliders sit in the sauce but don’t soak up too much of it.
Totally. I have done this quite a bit actually and it doesn’t change the flavor.
More Slider Recipes
We are big fans of sliders because they are perfect for families (since kids can be smaller eaters) and can stretch a food budget pretty far.


How to Video

Ham and Cheese Sliders
Ingredients
- 15 slider buns (sliced open; sub: dinner rolls)
- 1 pound deli ham (recommend: non-sweet kind like black forest ham)
- 8 slices Swiss cheese (about 8 ounces)
- 1/2 cup butter
- 1 tablespoon Dijon mustard
- 1 tablespoon Worcestershire sauce
- 1 tablespoon poppy seeds (find in spice aisle)
- 1/3 cup brown sugar
Instructions
- Prep: Preheat oven to 350°F. Grease a 9×13 baking dish.
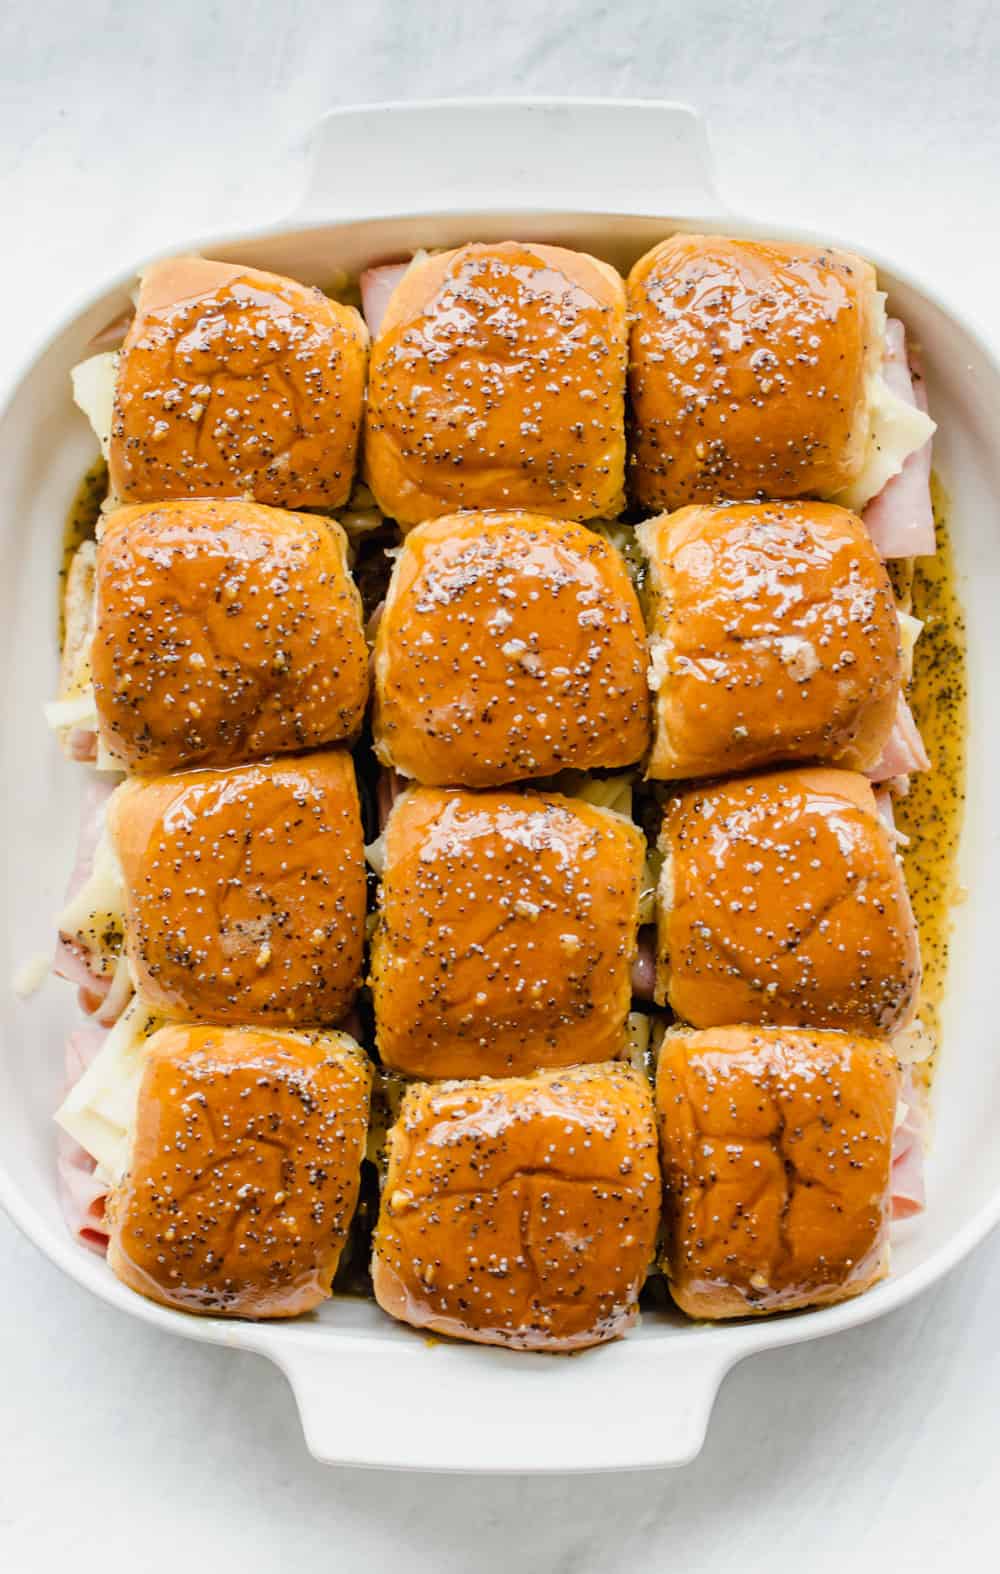
- Assemble Sandwiches: Place 1-2 slices of folded ham and a 1/2 slice of cheese on bottom half of each roll, pop the top on, and place in the baking dish. Squeeze sandwiches in side by side.
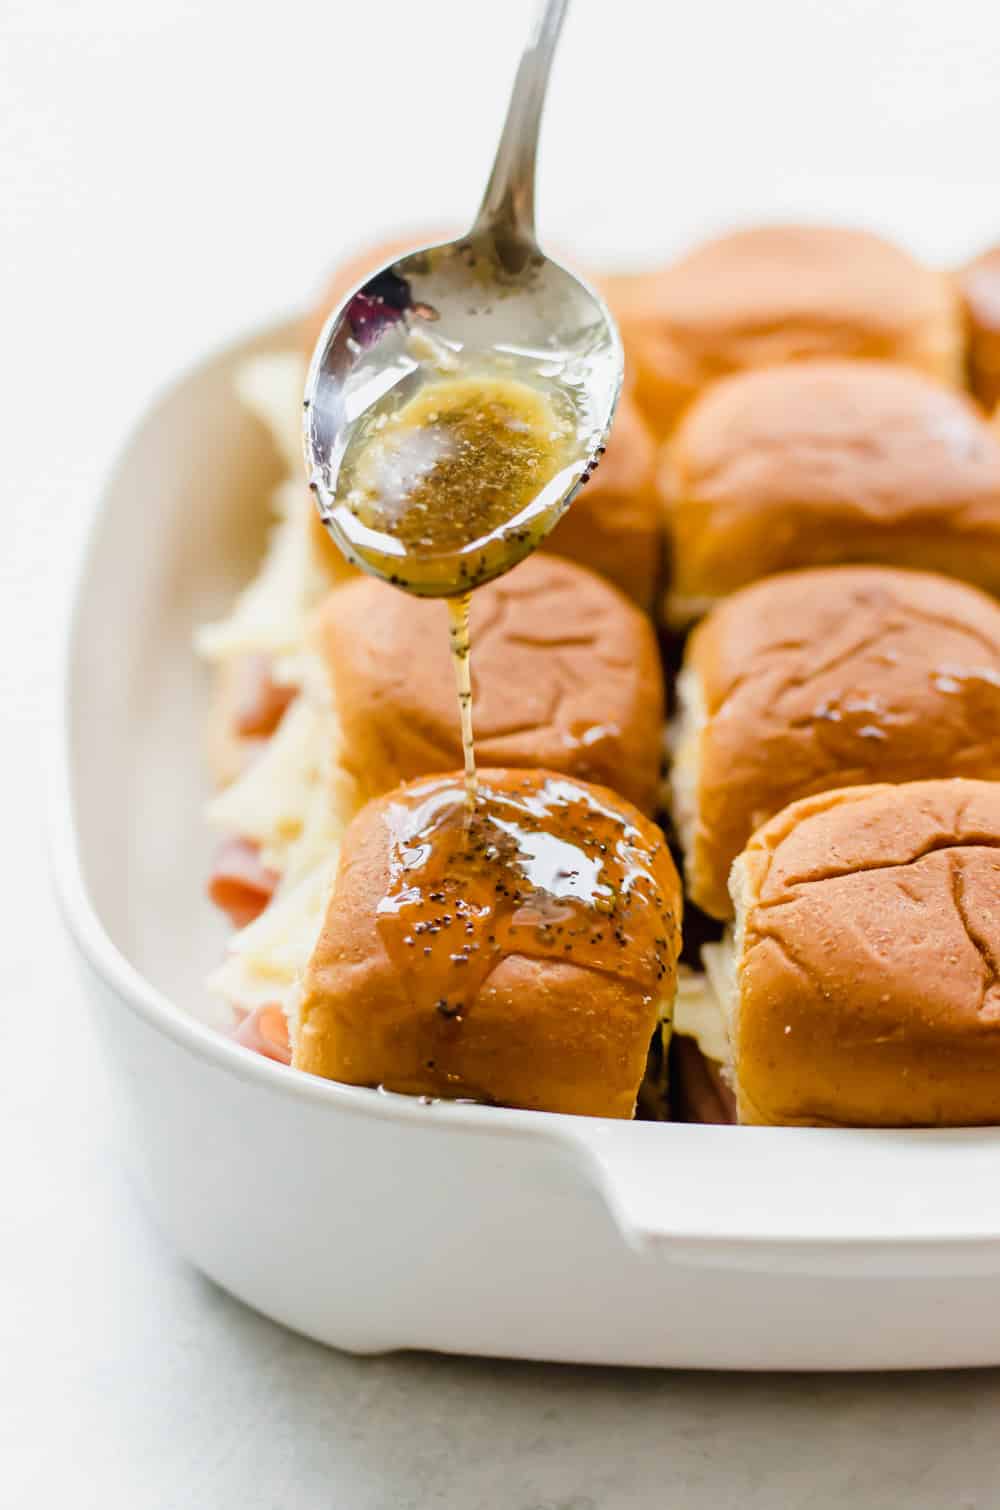
- Make Sauce: Add butter, mustard, Worcestershire sauce, poppy seeds and brown sugar to a medium sauce pan. Place over medium-high heat and bring to a simmer, whisking just until fully melted and combined. (Don't let it simmer long or it will get very sticky.)
- Top Sandwiches: Lightly drizzle each sandwich with the prepared sauce.
- Bake: Cover the dish with foil and bake for about 20 minutes, until hot and melty.
Freezer Instructions
Notes/Tips
- Look for wheat rolls in the bakery section or make your own using our bread machine wheat rolls recipe. Or you can use mini Hawaiian or brioche rolls, but they will add more sweetness to the dish.
- Don’t let the sauce boil too long or it will get very sticky!
- Sometimes kids are turned off by the poppyseeds. You can leave those out if that’s the case.
- Many types of cheese will work. I often use provolone or mozzarella instead of Swiss.
Nutrition
How long do they stay good in freezer?
Hi Addy! Generally they last 3-6 months. Removing as much air as possible is key for freezer meals to last longer.
Delicious and easy
Hi Abbie! Thanks for leaving a review. We’re glad you love it as much as we do!
Delicious and simple. Husband really liked it!
So glad to hear it! Thanks for taking the time to leave a review.
I haven’t made these yet but I’m looking forward to it. I am thinking about freezing these to take on our vacation so we can cook them when we get there. I’m concerned about letting them thaw. Won’t the bread get soggy? Is there a trick to preventing it? Thanks.
Hi Jess. I have made these from frozen many times and they have never been soggy. I know it can happen with some recipes, but in my experience, not with this one.
Thank you so much, you have just made my life a lot easier..
So glad to hear it Les!
I made these yesterday for Mother’s Day for 25 people. I received many compliments! Will definitely made again…so easy and so delicious. I used smoked ham and butter slider rolls.
Love to hear this Jay. Thanks for leaving a review!
These are amazing! Where has this recipe been all my life?!? They’re so very quick and easy but they taste as though they’d be complicated or something, so they’re very impressive for party guests or to take to a party. My husband said these should be my new usual dish I take to get together and block parties, etc. The flavors are ridiculously good!!!! I have made them three times now, about every other weekend. They’re warm and delicious comfort food with protein, too. My husband LOVES them. I used Black Forest ham. So delicious. If I can make these, anyone can.
What high praise! Thank you so much Ronni! Glad you found this recipe.
I made these the night before for my Mexican Train group. It was so easy to pop them in the oven before everyone came over. They were a big hit!
Looking forward to more company so I can make them again!
Hi Mimi! Glad these worked out well for hosting. We love these for tailgates too. They go quickly!
These were so good that I could have eaten the entire pan by myself.
Well, your stomach is probably glad you let others eat some! 🙂 Thanks for the review Carlee.
Made this for a family who lost a loved one. They loved it.
Such a blessing to be able to serve others with food. Thanks for sharing!
Excellent flavor!! These tend to dry out the buns unless I really douse the tops with the sauce, and/or baste halfway with more sauce. But really easy, and great to make for a tailgate, just sayin’.
Yes, we make these for tailgates regularly. I hadn’t noticed that the bun tops dry out without a lot of sauce. Might also depend on the buns we are using. Thank you for taking the time to leave a review.
Served on Christmas Eve, and they were a hit! So easy yet delicious. Popped in the microwave as warm leftovers too!
Wonderful! Thanks for the feedback Deanna.
Great recipe! Love it on a Saturday or a quick Sunday lunch!
Yes! So easy and such a crowd-pleaser. Thank you for taking the time to comment!
People request this recipe. It is perfect for a tailgate or a gathering of people and easy to put together. Midwest classic.
Midwest Classic — great description! Thanks for letting others know how easy it is Jessica.
Delicious and versatile.
Thank you for taking the time to leave a review Amie! This is one of our reader favorites.
Just made these the first time for our churches youth group Wed night meeting , the students as well as the adults devoured them . I did but use poppy seeds and when I ran out of Swiss cheese , I used provolone, which was excellent too .
Ooops , did Not use poppy seeds
Hi Kelly! I love making these for large groups and also leave out the poppy seeds sometimes. Thanks for your feedback and letting others know about your substitution. So glad they were devoured by all ages!
DELICIOUS AND EASY!!! We made these for a group Bible discussion we have in our home and they were a hit! I used potato bread sliders and 1.5 slices of honey ham per slider. I did double the sauce recipe thinking I was going to need more. I wonder if I can freeze this sauce?
Wonderful! Love that, Karyn. Yes, you can freeze the sauce. Thank you for the review!