Instant Pot Mexican Chicken
This post may contain affiliate or sponsored links. Please read our disclosure policy.
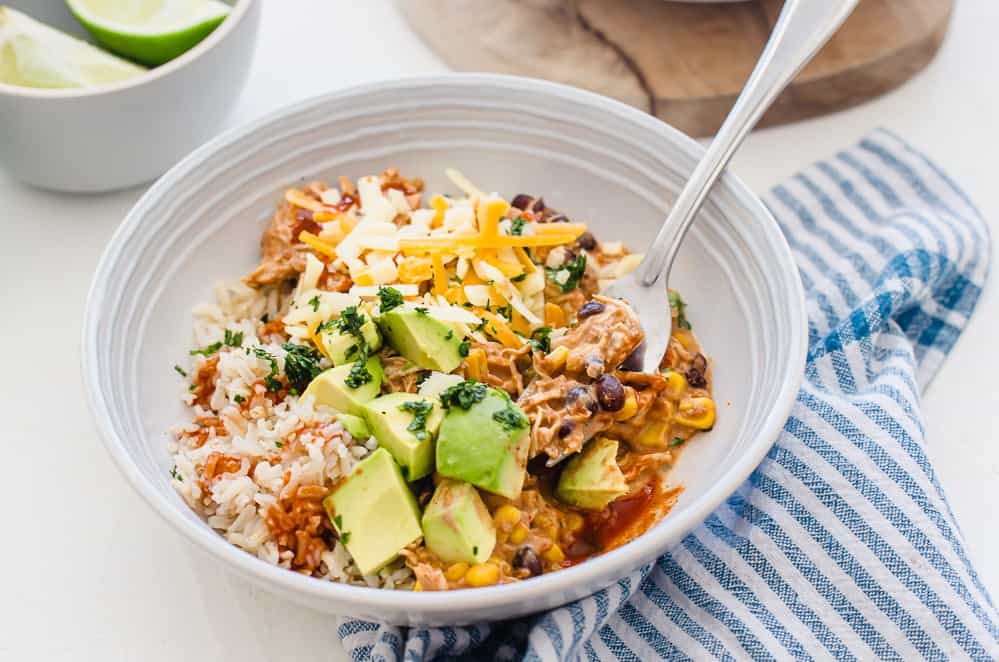
This budget-friendly, comforting Instant Pot Mexican Chicken is a one-pot wonder just like our Crockpot Mexican Chicken. Serve the creamy, shredded chicken mixture over Brown Rice or Instant Pot Cilantro Lime Rice with your favorite Mexican toppings for a nutritious meal the whole fam will enjoy.
Ingredients
The beauty of this recipe is you only need 7 ingredients, which might already be in the fridge and pantry. This dish is full of protein, fiber, and flavor.
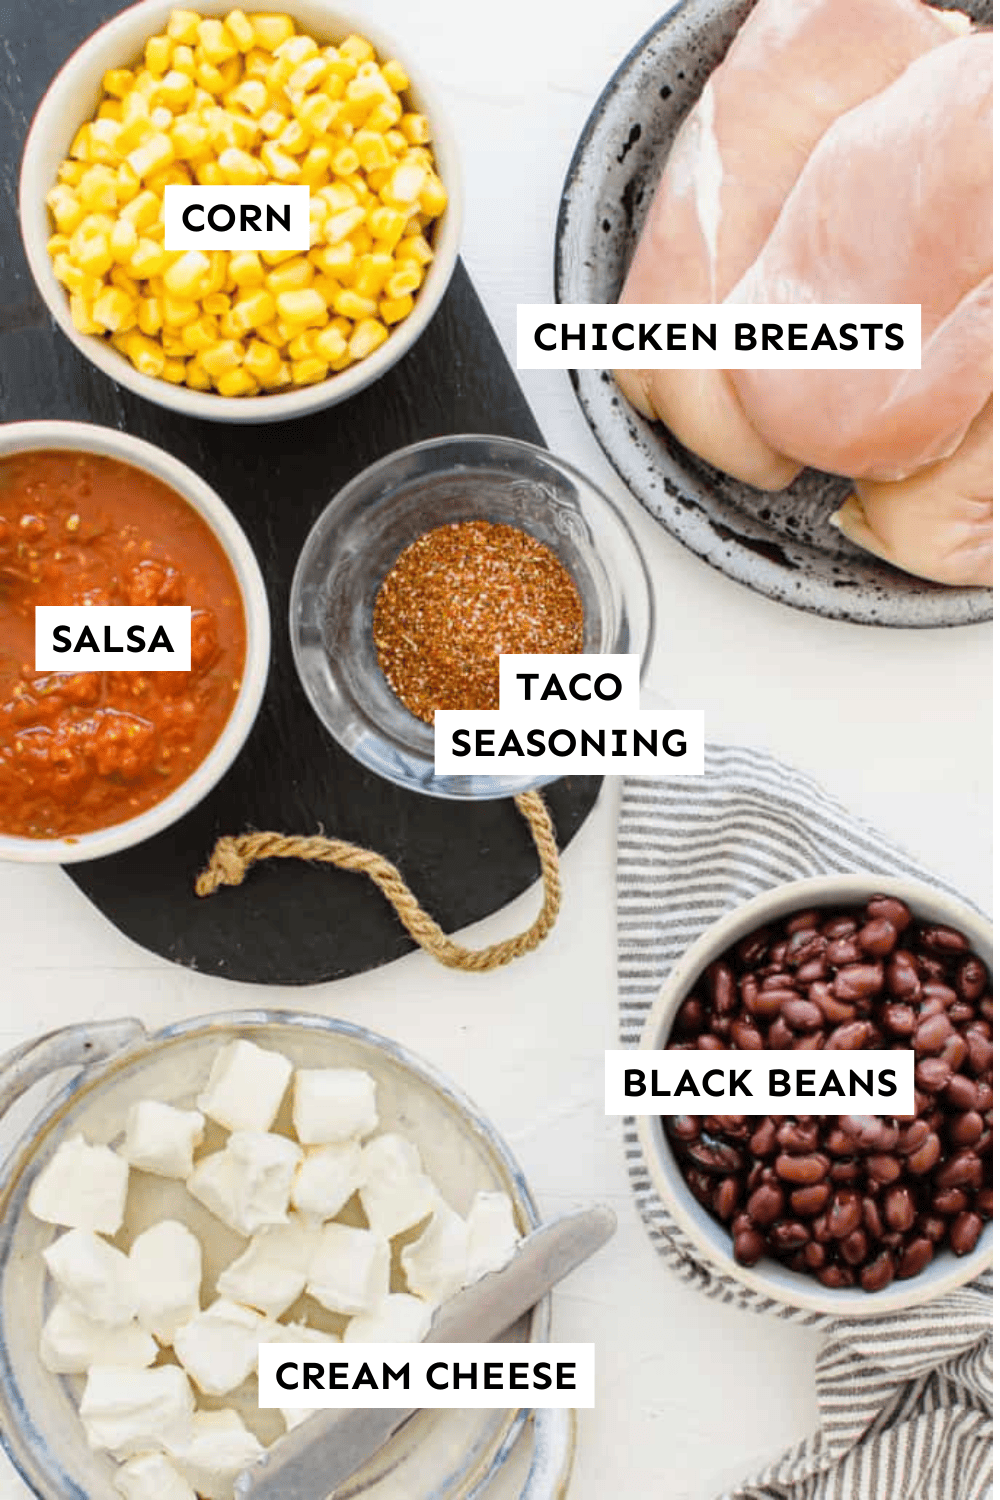
- Chicken broth – For a little added liquid to make sure the Instant Pot comes to pressure.
- Boneless, skinless chicken breasts – You can use chicken thighs instead.
- Salsa – Use your favorite all-natural salsa from the store. I LOVE Mateo’s Gourmet Salsa and have seen it at Walmart and Publix so far.
- Canned black beans – Rinse and drain.
- Canned corn – Rinse and drain. You could also use frozen corn.
- Taco seasoning – Either make your own using our easy Homemade Taco Seasoning or buy some at the store. I use McCormick’s brand, Siete, or Pioneer’s gluten-free taco seasoning.
- Cream cheese – I’ve only tested it with full-fat cream cheese. (If you try using low-fat cream cheese, let me know in the comments how it works for you.)
Sneaky Nutrition Tip: If you’d like to add some (tasteless) extra nutrition, stir in a 1/2 – 1 cup of canned pumpkin, butternut squash puree, chopped spinach, or frozen cauliflower rice.
How to Make Instant Pot Mexican Chicken
You are going to LOVE this Instant Pot dump-and-go recipe!
Step 1: Add Ingredients to Instant Pot
First off, we tested this in a 6-quart Instant Pot. So if you’re using a larger one, add an extra 1 cup of broth!
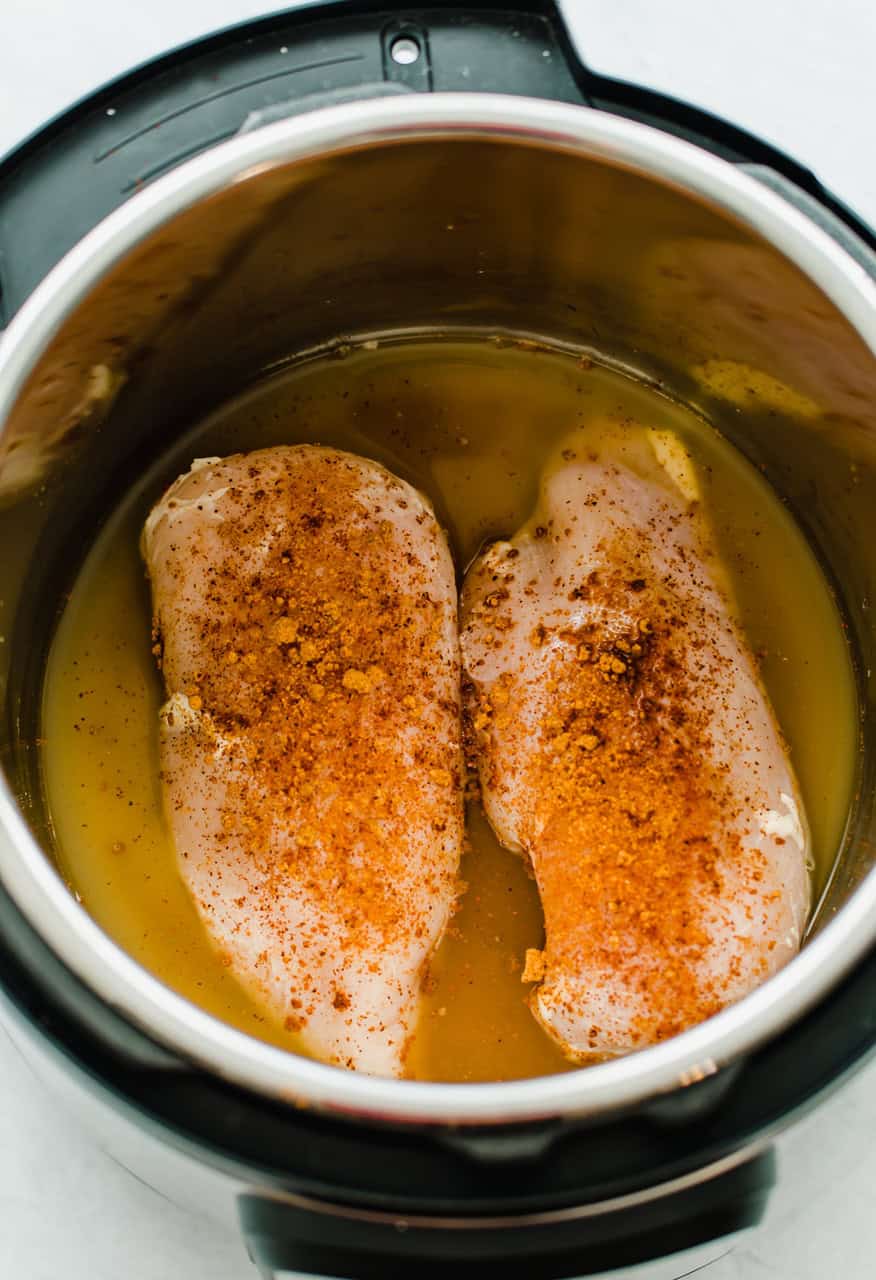
In an Instant Pot, add broth and taco seasoning and stir to combine. Nestle the chicken into the mixture and spoon some of the liquid on top of each piece.
Dump the salsa, drained black beans, and corn on top of the chicken.
Note: It’s important that the broth is at the bottom to help prevent getting a burn notice.
Step 2: Pressure Cook the Chicken
Lock and seal the lid. Cook on high pressure for 7 minutes. Then, turn the knob to do a quick release of the pressure. Make sure the chicken is done (165°F internally or no longer pink inside).
Tip: How Not to Overcook Your Chicken
Now here’s the key: Do not overcook your chicken!
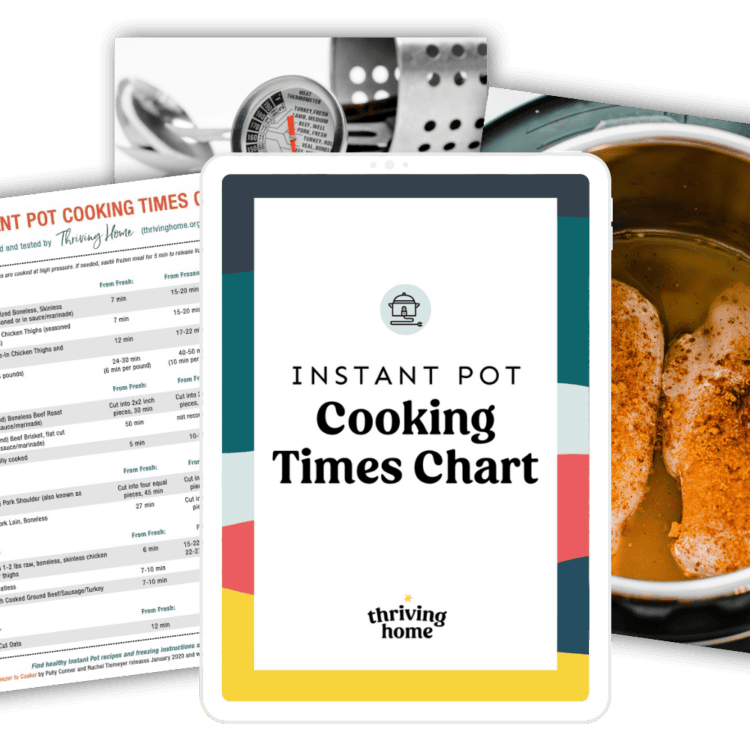
If you follow our recipe below, you’re good to go. But be sure to download and print our Instant Pot Cooking Times chart that we spent two years meticulously developing for our Instant Pot Cookbook.
This guide will help you pressure cook both fresh and frozen meals of all kinds perfectly! It’s our gift to you!
Step 3: Shred the Chicken
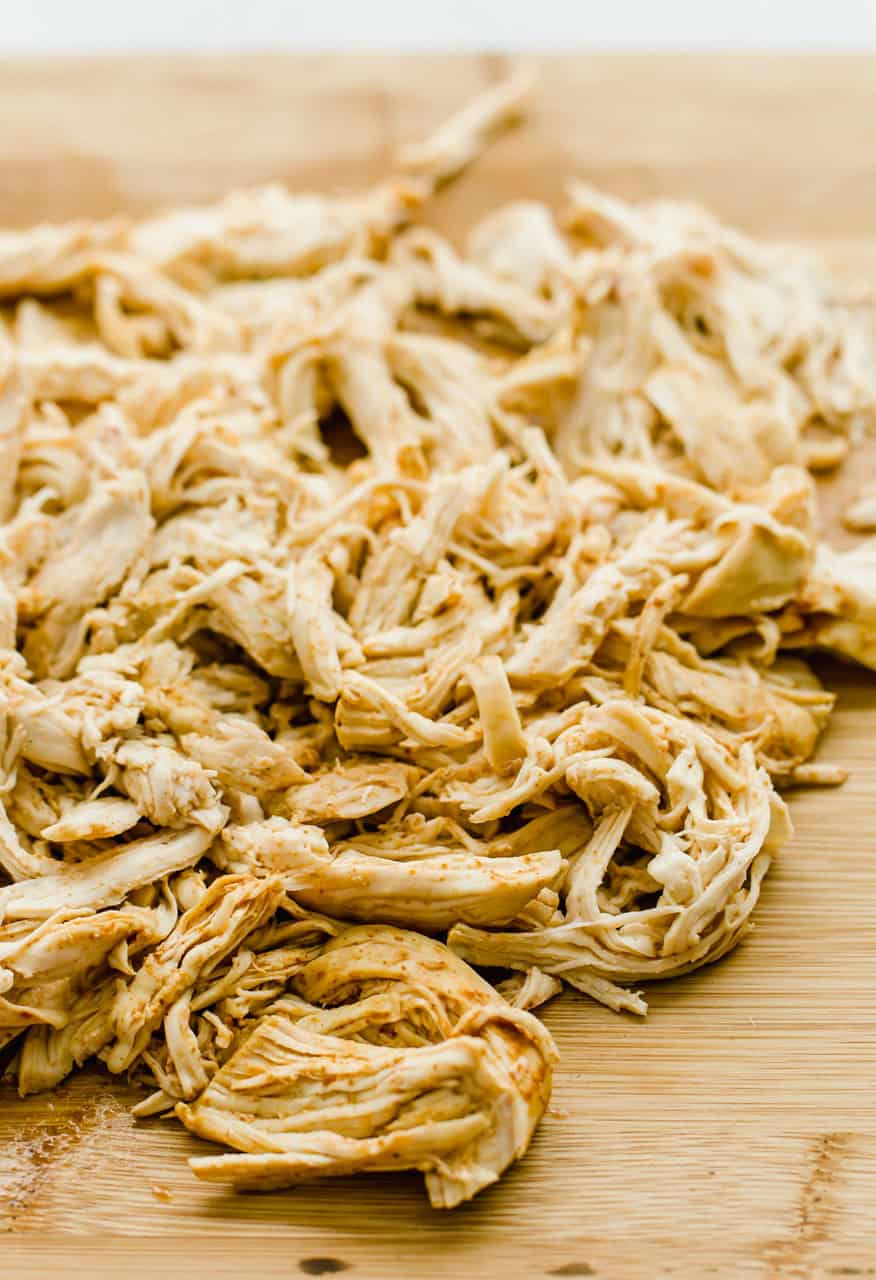
Once the chicken is done, remove it to a wooden cutting board. Use two forks to shred it.
Step 4: Stir in Cream Cheese
Add the chicken back to Instant Pot. Stir in the cubed cream cheese until it melts and blends into the mixture.
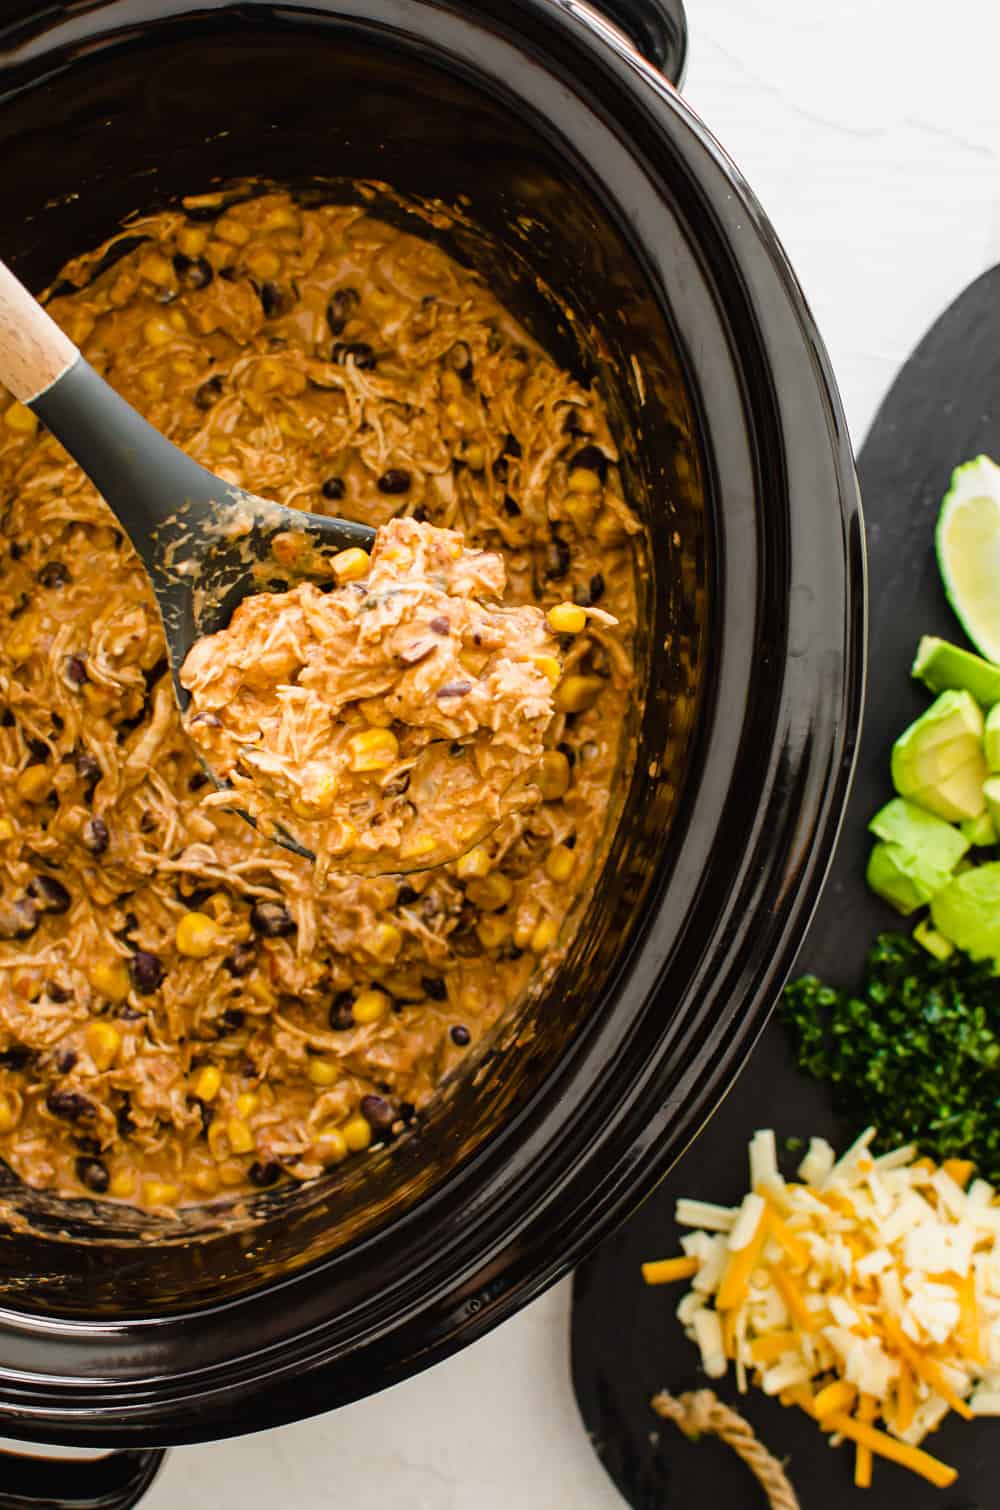
Below is what the Crockpot Mexican Chicken looks like when it’s all stirred together. Imagine this in your Instant Pot. 🙂
Step 4: Serve
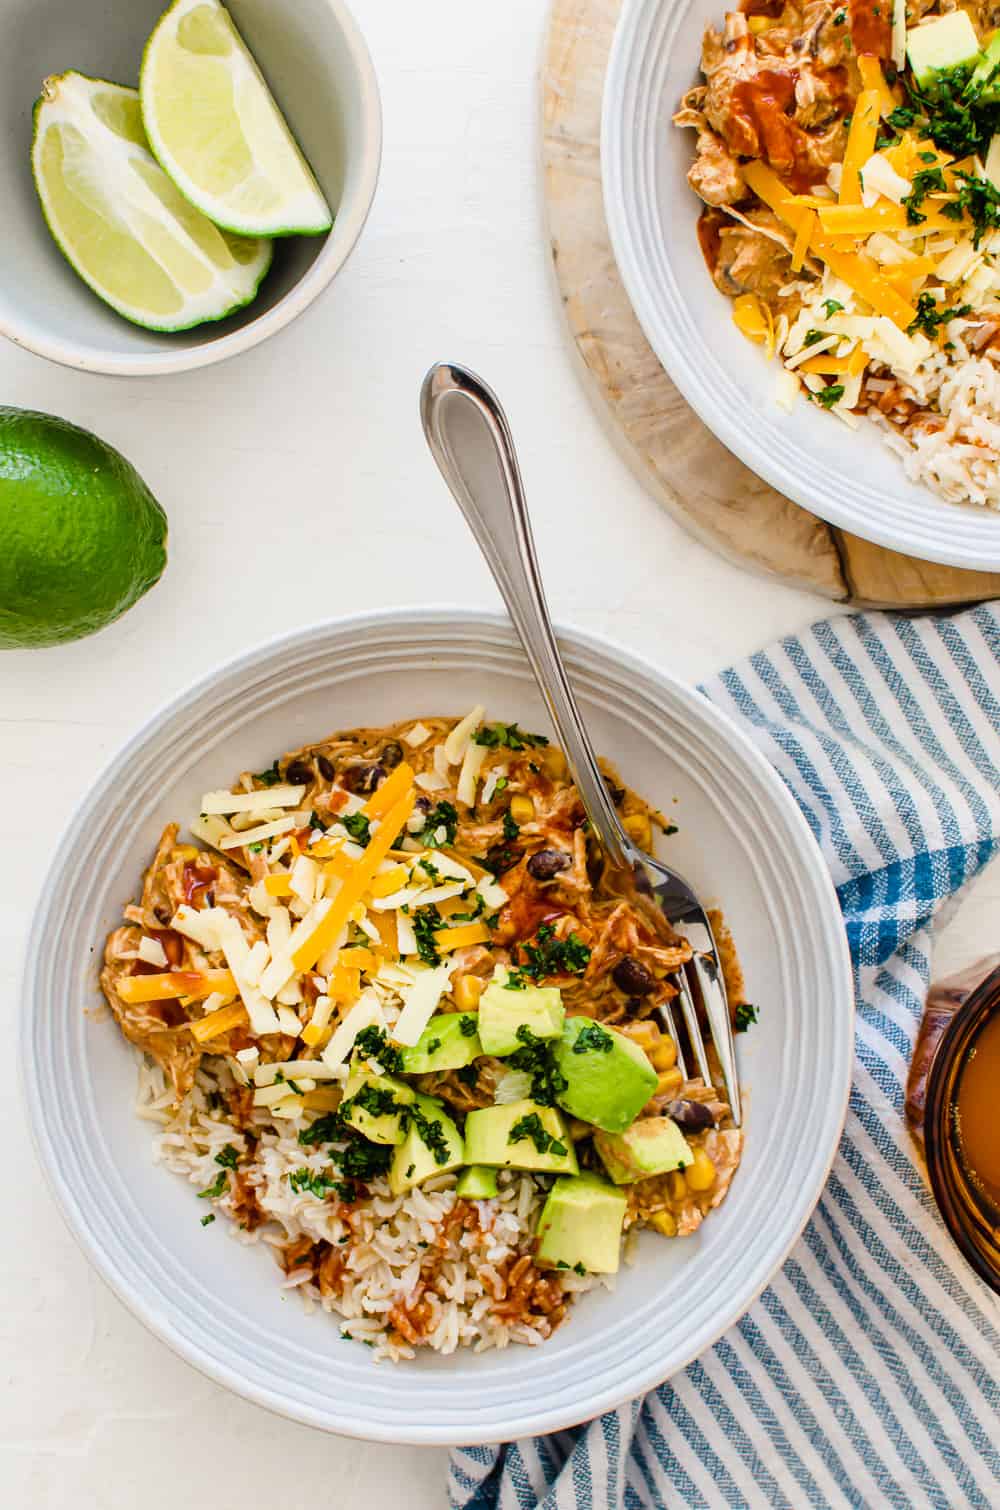
Serve warm over Instant Pot Brown Rice or Instant Pot Cilantro Lime Rice and top with your favorite Mexican toppings (see ideas below). It’s soooo creamy and comforting. Leftovers are great reheated, as well.
Make It a Freezer Meal Kit
This meal works well to prep and freeze ahead of time. You can cook it FROM FROZEN in the Instant Pot, which is amazing. Here’s how…
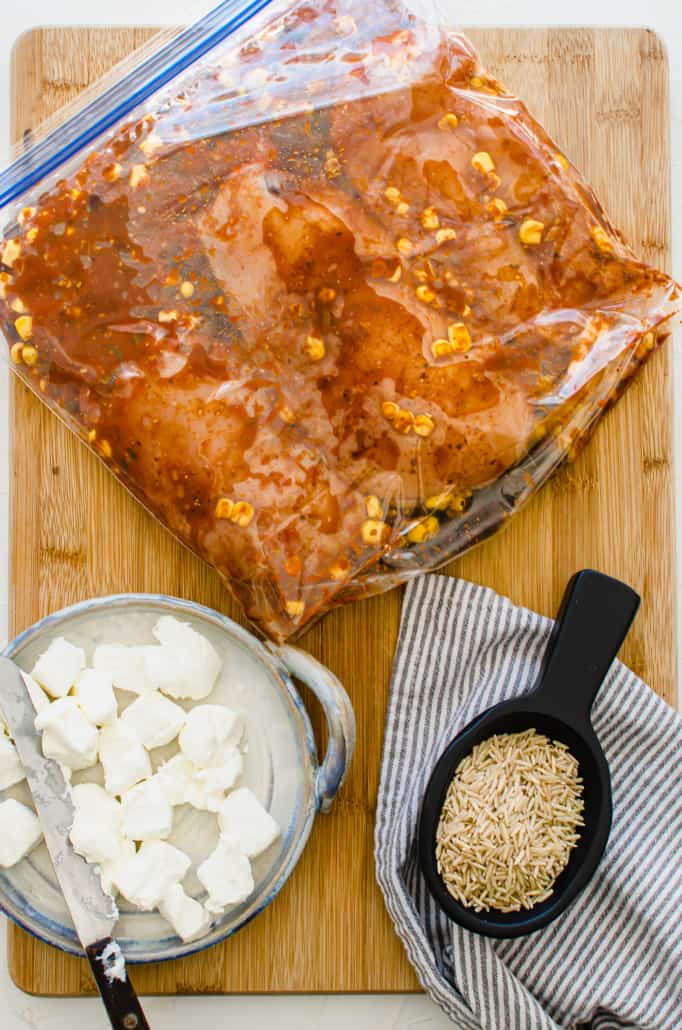
To Freeze: Place the chicken, taco seasoning, salsa, broth, corn and beans in a gallon-sized freezer bag. Seal and freeze in a round container that’s the shape of the Instant Pot (you can even freeze it in the pot itself and then remove the meal). Try not to stack the chicken but instead place it flat in the bottom of the round container. If you’d like to make this a meal kit, freeze a bag of cooked rice or frozen cauliflower rice along with the chicken mixture.
To Prepare From Frozen: Place the frozen meal in the Instant Pot. Turn on the “Saute” function and cook for 5-10 minutes until some liquid is released. Press “Cancel”. Lock and seal the lid and pressure cook for 15-20 minutes. Use a quick release of the pressure. Check to make sure the chicken is done (165°F internally). Then follow Steps 3-5 of the recipe, shredding the chicken and stirring all the ingredients together to serve.
Topping Ideas for Instant Pot Mexican Chicken
As a mom, I love a recipe that is a one-pot wonder, like this one, and that can be customized for each family member. Set out a variety of toppings and let your crew go to town. Here are some ideas:
- shredded cheddar cheese (how to quickly shred your own cheese)
- diced avocado
- lime wedges
- chopped cilantro
- diced jalapeños
- diced red onion or Pickled Red Onions
- shredded lettuce
- chopped black olives
- sliced green onions
- sour cream
- salsa
What to Serve with Instant Pot Mexican Chicken
While I consider this recipe a one-pot-wonder by the time you add all the toppings, I do think you can add some other Mexican-inspired dishes to stretch the meal even further. Here are a few ideas:
FAQs
You might be surprised at the answer. In fact, we wrote an how long to cook chicken breasts in the Instant Pot because so many people are doing it wrong! After loads of recipe testing, we have found that chicken breast is done after just 6-7 minutes at high pressure with a quick release. Be sure to remember, it will take about 10-15 minutes for this meal to “come to pressure” before it begins cooking.
Adjust the spice level with the kind of salsa you choose (mild, medium, or hot) and the type of taco seasoning you use. Our Homemade Taco Seasoning is medium heat level but feel free to pull back on the red pepper flakes to reduce this. If you want the dish spicier, add a pinch of cayenne pepper before cooking or hot sauce to the final dish.
Feel free to omit the cream cheese for less fat. You can also add in more veggies like cauliflower rice, a little pumpkin puree or butternut squash puree, or some chopped spinach.
More Instant Pot Chicken Dinners
If you like this one pot wonder, we think you’ll enjoy these other Instant Pot recipes.
Did you make this? Snap a photo and tag us on Instagram at @thrivinghome so we can see your creations and cheer you on!
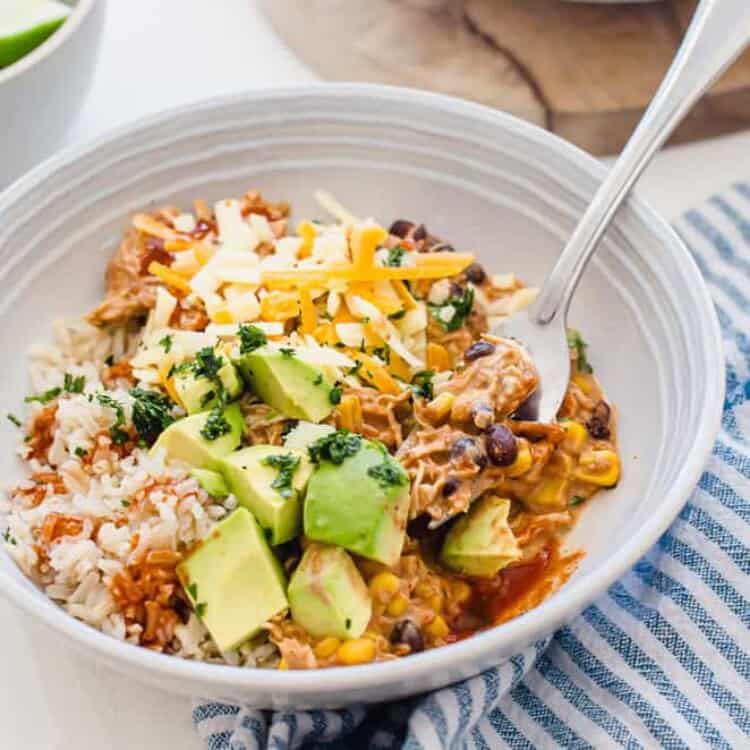
Instant Pot Mexican Chicken
Creamy shredded chicken with beans and corn make for a delicious, healthy, and EASY meal served over brown rice.
Ingredients
- 1 cup chicken broth (Note: Use 1 1/2 – 2 cups for an 8 quart Instant Pot)
- 1 ounce package of all-natural taco seasoning (or 3 tablespoons of homemade taco seasoning recipe)
- 1 1/2 pounds boneless, skinless chicken breasts (2-3 breasts)
- 16 ounces of your favorite salsa (1 1/2 – 2 cups)
- 1 (15 ounce) can black beans, drained and rinsed
- 1 (15 ounce) can corn, drained and rinsed
- 6 ounces cream cheese, cubed
- 3 cups cooked brown rice or Instant Pot Cilantro Lime Rice
- Optional topping ideas: shredded cheddar cheese, shredded lettuce, diced avocado, pickled red onions, minced jalapeños, chopped black olives
Before You Begin! If you make this, please leave a review and rating letting us know how you liked this recipe! This helps our business thrive & continue providing free recipes.
Instructions
Make It Now:
Note: We tested this in a 6-quart Instant Pot. If using an 8-quart, use 1 1/2 – 2 cups of broth instead of just 1 cup.
- In Instant Pot, add broth and taco seasoning. Stir until well combined. Place the chicken in the pot and spoon some of the liquid on top of each piece. Dump the salsa, drained black beans, and corn on top. (Note: It’s important that the broth is on the bottom to avoid a potential “burn notice”.)
- Lock and seal the lid. Cook on high pressure for 7 minutes. Then, turn the knob to do a quick release of the pressure. Make sure the chicken is done (165°F internally or no longer pink inside).
- Remove chicken to a cutting board and shred with two forks.
- Add the chicken back to Instant Pot. Stir in the cubed cream cheese until it melts and blends into the mixture.
- Serve over brown rice and top with your favorite Mexican toppings, like diced avocado, lime wedges, shredded cheddar cheese, sliced green onion, diced red onion, etc.
Freeze For Later:
Method 1 (Uncooked): To a gallon-sized freeze bag, add salsa, taco seasoning, chicken, beans, and corn. Seal, squeezing out any excess air, and squish it around until well combined. Freeze in a round container that’s about the size of the Instant Pot insert (you can even use the IP pot itself and then remove the bag after it’s frozen). Try not to stack the chicken but lay in one flat layer. Freeze along with a bag of frozen brown rice to make a meal kit, if desired.
Method 2 (Fully Cooked): Fully cook and cool the meal. Freeze in an airtight container or freezer bag. Freeze along with a bag of frozen rice or cauliflower rice to make a meal kit, if desired.
Prepare From Frozen:
Method 1 (Uncooked): Place the frozen meal in the Instant Pot. Turn on the “Saute” function and cook for 5-10 minutes until some liquid is released. Press “Cancel”. Lock and seal the lid and pressure cook for 15-20 minutes. Use a quick release of the pressure. Check to make sure the chicken is done. Then follow Steps 3-5 of the recipe, shredding the chicken and stirring all the ingredients together to serve.
Method 2 (Fully Cooked): To reheat, thaw in the refrigerator for 24 hours and warm on low on the stove or in the microwave. For a quick thaw, use the defrost setting on the microwave. Follow Step 5 for serving instructions.
Notes/Tips
- Sneaky Nutrition Tip: If you’d like to add some (tasteless) extra nutrition, stir in a 1/2 – 1 cup of canned pumpkin, butternut squash puree, chopped spinach, or frozen cauliflower rice. (Check out more ways to sneak extra fruits and vegetables into meals.)
- Cream Cheese – I’ve only tested it with full-fat cream cheese. (If you try using low-fat cream cheese, let me know in the comments how it works for you.) I think that Kitehill’s Dairy Free Cream Cheese would work well, too.
- Salsa – Use your favorite all-natural salsa from the store. I LOVE Mateo’s Gourmet Salsa and have seen it at Walmart, Hy-Vee, and Publix so far.
- Taco seasoning – Either make your own using our easy Homemade Taco Seasoning or buy some at the store. I use McCormick’s brand or Siete’s gluten-free taco seasoning.
- Dairy-Free Version: Simply leave out the cream cheese or use Kitehill’s Dairy Free Cream Cheese instead, and omit any dairy toppings (like cheese or sour cream). This recipe is still yummy without those!
- Gluten-Free Tip: This recipe is naturally gluten-free. However, if using store-bought taco seasoning. make sure it is gluten-free. I like Siete brand.
- Where We Get Our Chicken: We get our meat from ButcherBox. The chicken is organic and curated from small, trusted farms. We highly recommend this service to source healthy meat–like uncured bacon, wild salmon, and grass-fed beef–and have used it for years ourselves.

This instant pot Mexican chicken recipe is fantastic! I used the homemade taco seasoning and it has a terrific flavor. Will use it all the time from now on…just going to keep in a jar with my spices.
So glad you enjoyed this recipe. Thanks for the review Janine!
I’m a non-dairy person. I made this with non-dairy cream cheese (Kite brand, I believe). It was great! My teenager likes it too!
Hi Gail. Thanks for letting us know how it turned out with the non-dairy cream cheese. Glad you enjoyed it!
I made this tonight and it was a hit! The kids ate it with tortilla chips and my husband and I put it over cilantro lime rice. Topped with shredded cheddar and avocado! I have an 8 qt. and used 1 can of broth (approx 1 3/4 c) to account for the larger size pot. It was definitely much more soupy than I think intended but still delicious!
Thanks for the review Rachel. And letting everyone know how much broth you used so they can cut back a bit so it isn’t so soupy.
Hi there! I’m a huge fan of you guys and have been following for almost a year now. Thanks for all great recipes! Many of our family’s favorites come from your blog. Quick question about this recipe – I followed it exactly but got a burn notice on my instant pot. I just finished scraping all the browned bits off the bottom, added more chicken broth, and I’m trying to cook it again (even though the chicken already began cooking). Do you have any tips for how to avoid the burn notice in the first place? And if I do get the burn signal, should I lower the number of minutes I’m cooking it on the second time around since the chicken has already begun to cook? Thanks so much! 🙂
I’m sorry you had trouble, Chelsea! Were you by chance using an 8 quart IP? We test all of ours in a 6 quart and sometimes an 8 quart will need more liquid. If that’s the case, I’ll update the recipe with that note. If not, I’d say make sure the broth is on the very bottom, then the chicken, and then everything else on top of the chicken. You may also want to add more broth, if you’re concerned.
If you get a burn notice after it’s already been coming to pressure for several minutes, you can always knock the cook time down to 6 minutes. Be sure to check that the chicken is fully cooked (165 degrees internally). If it’s not fully cooked, cook one more 1 minute.
I hope that helps!
I absolutely love this recipe! I have made it twice. Both times I used your taco seasoning. The meal has just the right amount of creaminess and heat. Yum! I also tried your suggestion on adding pumpkin purée for tasteless vegetables. Genius!
Thank you for taking the time to leave a review Holly. So glad you found a winner… and one with sneaky vegetables! 🙂
Delicious! This was enough to feed my family of 4 and have enough leftover for another day. The cream cheese adds a perfect amount of creaminess.
So glad your family liked it Tiffany! Thank you for taking the time to leave a review.
I’ve already made this two or three times and my family always loves it! So tasty and easy to make.
Thank you for leaving a review Stephanie! We love hearing when recipes are a big win for families!